Another 4L80E Rebuild Thread
 10-13-2007, 07:42 PM
#1
Moderator
Thread Starter
iTrader: (14)

Join Date: Mar 2003
Location: Chandler, AZ
Posts: 2,327
Likes: 0
Received 0 Likes
on
0 Posts
... before I start I would like to get this out of the way. I am using blown3qtr's thread for tips and tricks...
https://www.performancetrucks.net/fo...d.php?t=396429
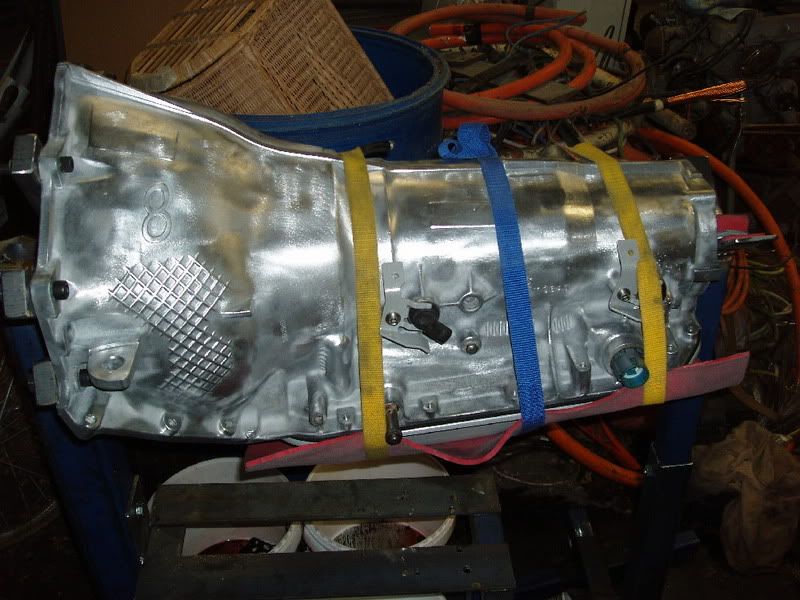
OK, you can see disassembly of a 4L80E on blown3qtr's thread but I have a few more pics and questions...
Jig I made up for my engine stand... thinking about making these for a part time job


Some check ball wear... pro's, this OK?


Bushing wear looks good, eh? (BTW, others look no worse)


Intermediate clutch... little action on the steels... frictions look good.

Collection of "dirt" on the valve body...

Work area... anyone got any recommendations for something to wipe with that has little to no lint? Costco terry towels are the worst...

More pics and progress after I get some parts
Bill
https://www.performancetrucks.net/fo...d.php?t=396429
OK, you can see disassembly of a 4L80E on blown3qtr's thread but I have a few more pics and questions...
Jig I made up for my engine stand... thinking about making these for a part time job
Some check ball wear... pro's, this OK?
Bushing wear looks good, eh? (BTW, others look no worse)
Intermediate clutch... little action on the steels... frictions look good.
Collection of "dirt" on the valve body...
Work area... anyone got any recommendations for something to wipe with that has little to no lint? Costco terry towels are the worst...
More pics and progress after I get some parts
Bill
Last edited by Bill Reid; 10-13-2007 at 07:51 PM.

 10-13-2007, 11:13 PM
#3

Go buy a big ol' 12-pack of brake cleaner. Rinse everything and then blow out with compressed air fed through a moisture trap. Rags just shed lint like you've already noticed.
The internals look very good.
That checkball wear that you are looking for will be on the separator plate, not the case. The only time the checkball hits the case is on a disengagement, or "exhaust" of a clutch pack - and there not much pressure behind that. When a clutch pack engages you have a surge of fluid under line pressure impacting the checkball with the seat in the separator plate. That's what to check for wear.
Nice choice of brew, I'd even say "flawless".
 10-16-2007, 11:15 PM
#5
Moderator
Thread Starter
iTrader: (14)
Join Date: Mar 2003
Location: Chandler, AZ
Posts: 2,327
Likes: 0
Received 0 Likes
on
0 Posts
... and Thanks James... Newcastle hits the spot... when I can't have a micro brew. Alaskan Amber is DA BOMB!
grippy, it's all good bro... havin fun
Bill

 11-07-2007, 09:19 PM
#7
Moderator
Thread Starter
iTrader: (14)
Join Date: Mar 2003
Location: Chandler, AZ
Posts: 2,327
Likes: 0
Received 0 Likes
on
0 Posts
Quick Update...
... got all my parts in from Vince at FLT including my 300M shaft and PI Vig 9.5" 3200 stall verter! Big thanks to Vince and Chuck at FLT and Terry at Precision Industries!
I completed my valve body with the Transgo HD2 kit... just a tiny bit more drilling on the 4L80E than the 4L60E... but real simple I had soaked my valvebody several times and carefully picked at the "sediment" in the bottom of the passages. This actually took considerable time to clean. It makes since that the valve body hangs upside down normally and some passages get buildup that requires soak and pick... soak and pick. But then again I don't have a 200F solvent spray steamer cleaner either. No matter... just took a few extra Newcastles
Any way a few more pics
Pump is coming apart... and documenting bushing health


... other misc parts getting disassembled and ready for a kersosene bath


... and finally my Harbor Freight 20 gallon parts cleaner loaded up

More to come,
Bill
... got all my parts in from Vince at FLT including my 300M shaft and PI Vig 9.5" 3200 stall verter! Big thanks to Vince and Chuck at FLT and Terry at Precision Industries!
I completed my valve body with the Transgo HD2 kit... just a tiny bit more drilling on the 4L80E than the 4L60E... but real simple
I had soaked my valvebody several times and carefully picked at the "sediment" in the bottom of the passages. This actually took considerable time to clean. It makes since that the valve body hangs upside down normally and some passages get buildup that requires soak and pick... soak and pick. But then again I don't have a 200F solvent spray steamer cleaner either. No matter... just took a few extra Newcastles Any way a few more pics
Pump is coming apart... and documenting bushing health
... other misc parts getting disassembled and ready for a kersosene bath
... and finally my Harbor Freight 20 gallon parts cleaner loaded up
More to come,
Bill
Last edited by Bill Reid; 11-07-2007 at 10:12 PM.
Trending Topics

 11-09-2007, 02:43 AM
#9
TECH Apprentice

That tranny looks like it's in excellent condition.
Here's a before and after of mine.

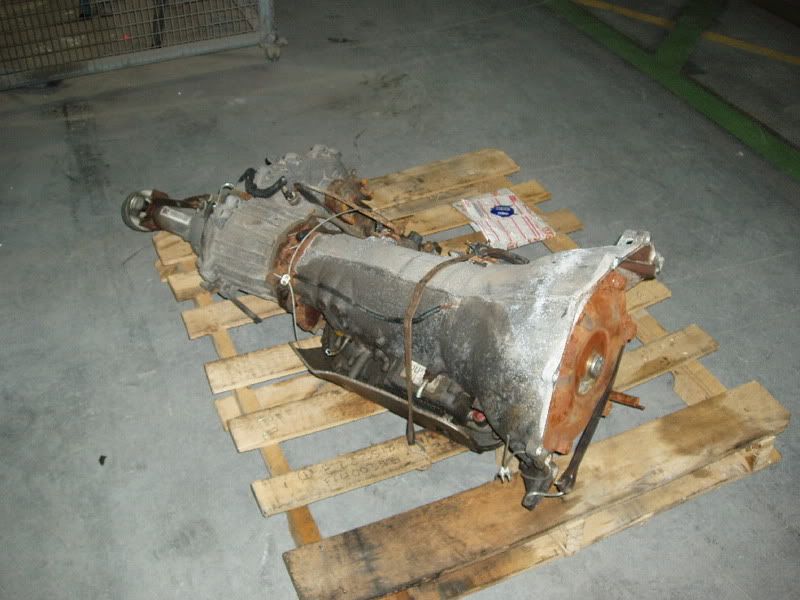
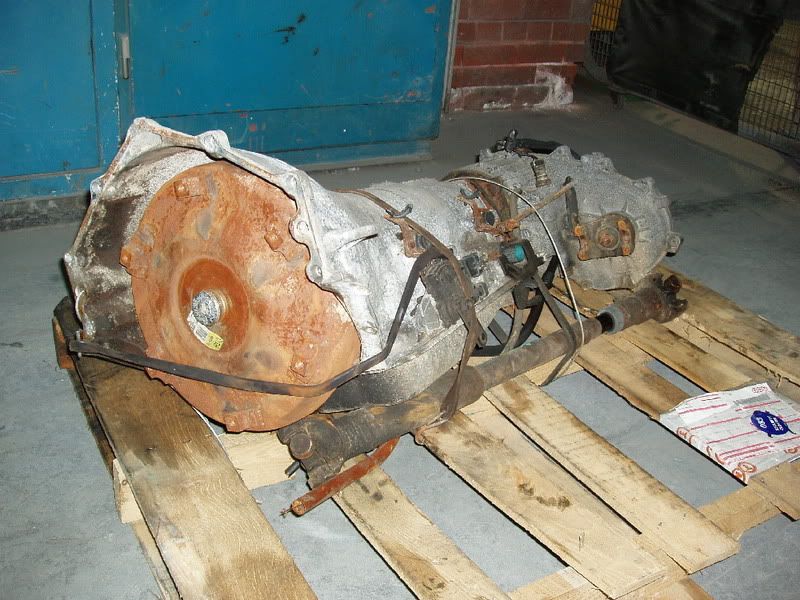
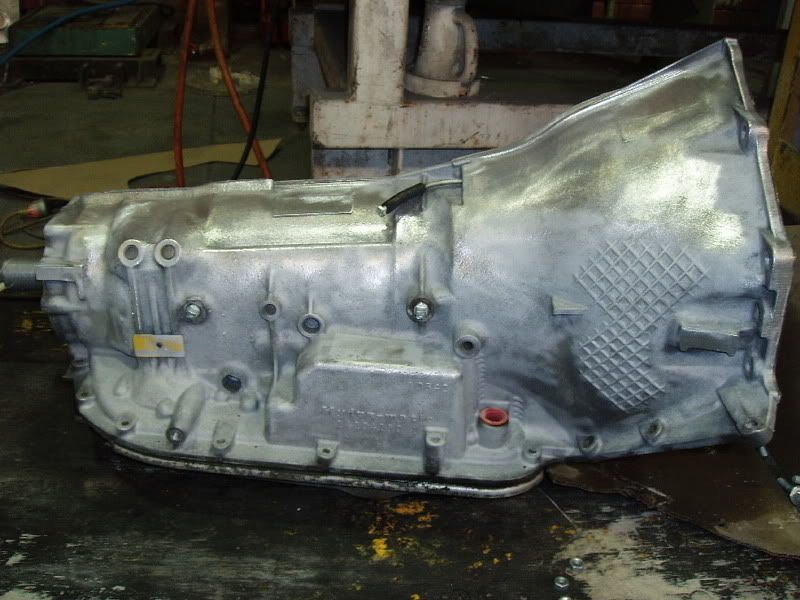
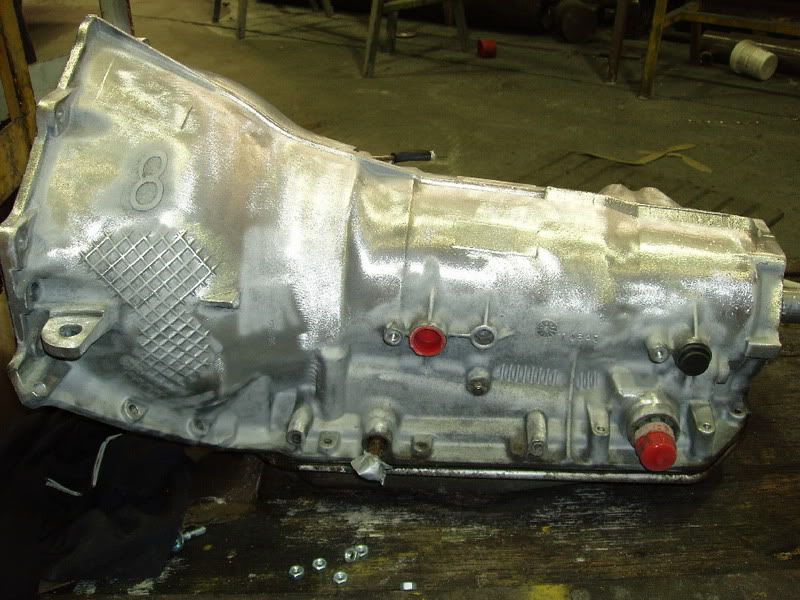

I built a trany stand also.


There are alot of tricks to be learnt in building these trany's.
You don't need any of the specialized tools.
Here's a before and after of mine.
I built a trany stand also.
There are alot of tricks to be learnt in building these trany's.
You don't need any of the specialized tools.