PT 62-1 Front Mount setup is done!
#1
Staging Lane
Thread Starter
iTrader: (1)
Join Date: Jan 2010
Posts: 78
Likes: 0
Received 0 Likes
on
0 Posts
Time for an update!!
So I set out to build and install my front mount turbo setup last weekend. I was hoping that if I started on Friday after work I could have it running by Sunday. I also thought that I would have it fully tuned by Monday after work (remember this is all last weekend). So although I didn't get everything wrapped up on the weekend of the 6th it is now all done and partially tuned.
For those that have not read any of my previous threads I was planning on installing a Percision 62-1. I fabricated all of my own hot and cold side plumbing with the exception of the manifold which was built by Kyle from KBracing (much thanks for building a great product and getting it to me on time). In addition I installed a set of 241's that were milled .015" along with an 01-02 f-body (same as LQ4) camshaft, lifters, pushrods, etc.
I have included a lot of pics that go in somewhat of a timeline starting from beginning to end. Keep in mind that I am not a fabricator, I am a general repair mechanic so please don't flame me if something looks hackish. This is my first turbo build and I am very suprised and pleased with the end results
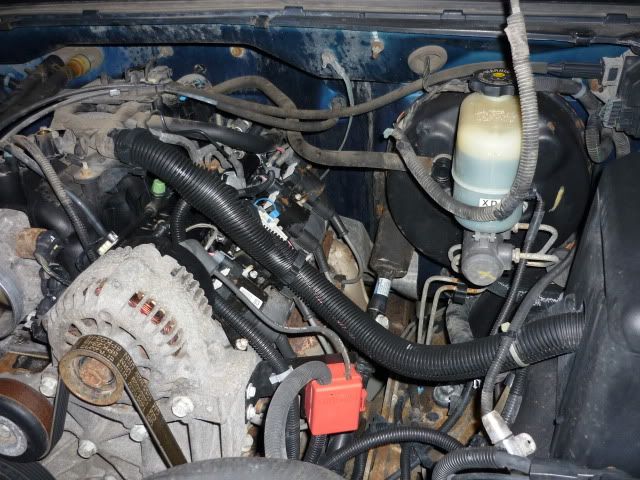
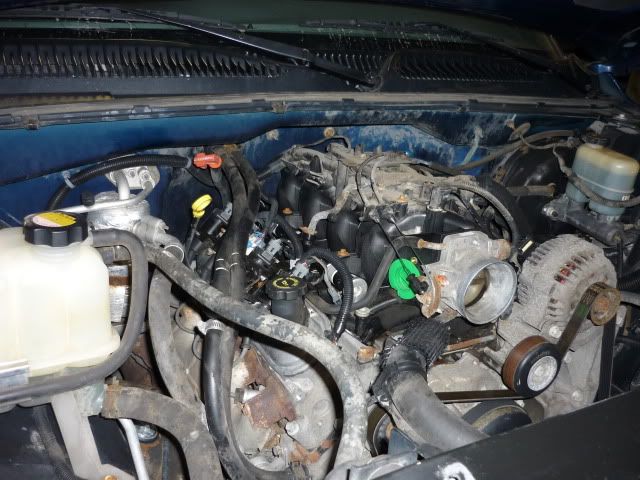
Here is the dirty bastard child of an engine after a solid 20-30 minutes of degreasing. At this time I had the EGR, air intake and viscous fan/shroud removed:
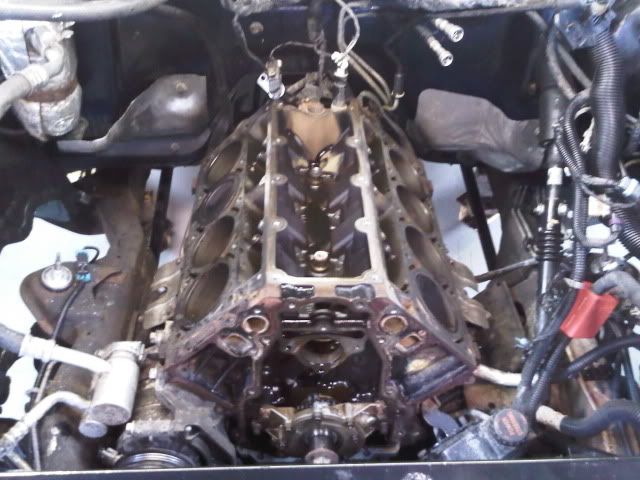
The first thing we needed to do was tear it down to a long block, at that point I fitted the manifold and turbo to figure out how to run the oil fee and return lines before tearing it all the way down. After I was happy with the routing of everything it was time to get it down to the state that it was in the pics below.
After getting it torn down and of course scrapping gaskets, cleaning sealing areas and properly cleaning surfaces it was time for reassembly.
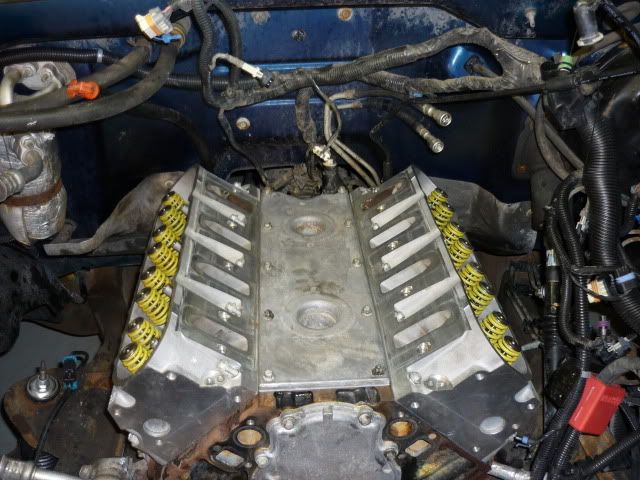
First to go in was the cam and lifters, I also installed a new set of buckets because they are cheap insuranace on an engine with 157k miles. Next to go on was the freshly resurfaced cylinder heads. I picked up a set of Z06 springs just before the build and installed them before the heads went on. The rocker arms remained stock.
I had a helper buddy that was here all day last Sat. He was busy cleaning, painting and prepping components for reassembly which made things go much quicker. He also disassembled the intake, blasted and painted anything that was metal and built a set of spacers. We built the spacers out of some spacers that are used on VW/Audi ATQ 2.8 timing belt tensioners. Needless to say he did a fantastic job with the intake it it was ready to bolt back on well before I had the heads in place.
I ran the -4an oil feed line under the intake and secured it to the steam pipes that run under the intake as well. After I dropped on the intake I installed the new EV1 connectors that we got from an old Volvo 850 harness.
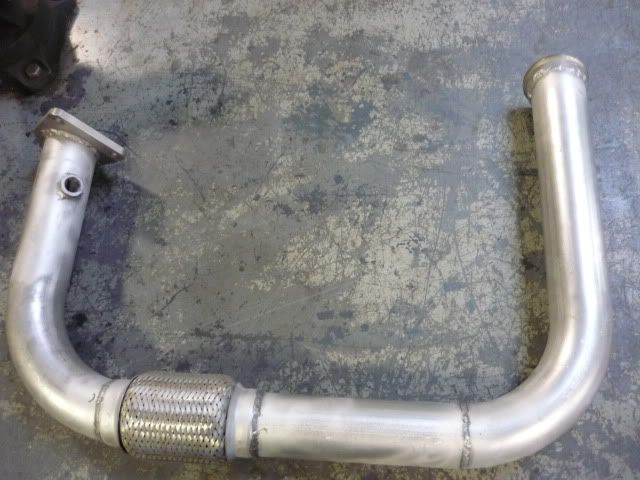
The intake was on so it was time to get the turbo and manifolds mounted and start getting them plumbed up. First to go in was the drivers side manifold after it was all cleaned up and painted. Then the KBracing turbo manifold found it's home. After the turbo was mounted I hooked up my oil feed and return lines (oil return went into the pan as suggested by Kyle). YES you have to bend the **** out of the A.C. line to make it fit. At that point I put together my 2.5" crossover. All of my tubing (both hot and cold side) consists of standard mild steel, mandrel bent tubing. Below is what a little time and patience delivered for a crossover pipe (still unpainted)
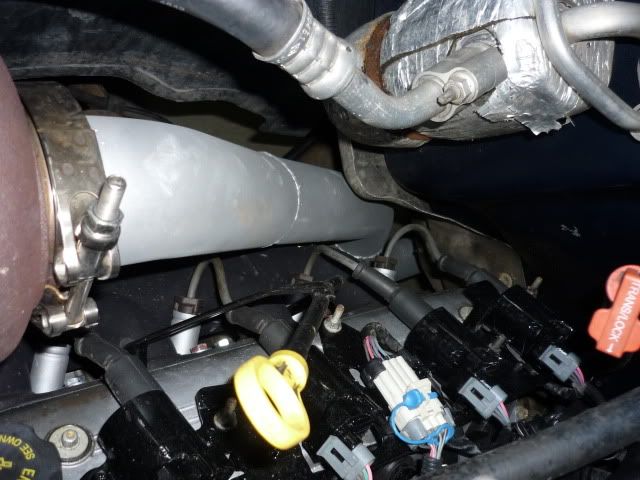
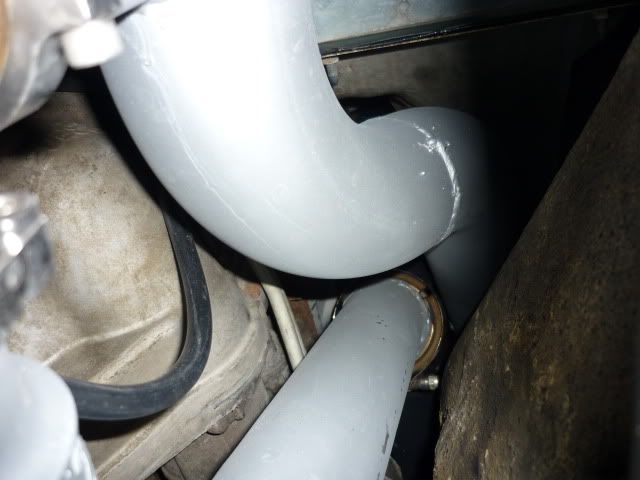
After the crossover pipe was done I turned towards the downpipe. Again using a couple of u-bends and some hackish welding skills I came up with this.
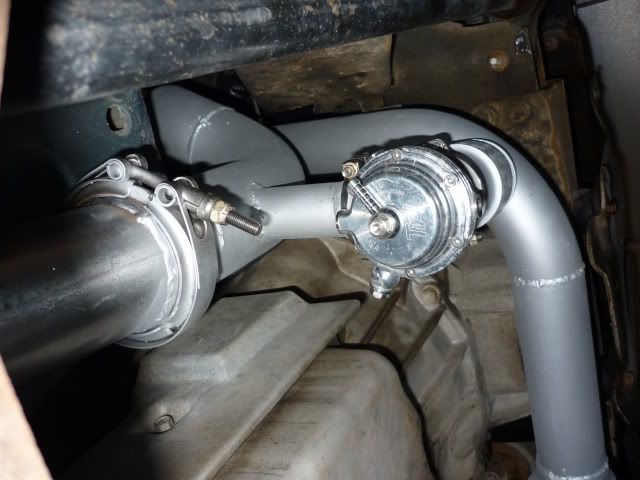
After I was happy with the way that the X-over and DP looked and fit it was time to mark, cut and weld my wastgate flanges, tubing and flexpipe. Once that was all tacked it came out and was finished welded and painted with high temp aluminum paint.
This is what it looked like after a few coats of paint.
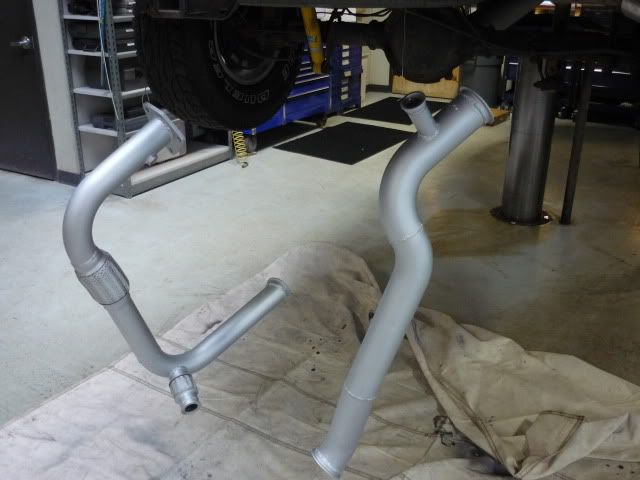
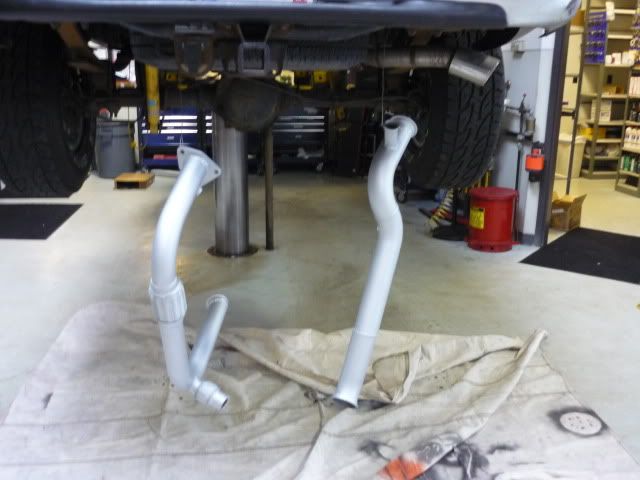
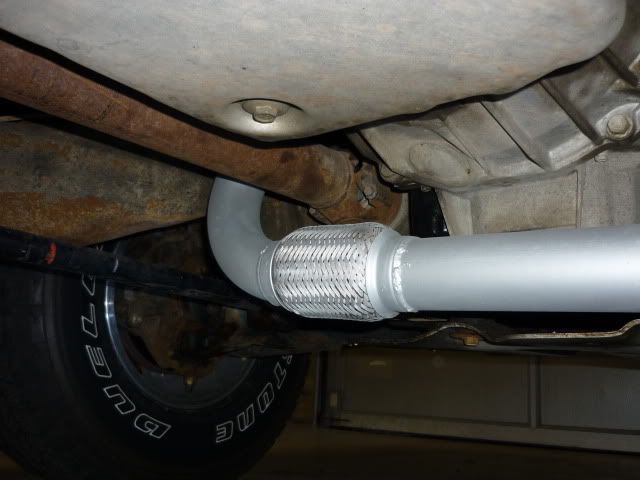
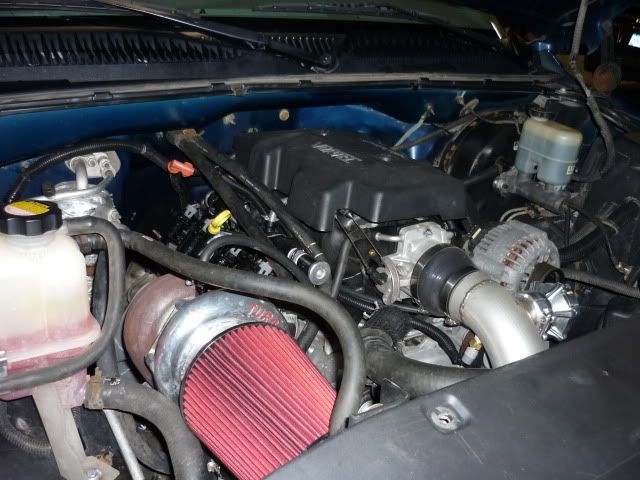
At this point it was ready for install for the final time. Here are some pics of the hotside all finished up. Also note, I am using the cheap Summit racing super turbo cat back and that is what I ran initially. The muffler in that setup exploded so I went to a Dynomax Ultraflow oval and it runs and sounds MUCH better.
So I set out to build and install my front mount turbo setup last weekend. I was hoping that if I started on Friday after work I could have it running by Sunday. I also thought that I would have it fully tuned by Monday after work (remember this is all last weekend). So although I didn't get everything wrapped up on the weekend of the 6th it is now all done and partially tuned.
For those that have not read any of my previous threads I was planning on installing a Percision 62-1. I fabricated all of my own hot and cold side plumbing with the exception of the manifold which was built by Kyle from KBracing (much thanks for building a great product and getting it to me on time). In addition I installed a set of 241's that were milled .015" along with an 01-02 f-body (same as LQ4) camshaft, lifters, pushrods, etc.
I have included a lot of pics that go in somewhat of a timeline starting from beginning to end. Keep in mind that I am not a fabricator, I am a general repair mechanic so please don't flame me if something looks hackish. This is my first turbo build and I am very suprised and pleased with the end results

Here is the dirty bastard child of an engine after a solid 20-30 minutes of degreasing. At this time I had the EGR, air intake and viscous fan/shroud removed:
The first thing we needed to do was tear it down to a long block, at that point I fitted the manifold and turbo to figure out how to run the oil fee and return lines before tearing it all the way down. After I was happy with the routing of everything it was time to get it down to the state that it was in the pics below.


After getting it torn down and of course scrapping gaskets, cleaning sealing areas and properly cleaning surfaces it was time for reassembly.

First to go in was the cam and lifters, I also installed a new set of buckets because they are cheap insuranace on an engine with 157k miles. Next to go on was the freshly resurfaced cylinder heads. I picked up a set of Z06 springs just before the build and installed them before the heads went on. The rocker arms remained stock.

I had a helper buddy that was here all day last Sat. He was busy cleaning, painting and prepping components for reassembly which made things go much quicker. He also disassembled the intake, blasted and painted anything that was metal and built a set of spacers. We built the spacers out of some spacers that are used on VW/Audi ATQ 2.8 timing belt tensioners. Needless to say he did a fantastic job with the intake it it was ready to bolt back on well before I had the heads in place.
I ran the -4an oil feed line under the intake and secured it to the steam pipes that run under the intake as well. After I dropped on the intake I installed the new EV1 connectors that we got from an old Volvo 850 harness.
The intake was on so it was time to get the turbo and manifolds mounted and start getting them plumbed up. First to go in was the drivers side manifold after it was all cleaned up and painted. Then the KBracing turbo manifold found it's home. After the turbo was mounted I hooked up my oil feed and return lines (oil return went into the pan as suggested by Kyle). YES you have to bend the **** out of the A.C. line to make it fit. At that point I put together my 2.5" crossover. All of my tubing (both hot and cold side) consists of standard mild steel, mandrel bent tubing. Below is what a little time and patience delivered for a crossover pipe (still unpainted)

After the crossover pipe was done I turned towards the downpipe. Again using a couple of u-bends and some hackish welding skills I came up with this.

After I was happy with the way that the X-over and DP looked and fit it was time to mark, cut and weld my wastgate flanges, tubing and flexpipe. Once that was all tacked it came out and was finished welded and painted with high temp aluminum paint.
This is what it looked like after a few coats of paint.


At this point it was ready for install for the final time. Here are some pics of the hotside all finished up. Also note, I am using the cheap Summit racing super turbo cat back and that is what I ran initially. The muffler in that setup exploded so I went to a Dynomax Ultraflow oval and it runs and sounds MUCH better.


#2
Staging Lane
Thread Starter
iTrader: (1)
Join Date: Jan 2010
Posts: 78
Likes: 0
Received 0 Likes
on
0 Posts
I had the front end off the truck due to an accident that occured a week before the build so that gave me the opertunity to fit and mount the inner cooler with nothing in the way. The intercooler was also purchased from Kyle and it already had some mounts welded onto it. I drilled straight throught the radiator support and bolted the IC directly to that which worked out very well.
ADD PIC
The cold side tubing is also 3" mild steel and both sides are two peice with a flex bellow to allow for easy removal and install. I also welded a bead at the ends to retain the silicone couplers (poor mans bead roller). The BOV mounted right after the bend as close to the throttle body as possible. I installed the MSD IAT on the inside bend into the throttle body as well in an attempt to hide the wiring.
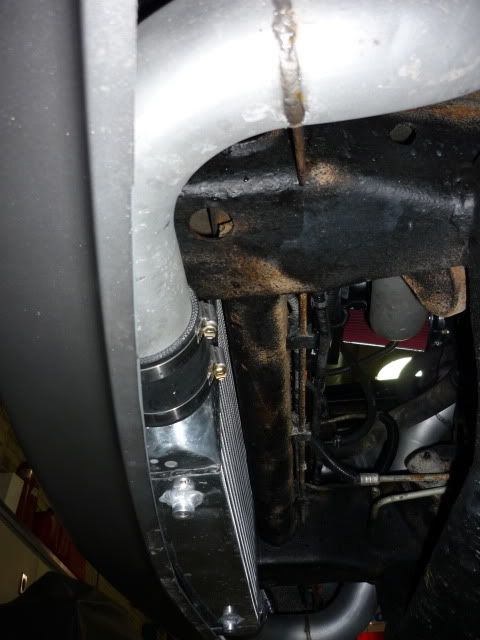
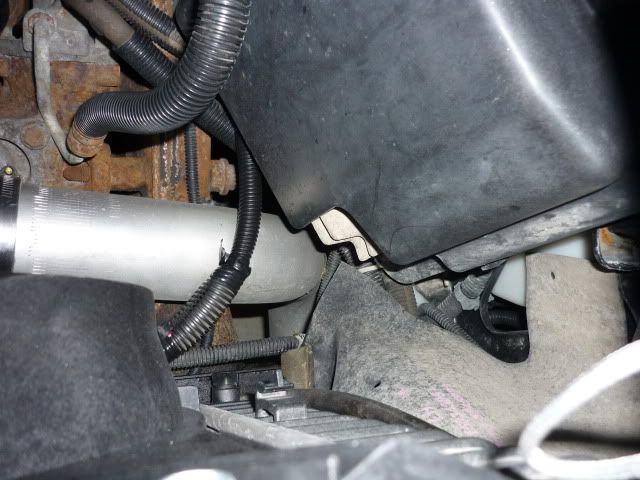
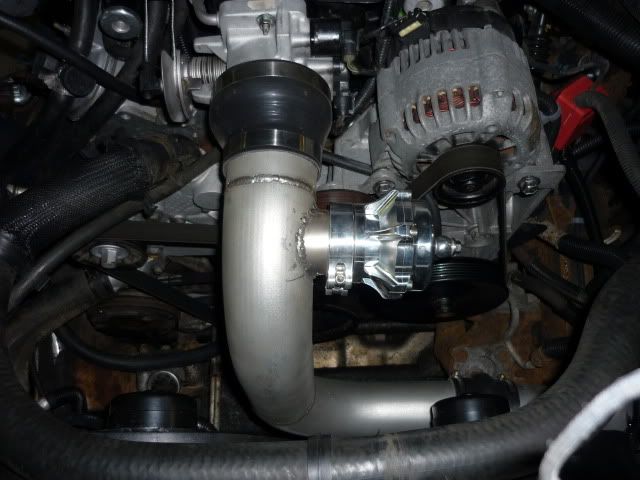
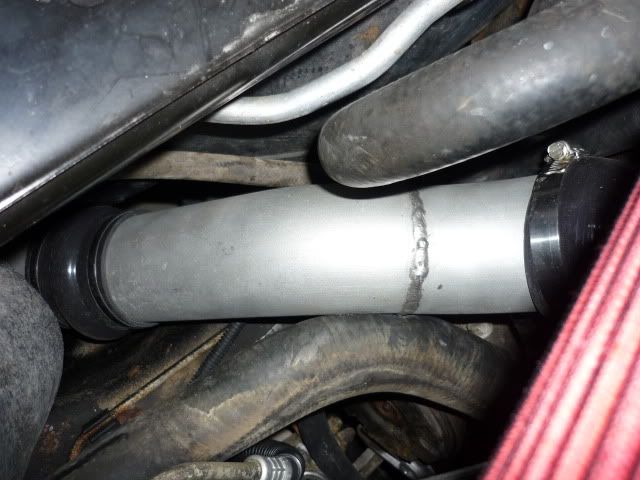
Also included in the build is a set of LS1 f-body fans. I used the brackets provided with the KBracing IC to install the fans. The fitment of the F-body fans is great!! They are very low profile and easy to mount. I pickup up two universal relays from napa and did all the wiring myself. The relays are mounted on the bottom of the fan assembly. I used pin 33 to control both fans as it seemed that pin 33 was occupied??? I don't think I have any pics of the fans as I was more concerned about getting them done than taking pics.
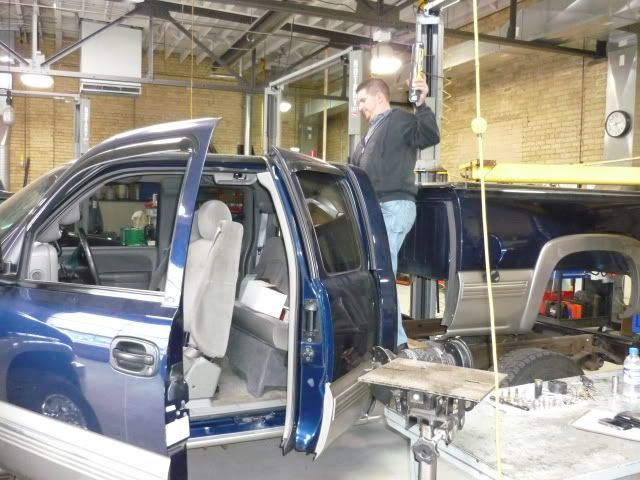
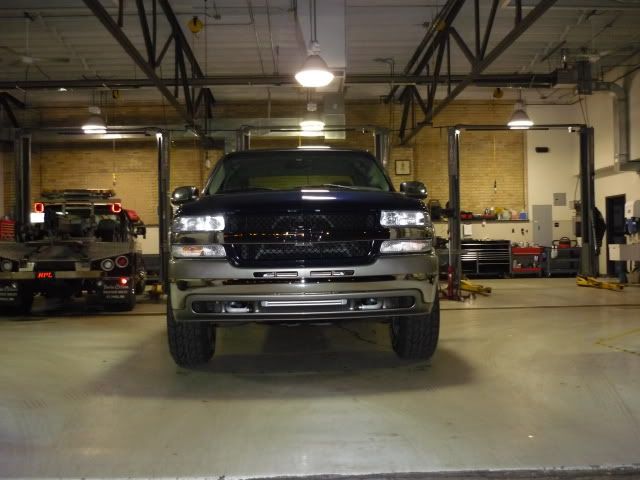
Now that it was nearly ready to run I had to get the fuel pump installed. Since I was adding an HD front and did not want to cut and lower my bumper brackets I also installed a Zone offroad 1.5" body lift. Since the lift was going in I decided to raise the box instead of dropping the tank. For those that have not pulled a box off a 99-chevy this is a VERY easy procedure. Literally pull 8 body bolts, the three screws for the filler neck and one connector at the rear of the box.
Here is what the truck would look like with a 30" body lift
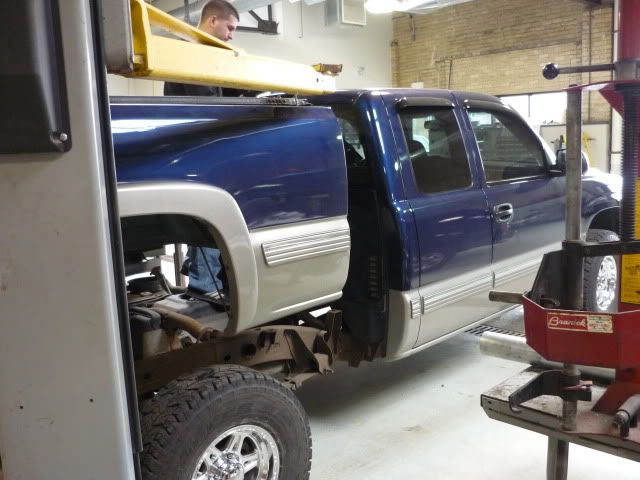
Heres my helper monkey!!!
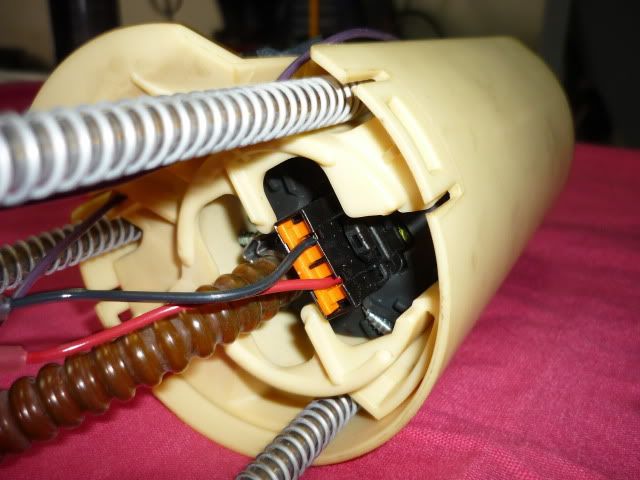
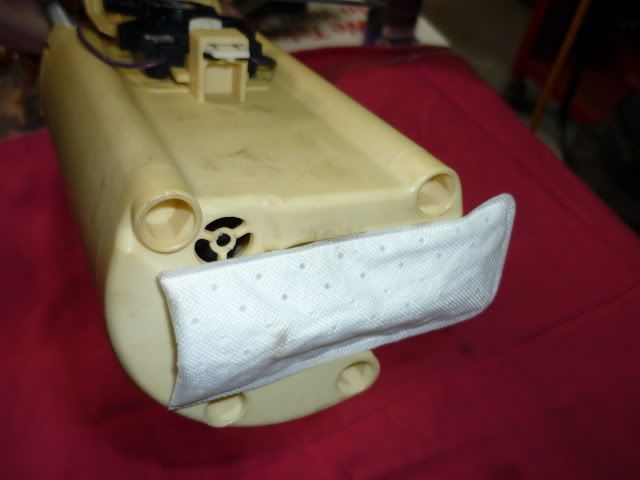
Once the stock bucket assembly was out I fitted and installed the new Walbro 255 and dropped the sender back into the tank and reinstalled the box.
At this point we are nearly there. I also installed a pair of innovate gauges, one is a mechanical boost gauge and the other is am LC1 wideband. During the install I also mounted the cal button and led light just below the headlight switch. I also dropped an additional ground and output signal in below the ashtray for data logging with HPTuners. They are pillar mounted and I am very pleased with the way they look and operate.
Now that everything was hooked up it was time to install the 2 Bar map, load the custom tune and hit the key..................................to be continued???? I am going to run and grab some green beers



ADD PIC
The cold side tubing is also 3" mild steel and both sides are two peice with a flex bellow to allow for easy removal and install. I also welded a bead at the ends to retain the silicone couplers (poor mans bead roller). The BOV mounted right after the bend as close to the throttle body as possible. I installed the MSD IAT on the inside bend into the throttle body as well in an attempt to hide the wiring.


Also included in the build is a set of LS1 f-body fans. I used the brackets provided with the KBracing IC to install the fans. The fitment of the F-body fans is great!! They are very low profile and easy to mount. I pickup up two universal relays from napa and did all the wiring myself. The relays are mounted on the bottom of the fan assembly. I used pin 33 to control both fans as it seemed that pin 33 was occupied???
 I don't think I have any pics of the fans as I was more concerned about getting them done than taking pics.
 Now that it was nearly ready to run I had to get the fuel pump installed. Since I was adding an HD front and did not want to cut and lower my bumper brackets I also installed a Zone offroad 1.5" body lift. Since the lift was going in I decided to raise the box instead of dropping the tank. For those that have not pulled a box off a 99-chevy this is a VERY easy procedure. Literally pull 8 body bolts, the three screws for the filler neck and one connector at the rear of the box.
Here is what the truck would look like with a 30" body lift


Heres my helper monkey!!!


Once the stock bucket assembly was out I fitted and installed the new Walbro 255 and dropped the sender back into the tank and reinstalled the box.


At this point we are nearly there. I also installed a pair of innovate gauges, one is a mechanical boost gauge and the other is am LC1 wideband. During the install I also mounted the cal button and led light just below the headlight switch. I also dropped an additional ground and output signal in below the ashtray for data logging with HPTuners. They are pillar mounted and I am very pleased with the way they look and operate.
Now that everything was hooked up it was time to install the 2 Bar map, load the custom tune and hit the key..................................to be continued???? I am going to run and grab some green beers


Trending Topics
#8
Staging Lane
Thread Starter
iTrader: (1)
Join Date: Jan 2010
Posts: 78
Likes: 0
Received 0 Likes
on
0 Posts
Thanks for the kind words and more importantly thanks for supplying me with a quality product that fits like it should and also for the info and pics (very useful for install). My helper monkey will be calling you about a manifold for his 6.0, 99 S-10 Extreme.
The reason that I am running that cam is because it is out of my 20k mile WS6 (FREE is my favorite price). I figuered the lifters and cam would be in a lot better condition due to the mileage.
Also the cam has and additional 15* of exhaust and 7* of exhaust on a better wider LSA so it is better suited for a turbo. Also I still tow a lot with the truck and need something that will make torque with little to no boost.
I am giving up 40whp compared to what?
Also as for the cost I am happy to share but I have to put everything together and then seperate the cost of wheels, painting the grill, body lift, etc. I will post it when I have an actuall number.
I will finish updating everything this evening. I will get a video together as soon as I can. It is ready to give up 3rd gear so I have to get a new trans into this beast before I can turn up the wick!
Last edited by 01midmetws6; 03-18-2010 at 10:17 AM.
#9
TECH Resident
iTrader: (8)
Join Date: Feb 2009
Location: Tahlequah/Norman, OK
Posts: 797
Likes: 0
Received 0 Likes
on
0 Posts
A better suited cam... Obviously this is somewhat of a budget build, so I understand why you went with *Free* lol but I would probably have tried to at least pick up a good used cam since you had it apart. There's lots of mild cam's available that would net gains over the LQ4 cam, even if their not "turbo" cams. Have one custom spec'd for your setup down the road and you should pick up that 40whp.
x2 on a vid, let's see her in action.
x2 on a vid, let's see her in action.


