
warping wires/wire tuck
 11-21-2012, 01:25 PM
#1
On The Tree
Thread Starter
iTrader: (1)

Join Date: Jan 2012
Posts: 137
Likes: 0
Received 0 Likes
on
0 Posts
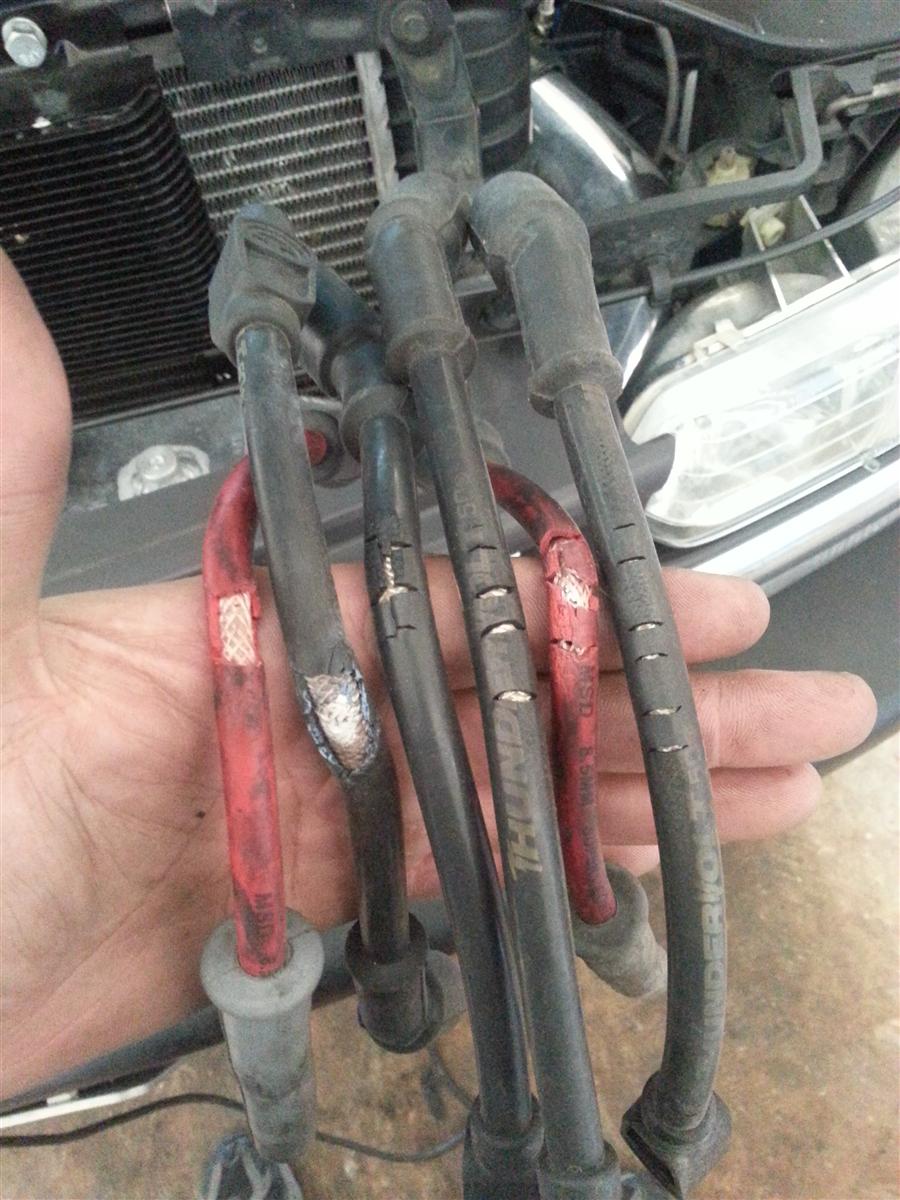
Should I wrap my wires or do a wire tuck? If i do a wire tuck i would have to cut and lengthen a lot of the wires (almost all) lol. Any down sides to doing a whole wire tuck like that? Anyone do one before?
If i wrap the wires they will still be really close to the hot side of my turbo. how would they hold up like that?
Thanks
Here is my build thread for more info.
https://www.performancetrucks.net/fo...-build-510701/
If i wrap the wires they will still be really close to the hot side of my turbo. how would they hold up like that?
Thanks
Here is my build thread for more info.
https://www.performancetrucks.net/fo...-build-510701/


 11-21-2012, 05:16 PM
#4
On The Tree
Thread Starter
iTrader: (1)
Join Date: Jan 2012
Posts: 137
Likes: 0
Received 0 Likes
on
0 Posts
Yeah I figured they can only last so long. I'm worried about the wires on the drivers side coming out of the fuse box. It's a twin set up and they run over the hot side of my turbo...
 11-22-2012, 11:17 AM
#6

U know what I did I took the Taylor wraps the frist time and it still melted so I said ok let's try ten foil and and wrapped the whole hot side then put the wraps over it never had a problem what so ever good luck I got tired of paying 70 dollars for them damn msd wires

Trending Topics
11-23-2012, 04:22 AM
#8
Staging Lane
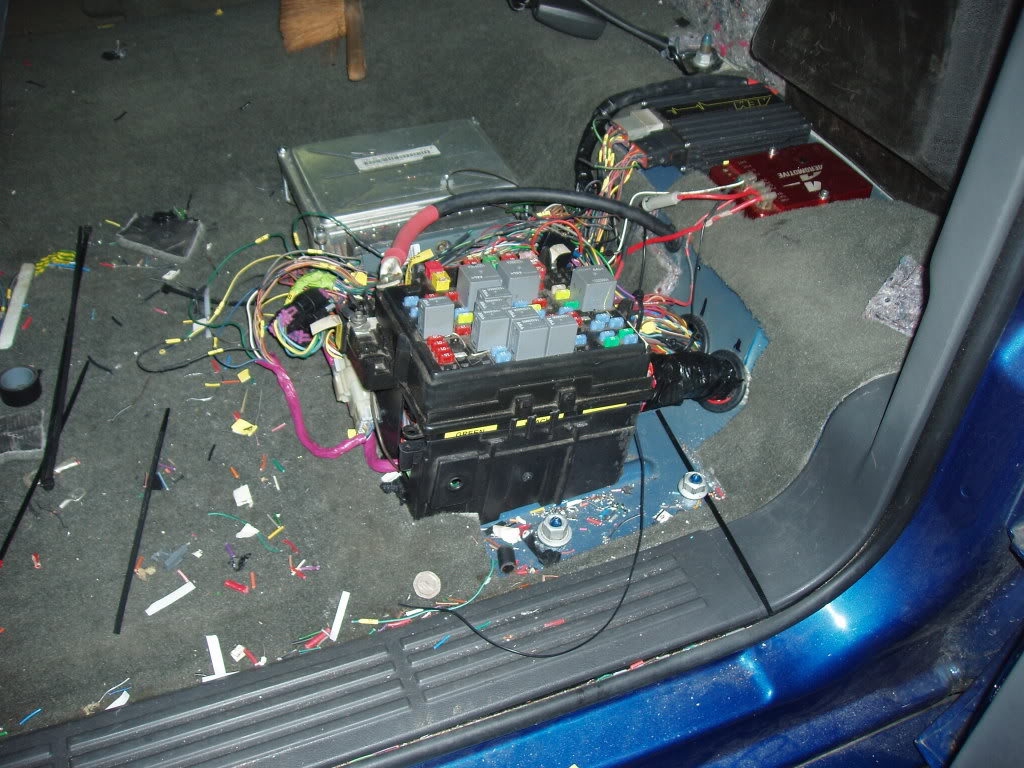
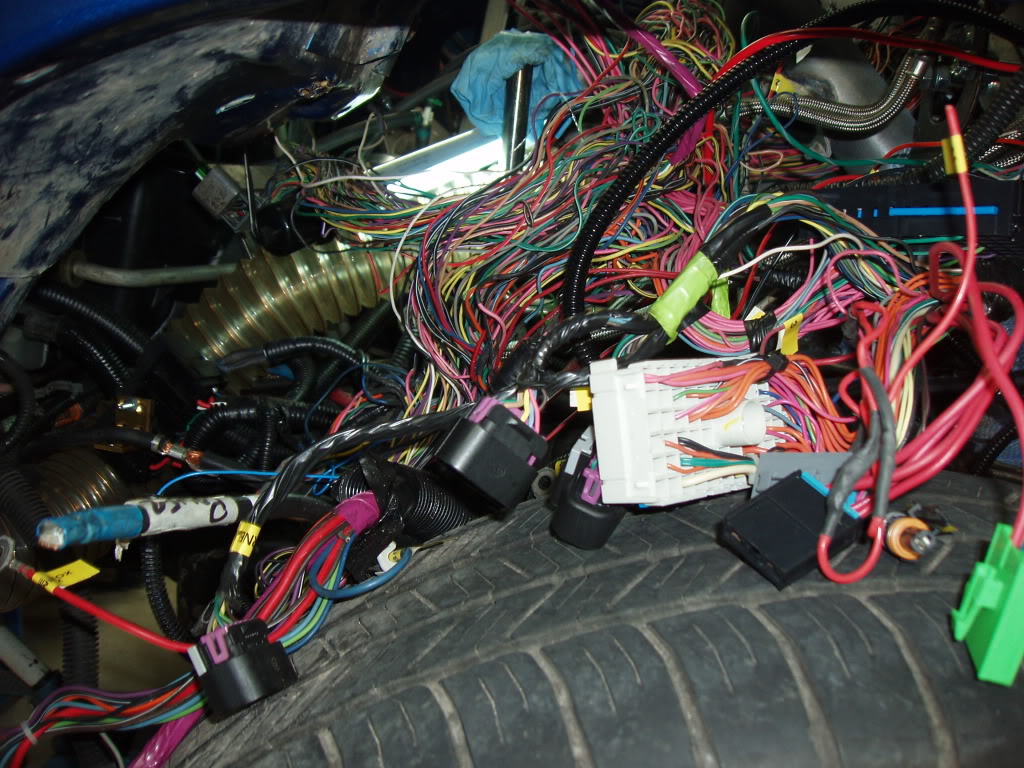
yeah I just added a bunch of wires labeled them and solder them up also used heat shrink with glue in it to make sure every joint was good and water tight.One problem I had when I first started was the white labels in the last picture weren't very sticky and some fell off which meant I had to trace those wires back, once I got the Dymo label machine everything was fine.

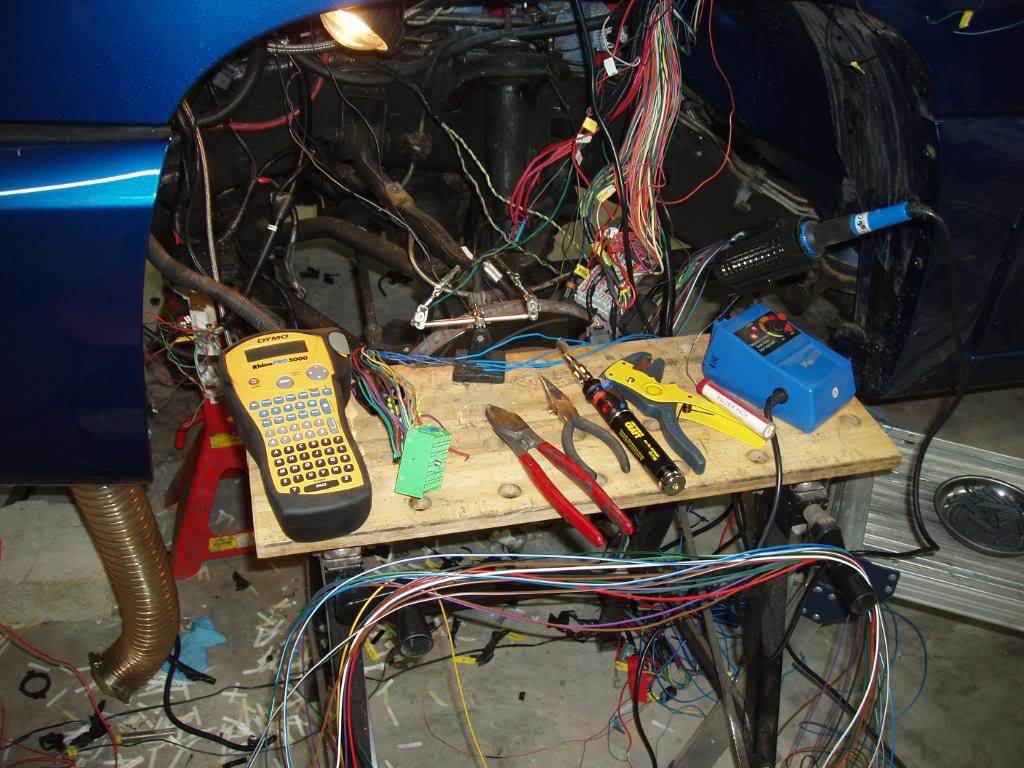

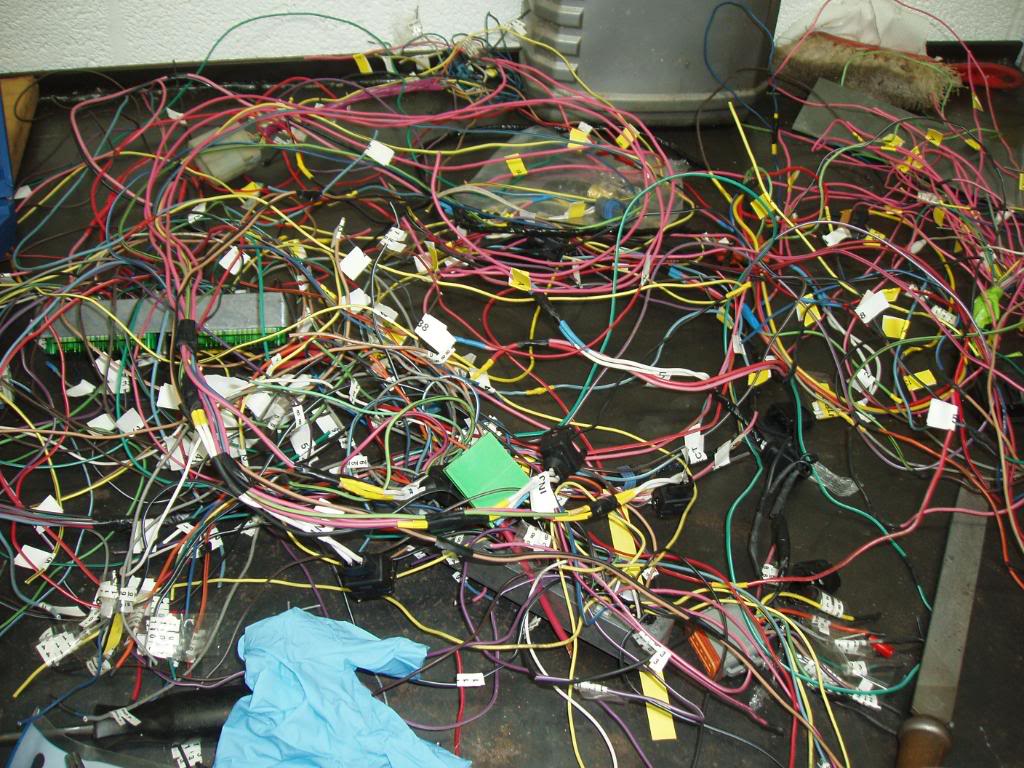
It's a slow time consuming job but I am pleased with the end results.
 11-23-2012, 11:31 AM
#10
TECH Enthusiast
iTrader: (2)

Join Date: Sep 2009
Location: ft worth texas
Posts: 598
Likes: 0
Received 0 Likes
on
0 Posts
Thanks, only problems I had was I missed a couple of grounds for the lights,I figured I got lucky considering the amount wires.
yeah I just added a bunch of wires labeled them and solder them up also used heat shrink with glue in it to make sure every joint was good and water tight.One problem I had when I first started was the white labels in the last picture weren't very sticky and some fell off which meant I had to trace those wires back, once I got the Dymo label machine everything was fine.


It's a slow time consuming job but I am pleased with the end results.
yeah I just added a bunch of wires labeled them and solder them up also used heat shrink with glue in it to make sure every joint was good and water tight.One problem I had when I first started was the white labels in the last picture weren't very sticky and some fell off which meant I had to trace those wires back, once I got the Dymo label machine everything was fine.
It's a slow time consuming job but I am pleased with the end results.
 Damn, you def got more patience then I'd ever have!