
Carnage Pics... 4L60E 13V Rotor Goes POW!!!
 10-12-2007, 06:41 PM
#21
formerly 1BADC10 (12/14/2011)
Thread Starter
iTrader: (2)

Join Date: Aug 2005
Location: TX
Posts: 2,135
Likes: 0
Received 0 Likes
on
0 Posts
Good news recv'd today. Converter was fine. No trash found. I'd boast about the local shop, but they're not a sponsor here. The service is great considering the owner let me leave w/ the converter w/o paying (had no cash on me). Of course, it's not like he charged me more than a tank of gas to flush the converter.
Anyhow... I get back home, and decide to get to work. I went through the trans AGAIN, just to make sure there were no surprises that I missed. I pull apart & air clean both pumps I had. Then something catches my eye. The stator on the other pump was indeed shorter than the one I need. No biggie. I could swap the plate that holds the rotor, and I'd be good, right? Sure. But wait... something else catches my attention. The rotor guide looks like . When the pros recommend looking at everything, look over EVERYTHING!
Check this out...
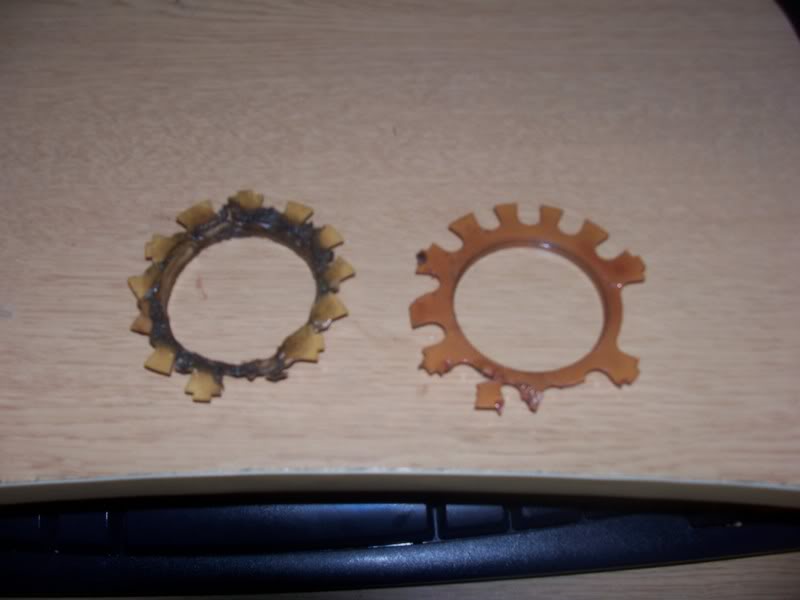
The one on the left looks like it's burned to hell. That was from the pump with the "good" rotor. The other is from the one that . Am I having fun yet...
  yup. I laugh at anything I see nowadays. That just gives me the excuse to turn my attention back to Halo 3.
  I have a replacement in route to me.
Anyhow... I get back home, and decide to get to work. I went through the trans AGAIN, just to make sure there were no surprises that I missed. I pull apart & air clean both pumps I had. Then something catches my eye. The stator on the other pump was indeed shorter than the one I need. No biggie. I could swap the plate that holds the rotor, and I'd be good, right? Sure. But wait... something else catches my attention. The rotor guide looks like
. When the pros recommend looking at everything, look over EVERYTHING! Check this out...
The one on the left looks like it's burned to hell. That was from the pump with the "good" rotor. The other is from the one that
. Am I having fun yet... I have a replacement in route to me.


 10-14-2007, 08:38 AM
#23
formerly 1BADC10 (12/14/2011)
Thread Starter
iTrader: (2)
Join Date: Aug 2005
Location: TX
Posts: 2,135
Likes: 0
Received 0 Likes
on
0 Posts
Wouldn't ya know it. Just when I think I'm about to send Murphy packing, that **** finds another way to test my patience. 
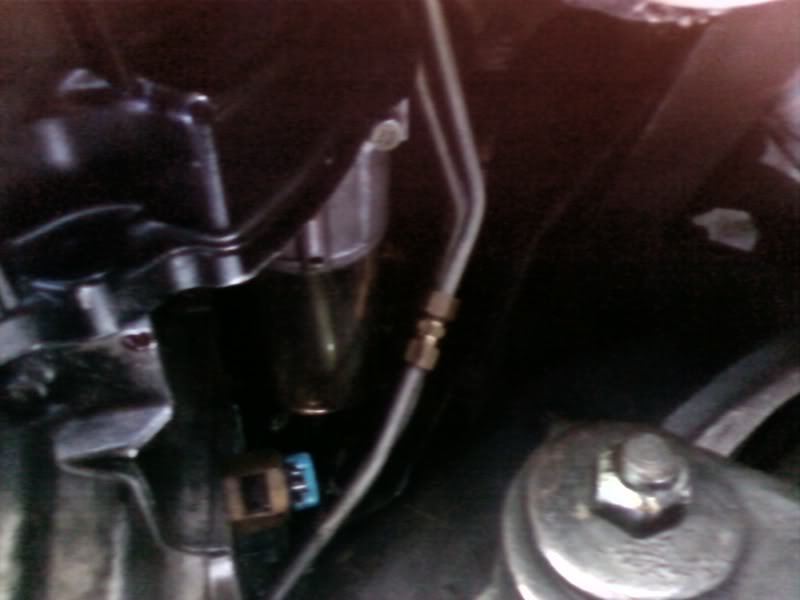
I magically find another rotor guide locally. Me being happy-go-lucky, I decide to get to work on the trans. Everything's going great until I get everything bolted back in the truck. As I'm reconnecting the stock trans lines, I noticed a trace of fluid drippage midway down the metal portion that connects to the trans. Wiped it off, nothing else there... so, no biggie. I go to start the truck, and fill with fluid. After a gallon goes in, I'm looking at a thickening mist of white smoke.... WTF??? I look under the truck to find an ever growing puddle of my cheap red fluid hitting the concrete.
Turns out that little drip earlier was signs of a larger than a pinhole in the line. Damnit! I'll be working on my JB Weld skills sometime next week. Any bets on that holding up?
I magically find another rotor guide locally. Me being happy-go-lucky, I decide to get to work on the trans. Everything's going great until I get everything bolted back in the truck. As I'm reconnecting the stock trans lines, I noticed a trace of fluid drippage midway down the metal portion that connects to the trans. Wiped it off, nothing else there... so, no biggie. I go to start the truck, and fill with fluid. After a gallon goes in, I'm looking at a thickening mist of white smoke.... WTF??? I look under the truck to find an ever growing puddle of my cheap red fluid hitting the concrete.
Turns out that little drip earlier was signs of a larger than a pinhole in the line.
Damnit! I'll be working on my JB Weld skills sometime next week. Any bets on that holding up?
Last edited by 95ImpSS; 10-14-2007 at 10:33 PM.
10-14-2007, 10:36 PM
#24
formerly 1BADC10 (12/14/2011)
Thread Starter
iTrader: (2)
Join Date: Aug 2005
Location: TX
Posts: 2,135
Likes: 0
Received 0 Likes
on
0 Posts
Uploaded some pics...
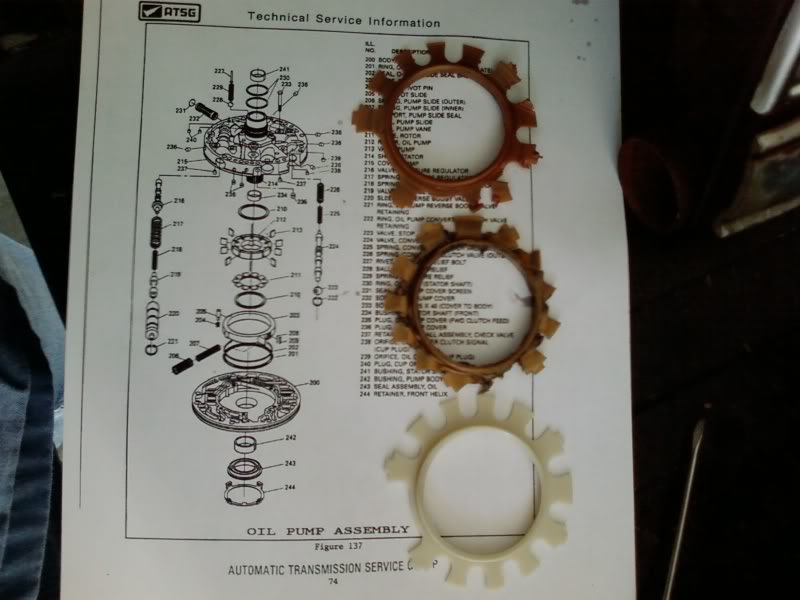
Two busted rotor guide (plastic) & one good one. Take a look at the assembly instructions to see where the new one goes.
Step-by-step (nothing fancy)
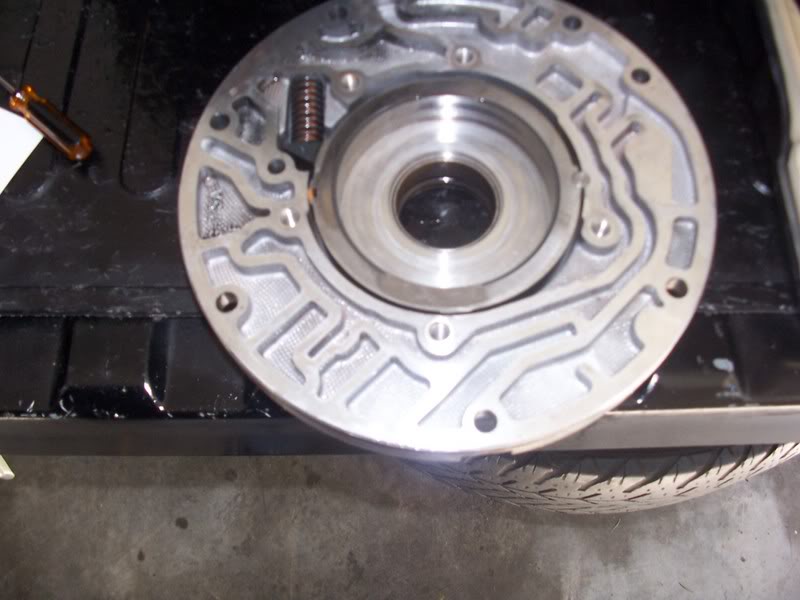

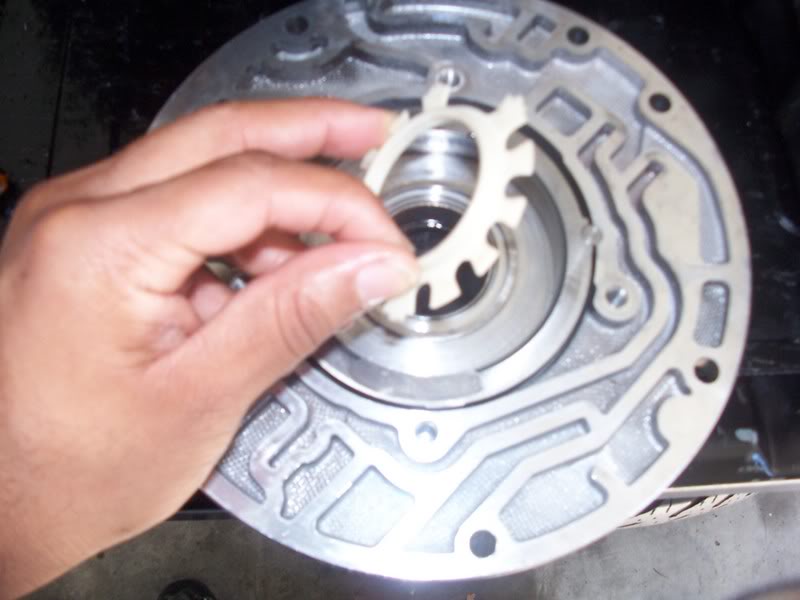
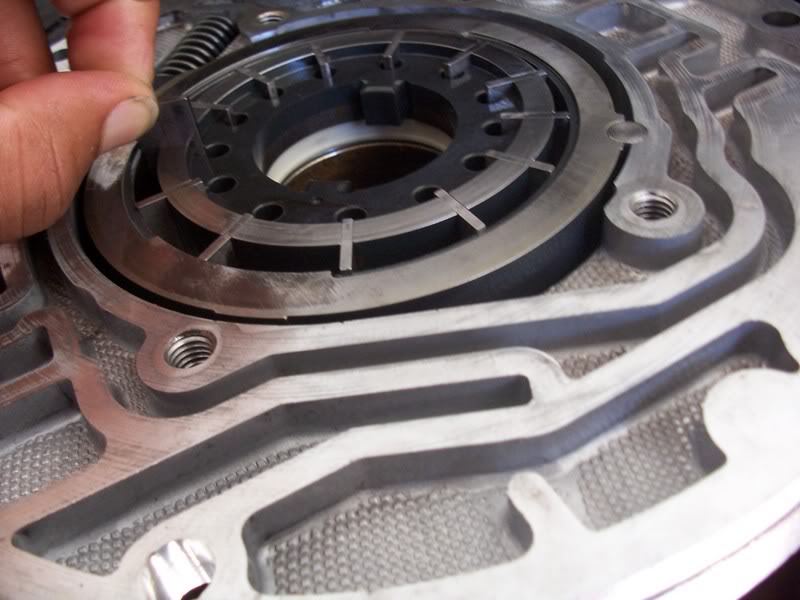
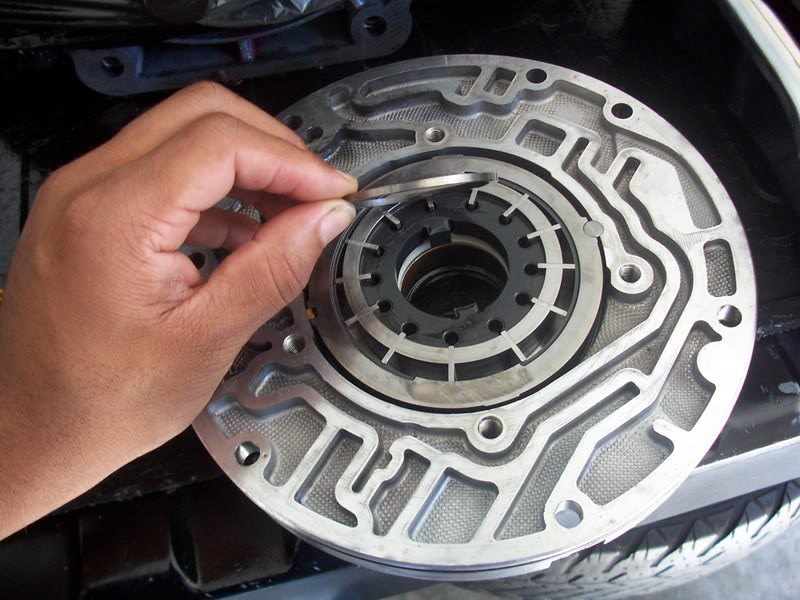

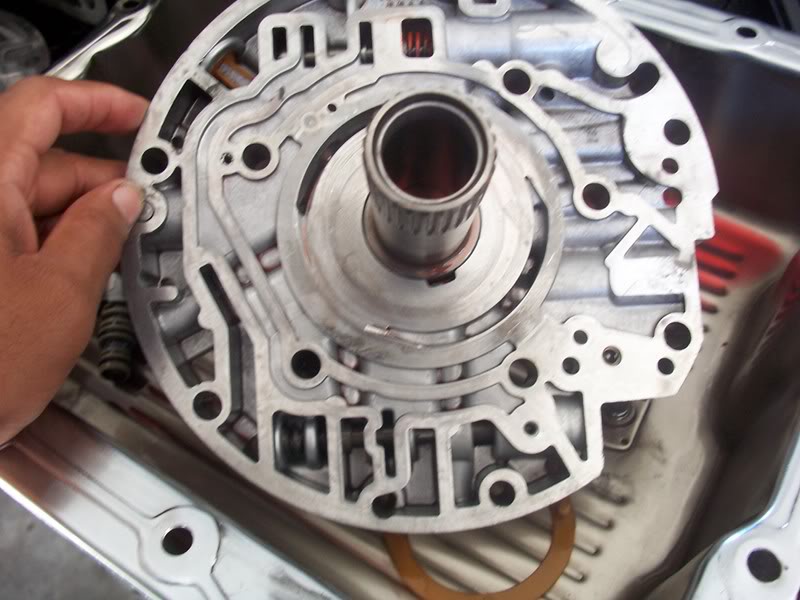
Mate that side with the one below, and you're done.
BTW... that lil plastic guide only fits on one side of the rotor. There are tabs for alignment. I didn't show a pic where I slid that plastic piece against the rotor before placing it into that half of the pump. Hard to mess that up.
Two busted rotor guide (plastic) & one good one. Take a look at the assembly instructions to see where the new one goes.
Step-by-step (nothing fancy)
Mate that side with the one below, and you're done.
BTW... that lil plastic guide only fits on one side of the rotor. There are tabs for alignment. I didn't show a pic where I slid that plastic piece against the rotor before placing it into that half of the pump. Hard to mess that up.

 Seems as though you cannot buy your way out of
10-15-2007, 07:10 AM
Seems as though you cannot buy your way out of
10-15-2007, 07:10 AM
#26
formerly 1BADC10 (12/14/2011)
Thread Starter
iTrader: (2)
Join Date: Aug 2005
Location: TX
Posts: 2,135
Likes: 0
Received 0 Likes
on
0 Posts
I'll test drive it for a few days around town, then attempt to reroute the exhaust. Gotta save a few pennies for a close-to-stock muffler & cutout assembly (electric).
 Any recommendations on e-cutouts?
 10-18-2007, 12:58 PM
#28
formerly 1BADC10 (12/14/2011)
Thread Starter
iTrader: (2)
Join Date: Aug 2005
Location: TX
Posts: 2,135
Likes: 0
Received 0 Likes
on
0 Posts
Finally off da jackstands...

Tube after cut... right wear the pinhole was.
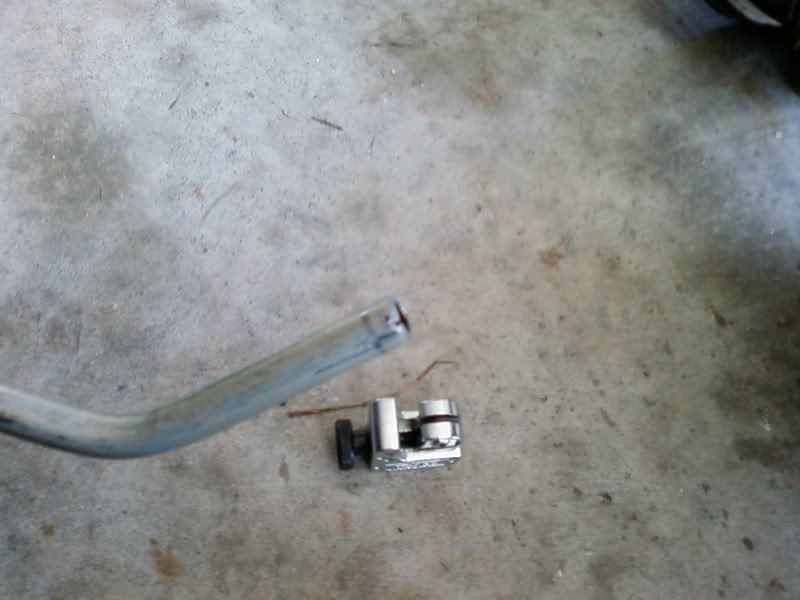
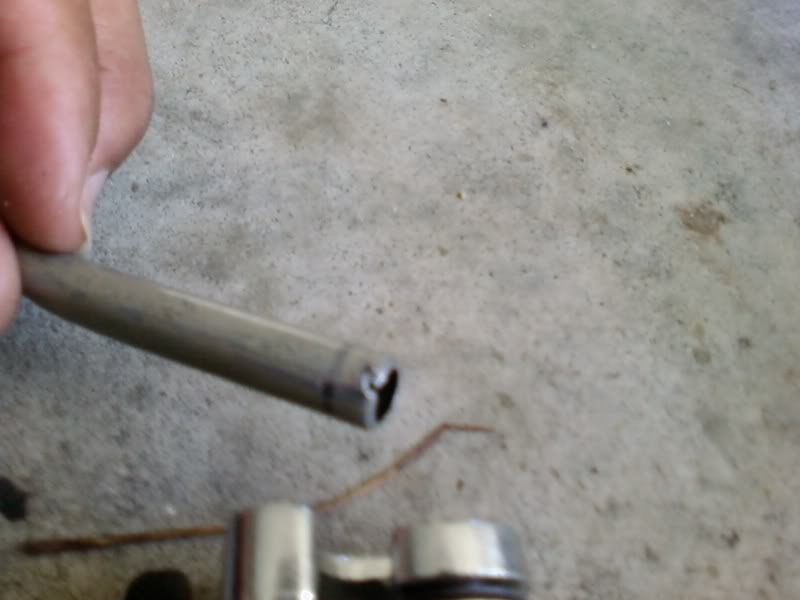

Cleaner than JB Weld. And no leaks!
BTW... test drove truck and shifts through all the gears as it should. The only thing that worries me is the lockup seems to strong. I think I'll restore the settings back to stock. I had them modified for 98% & 90%.
Tube after cut... right wear the pinhole was.
Cleaner than JB Weld.
And no leaks! BTW... test drove truck and shifts through all the gears as it should. The only thing that worries me is the lockup seems to strong. I think I'll restore the settings back to stock. I had them modified for 98% & 90%.
 Glade to her that she's up and running again. Did you ever get the part I sent you to put in inventory? Vince
10-19-2007, 01:09 PM
Glade to her that she's up and running again. Did you ever get the part I sent you to put in inventory? Vince
10-19-2007, 01:09 PM
#30
formerly 1BADC10 (12/14/2011)
Thread Starter
iTrader: (2)
Join Date: Aug 2005
Location: TX
Posts: 2,135
Likes: 0
Received 0 Likes
on
0 Posts
Yes, I did. Thank you very much, sir!
As for the trans, I have a suspicion about the output shaft. Noticed that the speedo now jumps around above 60mph, where that used to be around 90mph. I wish I had the money to throw at one of those fine L5 units that come outta Ill-town, but wife would blow a gasket if I charged that amount on credit card. On top of that, the converter's shuddering upon lockup, but didn't do it when I had a repair guy riding with me from the shop that flushed the converter last week. This phawkin' crap BLOWS!
As for the trans, I have a suspicion about the output shaft.
On top of that, the converter's shuddering upon lockup, but didn't do it when I had a repair guy riding with me from the shop that flushed the converter last week. This phawkin' crap BLOWS!