
HOMEMADE Air Box Lid Pics Part-1 (56k suffer)


 11-12-2006, 07:05 PM
#22

Originally Posted by ONE04FX4
well i guess i am asking. but what kind of skeleton would i have to make and what are you making them out of.
11-12-2006, 08:47 PM
#23
TECH Fanatic
iTrader: (24)

Join Date: Dec 2004
Location: Houston, TX
Posts: 1,825
Likes: 0
Received 0 Likes
on
0 Posts
it'd be pretty tight if you could convert that mold to a vacuum form mold. I have a machine setup here at the house. just get a piece of lexan and form it around the mold you built, would look pretty sick too being clear.
have you painted it yet? jw.
have you painted it yet? jw.
11-13-2006, 07:50 AM
#24
Originally Posted by jakebdb56
have you painted it yet? jw.
I am also still waiting on another air box to be delivered today so I can check fitment. The previous air box died in the rage of frustration with the first attempt. And I am ordering the stuff for my intake tube today.
If this next atempt turns out decently I plan on making a couple extra and selling them for about $60 a piece to help pay for this whole project.
11-13-2006, 12:07 PM
#25
Pic Update
This is the second attempt (test fit piece)


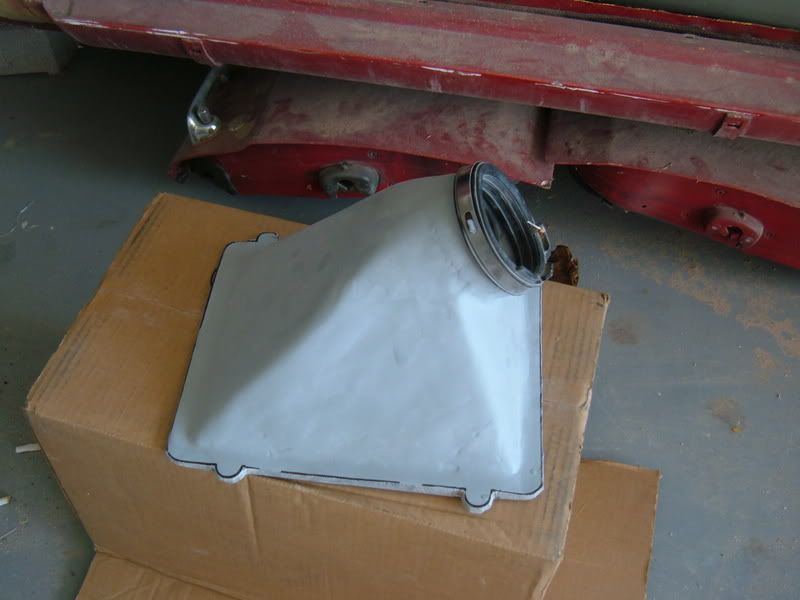
I did not even bother smoothing the outside since it was a test fit piece.
I will be making the final lid starting tonight. I just got my new airbox bottom and the mounting holes are different so I have to adjust the mold to fit. One of the mounting tabs is located in a different spot than my previous airbox.
This is the second attempt (test fit piece)
I did not even bother smoothing the outside since it was a test fit piece.
I will be making the final lid starting tonight. I just got my new airbox bottom and the mounting holes are different so I have to adjust the mold to fit. One of the mounting tabs is located in a different spot than my previous airbox.

Thread
Thread Starter
Forum
Replies
Last Post
mzoomora
GM Parts Classifieds
10
01-03-2016 07:06 AM