l92 top end swap write up
 10-17-2009, 12:53 AM
#21
On The Tree
Thread Starter

Join Date: Mar 2006
Location: Chicago
Posts: 182
Likes: 0
Received 0 Likes
on
0 Posts
and i forgot to take pics of the lifter box oil drain holes, its not necessary to drill drainage holes in the lifter boxses but if you have them out might as well. basicly you drill holes on either side of the pushrod holes to help with better oil return.

 10-17-2009, 01:06 AM
#23
On The Tree
Thread Starter
Join Date: Mar 2006
Location: Chicago
Posts: 182
Likes: 0
Received 0 Likes
on
0 Posts
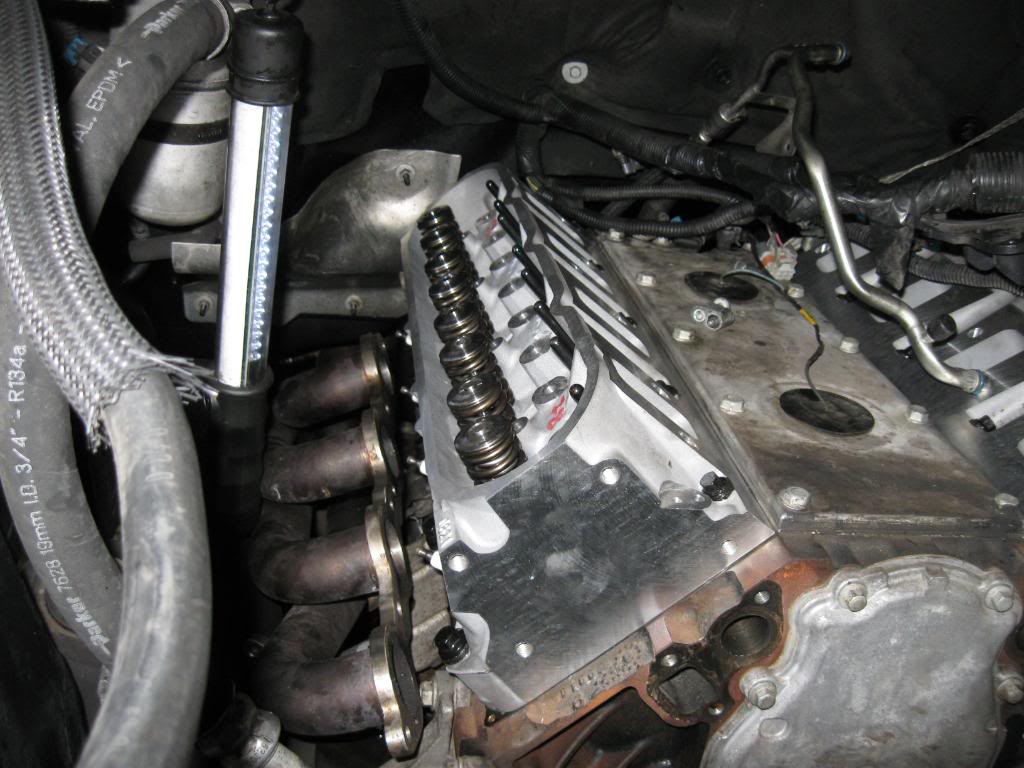
now that everything is clean its time for the new heads, make sure rite befor you set the new gaskets down you have the dowels in and clean the deck surface one last time with a fast evaporating cleaner such as brake cleaner. then set the gaskets down. then the same thing fast evap cleaner for the heads surface and set the heads down. if you are using stock head bolts then use the normal technique for torquing the heads. But if you use arp's like i did then there is a little different approch. These #s are not set in stone so dont hold me to them but it has worked in the past and worked on my build. first pass 22 lb ft, second pass, 45 lb ft, third pass 80 lb ft all passes using the ls1 star pattern. And when using arp bolts make sure the chamfer in the washers is facing the head of the bolt not the head and use arp assembly lube or moly grease in between the washer and the bolt head and the washer and the cylinder head
10-17-2009, 01:13 AM
#24
On The Tree
Thread Starter
Join Date: Mar 2006
Location: Chicago
Posts: 182
Likes: 0
Received 0 Likes
on
0 Posts

 10-17-2009, 01:24 AM
#26
On The Tree
Thread Starter
Join Date: Mar 2006
Location: Chicago
Posts: 182
Likes: 0
Received 0 Likes
on
0 Posts
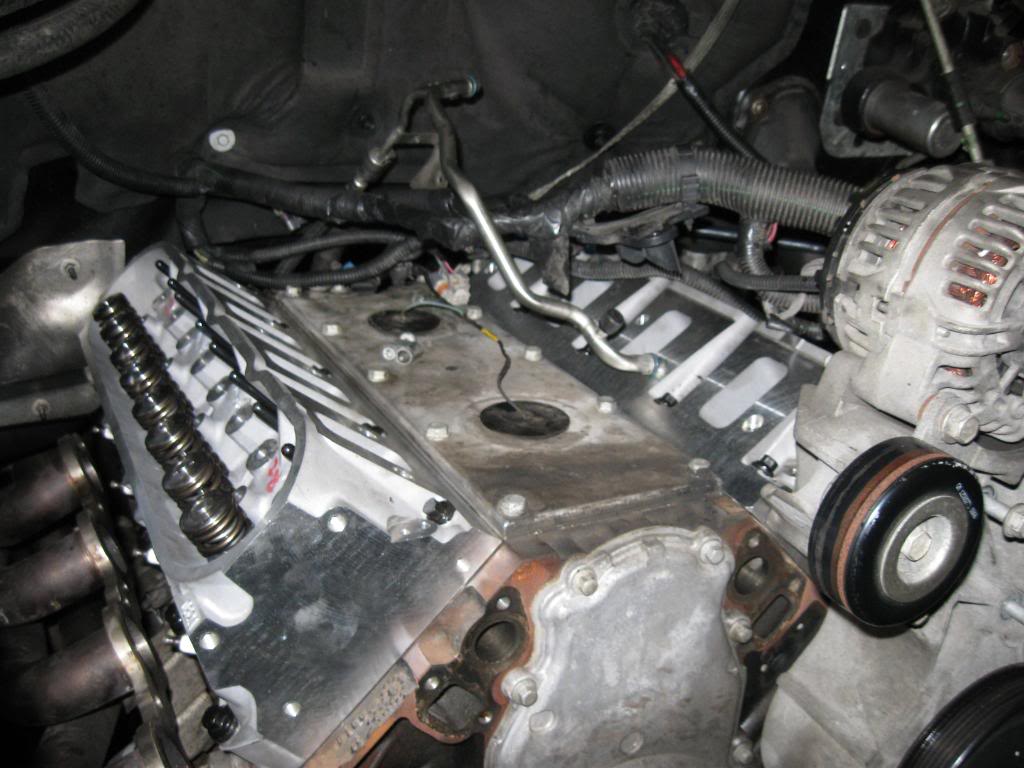
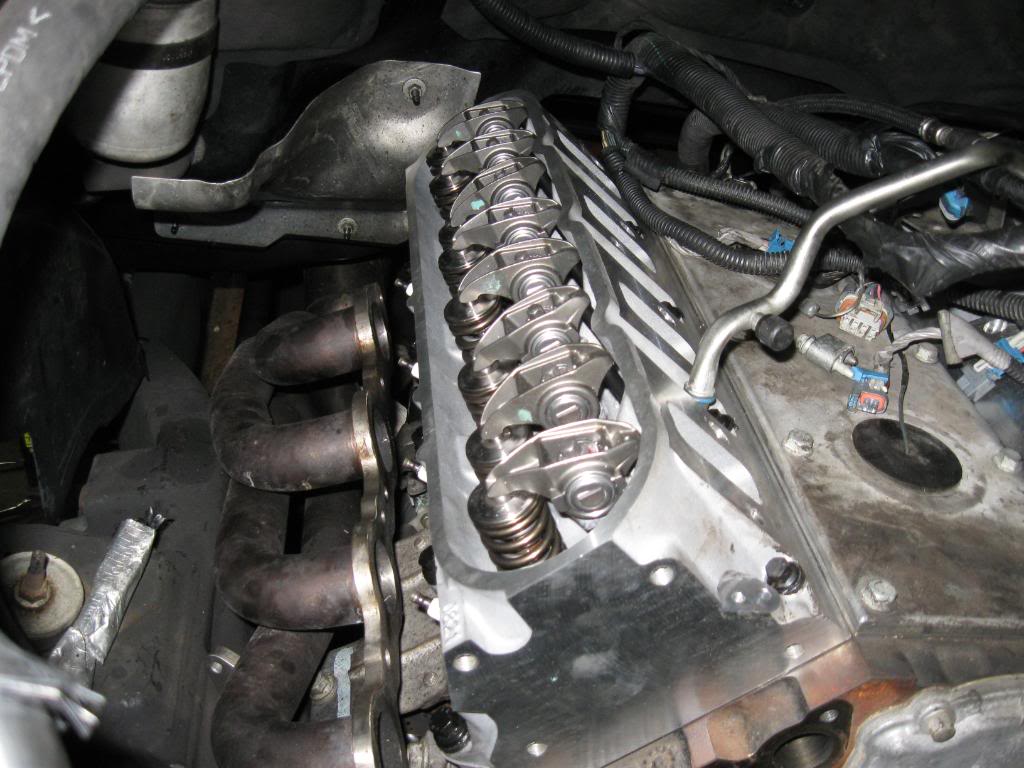
now you can bolt the rails back down, be sure to snug all of the rocker bolts and turn the crank(with a 15/16'' socket) 3 or 4 full revalutions befor torquing the rocker bolts. this is to ensure that the lifters are not holding the rockers off the stands.
10-17-2009, 01:32 AM
#27
On The Tree
Thread Starter
Join Date: Mar 2006
Location: Chicago
Posts: 182
Likes: 0
Received 0 Likes
on
0 Posts
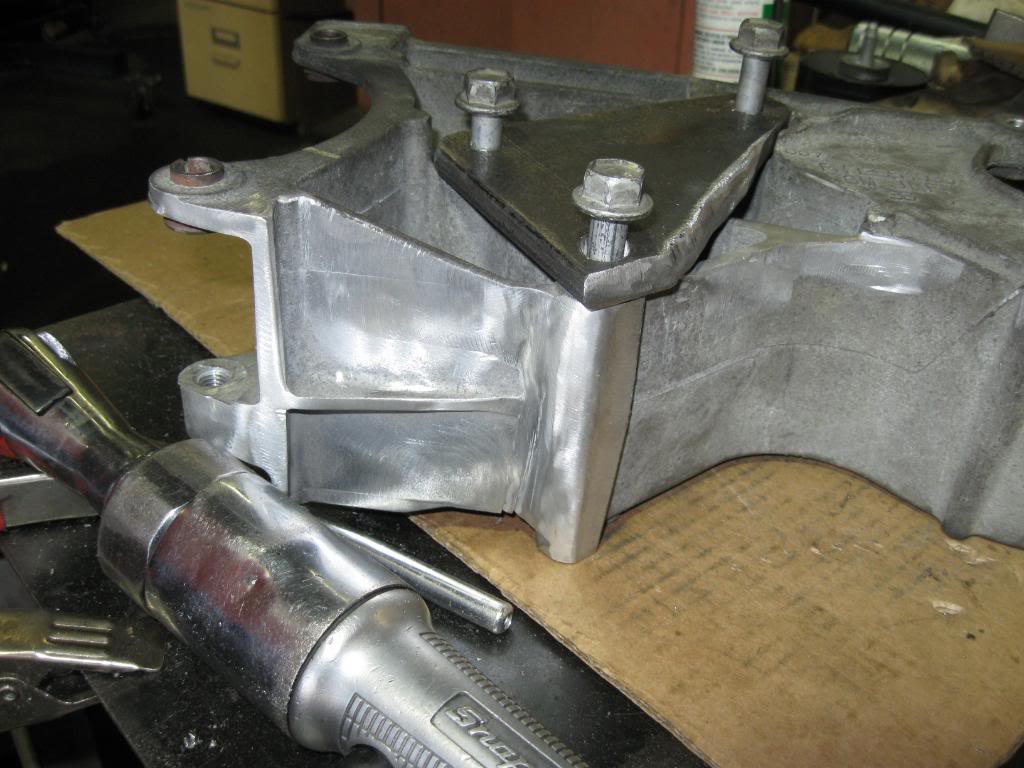
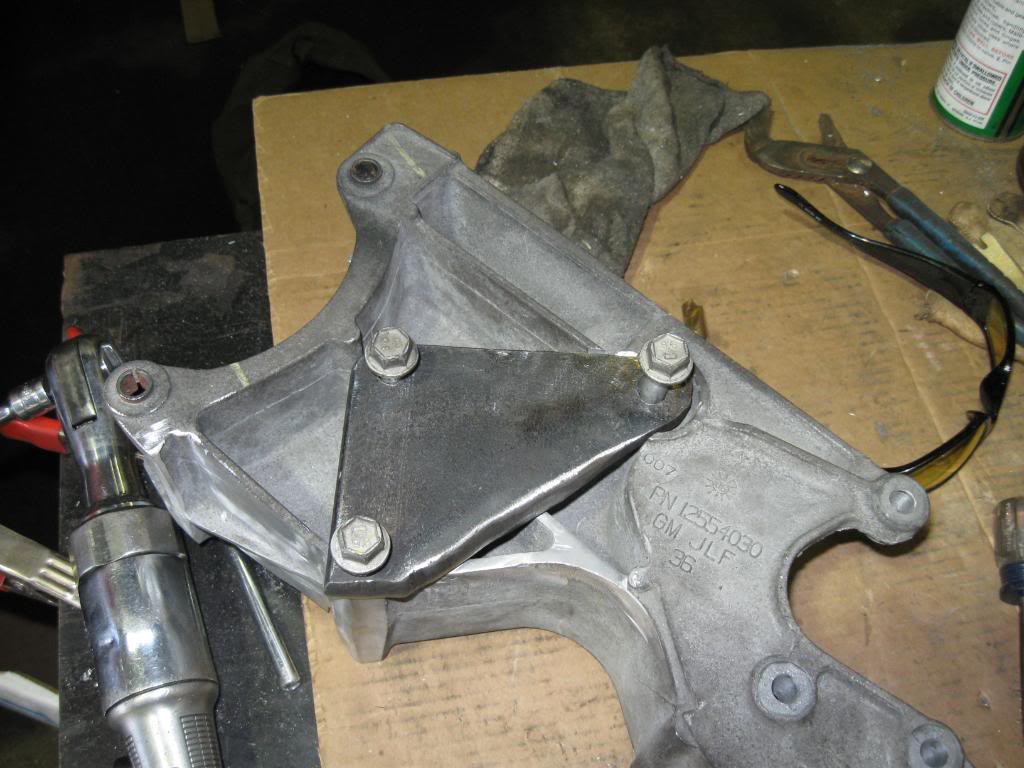
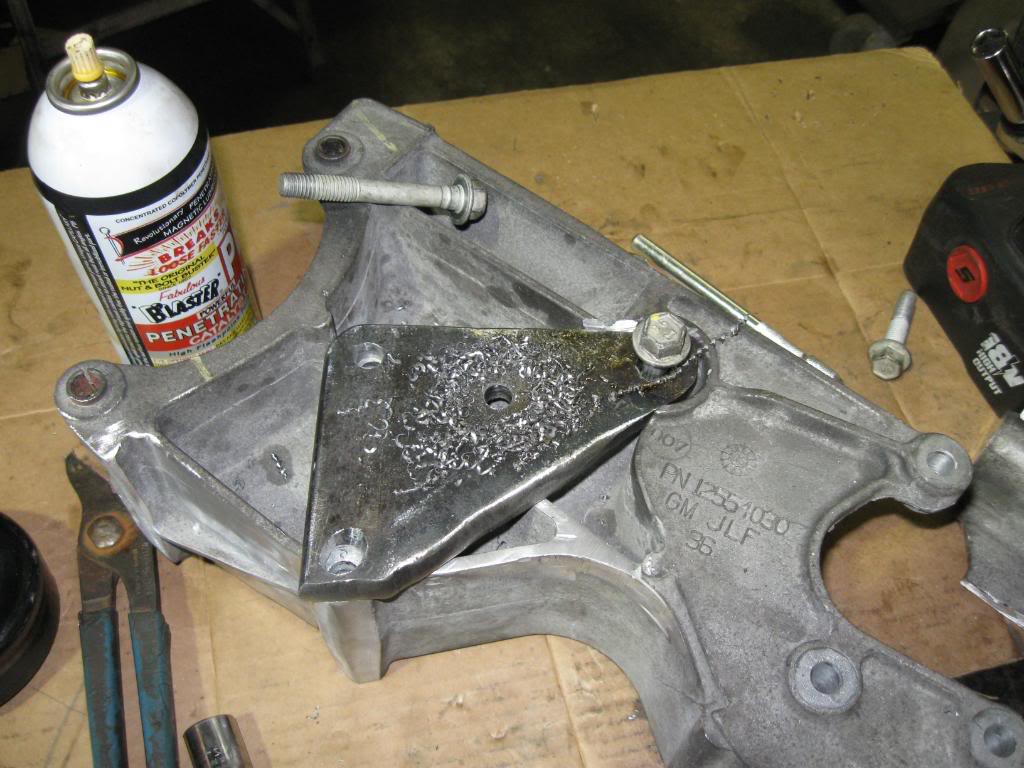
now befor the manifold can be bolted down theres a little trimming to do. I dont think this is a problem with the truck intake, but if your using the ls3 intake as i did the idler pulley bracket has to be trimmed off and relocated. Heres the pics i took, alot of pics, but you can never have enough pics. first pic hi-lites all of the areas that need to be trimmed, the red arrows show the areas that were trimmed.
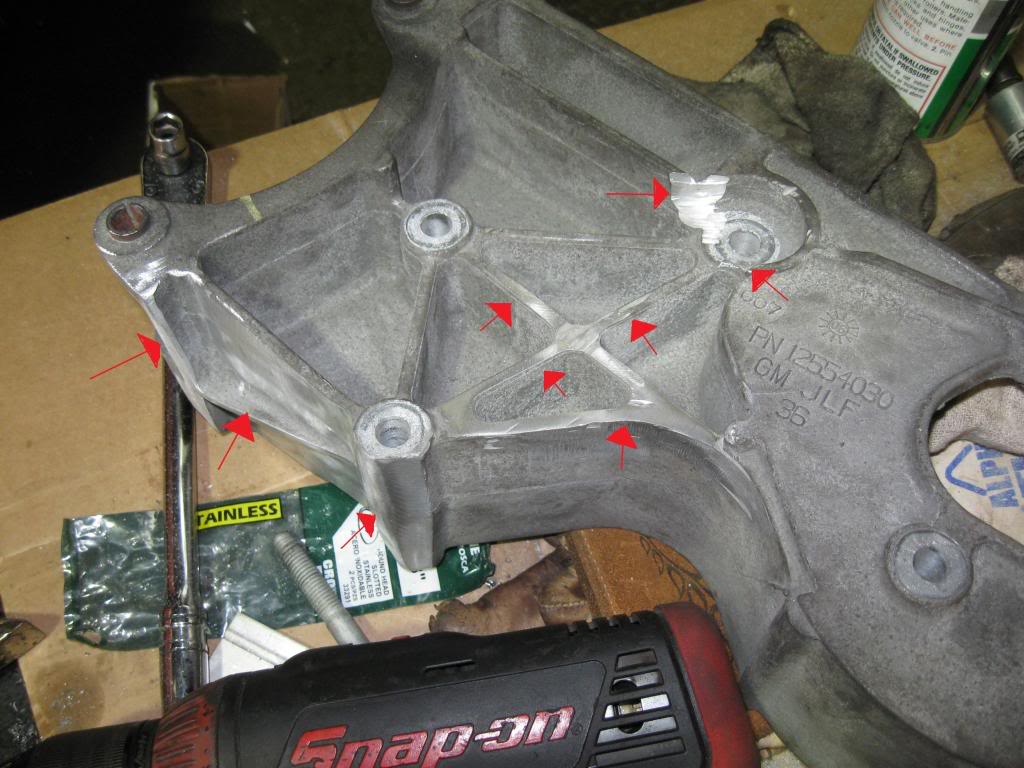
Last edited by 06WT; 10-19-2009 at 07:41 PM.
10-17-2009, 01:34 AM
#28
On The Tree
Thread Starter
Join Date: Mar 2006
Location: Chicago
Posts: 182
Likes: 0
Received 0 Likes
on
0 Posts
now with the bracket trimmed you can make the new idler pulley bracket, here is a pic by pic break down of the bracket from start to finish.
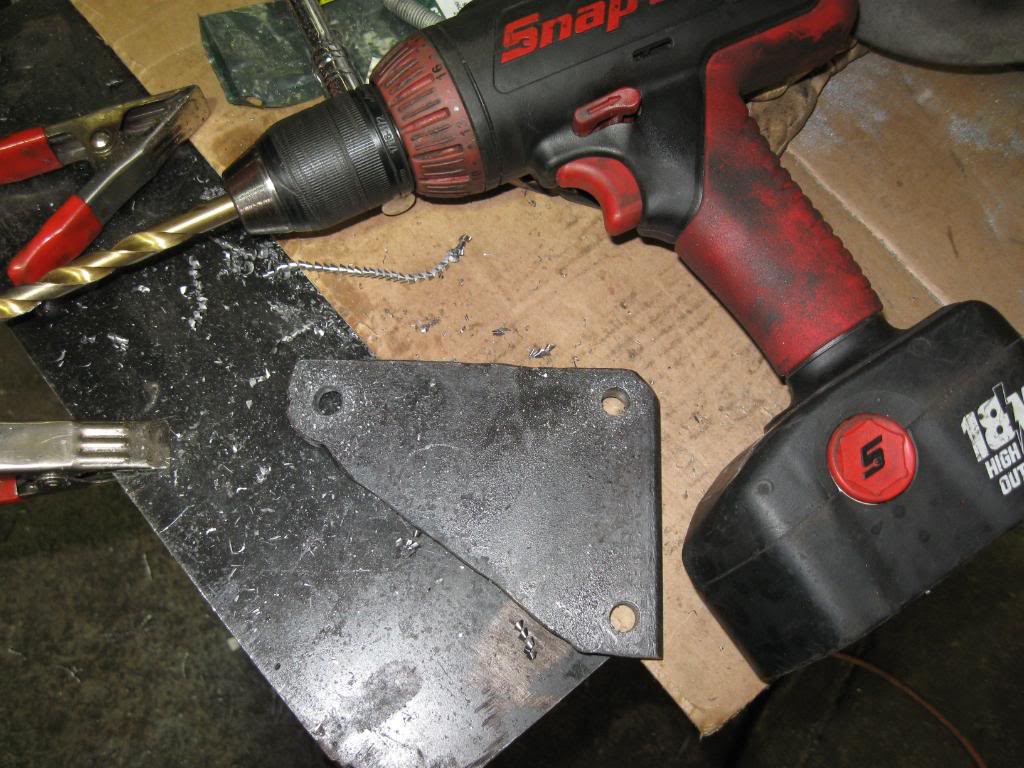
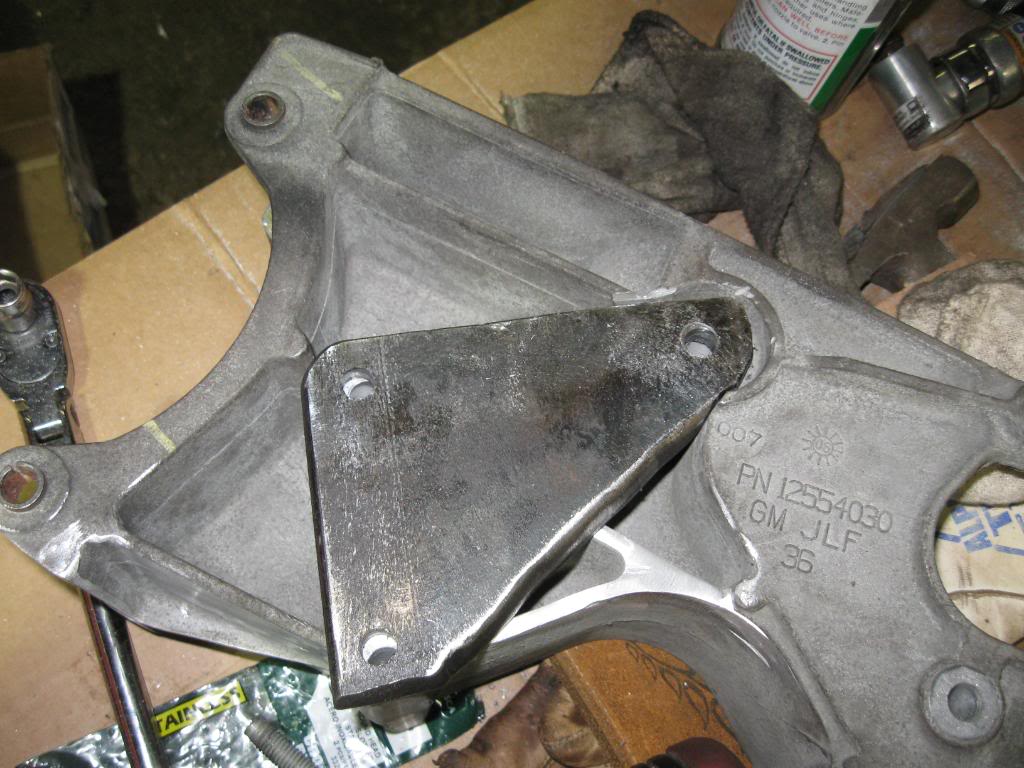
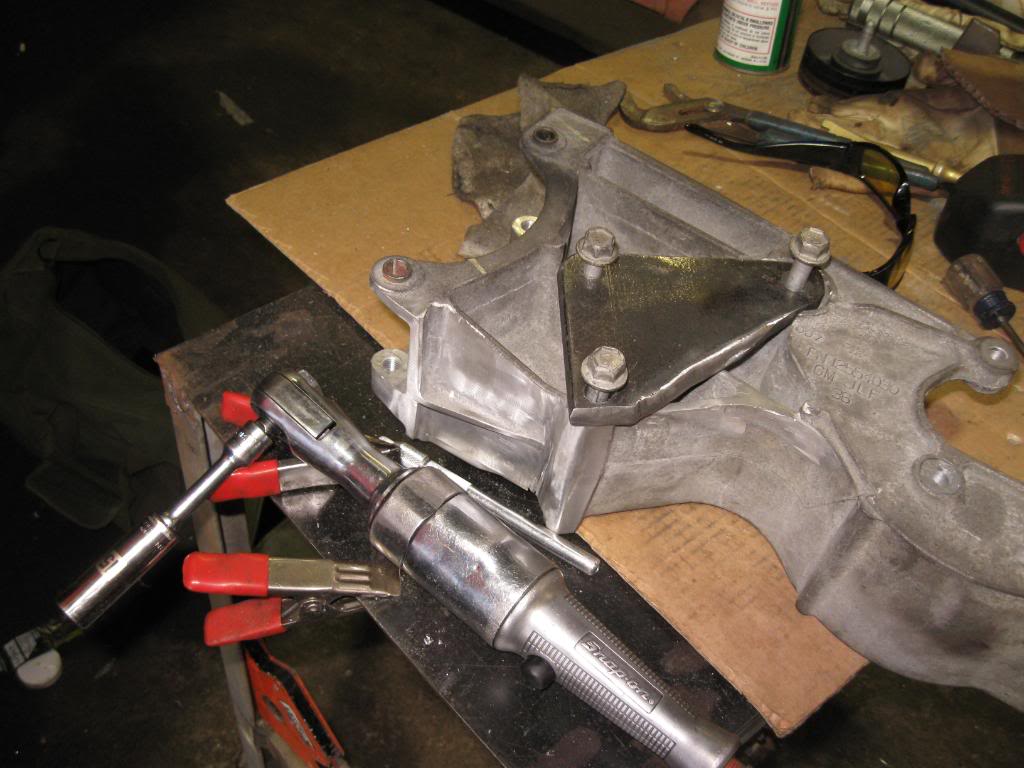
Last edited by 06WT; 10-19-2009 at 07:44 PM.