
My UPD knock-off lid in steel.....
 08-31-2007, 03:33 PM
#11
TECH Fanatic
iTrader: (24)

Join Date: Dec 2004
Location: Houston, TX
Posts: 1,825
Likes: 0
Received 0 Likes
on
0 Posts
thanks  . I'm a little picky when it comes to that kind of stuff since I used to do fab work as a job. It looks really good though, and once you get a die grinder in those welds I'm sure it'll be smoother than a baby's butt lol.
Are you going use body filler to make the grooves uniform or are they pretty good right now? I can't really tell since it's not an up close shot.
One recommendation that I would have with this lid is get it powder coated. If you don't powder coat, at least use some kind of insulation so it won't heat soak too bad. I had a huge problem with heat soak once I moved to the K&N 77 series FIPK because of the steel tube. I wrapped the tube in glass header wrap and it solved the problem. I noticed a difference in about 15-20* hotter IAT's from stock to the K&N before I did the heat wrap. Once I put the wrap on it I don't go over 100*F IAT when it's a hot day outside driving in the city. Anyways, just my .02. Your lid looks great, and I'm anxious to see the outcome.
later,
Jake
. I'm a little picky when it comes to that kind of stuff since I used to do fab work as a job. It looks really good though, and once you get a die grinder in those welds I'm sure it'll be smoother than a baby's butt lol.Are you going use body filler to make the grooves uniform or are they pretty good right now? I can't really tell since it's not an up close shot.
One recommendation that I would have with this lid is get it powder coated. If you don't powder coat, at least use some kind of insulation so it won't heat soak too bad. I had a huge problem with heat soak once I moved to the K&N 77 series FIPK because of the steel tube. I wrapped the tube in glass header wrap and it solved the problem. I noticed a difference in about 15-20* hotter IAT's from stock to the K&N before I did the heat wrap. Once I put the wrap on it I don't go over 100*F IAT when it's a hot day outside driving in the city. Anyways, just my .02. Your lid looks great, and I'm anxious to see the outcome.
later,
Jake
 08-31-2007, 04:59 PM
#12

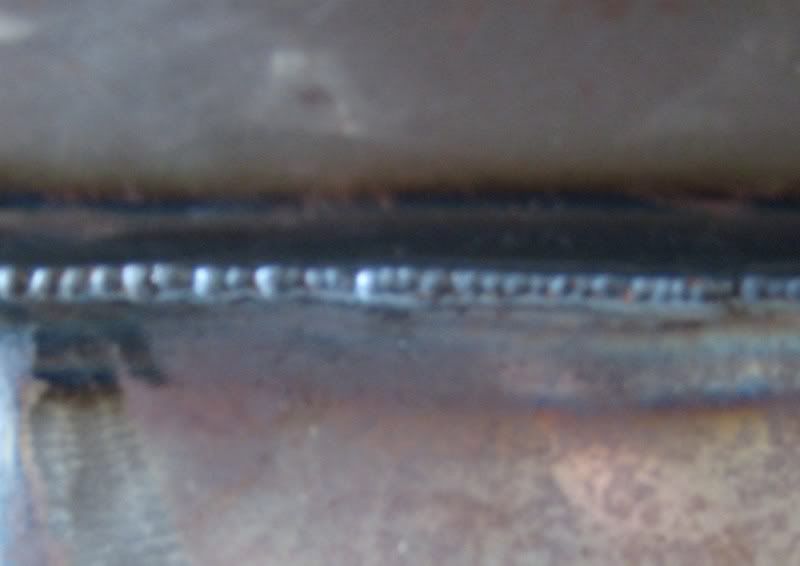
I have all ready grinded down the welds on the outside, but I still need to grind down the welds on the inside. Below is a pic of the backside of the weld, how do you like that penitration, I think it looks pretty good for a Mig on 18 gauge, but still I need more practice..... After the grinding I plan on smothing the corners with a little bit of body filler or if I can find some lead I might try that, cause I have always wanted to try leading.....
Sorry for the crappy pic, my camera does not like taking pics up close....
Sorry for the crappy pic, my camera does not like taking pics up close....
 08-31-2007, 09:06 PM
#14
TECH Fanatic
iTrader: (24)
Join Date: Dec 2004
Location: Houston, TX
Posts: 1,825
Likes: 0
Received 0 Likes
on
0 Posts
did my post get deleted from earlier or somethin?
Anyways, as I posted earlier: The welds look great from the back side. It should be pretty easy to get up in there for some good grinding to smooth it out. I'd recommend powder coating the lid for heat soak purposes. If you don't get it powder coated then try and put some kind of insulation on the inside to keep it from raising IAT's like crazy. The steel will cause the inlet air temp to rise a lot which ends up pulling a lot of timing in the end. You'd be surprised how much it soaks vs. plastic. Anyways, great work! It's cool to see people trying out new things.
BTW, lead is a PITA the first time around, but after that it gets easier.
Jake
08-31-2007, 09:18 PM
#15
Originally Posted by jakebdb56
BTW, lead is a PITA the first time around, but after that it gets easier.
Jake
Jake
About insulating, I am going to just primer it first and log some scans to determine the heat soak and IAT of plain steel. Then I plan on insulating it and taking some scans to see if there are any differences. That way I can prove or disprove whether it helps. I am not saying I don't trust what your saying, honestly I do, but I would like to but to rest the debate of insulating....
 09-01-2007, 10:22 AM
#17
Originally Posted by nightrunner
how do you plan on insulating it? just curious
edit: i just noticed this but you need a real table to replace the box lol
edit: i just noticed this but you need a real table to replace the box lol
As far as insulation, I was thinking about using some left over header wrap then fiberglassing over it, but that all depends on how the logs turn out.
09-01-2007, 10:43 AM
#18
Originally Posted by BlackGMC
As far as insulation, I was thinking about using some left over header wrap then fiberglassing over it, but that all depends on how the logs turn out.
i was thinkin more like jethot1300 in black on top of the bare steel, personally
 09-01-2007, 10:21 PM
#20
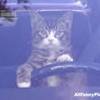
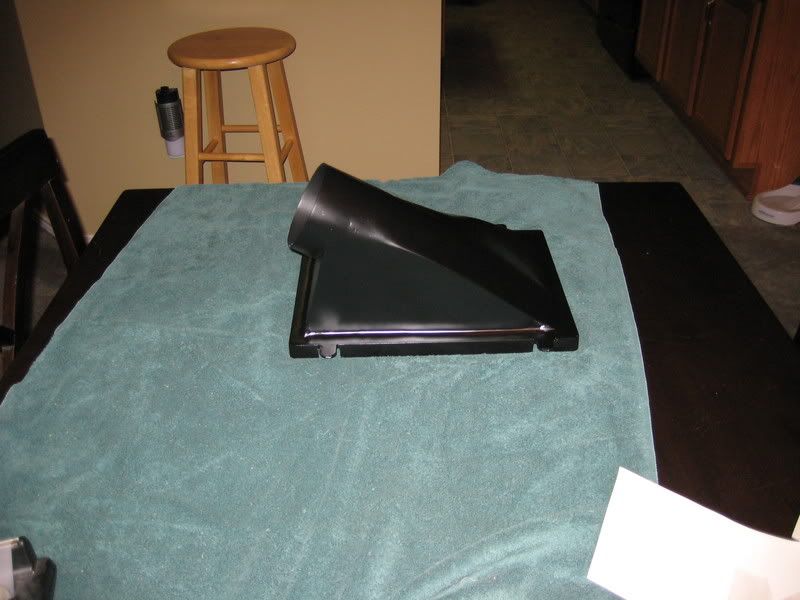
Well I finished the lid today. I smoothed some of the rough spots down with bondo and some filler primer, then a nice coat of semi-gloss black.. Anyways I am quite proud of myself, I have never really done anything in metal like this, I did learn alot, next time will be alot easier and faster. Total time invested ~5 hours.... Bottom pic kinda sucks due to the flash....

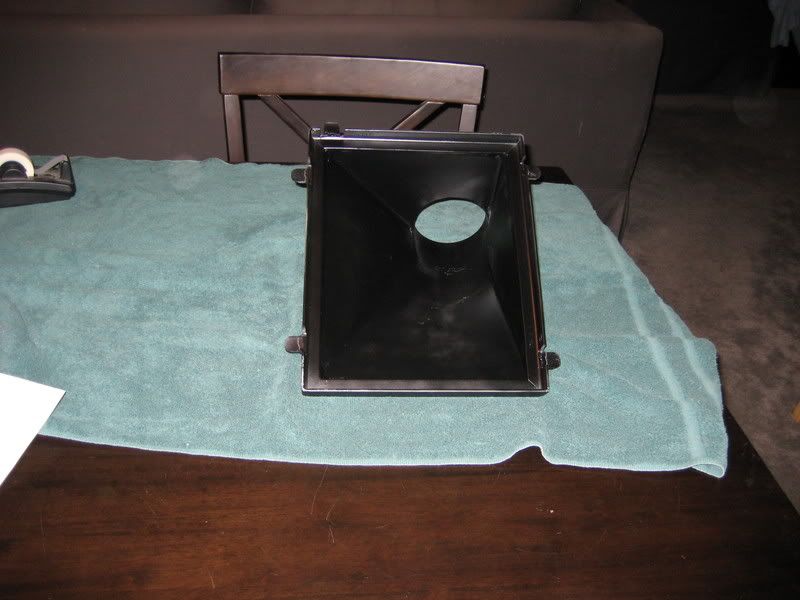
The 3.5 pipe and 3.5 to 4.0 rubber elbow are on order and they will be delivered next week sometime....
The 3.5 pipe and 3.5 to 4.0 rubber elbow are on order and they will be delivered next week sometime....