View Poll Results: Do you like your truck dirty or clean?
As long as I can see out it's good


0
0%
spit and polish


0
0%
who cares?


0
0%
Voters: 0. You may not vote on this poll
Husky Mud Guard Install
#1
Gettin' the truck dirty is great but sometimes it's nice to keep it clean and look professional on the job.
I live on a gravel road that turns to soup as soon as it rains. The dark color of my truck makes it difficult to keep it looking clean. I decided the truck needed mud guards. I installed these on my '04 2500HD. I'm sure the install would be pretty similar for other years and models. I put up some before and after pics and explained a few things I could have done differently and a few things Husky could add or remove from the kit.
Here are the before pics>
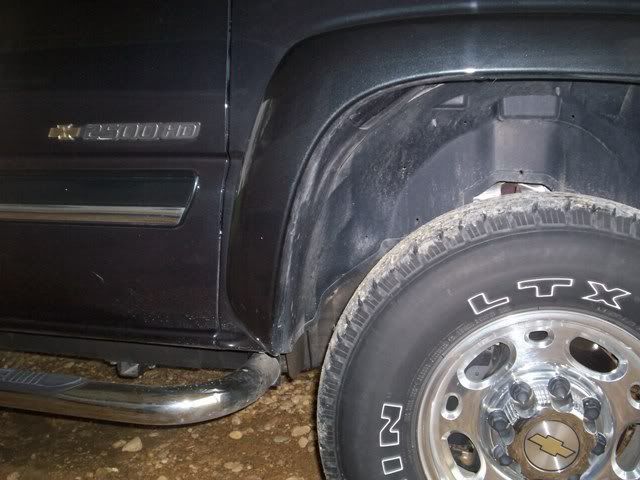
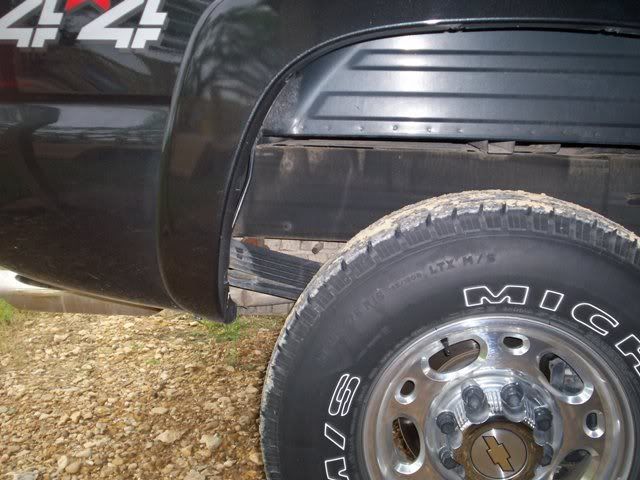
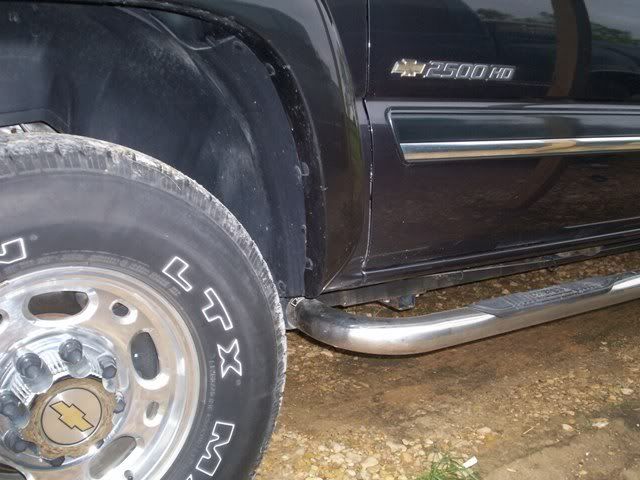
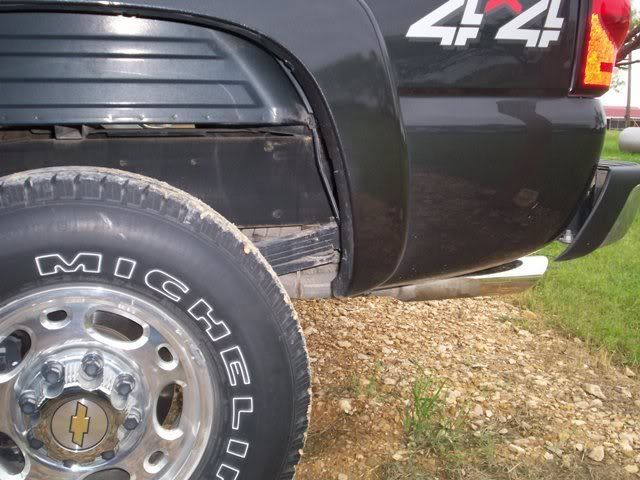
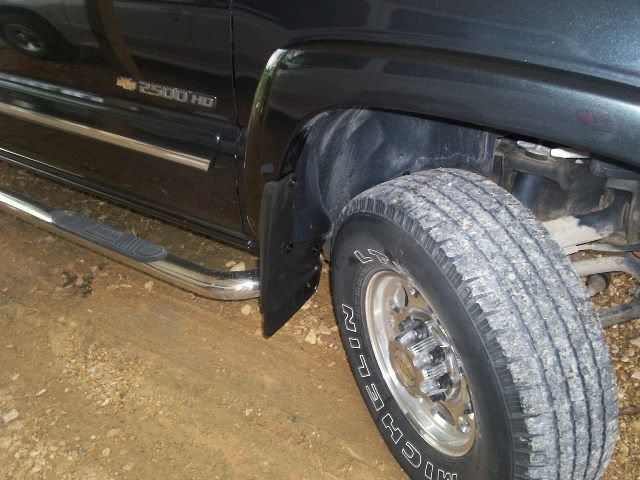
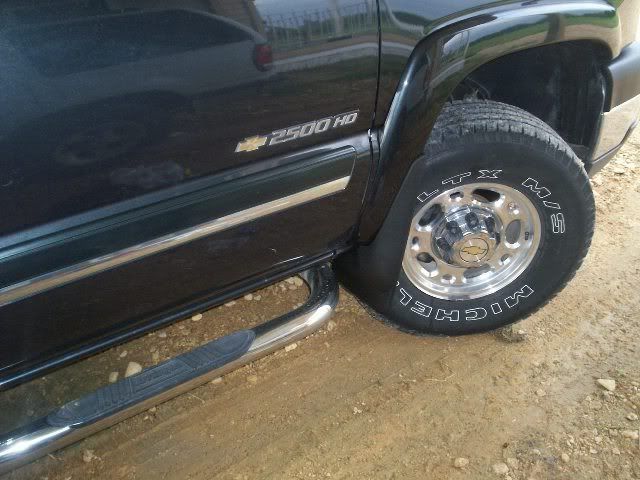
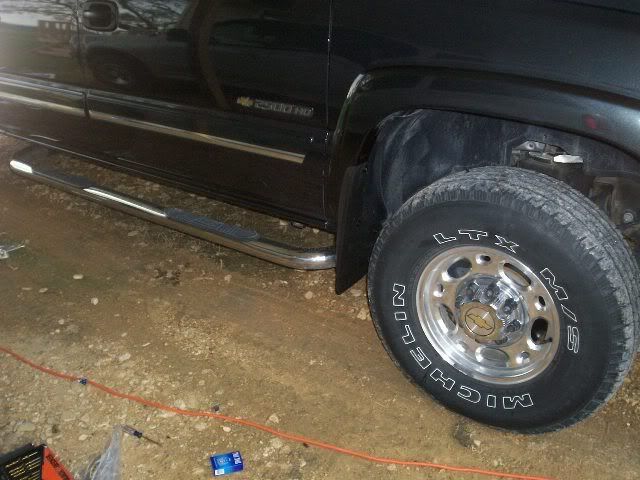
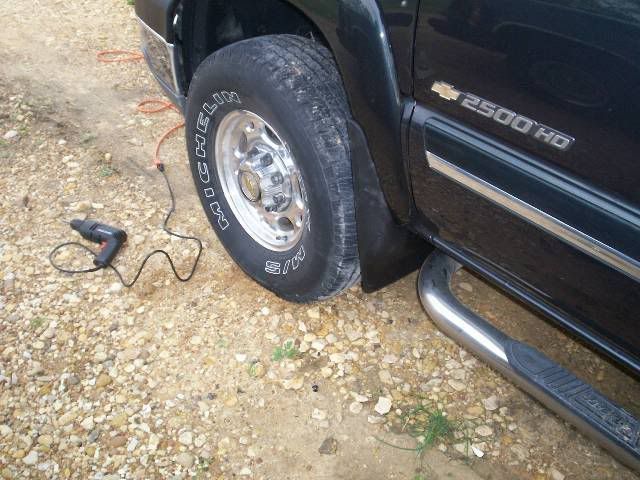
The front guards were easy to install since there are only three screws and two of them used existing holes. The press in retainers that hold the fender flare and the inner fender rubber shield must be removed to allow you access so you can install the clips the screws will thread into. The instructions show this very clearly.
The hole for the top screw has to be drilled. The instructions call for a 1/8" hole. That didn't work to well. I don't know if the metal in that spot is double layered or what the problem is but the screws would not thread into those holes. I ended up using a self tapping screw on the driverís side. I had to remove some two piece retaining guards that held the fender flare in place. Those retainers were replaced with the screws that came in the kit. For the top screw on the passenger side I removed the inside of the retainer and re-drilled the hole in the fender for the insert. Then I just put my screw in that insert. It basically worked as a drywall anchor my spreading the insert out enough to hold everything in place. The mud guard is secure so I guess it worked ok.
Here are the fronts>
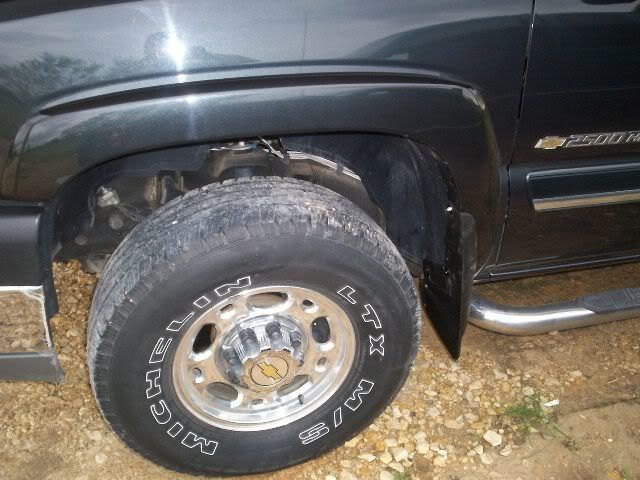
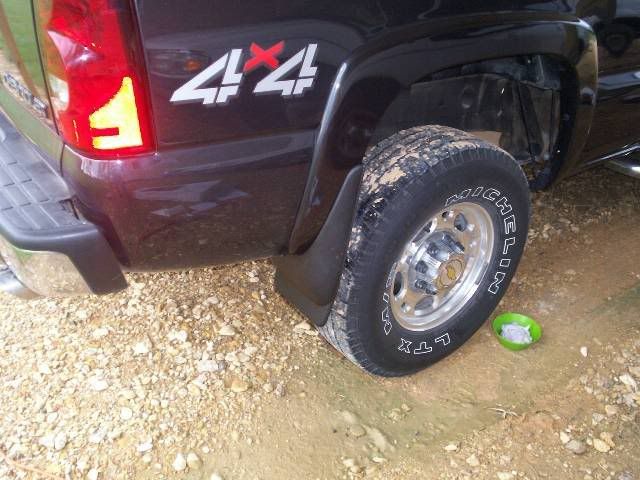
The rears were a little more difficult. Only two of the four screws on each side will go into existing holes. I recommend either removing the wheel or using a right angle drill for these. I did neither. I could not drill from inside the fender well. I managed to drill from inside the bed side by lying under the truck. This proved pretty difficult. Given the chance to do this again I would find a right angle drill. Once the holes are marked and drilled through the mud guards and the wheel well you need to run the screws into the holes you just drilled without the mud guard in place. I used a right angle screw driver for this since the tire was in the way. I could have used a stubby but I was able to get more pressure on the screw with the right angle screw driver.
Here are the after pics>

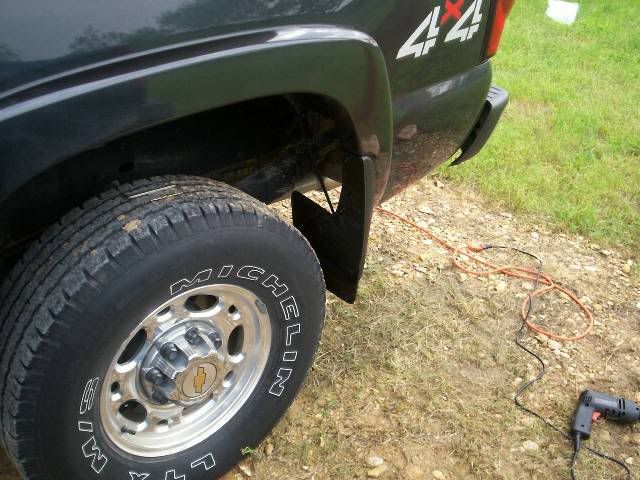
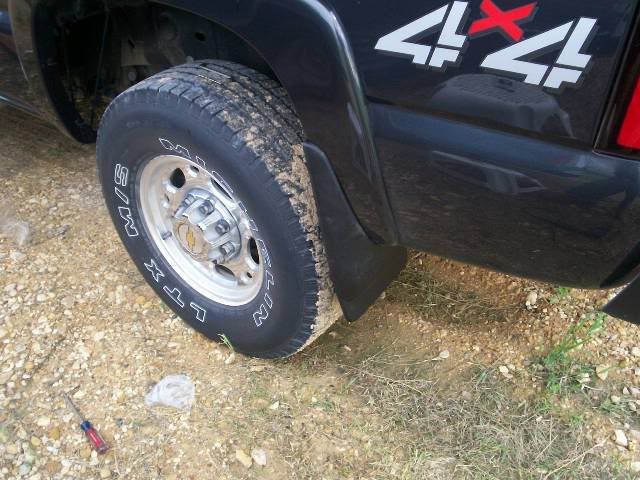
I will find out tomorrow if the guards will protect the paint like I hope. We are supposed to get a bunch of rain tonight.
It took me about two hours to install these mud guards. It probably would not have taking that long if I had removed the rear wheels but I'm lazy like that I guess.
Items that need to be added in Husky's kit:
Items to be added to the tools needed list:
Hope this was helpful to someone...
I live on a gravel road that turns to soup as soon as it rains. The dark color of my truck makes it difficult to keep it looking clean. I decided the truck needed mud guards. I installed these on my '04 2500HD. I'm sure the install would be pretty similar for other years and models. I put up some before and after pics and explained a few things I could have done differently and a few things Husky could add or remove from the kit.
Here are the before pics>


The front guards were easy to install since there are only three screws and two of them used existing holes. The press in retainers that hold the fender flare and the inner fender rubber shield must be removed to allow you access so you can install the clips the screws will thread into. The instructions show this very clearly.
The hole for the top screw has to be drilled. The instructions call for a 1/8" hole. That didn't work to well. I don't know if the metal in that spot is double layered or what the problem is but the screws would not thread into those holes. I ended up using a self tapping screw on the driverís side. I had to remove some two piece retaining guards that held the fender flare in place. Those retainers were replaced with the screws that came in the kit. For the top screw on the passenger side I removed the inside of the retainer and re-drilled the hole in the fender for the insert. Then I just put my screw in that insert. It basically worked as a drywall anchor my spreading the insert out enough to hold everything in place. The mud guard is secure so I guess it worked ok.
Here are the fronts>


The rears were a little more difficult. Only two of the four screws on each side will go into existing holes. I recommend either removing the wheel or using a right angle drill for these. I did neither. I could not drill from inside the fender well. I managed to drill from inside the bed side by lying under the truck. This proved pretty difficult. Given the chance to do this again I would find a right angle drill. Once the holes are marked and drilled through the mud guards and the wheel well you need to run the screws into the holes you just drilled without the mud guard in place. I used a right angle screw driver for this since the tire was in the way. I could have used a stubby but I was able to get more pressure on the screw with the right angle screw driver.
Here are the after pics>


I will find out tomorrow if the guards will protect the paint like I hope. We are supposed to get a bunch of rain tonight.
It took me about two hours to install these mud guards. It probably would not have taking that long if I had removed the rear wheels but I'm lazy like that I guess.
Items that need to be added in Husky's kit:
- self tapping screws
Items to be added to the tools needed list:
- right angle screw driver
- right angle drill
Hope this was helpful to someone...
Thread
Thread Starter
Forum
Replies
Last Post
GXPJAY
Trucks and SUV Classifieds
5
02-13-2022 09:15 AM
LCHEE
GM Drivetrain & Suspension
10
10-24-2020 05:10 PM
zblee
GM Engine & Exhaust Performance
15
08-03-2015 04:45 AM


