Rebuild 6.0L help
 01-26-2009, 03:41 PM
#51
TECH Apprentice
Thread Starter

Join Date: Feb 2005
Location: Glen Allen, VA
Posts: 322
Likes: 0
Received 0 Likes
on
0 Posts
Good tip on using the old bolts while painting. Had not thought of that.
The guy helping me assemble (well, I'm probably helping him) has a subscription to All Data Pro. I assume all that info is on there.
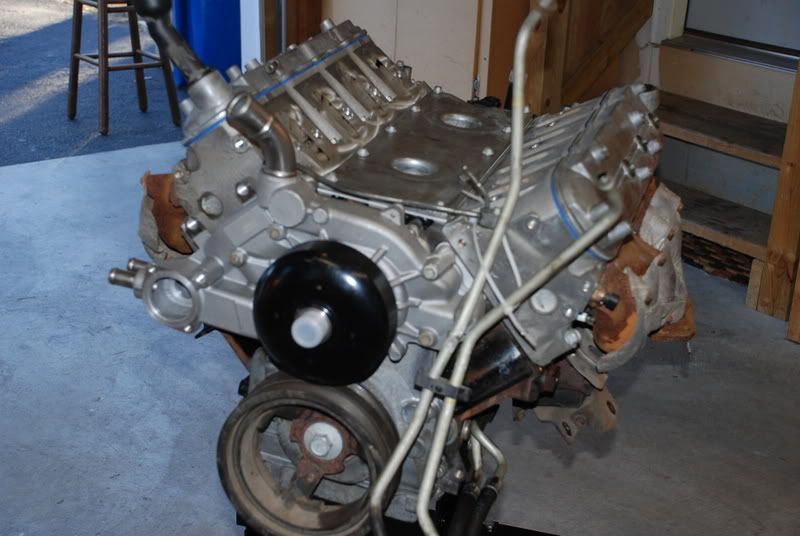
Hey, what's the small air tube on top of the intake mani for? It broke when we were pulling it out. The rubber grommets were split anyway. I need to order a new one, but can't find it.
The guy helping me assemble (well, I'm probably helping him) has a subscription to All Data Pro. I assume all that info is on there.
Hey, what's the small air tube on top of the intake mani for? It broke when we were pulling it out. The rubber grommets were split anyway. I need to order a new one, but can't find it.
 01-26-2009, 11:10 PM
#52

Good tip on using the old bolts while painting. Had not thought of that.
The guy helping me assemble (well, I'm probably helping him) has a subscription to All Data Pro. I assume all that info is on there.
Hey, what's the small air tube on top of the intake mani for? It broke when we were pulling it out. The rubber grommets were split anyway. I need to order a new one, but can't find it.
All data has just about everything as far as the info Goes for one of these... **** we called them once and asked them to get us the tourque specs for a 1952 caddilac 331 Engine we restored at work. We had the specs withen an hour.
 Now thats not to say there isn't some things that aren't on there for some cars, but I can't say I have seen any missing info Domestic stuff so far...
01-27-2009, 10:17 AM
Now thats not to say there isn't some things that aren't on there for some cars, but I can't say I have seen any missing info Domestic stuff so far...
01-27-2009, 10:17 AM
#53
TECH Apprentice
Thread Starter
Join Date: Feb 2005
Location: Glen Allen, VA
Posts: 322
Likes: 0
Received 0 Likes
on
0 Posts
Right on top of the intake mani. Can't get a picture of the intake right now, it is off getting cleaned.
Edit: Here is the part number for the below: 17113556 The actual piece has a rubber grommet on both ends of the tube.


Edit: Here is the part number for the below: 17113556 The actual piece has a rubber grommet on both ends of the tube.

Last edited by clemsondave; 01-29-2009 at 04:25 PM.
 01-27-2009, 12:24 PM
#55
TECH Apprentice
Thread Starter
Join Date: Feb 2005
Location: Glen Allen, VA
Posts: 322
Likes: 0
Received 0 Likes
on
0 Posts
 01-28-2009, 05:29 PM
#57
TECH Apprentice
Thread Starter
Join Date: Feb 2005
Location: Glen Allen, VA
Posts: 322
Likes: 0
Received 0 Likes
on
0 Posts
I went to the dealer and they found it. On order, $29! I'll post the part number tomorrow.
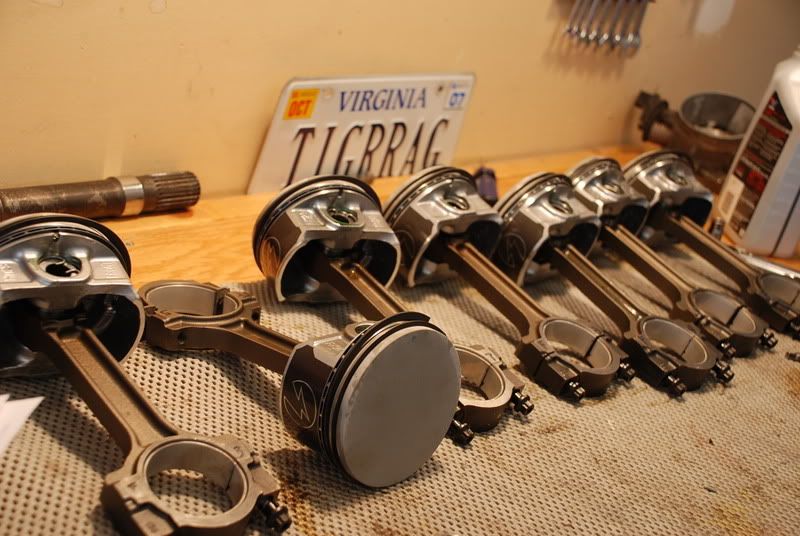
Got everything back from the machine shop today. We balanced the crank this afternoon. He let me 'assist'. With the heavier rods and pistons, we couldn't get it perfect. We ended up with a pretty even 29grams and 6 degrees. If this was a race motor going to 7k, we would have spent more time on it, but from what I can tell, this is better than factory specs.
Assembly starts tomorrow evening.
01-29-2009, 12:01 AM
#58
I went to the dealer and they found it. On order, $29! I'll post the part number tomorrow.
Got everything back from the machine shop today. We balanced the crank this afternoon. He let me 'assist'. With the heavier rods and pistons, we couldn't get it perfect. We ended up with a pretty even 29grams and 6 degrees. If this was a race motor going to 7k, we would have spent more time on it, but from what I can tell, this is better than factory specs.
Assembly starts tomorrow evening.
01-29-2009, 04:27 PM
#59
TECH Apprentice
Thread Starter
Join Date: Feb 2005
Location: Glen Allen, VA
Posts: 322
Likes: 0
Received 0 Likes
on
0 Posts
01-31-2009, 04:29 PM
#60
TECH Apprentice
Thread Starter
Join Date: Feb 2005
Location: Glen Allen, VA
Posts: 322
Likes: 0
Received 0 Likes
on
0 Posts
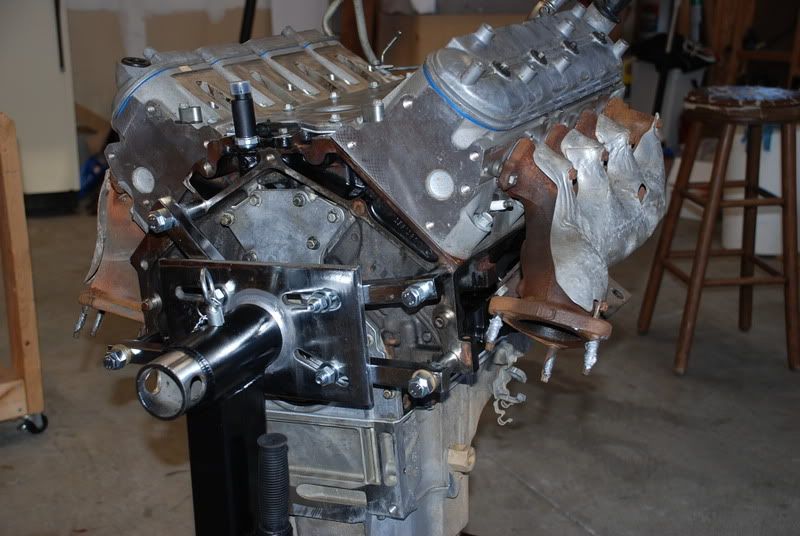
Started on the motor today. Pretty much got it wrapped up. All went together smooth. Going in the truck tomorrow. Hope to be done before the Super Bowl.