TBSS Forged Engine Build


 06-28-2010, 09:32 AM
#12
Staging Lane

Join Date: Jul 2008
Location: Reno, NV
Posts: 79
Likes: 0
Received 0 Likes
on
0 Posts
Actually, I heard you had someone cut two of the top rings too big...maybe the engine would be together if you had a few extra sets of these laying around...
http://www.summitracing.com/parts/WIS-4007GFX/
http://www.summitracing.com/parts/WIS-4007GFX/
 06-28-2010, 11:47 AM
#14
Staging Lane
Join Date: Jul 2008
Location: Reno, NV
Posts: 79
Likes: 0
Received 0 Likes
on
0 Posts
 07-05-2010, 01:03 PM
#15
Staging Lane
Join Date: Jul 2008
Location: Reno, NV
Posts: 79
Likes: 0
Received 0 Likes
on
0 Posts
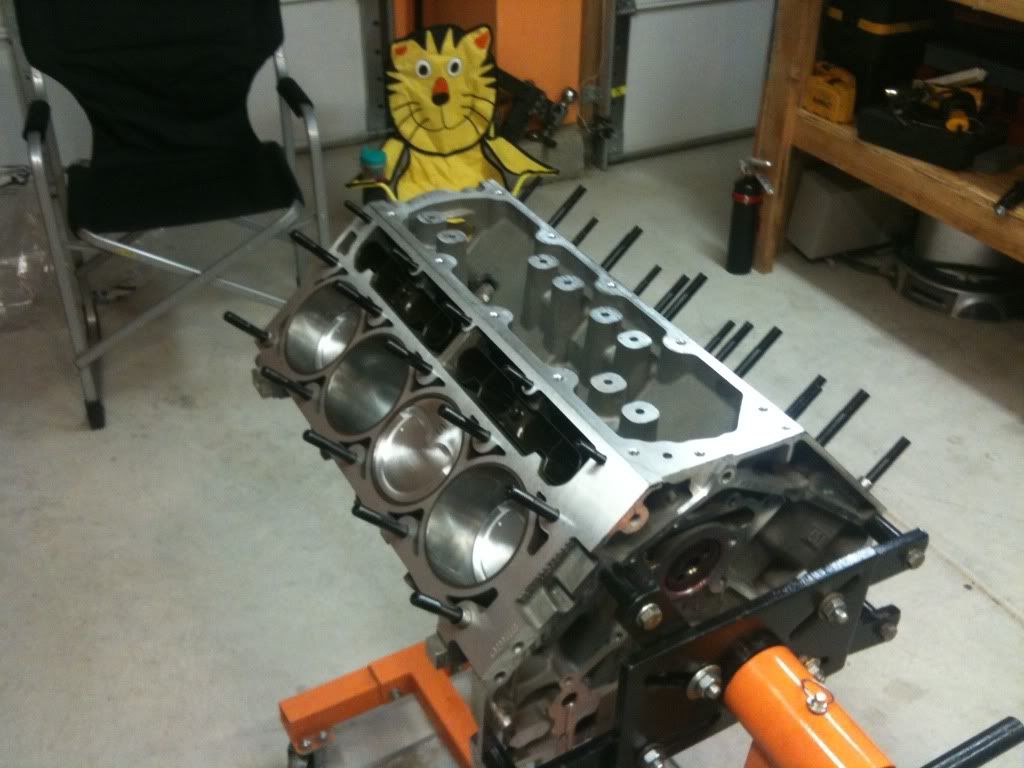
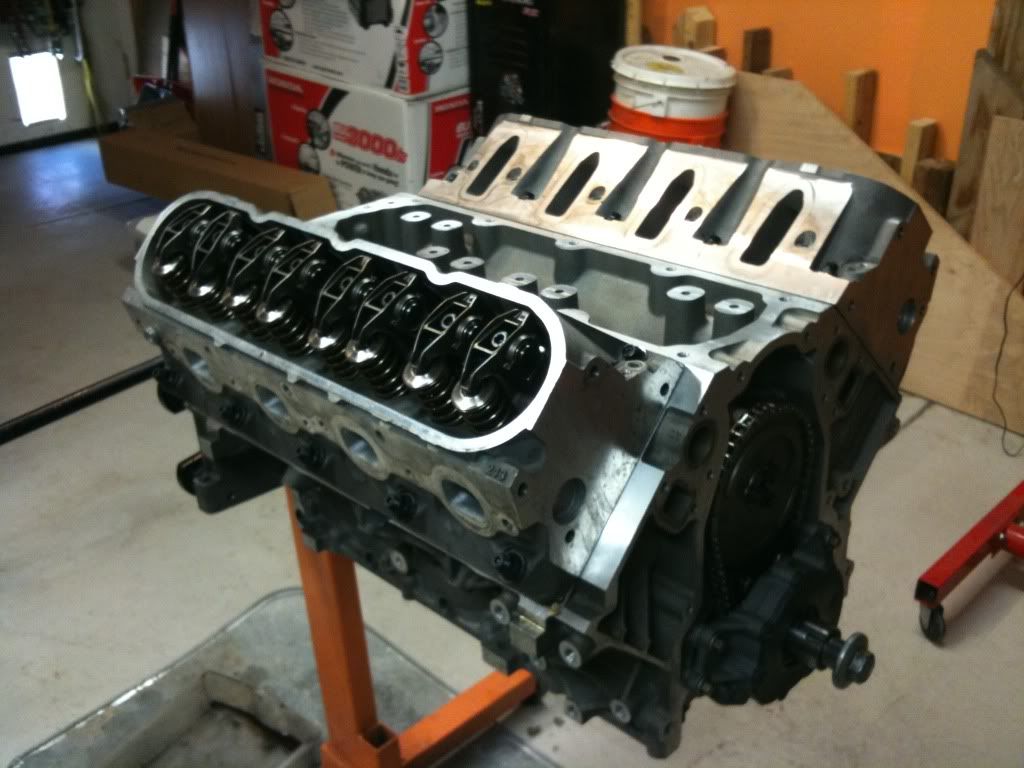
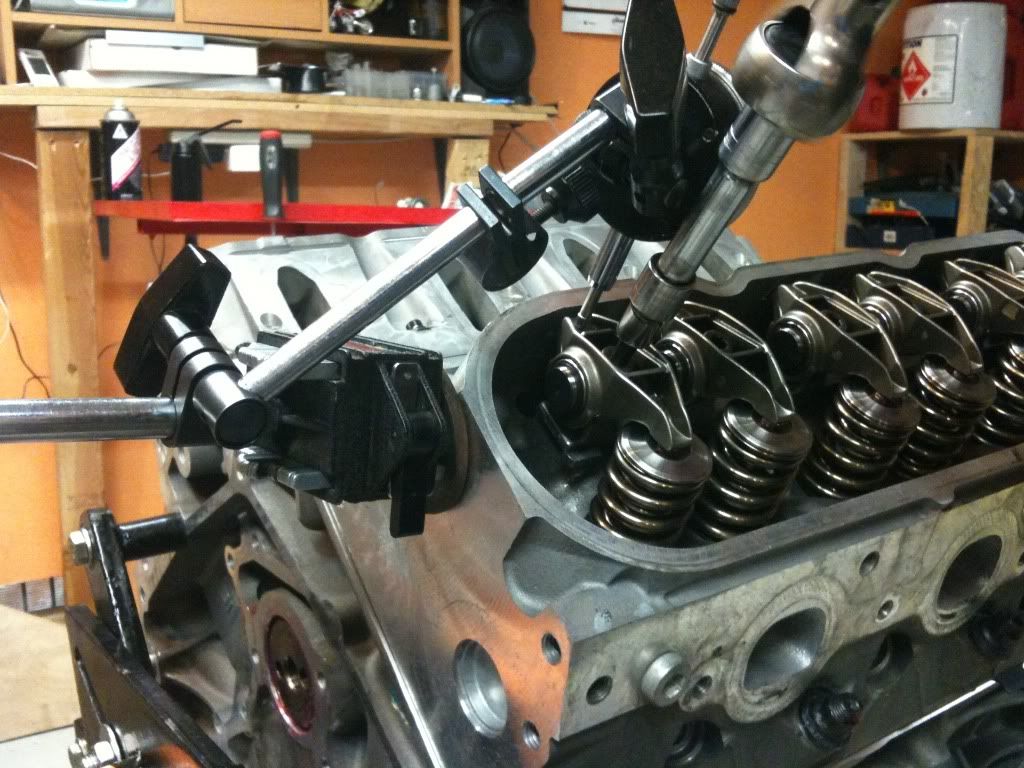
Dusty, I hope you don't mind me putting up a few pics of the engine assembly, I know you like things staying hush hush...
Head studs prepped and ready! Custom "Kitty Seat" included with all long block builds we do for customers in the future! :rofl:
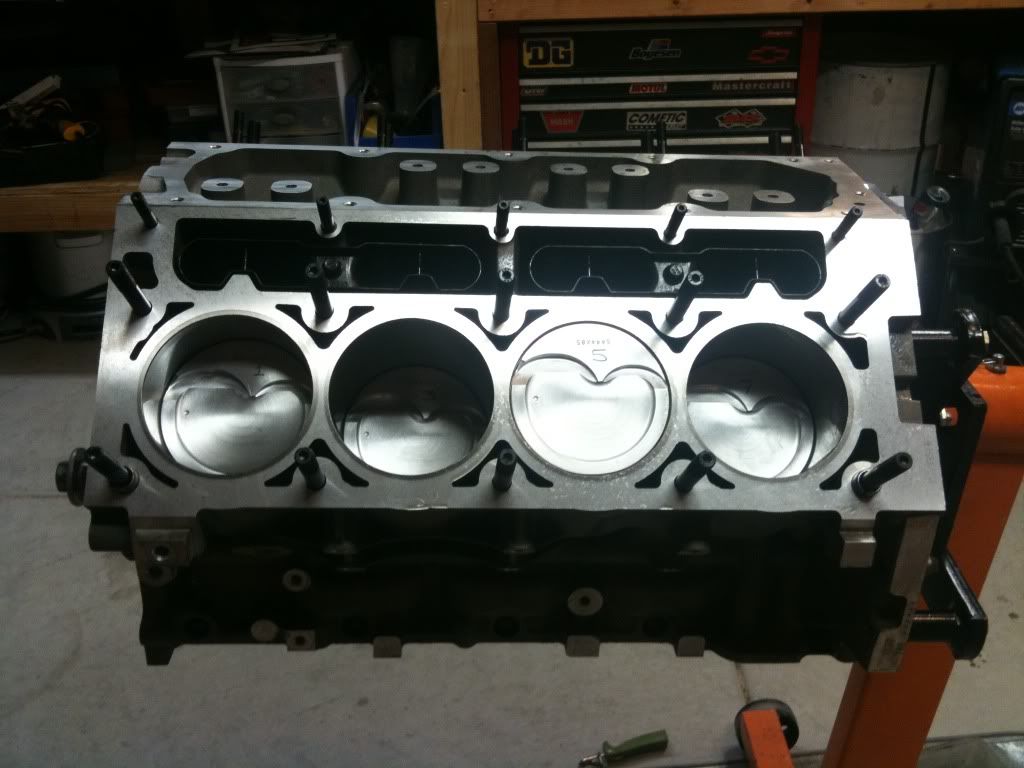
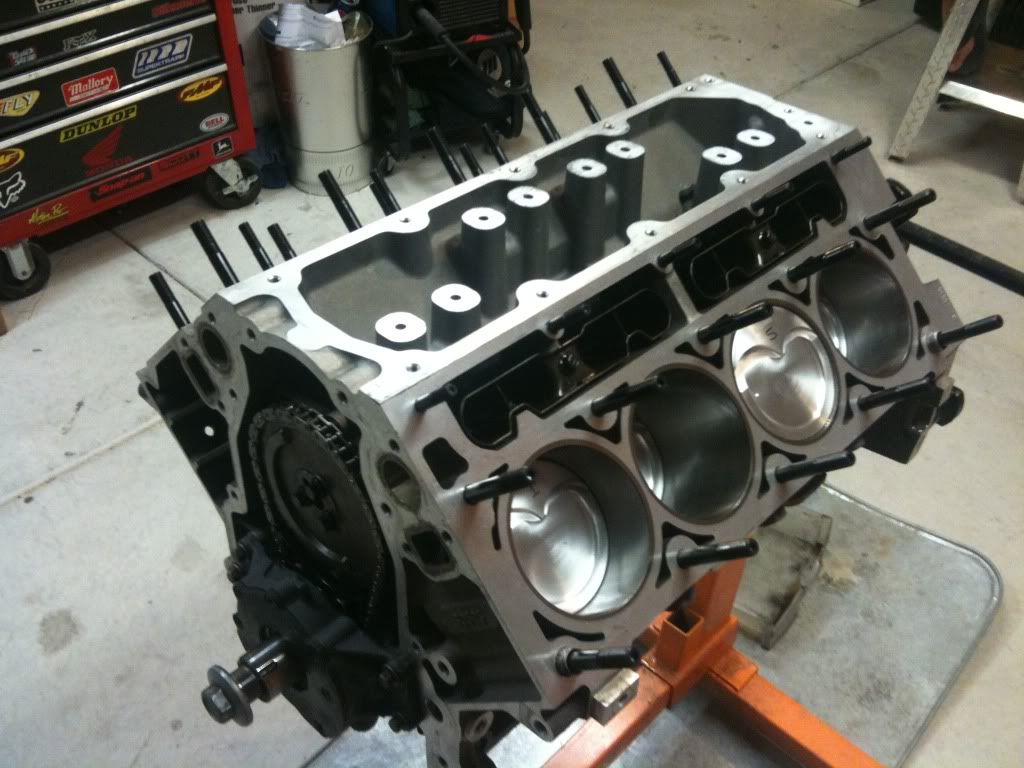
Topside done and studs torqued!
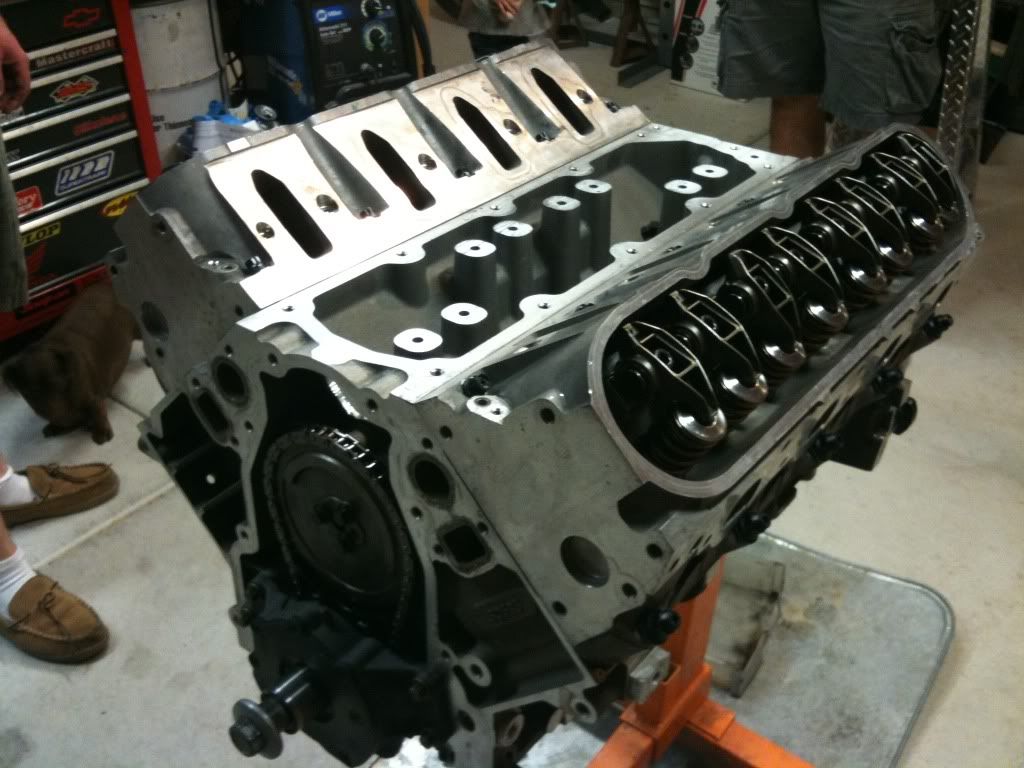
Checking preload on the lifters...The right way!

Head studs prepped and ready! Custom "Kitty Seat" included with all long block builds we do for customers in the future! :rofl:
Topside done and studs torqued!
Checking preload on the lifters...The right way!
Last edited by Evil SS 2006; 07-05-2010 at 01:17 PM.
 07-05-2010, 03:58 PM
#18
Maybe a step by step to the process...I see a dial indicator there, do you set the piston to TDC then press down on the pushrod? I've been under the impression that I will be checking my lifter preload with an adjustable pushrod (pr length checker), running it up to zero lash, then installing pushrods that will be .030-.080 longer (whatever's available) than what my adjustable pushrod length is (wasn't aware that this was the "wrong way" lol). If there's another method that's more accurate or easier, I want to know. I have a few dial indicators and bases that will work, especially with the engine on the stand, so even if I use it as a quality control to my original intended method it would be nice to know...
*EDIT* If it gets too far off topic, please hit me up with a PM Thanks in advance!
*EDIT* If it gets too far off topic, please hit me up with a PM
Thanks in advance!
07-05-2010, 04:16 PM
#19
Staging Lane
Join Date: Jul 2008
Location: Reno, NV
Posts: 79
Likes: 0
Received 0 Likes
on
0 Posts
No big deal, you basically go to full torque on the rocker arm so the lifter is fully preloaded. Set the dial indicator to zero and then loosen the rocker til you get to zero lash and the dial indicator will read your lifter preload.
Last edited by Evil SS 2006; 07-05-2010 at 04:49 PM.

