When you click on links to various merchants on this site and make a purchase, this can result in this site earning a commission. Affiliate programs and affiliations include, but are not limited to, the eBay Partner Network.
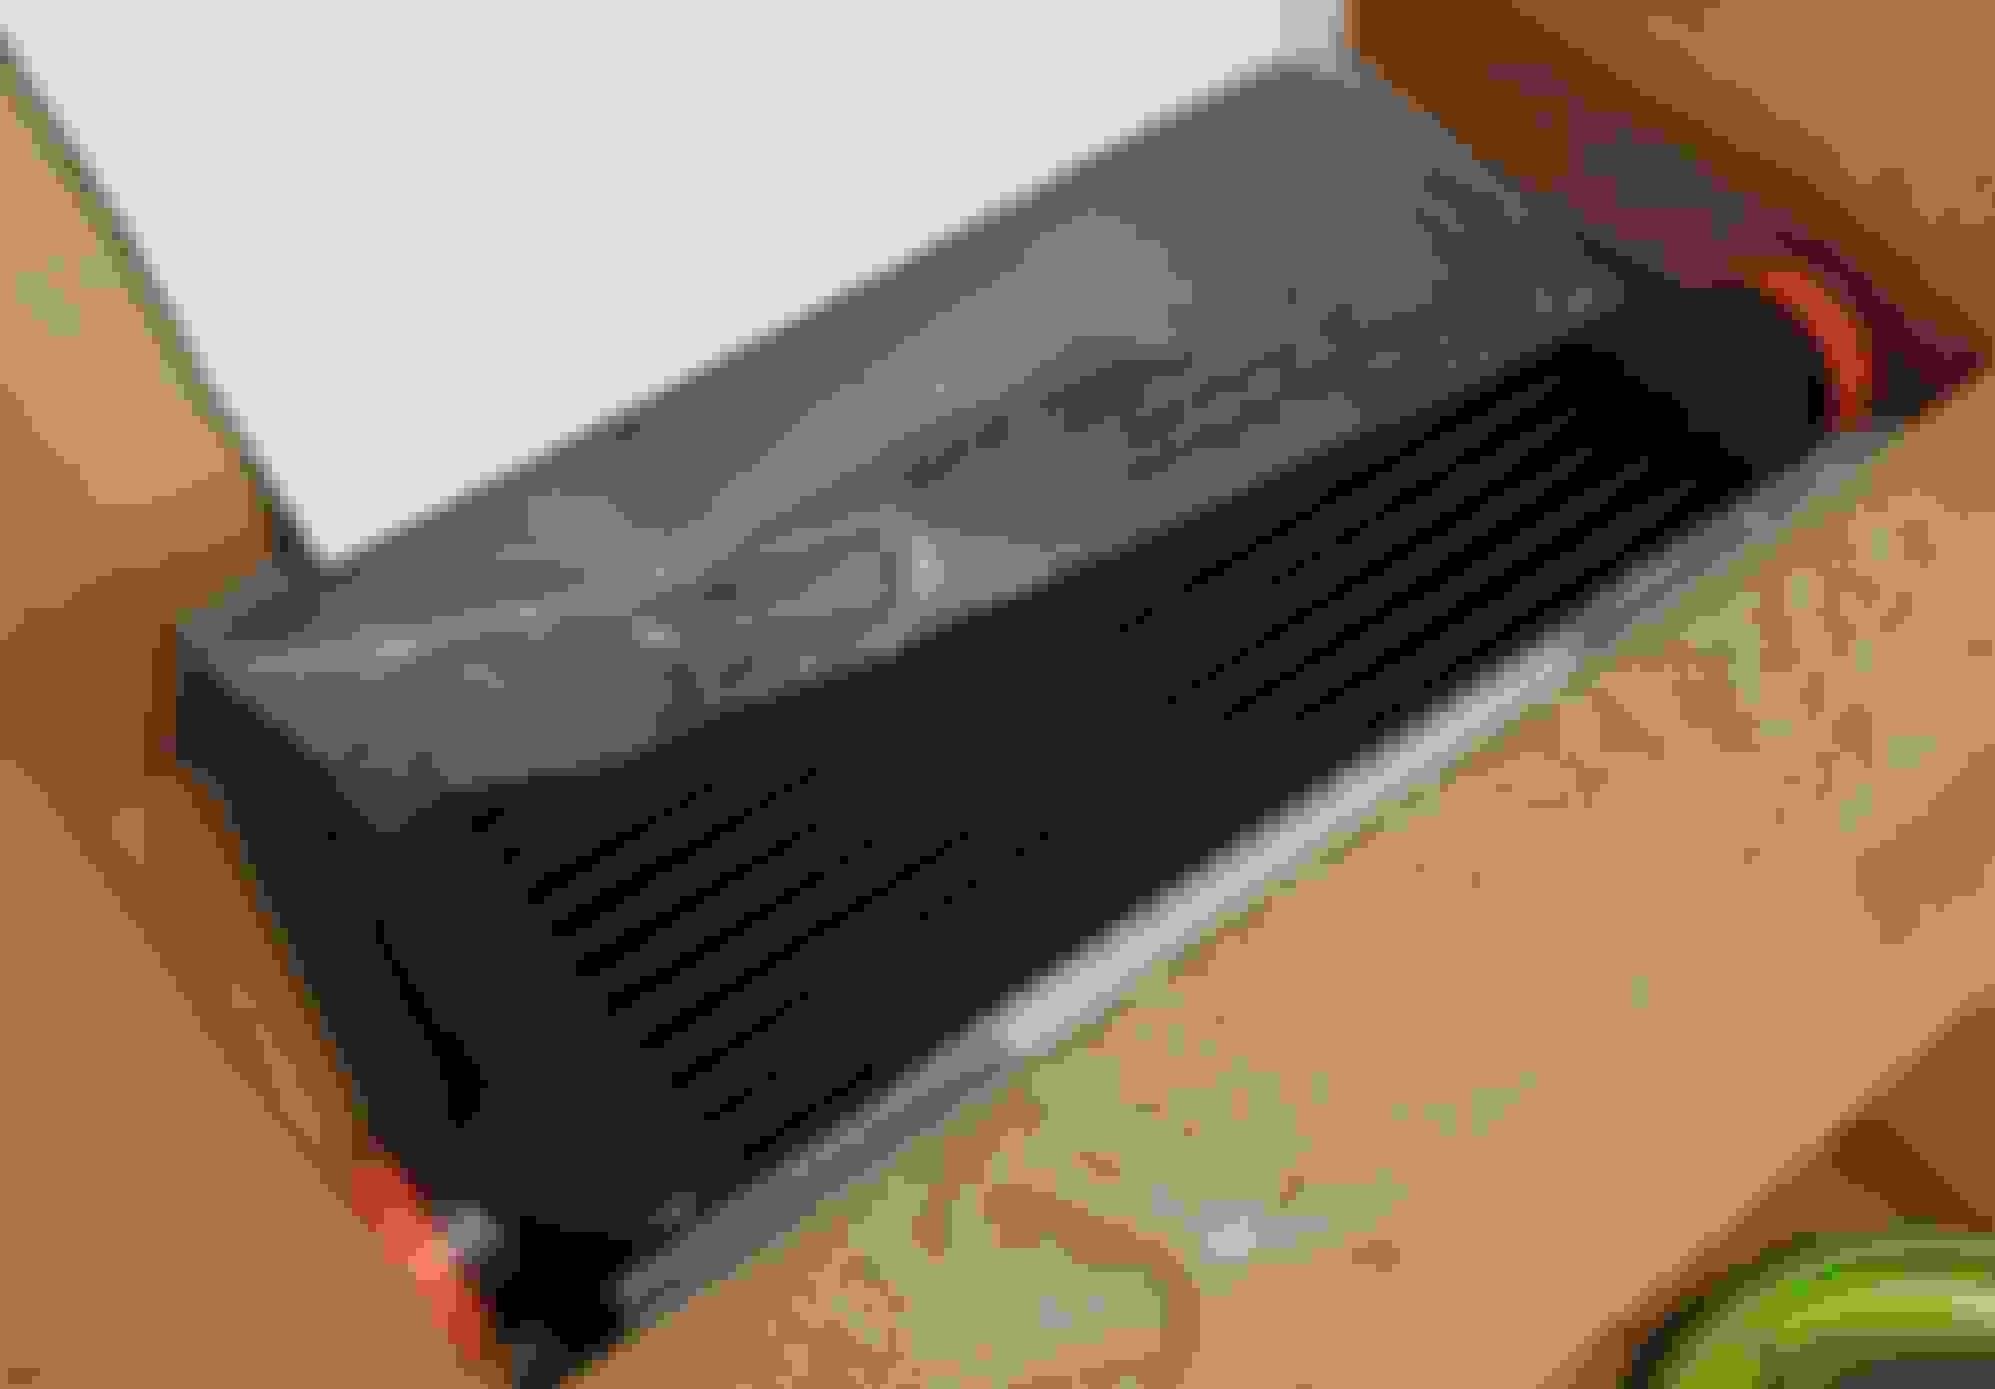
Most of the Huron Speed T4 kit arrived. Picked it up during the Black Friday sale. Just waiting for the BOV and the waste gate. I was not aware the intercooler was going to be black so that was a welcome surprise.
So we begin project "put a turbo kit designed for another truck into the wrong truck". But, it was substantially cheaper than buying a kit purpose made for this truck. I figure it will be fun trying to get the 99-13 kit into this one. I can tell already I will need to run the inlets at the bottom of the intercooler to allow me to tilt the pre-made cold piping enough to fit in the shorter front end, but i believe it's possible.
Truck hasn't had an AC condenser in more than a decade so that's the only reason the intercooler fits. I am going to begin cutting passages where the silver marker is on the core support. I need to order a radiator to go with my NBS fans and then we can get started on cold side mockup. Intercooler will probably mount slightly higher than shown here, and I will need to modify or delete the hood latch support so the intercooler can come forward another inch (which will fit behind the grille). I think the parking lights will clear too. Maybe 😂
You could always mount the intercooler below the frame rails parallel to the road. That�s how I mounted it on my turbo 5.3l s10 and it made it really easy to run charge pipes and have plenty of room with nothing blocking the radiator.
You could always mount the intercooler below the frame rails parallel to the road. That�s how I mounted it on my turbo 5.3l s10 and it made it really easy to run charge pipes and have plenty of room with nothing blocking the radiator.
That's a pretty slick setup! The goal here though is to use all of the pre-fabricated and welded piping that came with the kit, otherwise I bought it for no reason (it's not a universal elbow and pipe kit).
Admittedly, it's because I don't have a welding machine and didn't want to pay anyone to fab part of the kit - so I just made a bet with myself that I could make a pre-fab 99-13 truck kit work. Now, I could have just bought the hot side and then piece-mealed the cold side with a pile of fittings and couplers, but I decided to try this instead. If everything goes well I can do the entire cold and hot side with the contents of the kit and the only fab will be the exhaust (which I was going to pay someone to do either way).
At the end of the day, this is purely a toy / experimental truck at this point. I have two nice daily's (an SS Camaro and a Jeep Gladiator) so this is my outlet for doing dumb **** like cutting giant holes through the core support and not feeling bad about it. Eventually, I'd like to just switch to Rhodes tubular support anyway.
I�ve always enjoyed the fab side of building stuff even if it�s just mig welding up some mild steal u bends cut to fit for charge pipes. I feel like you get to put a lot of creativity into the build for less cost then buying parts that are made to fit but usually still don�t fit right lol. I wouldn�t worry about cutting the rad support as it�s a bolt on item it�s not like it�s not reversible. I�m excited to see how this setup turns out.
I�ve always enjoyed the fab side of building stuff even if it�s just mig welding up some mild steal u bends cut to fit for charge pipes. I feel like you get to put a lot of creativity into the build for less cost then buying parts that are made to fit but usually still don�t fit right lol. I wouldn�t worry about cutting the rad support as it�s a bolt on item it�s not like it�s not reversible. I�m excited to see how this setup turns out.
We are going to get more into fabbing things on future projects for sure - we just aren't there quite yet. Mostly just need the correct tools and shop arrangements. I'm building this truck in a gravel driveway in front of a 10x10 shed. I can move it under my carport if weather and goals require it.
This truck was totaled out back in 1994 when it was only a year old so the entire front end is nothing but Chinese steel anyway - so I don't feel bad cutting on it. There is nothing sacred on this truck since I've molested it so much over the last nearly 20 years.
Gonna be fun though! I have a radiator on the way now to finish fitting the cold side.
Starting the underwood rewire. All the wiring, computer, fuse blocks, etc are moving to the driver side fender. Means a lot of things I wired 12 years ago need to be re-routed or re done. The factory coolant tank and washer tank are out. They will either move, be replaced with something else, be deleted, or depending on what I find go back to stock location. Radiator will be here tomorrow and I will start fitting the cold side of the kit. Then I can determine if battery needs to move or not. I'd like to freshen up the paint on the fender wells and firewall. Just want it to look clean when done.
Got held up the last couple weeks tooling with the old ladies 'new' ride. It has needed some work as it sat up before we got ahold of (low mileage, but older, mini van). We will be back on turbo truck stuff soon.
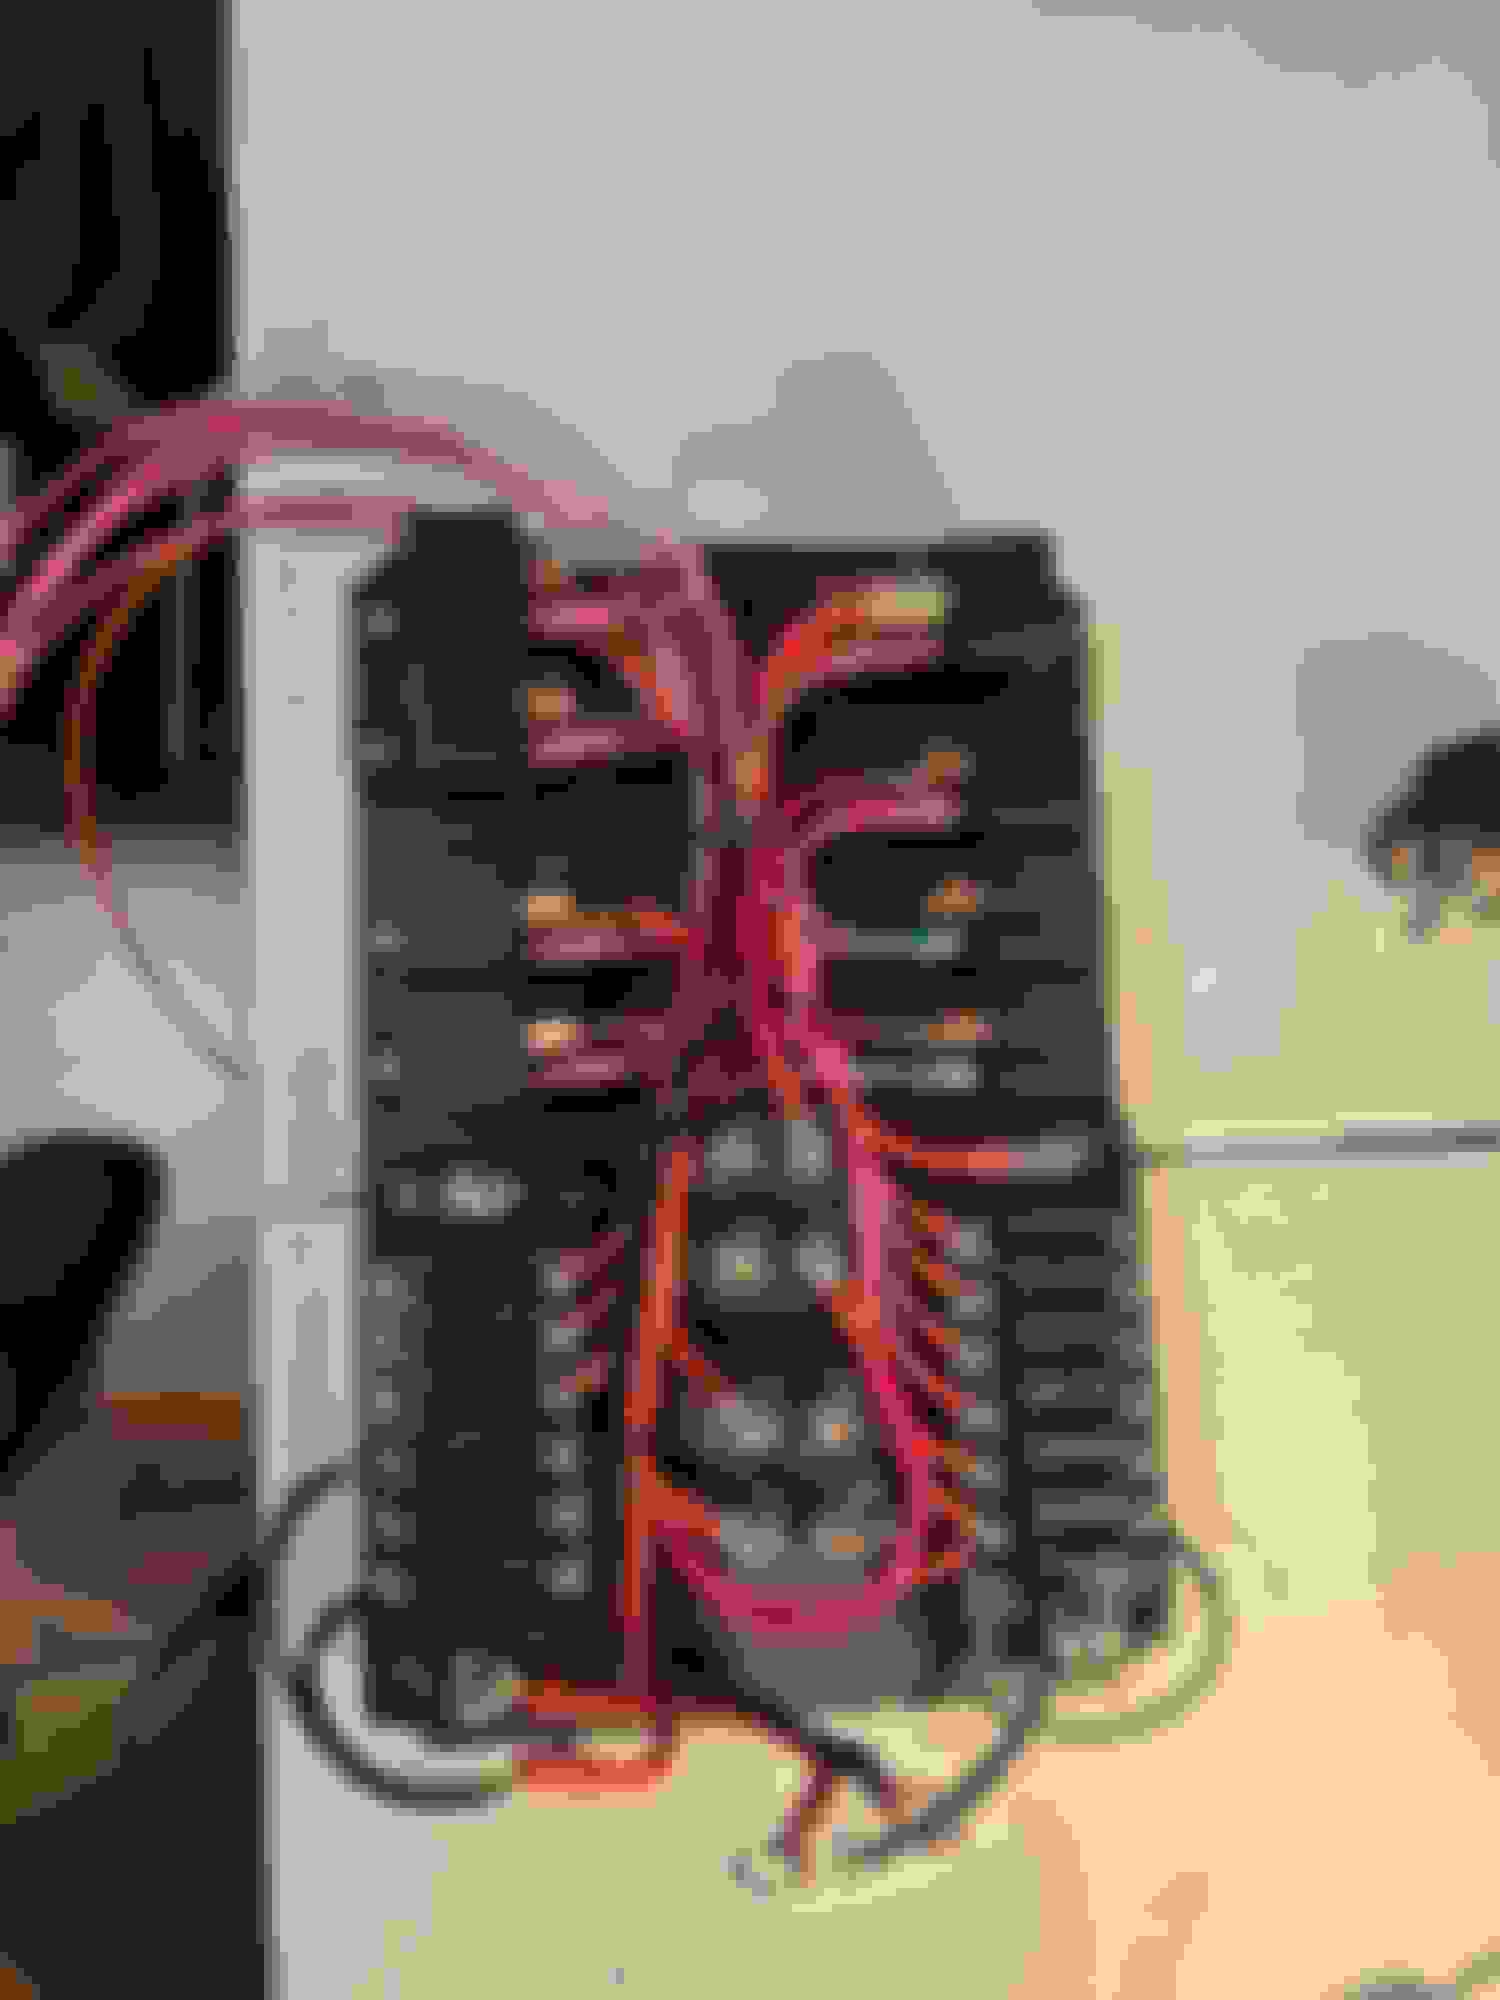
Anyway, been doodling up my under hood fuse block. This will replace the fuse block that came on my PSI harness, allow for the Silverado electric fans, the upgraded fuel pump (and future dual pump if needed), replace the relays in my recently added headlight harness, and allow for a more professional and reliable way of adding future electronics. It will also be modular so I can remove it easily, modify it, or disconnect individual harnesses for serviceability.
This is a work in progress so may not be accurate to the final build. I need to get the parts on order soon.
So I opted out of the GEP boxes. Ultimately I wanted to do something this time that could be repaired using the standard array of tools I carry at all times along with regular terminals available at any auto parts store. So this is pretty old fashioned. It will be in a project box with bulkhead power and ground studs and wires will lead out via a grommet and have connectors. Can remove box fully from truck to repair / modify in just a few minutes. Controls the LS harness, AFR/boost control gauge, fans, and fuel pumps. It's pretty crowded but it's the space I had to work with. This is just the first version. I may build another one with what I learn here, and later all this may move into the cab where I have a lot more space. Right now the game is get the engine bay cleaned up, get the functionality I need, and do it affordable/reliable/quick so the truck doesn't stay down forever.
If you click here you can see the spreadsheet where I keep up with parts for the build. There is a tab from everything I did getting it 'back on the road' the last few months, some tabs where I am working out what I want the new fuse blocks to look like, and a couple tabs that cover various parts of the build. The information isn't 100% accurate as I am double checking things right before I order and so some parts / numbers may change at the last minute - and some of these items may not actually be purchased new, just depends on what pops up local as I go.
Anyway - might be handy to someone or help you understand what I'm doing (good or bad, lol).
I have a question for you. I came here looking to find out if I can use my existing 1993 4L60E transmission behind a 6.0 YL6. The title on your post says you are using a 4L60E. But your spreadsheet says that you used a 4L80E. Did I read wrong? Can the 93 4L60E be used?

 03-12-2024, 07:29 PM