
2000 Chevy Silverado project "Charlie Murphy"


 08-14-2012, 04:26 AM
#92
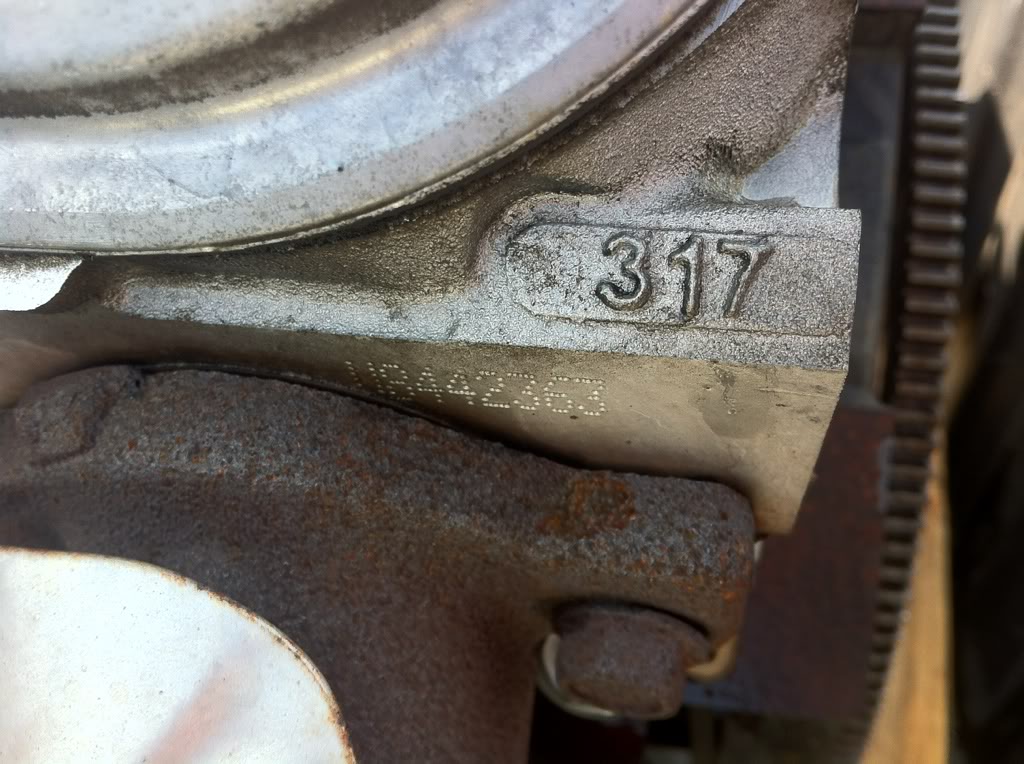
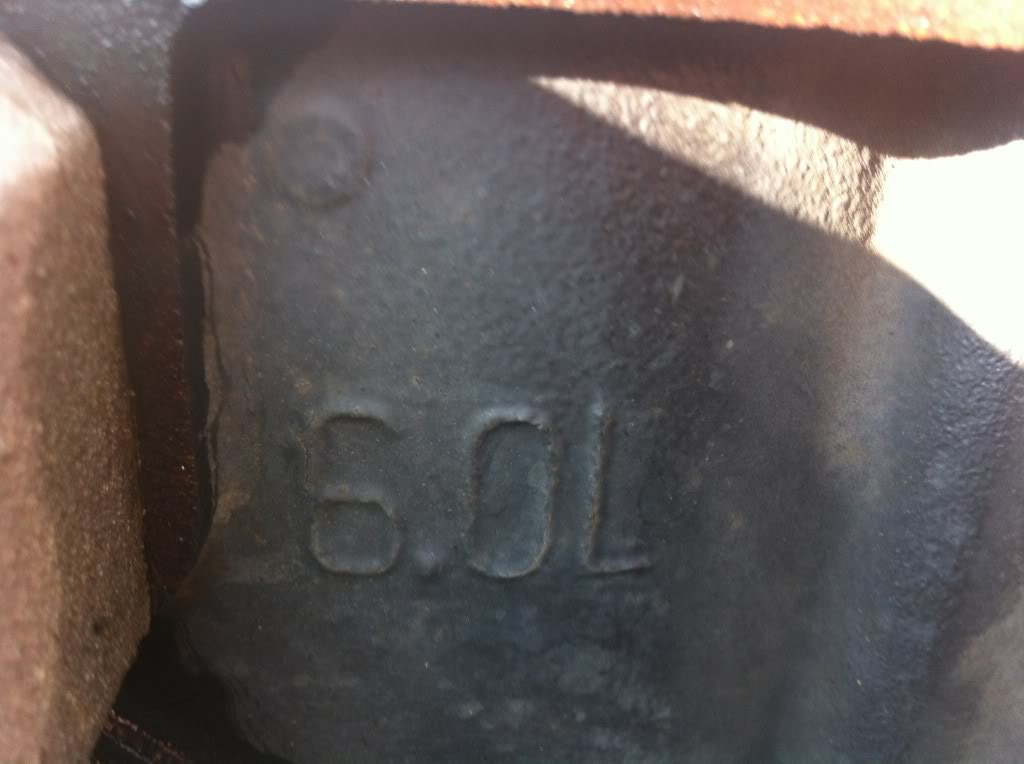
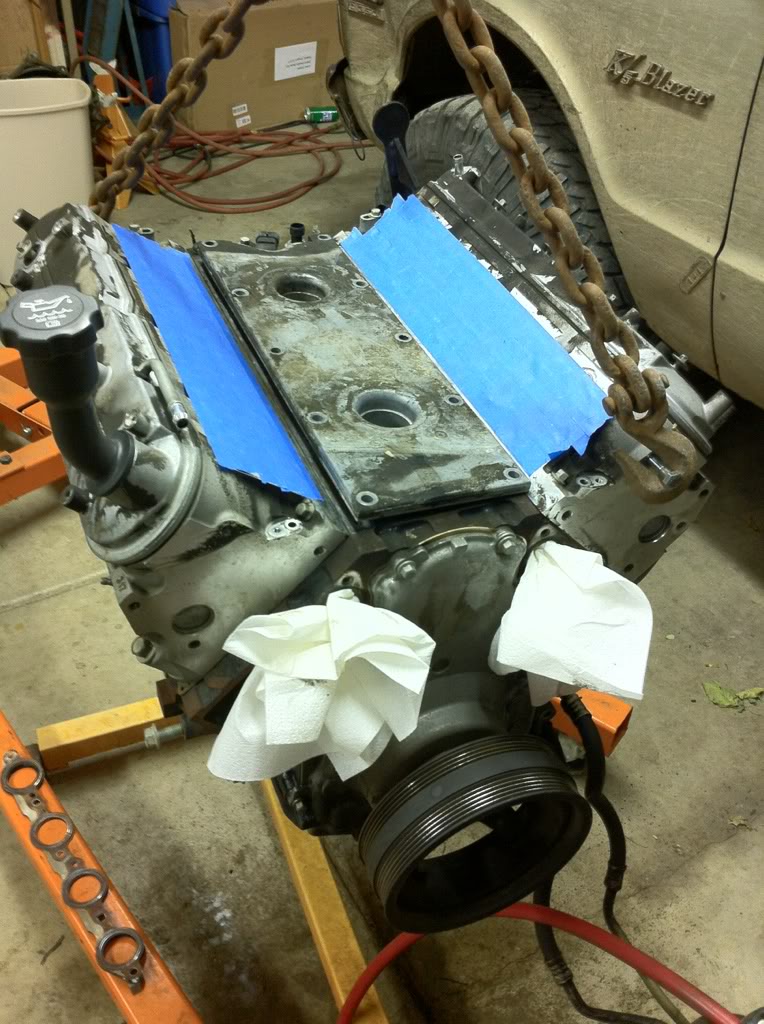
So I started tearing into the 6.0L today.
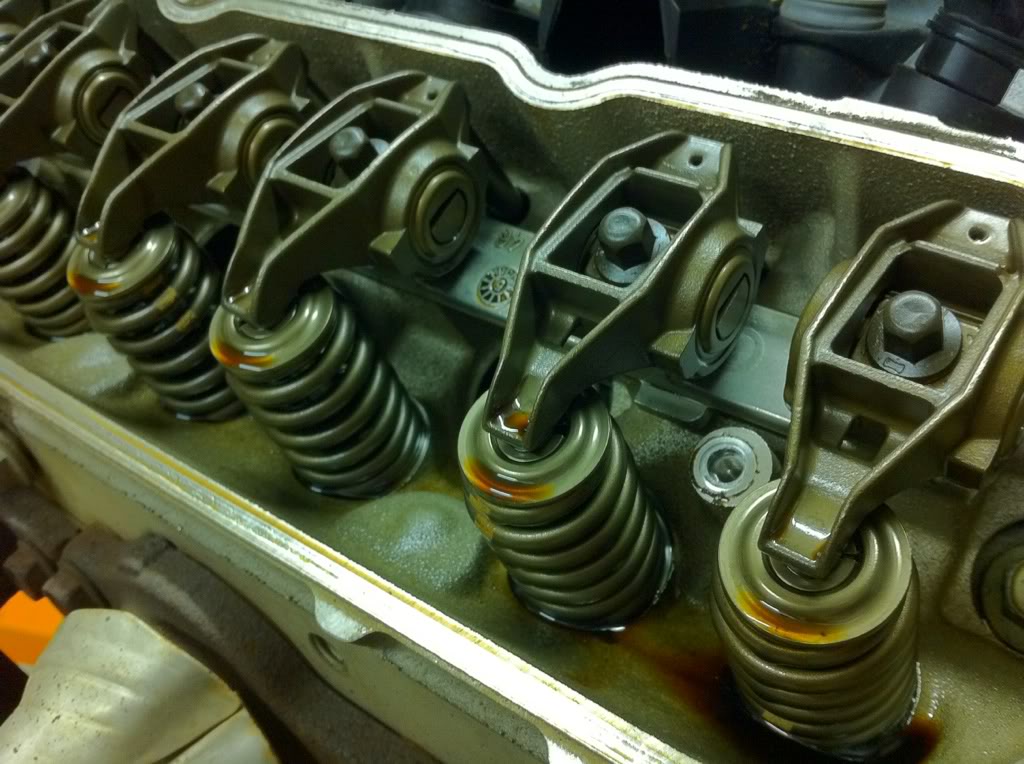
I took the valve covers off to check things out. I think it looks good.
I've read where guys have found leaves and other things under there. I found seeds.
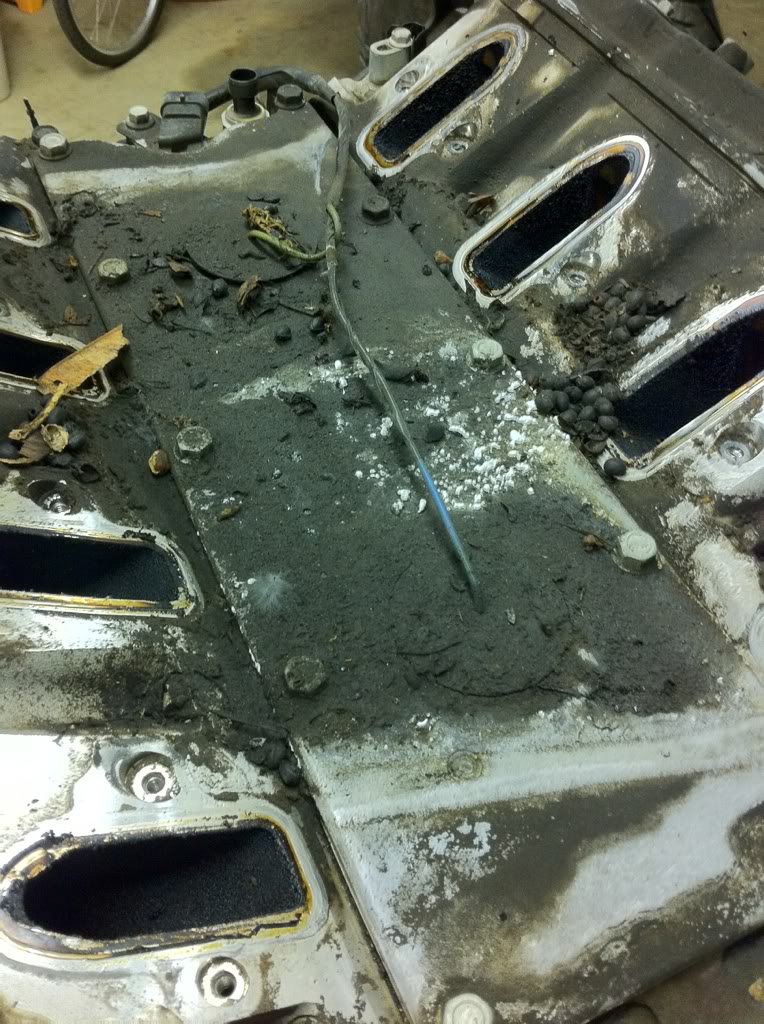
Started cleaning up.
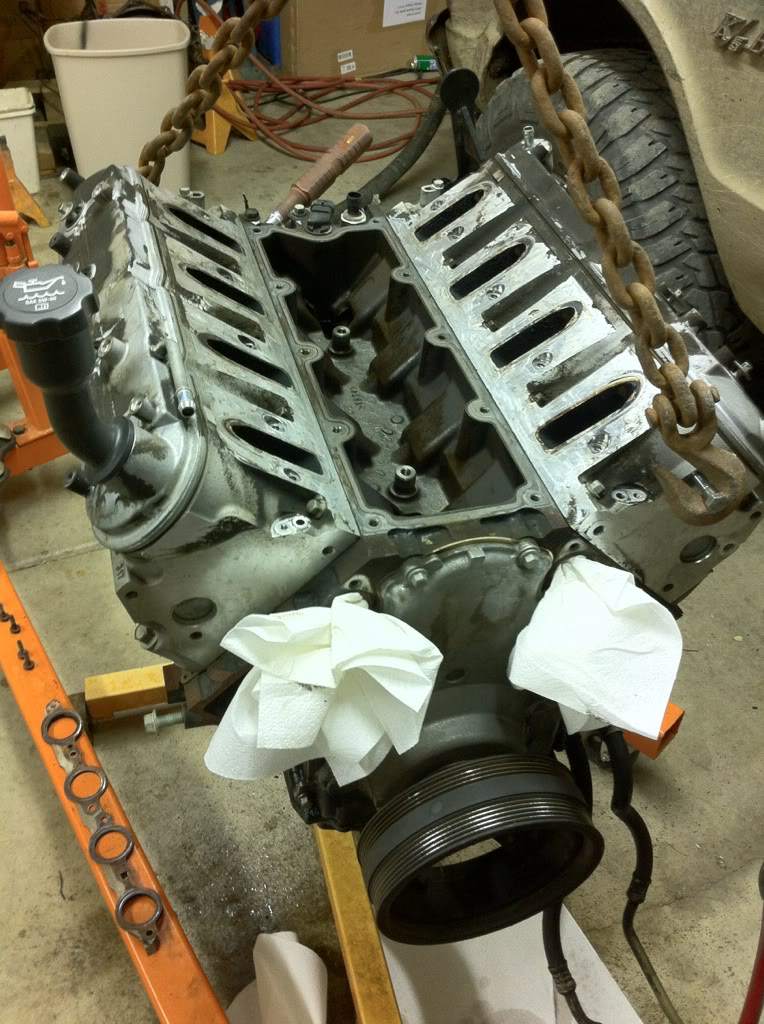
Got a peek at the camshaft. It looks good to me, but what do I know?
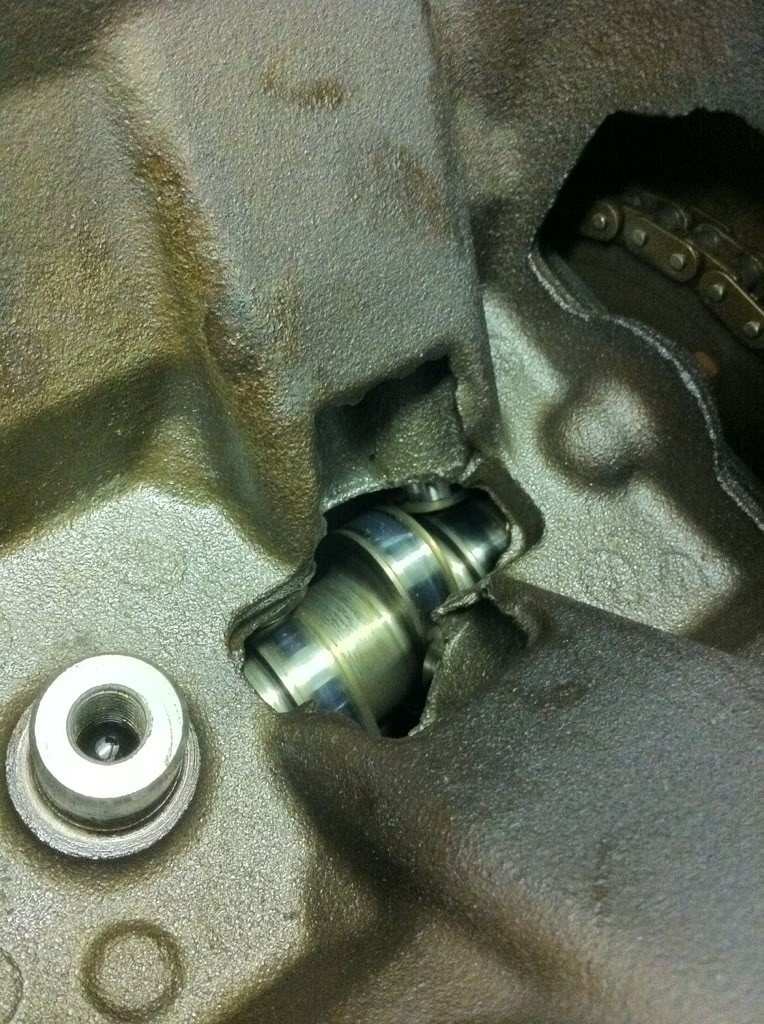
I know there's 700 horsepower in there somewhere. LOL.
I took the valve covers off to check things out. I think it looks good.
I've read where guys have found leaves and other things under there. I found seeds.
Started cleaning up.
Got a peek at the camshaft. It looks good to me, but what do I know?
I know there's 700 horsepower in there somewhere. LOL.

 08-19-2012, 02:34 AM
#94
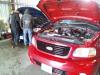
My LQ4 has a couple of broken exhaust bolts. No, I didn't break them, lol.
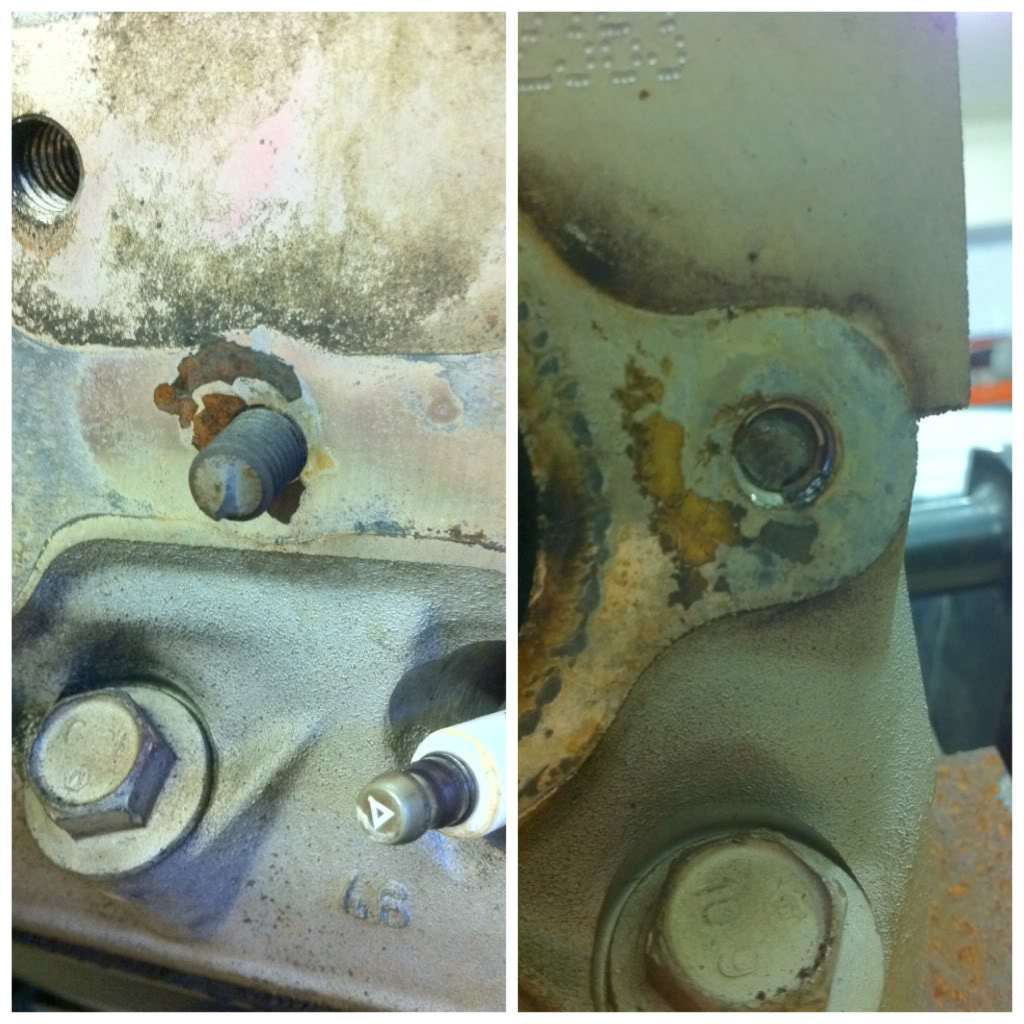
When I got my 2000 Silverado it had an exhaust leak. I searched around and found out that Chevy revised the exhaust manifold bolts. So I ordered a complete set and fixed the leak. While searching around I found out that it's somewhat common for the rear bolts to break off. Now I'll have to figure out how to remove those bolts.
When I got my 2000 Silverado it had an exhaust leak. I searched around and found out that Chevy revised the exhaust manifold bolts. So I ordered a complete set and fixed the leak. While searching around I found out that it's somewhat common for the rear bolts to break off. Now I'll have to figure out how to remove those bolts.
 08-24-2012, 03:52 AM
#96
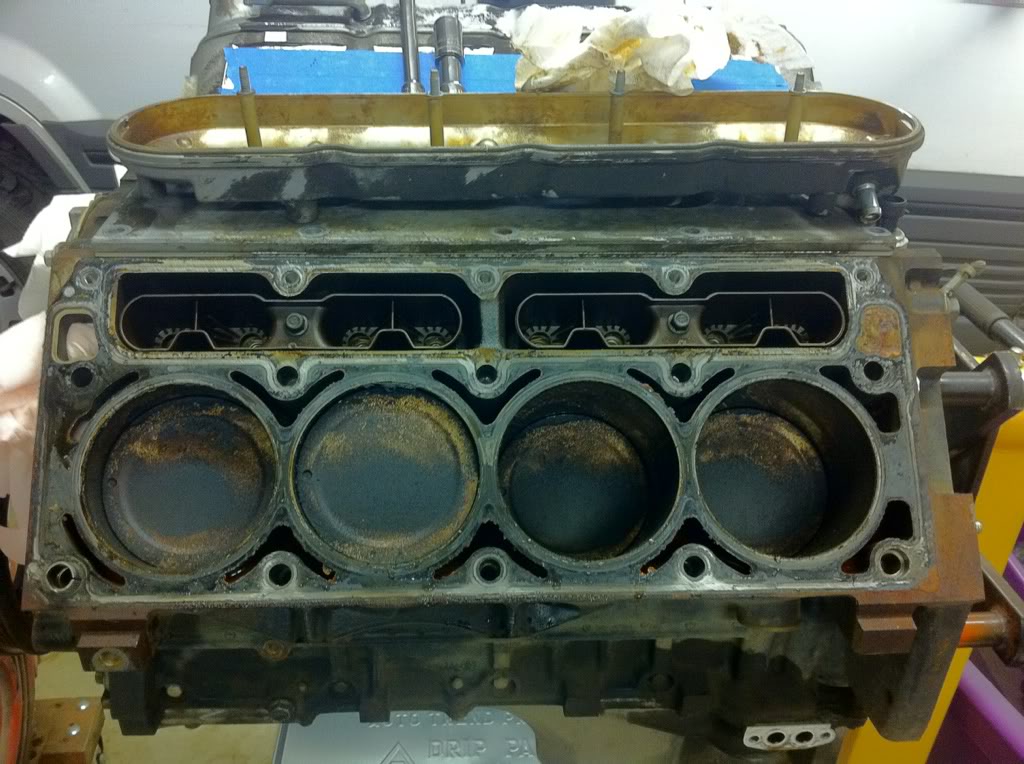
I got to work on my engine a little bit today. I wanted to get the heads off so I could take a look.
It wasn't bad, but not nearly as nice as I thought it would be.
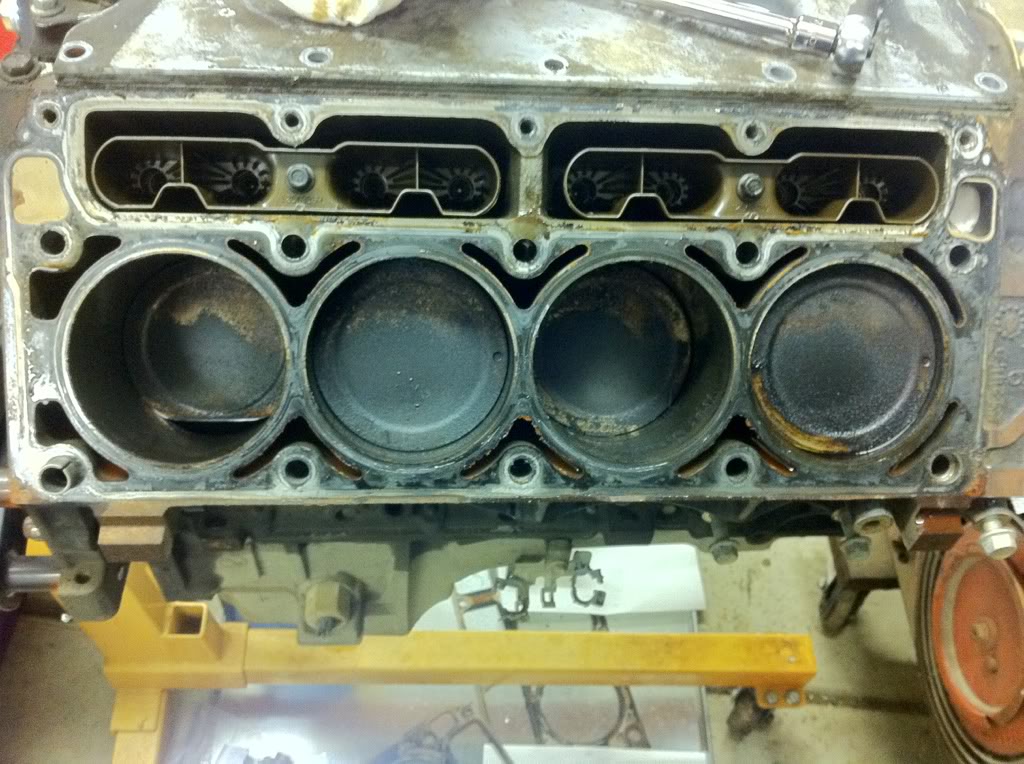
First the driver's side.
There's some build up on the cylinders walls.
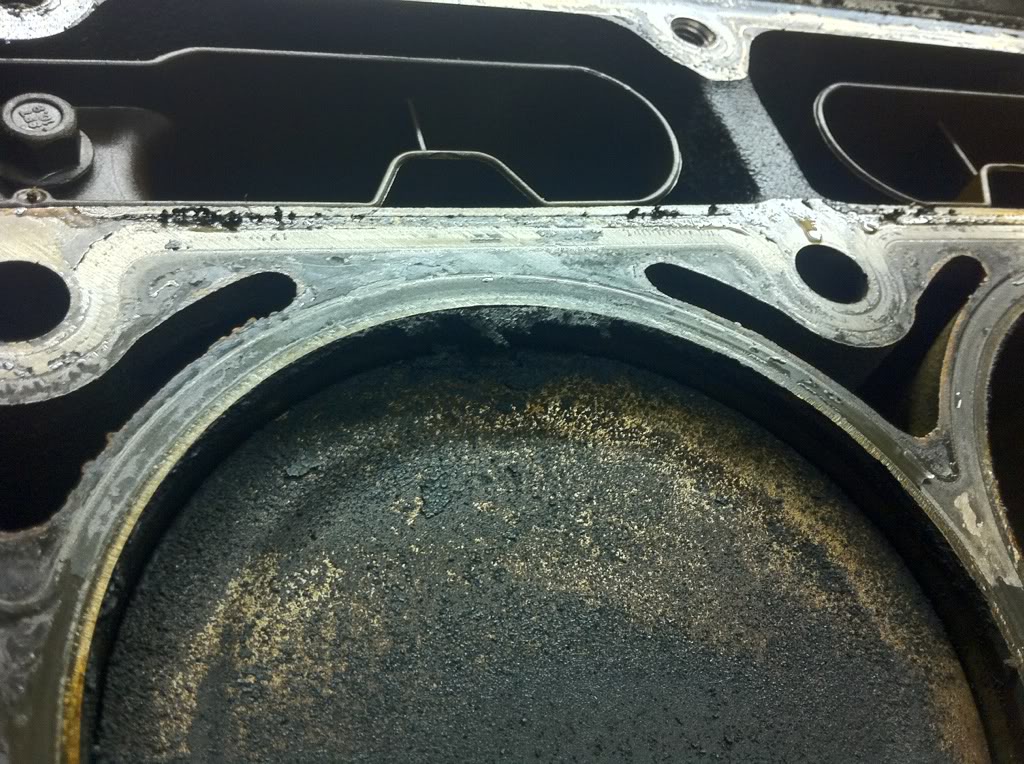
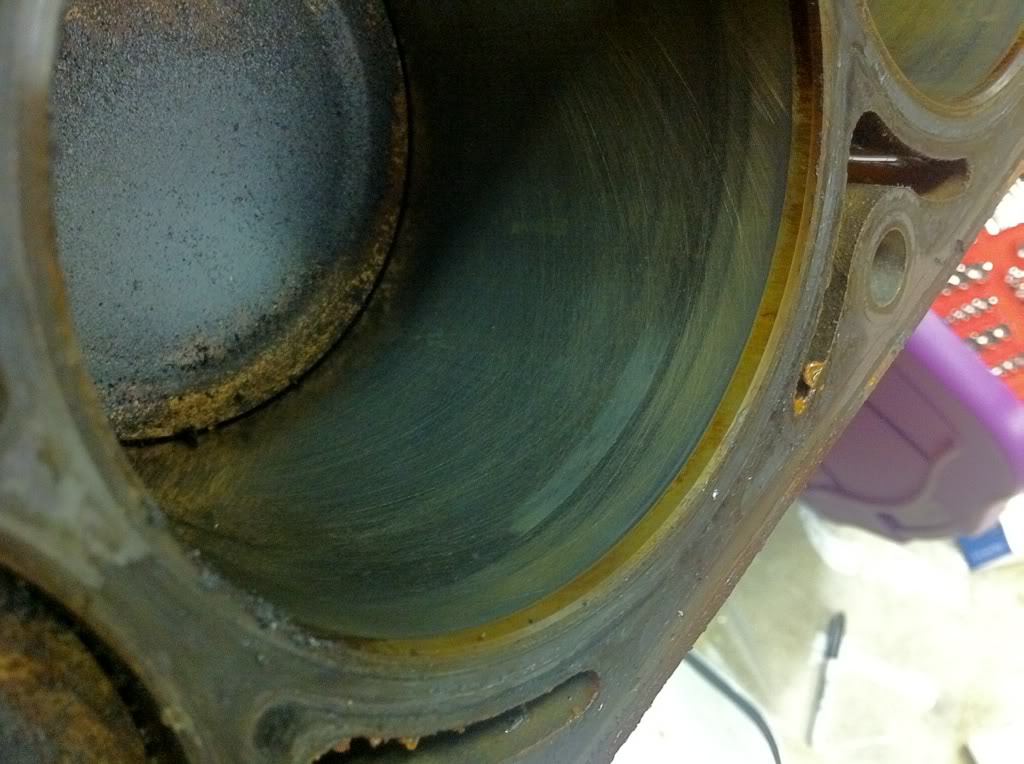
I wiped down some of the build up. You can see the hash marks from the factory. Also, there doesn't seem to be any lip on the cylinder walls whatsoever. Well, none that I can feel with my finger nail.
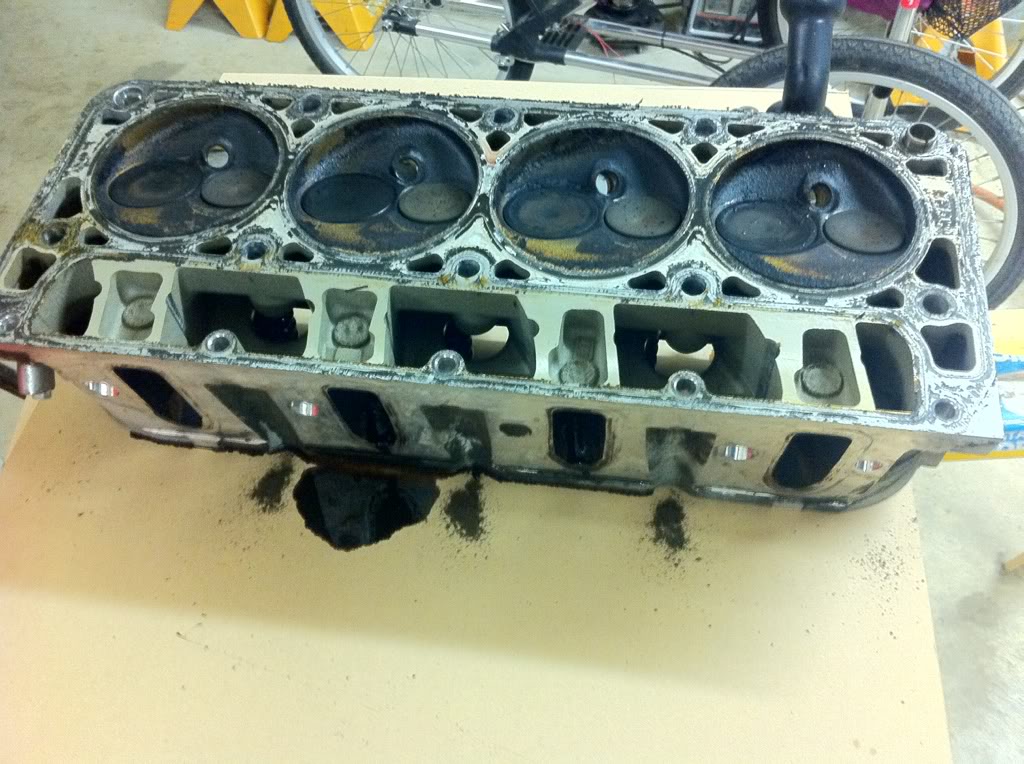
Build up on the heads as well. I really need to clean these up.

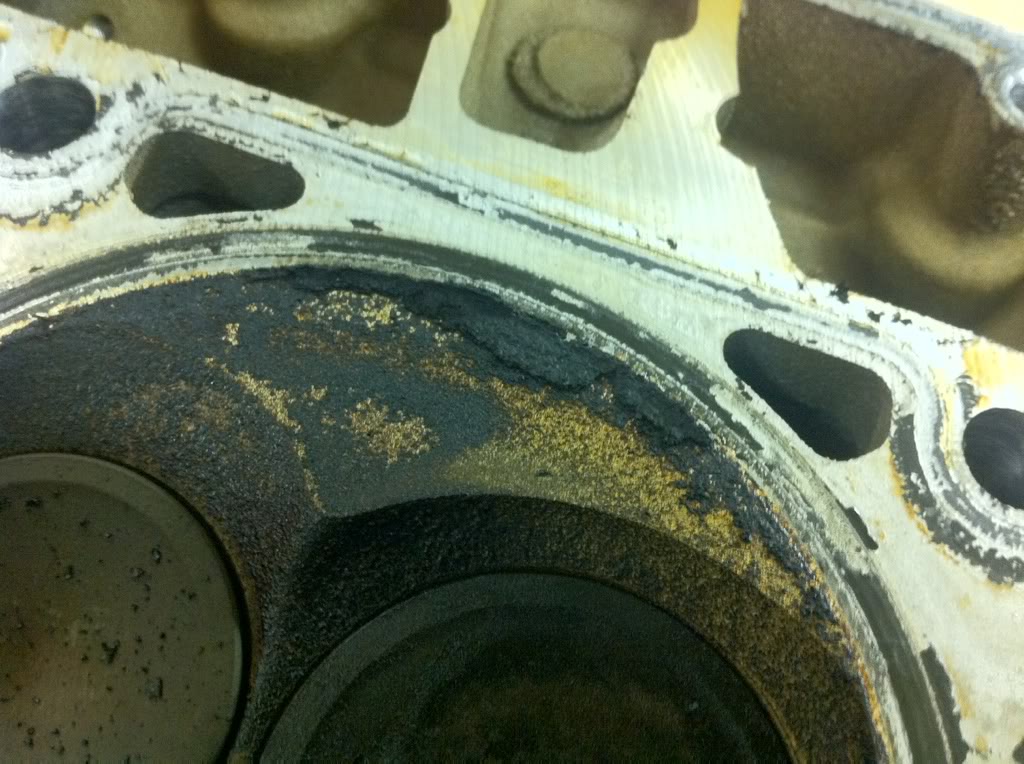
The passenger's side was a little worse.
First off, GM put this on upside down, a little weird I thought.

Here's the passenger's side.
So what's up with the oil in the cylinder?
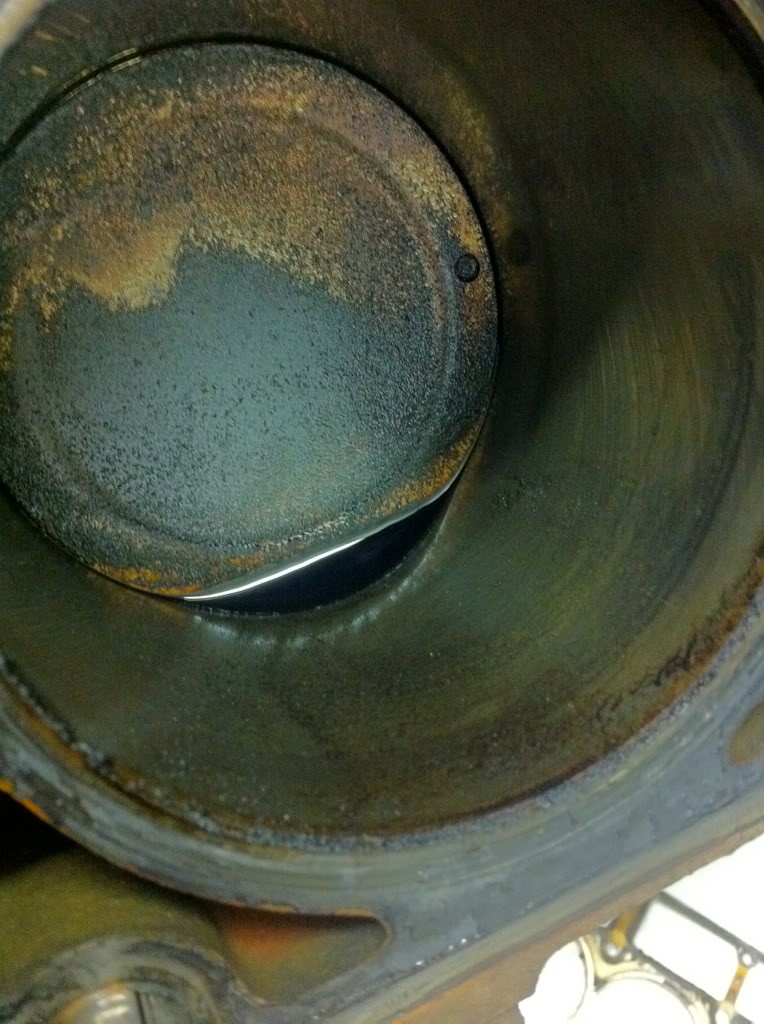
When I took the heads off I put them on a bench. I took the passenger's head and set it beside the driver's side. I noticed that there seemed to be some oil draining from the head.
I assume the oil was trapped above the valve. Perhaps from the wrecking yard?
Is this oil build up something I should be concerned with?
It wasn't bad, but not nearly as nice as I thought it would be.
First the driver's side.
There's some build up on the cylinders walls.
I wiped down some of the build up. You can see the hash marks from the factory. Also, there doesn't seem to be any lip on the cylinder walls whatsoever. Well, none that I can feel with my finger nail.
Build up on the heads as well. I really need to clean these up.
The passenger's side was a little worse.
First off, GM put this on upside down, a little weird I thought.
Here's the passenger's side.
So what's up with the oil in the cylinder?
When I took the heads off I put them on a bench. I took the passenger's head and set it beside the driver's side. I noticed that there seemed to be some oil draining from the head.
I assume the oil was trapped above the valve. Perhaps from the wrecking yard?
Is this oil build up something I should be concerned with?
08-25-2012, 01:34 AM
#97
I started cleaning up the heads a bit today. The grime is coming off quite easily with brake cleaner. Unfortunately a bottle of the stuff doesn't last very long. I'm going to try oven cleaner in a plastic bag next. Ive used it in the past to strip the paint off of parts. Hopefully it'll break own this sludge build up without damaging the heads.
Last edited by iregret; 08-25-2012 at 11:12 AM.
 08-25-2012, 11:16 AM
#99
Sweet. I'll try it. I picked up some oven cleaner at the dollar store on my way home yesterday. I'll see if I can mess around with the heads tonight.
I haven't taken the valves or springs out. I'm a little worried about them getting wet from hosing off the oven cleaner.
I'm planning on swapping yellow springs in. Should I replace the valve guides?
I haven't taken the valves or springs out. I'm a little worried about them getting wet from hosing off the oven cleaner.
I'm planning on swapping yellow springs in. Should I replace the valve guides?
10-12-2012, 01:15 AM
#100
Well I got to messing around with my LS6 oil pump today. A lot of folks recommend buying the ported version. They cost around 200.00, and I bought my non-ported version for 95.00 shipped.
There are several write ups on the Internet on how to port the oil pump. Here's what I did.
First off, here is the oil pump taken apart and all laid out.
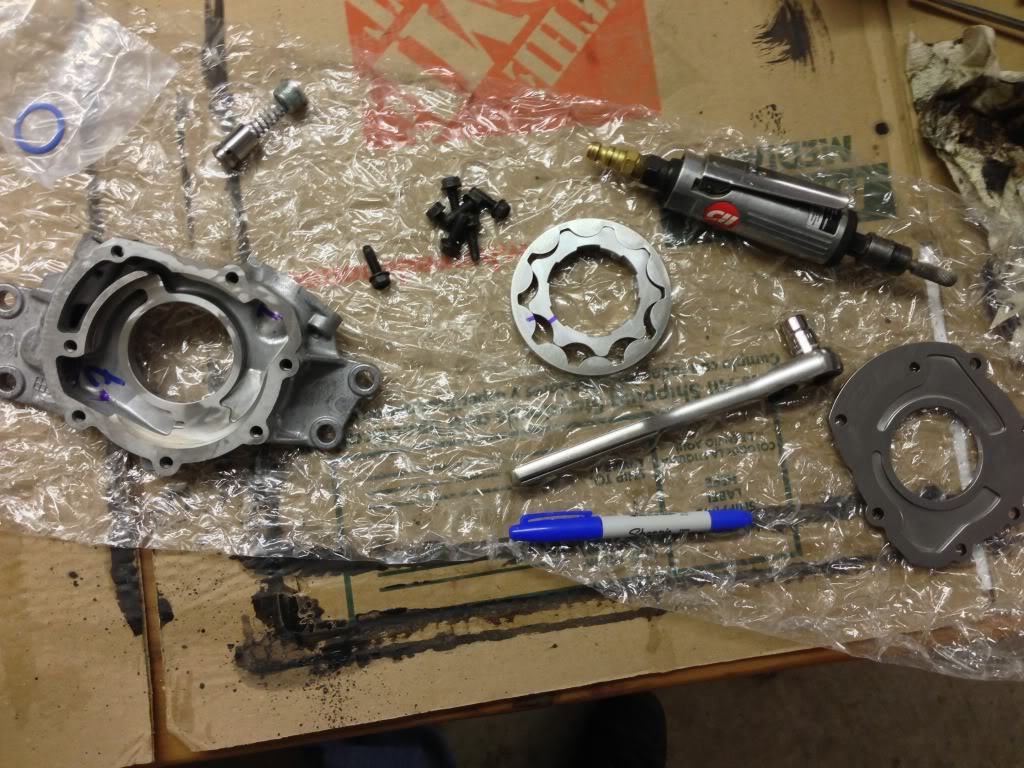
Make sure you keep the top part of the gear set upright. You can see where I put a blue mark.
Here's the oil pump pick up tube before modifications.

Here's the outlet before modifications.
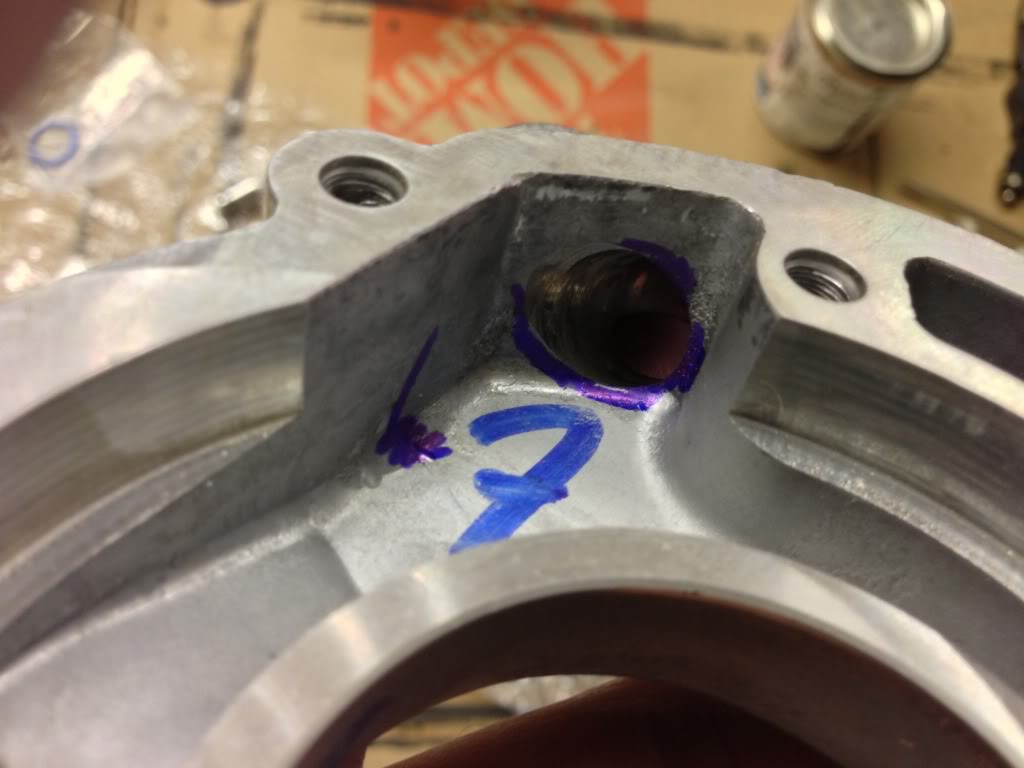
I put blue marks to help me focus on what needed to be removed. That blue 7 (Fender guitar lookin') was already there.
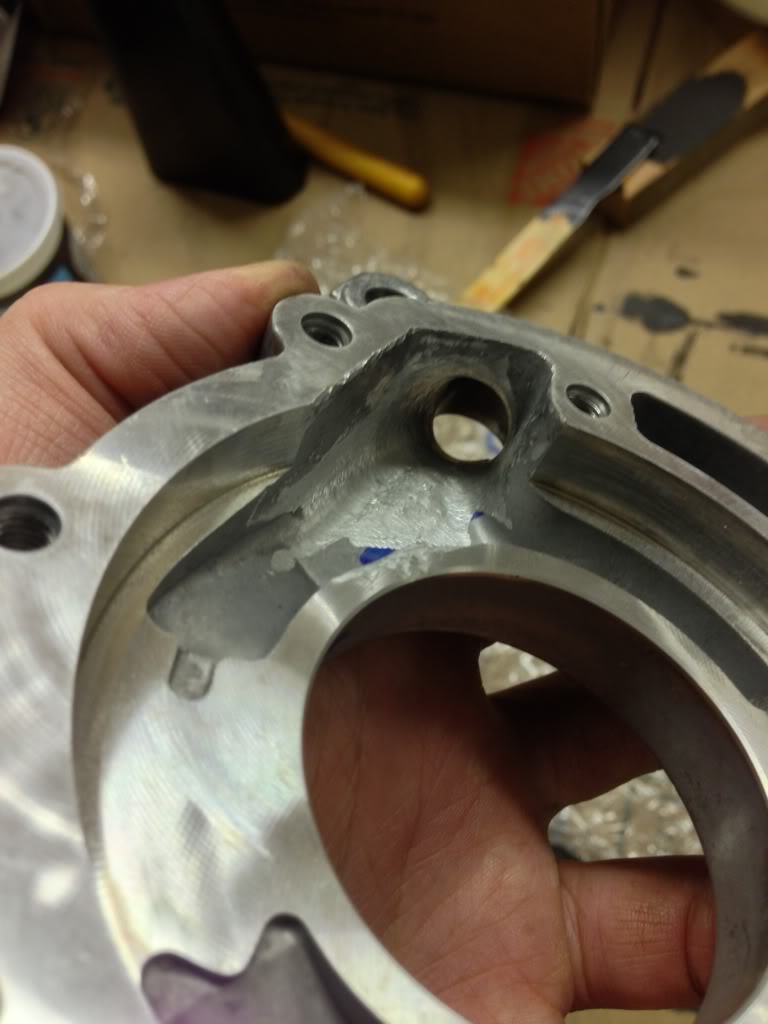
Here's the outlet after. It's heard to tell in the picture how much material was actually removed. I spent most of my time on the outlet side of the oil pump.
Here's the after on the pickup tube side.
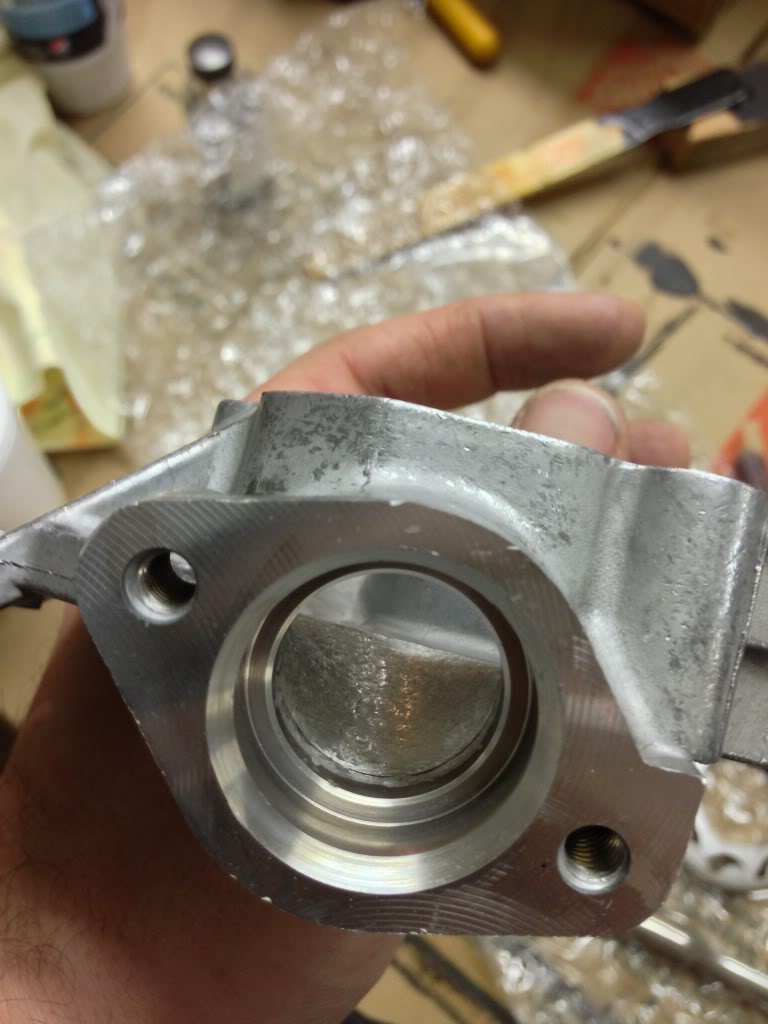
You can see where there used to be a lip. I completely removed the lip and smoothed everything out.
I ran out of time. I'm also going to shim the relief valve spring. I've read that if you add .080-.100 you get 73-76 psi. I need to buy some #8 washers and blue loc-tite.
There are several write ups on the Internet on how to port the oil pump. Here's what I did.
First off, here is the oil pump taken apart and all laid out.
Make sure you keep the top part of the gear set upright. You can see where I put a blue mark.
Here's the oil pump pick up tube before modifications.
Here's the outlet before modifications.
I put blue marks to help me focus on what needed to be removed. That blue 7 (Fender guitar lookin') was already there.
Here's the outlet after. It's heard to tell in the picture how much material was actually removed. I spent most of my time on the outlet side of the oil pump.
Here's the after on the pickup tube side.
You can see where there used to be a lip. I completely removed the lip and smoothed everything out.
I ran out of time. I'm also going to shim the relief valve spring. I've read that if you add .080-.100 you get 73-76 psi. I need to buy some #8 washers and blue loc-tite.
The following users liked this post:
54inches (05-01-2024)