
2000 Chevy Silverado project "Charlie Murphy"
 12-18-2015, 06:24 AM
#401

Well the answer is in post 100.
That's why I picked those washers. LOL.
Originally Posted by iregret
If you add .080-.100 you get 73-76 psi.

 12-18-2015, 02:28 PM
#404
I honestly have never ran a ported and shimmed pump on any of the LS engines I have put together.
12-18-2015, 04:02 PM
#405
It isn't so much the amount of the material that is the issue. The rotors ride along the flat machined surface. The surface now has significant marring and that could cause premature wear on the rotors. Personally I would get a different oil pump and either leave it be or be very careful porting it.
I honestly have never ran a ported and shimmed pump on any of the LS engines I have put together.
I honestly have never ran a ported and shimmed pump on any of the LS engines I have put together.
I mean, I agree with you, I fucked up, but I don't know exactly how critical it is. Is it enough to throw away $100? Well, I'm poor now, so no, it isn't to me.
If it blows up in my face, I will come back here and say you warned me, but honestly, I think there's a greater chance I'll blow up the engine teaching myself to tune.
Helpfully this can be a lesson to others though. Be very careful when porting! In this case, the collar of the tool caught the surface when the carbide bit got traction.
12-18-2015, 05:15 PM
#406
I know I screwed it up, but let's play worst case scenario. What is it? The planetary gears are captured in there. If the surfaces wear and somehow weaken the gear and it'll break? The housing side of the gear set is machined flat and the gear set moves in a concentric pattern. Are you concerned it'll leak internally costing oil pressure?
Put up a WTB ad in the classifieds. Some of these guys probably have several factory oil pumps laying around and they might only charge you the cost of shipping.
12-20-2015, 04:51 AM
#407
increased wear on the bearing surface could result in several things. from loss of oil pressure to even the housing cracking and taking out the entire engine. I look at it like this. You can do things the right way from the start and not cut corners or you can roll the dice. How many people do you know that got rich by playing in Vegas? I know of none.
Put up a WTB ad in the classifieds. Some of these guys probably have several factory oil pumps laying around and they might only charge you the cost of shipping.
Put up a WTB ad in the classifieds. Some of these guys probably have several factory oil pumps laying around and they might only charge you the cost of shipping.
I took apart the factory oil pump. I was tempted to run that one after nicking this one but after pondering it and looking it over, I'm just going to run the ported pump. Also the planetary gear set doesn't work exactly how I imagined. It's more like a winkle rotary engine. The space between the gears is what moves the oil.
The gears themselves are hardened, the housing is aluminum. Which one is going to be damaged? I sanded the housing surface as smooth as I could and I just don't feel that this is the end of the world. If anything some aluminum particulate may come off. Even then it would be pre-oil filter. Unless the truck is upside down, there's no way it's getting to the top end and when I dropped the pan I was surprised by how much crap was in there.
I think it'll be fine. Imagine how often stuff like this happens at machine shops. LOL.
I'm cleaning up the surfaces on the block. I got everything I could by scrubbing and now I'm carefully taking razor blades to it. I don't have metric taps so I ground a valley into the old bolts so I can clean out all the threads.
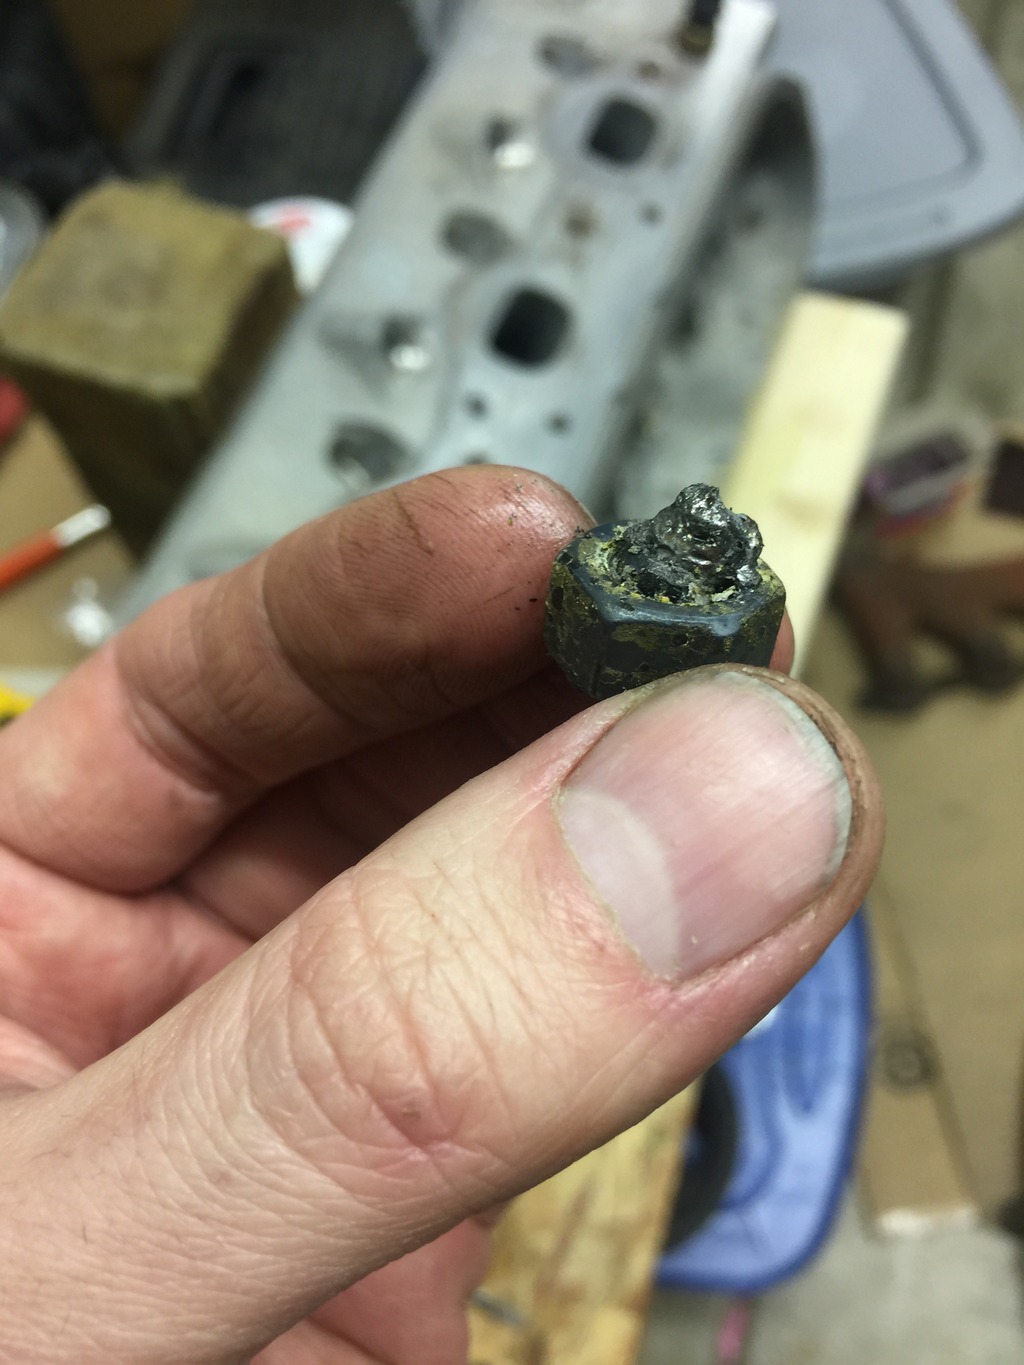
Here's an old head bolt.

After cleaning up the oil pan and front cover I drilled and tapped the pan for a return line from the turbo. I started with step bits until I was close to the 23/32 drill bit size. When I switched to the drill bit I made sure to go really slow. Even so, I damn near threw the oil pan when the bit grabbed after breaking through. Be careful!
After that I oiled up the tap and very slowly started tapping threads into the aluminum. I'd go about a quarter turn forward, then backwards. When the die had aluminum build up I'd pull it all the way out and clean it with solvent, re-oil and repeat.

I actually went a little farther than this pic and also de-burred it as well.

Put on some Teflon tape and tightened it down.


Put everything back together and I'm done.

I probably didn't need to do this but I replaced the seal in the timing chain cover. Pretty straightforward. Pulled the old one out with a screwdriver and tapped the new one in using the old seal.

The following users liked this post:
54inches (05-01-2024)
12-21-2015, 03:07 AM
#408
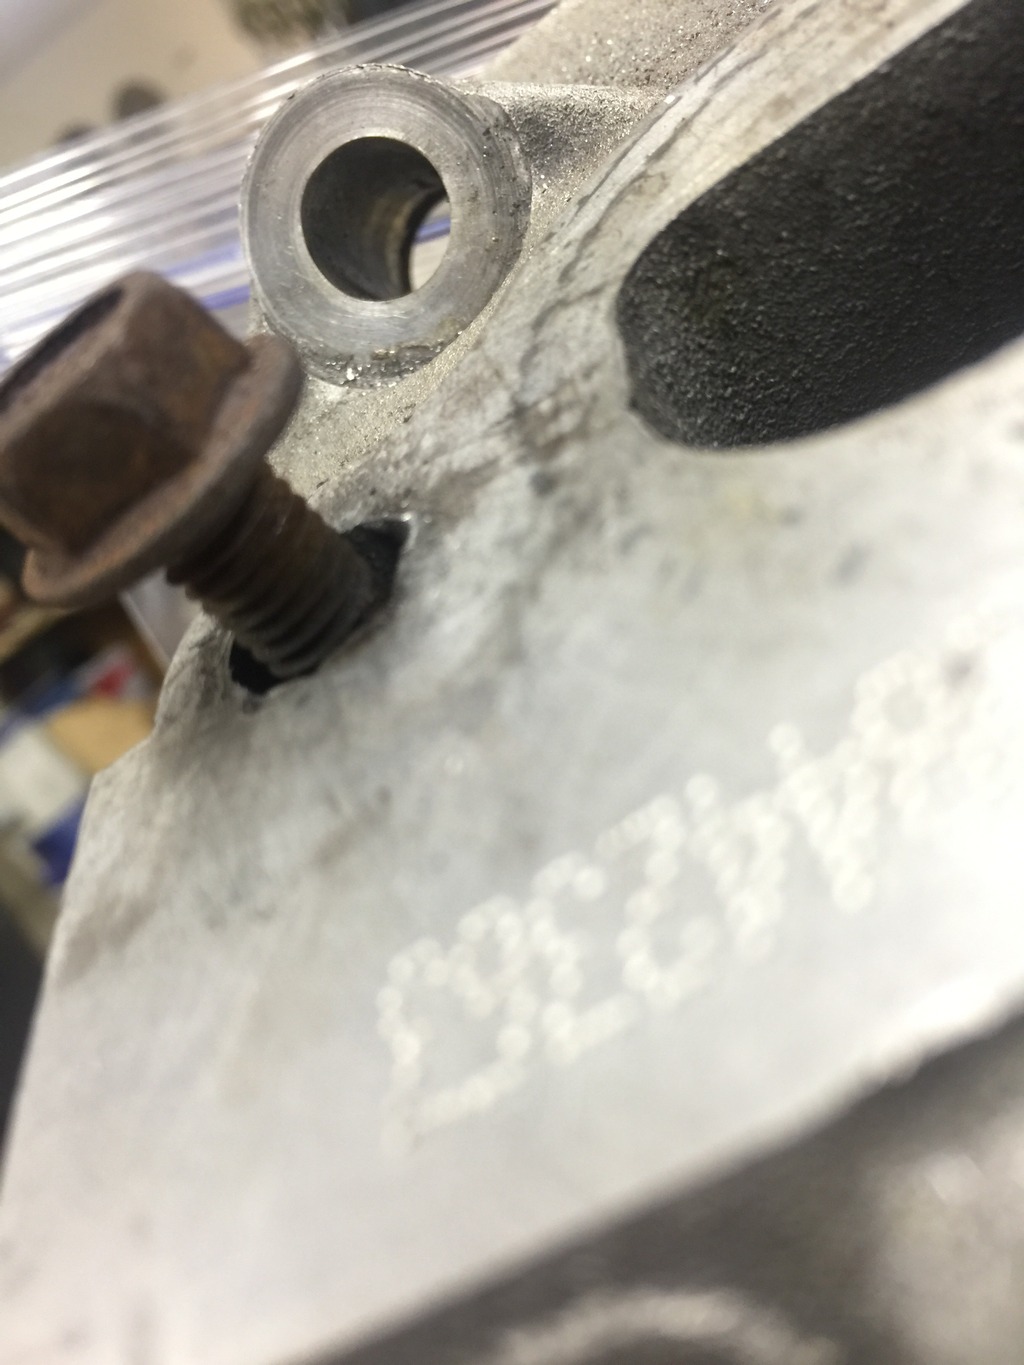
I spent 6 hours today removing a broken exhaust bolt. It was broken low into the threads. At first we tried welding a nut to it. It broke, twice.
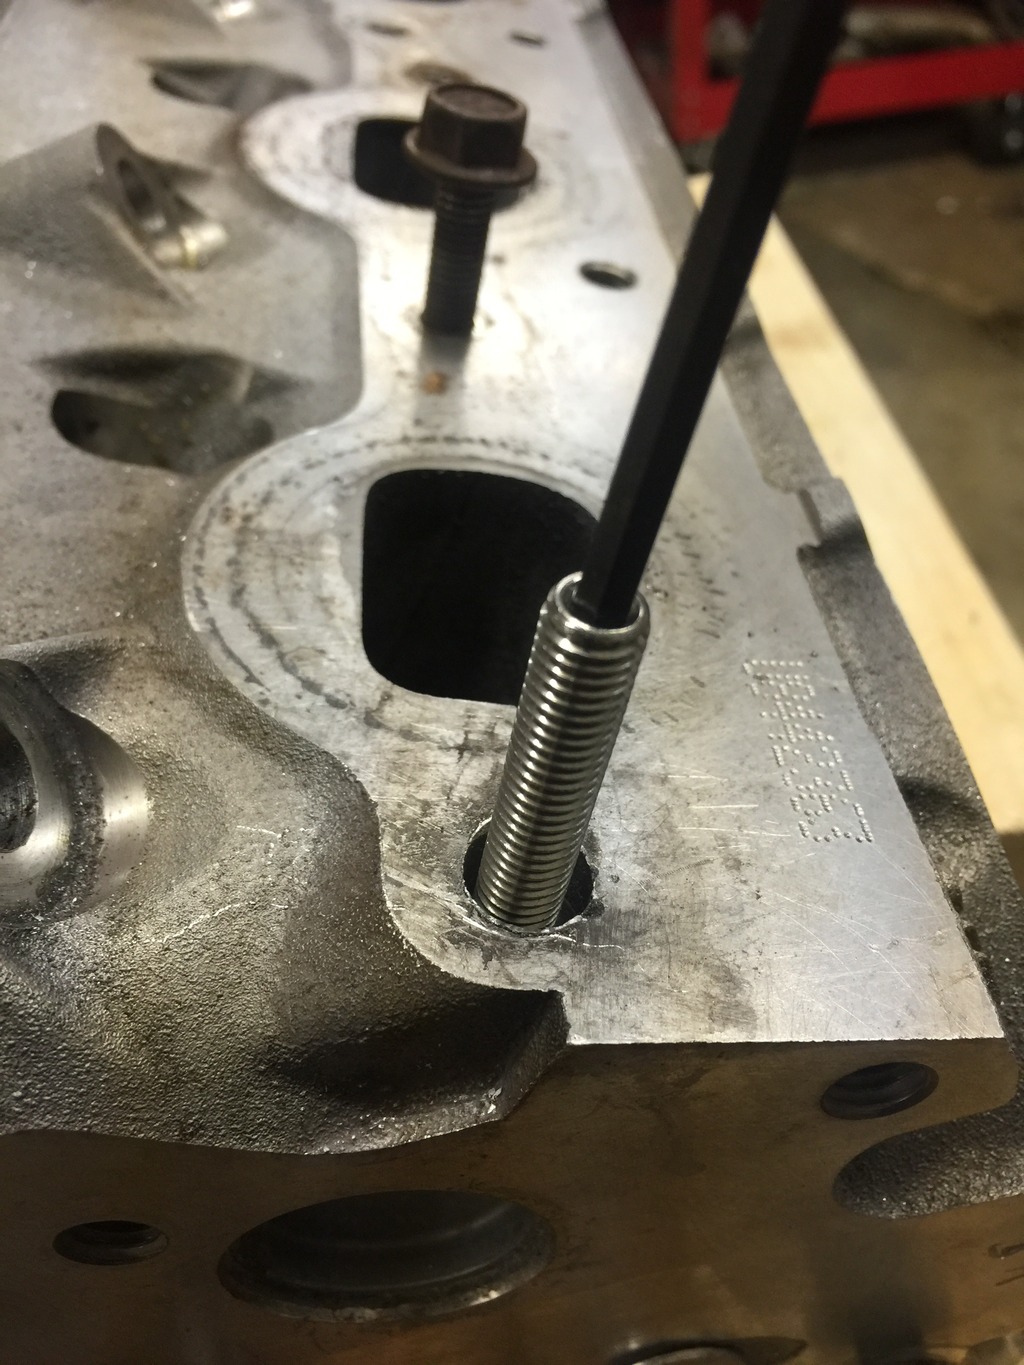
So I ground the weld down again and started drilling out the broken bolt planning to helicoil it.
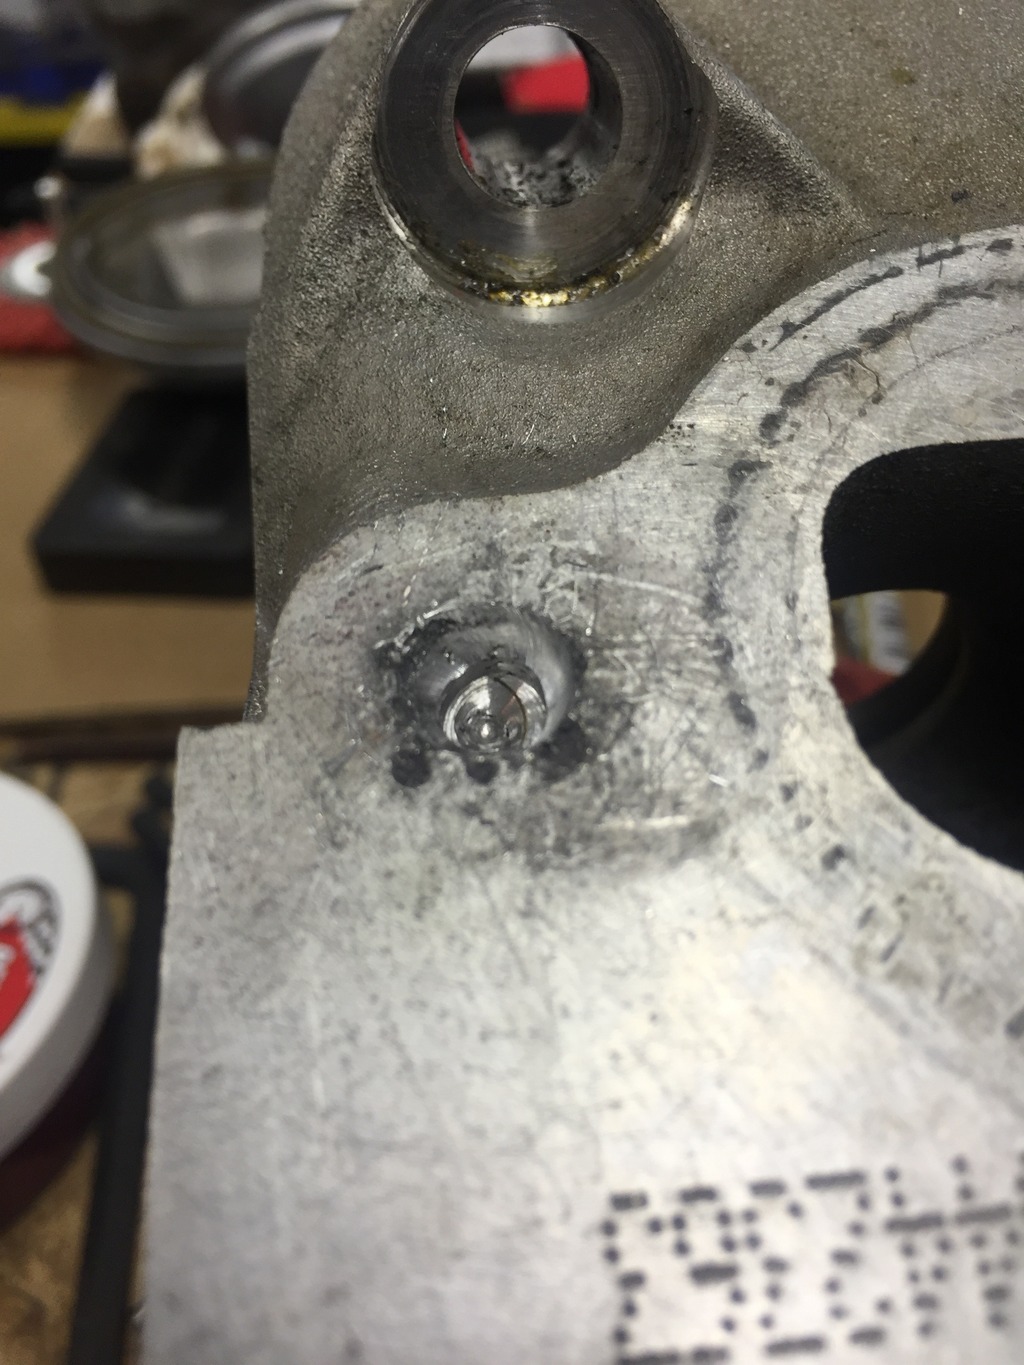
I bolted on the exhaust manifold and used it as a guide.
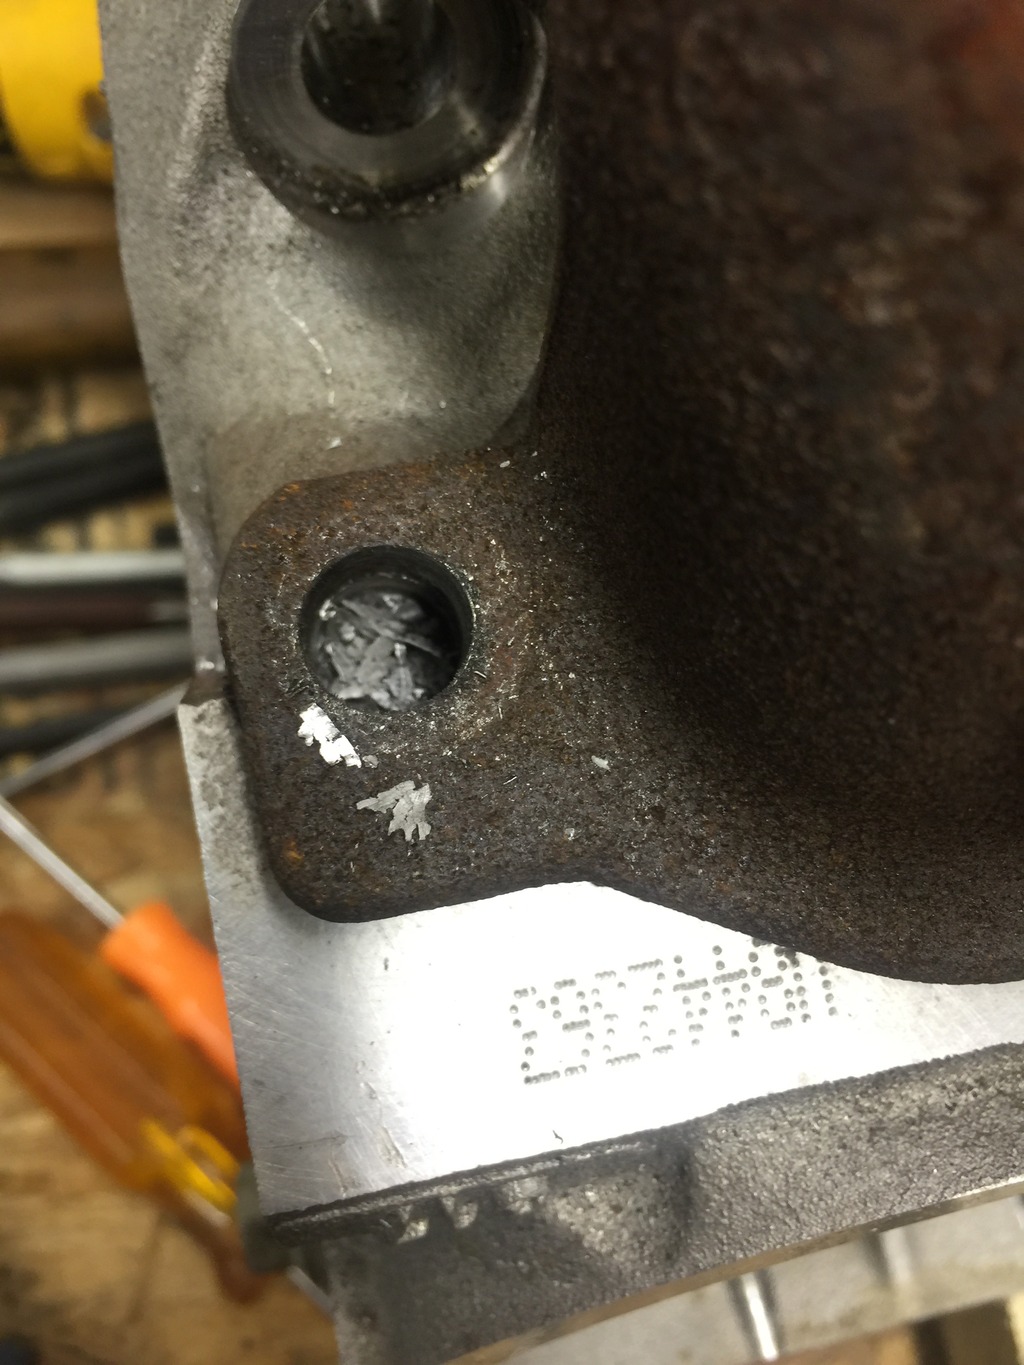
About half way down the broken bolt broke free.
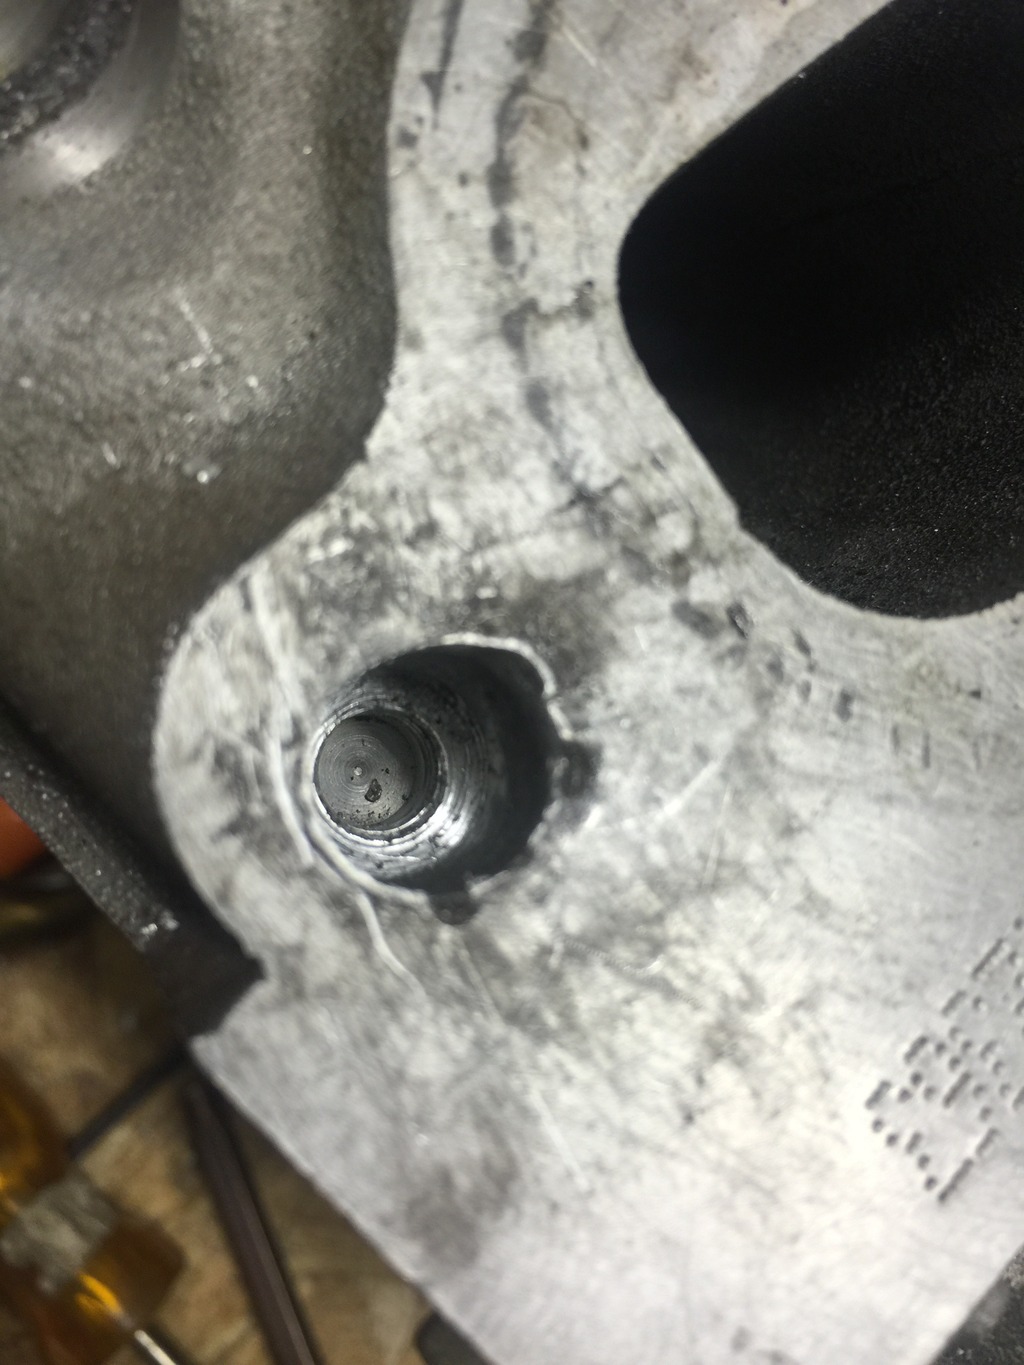
Here's a factory exhaust bolt threaded into what threads are left.
I'm going to be running exhaust studs. What do you guys think about using epoxy to glue the stud in?
Something like this maybe?
HighHeat Epoxy Putty | J-B Weld
Or I could order the helicoil kit.
Helicoil 5546-8 M8 x 1.25 Metric Coarse Thread Repair Kit
https://www.amazon.com/dp/B0002SREP4/

So I ground the weld down again and started drilling out the broken bolt planning to helicoil it.

I bolted on the exhaust manifold and used it as a guide.

About half way down the broken bolt broke free.

Here's a factory exhaust bolt threaded into what threads are left.

I'm going to be running exhaust studs. What do you guys think about using epoxy to glue the stud in?

Something like this maybe?
HighHeat Epoxy Putty | J-B Weld
Or I could order the helicoil kit.
Helicoil 5546-8 M8 x 1.25 Metric Coarse Thread Repair Kit
https://www.amazon.com/dp/B0002SREP4/
 12-21-2015, 04:39 PM
#410
Yeah, I've got a helicoil kit in my Amazon cart. M8 X 1.25 right?
I know using putty or some sort of two-part epoxy to fill in the exhaust stud sounds hokey, but there are epoxies that I didn't mention that are really pretty strong. My only concern was if the stud would be in the way of taking the exhaust manifold off when the engine was installed. An epoxy of some sort is around $10, helicoil $25.
I mean, you epoxy the studs into concrete for vehicle lifts right?
What's ironic is I actually have a helicoil set, but it's not metric.