
Blown06-New Build: Cage, 4-Link, Cog Drive, + Too Much More


 02-25-2015 | 12:02 AM
#1743
No major updates. My job has me pretty much stuck at the moment. I work in an industry where getting paid is not always a regular thing and as if that wasn't bad enough, these oil prices could keep me out of work for a while. I'm fortunate enough that I have been able to keep billing invoices but they aren't getting paid. I am only paid up through dec 15 of last year at the moment and it is killing me.
The thing that pisses me off the most is that racing season has just gotten under way and the first truck race is this weekend.
The thing that pisses me off the most is that racing season has just gotten under way and the first truck race is this weekend.
03-05-2015 | 01:43 AM
#1744
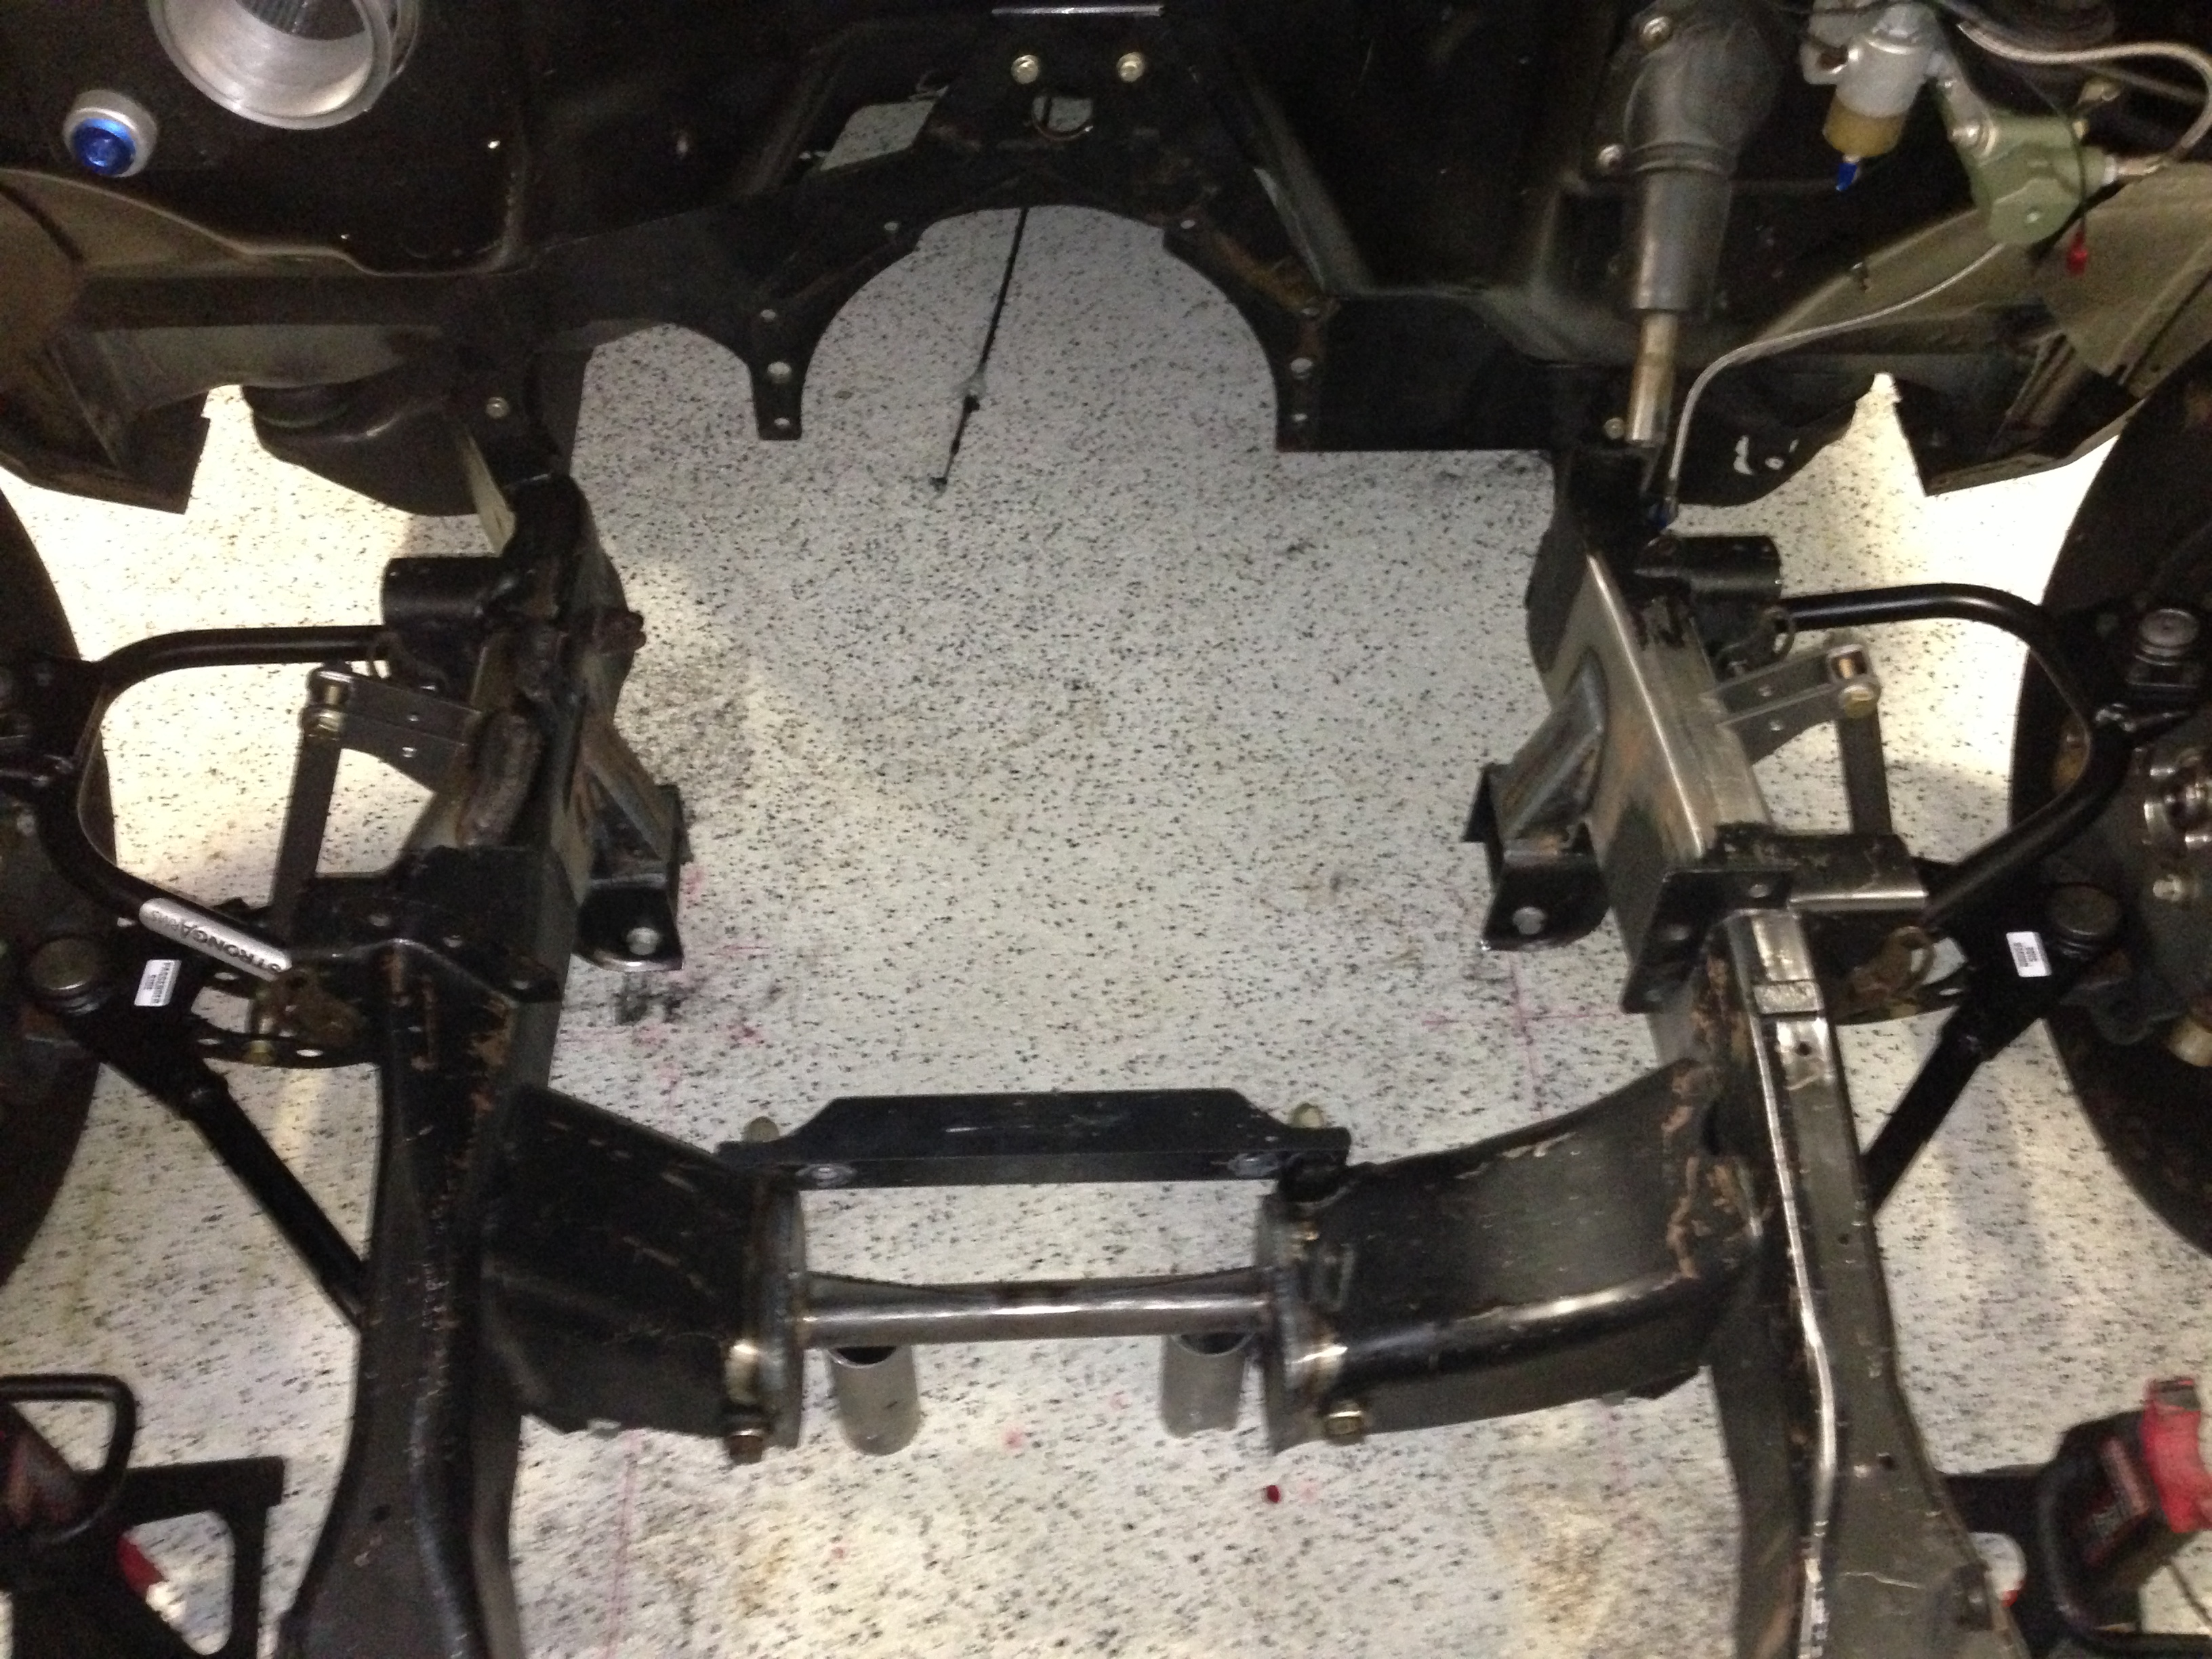
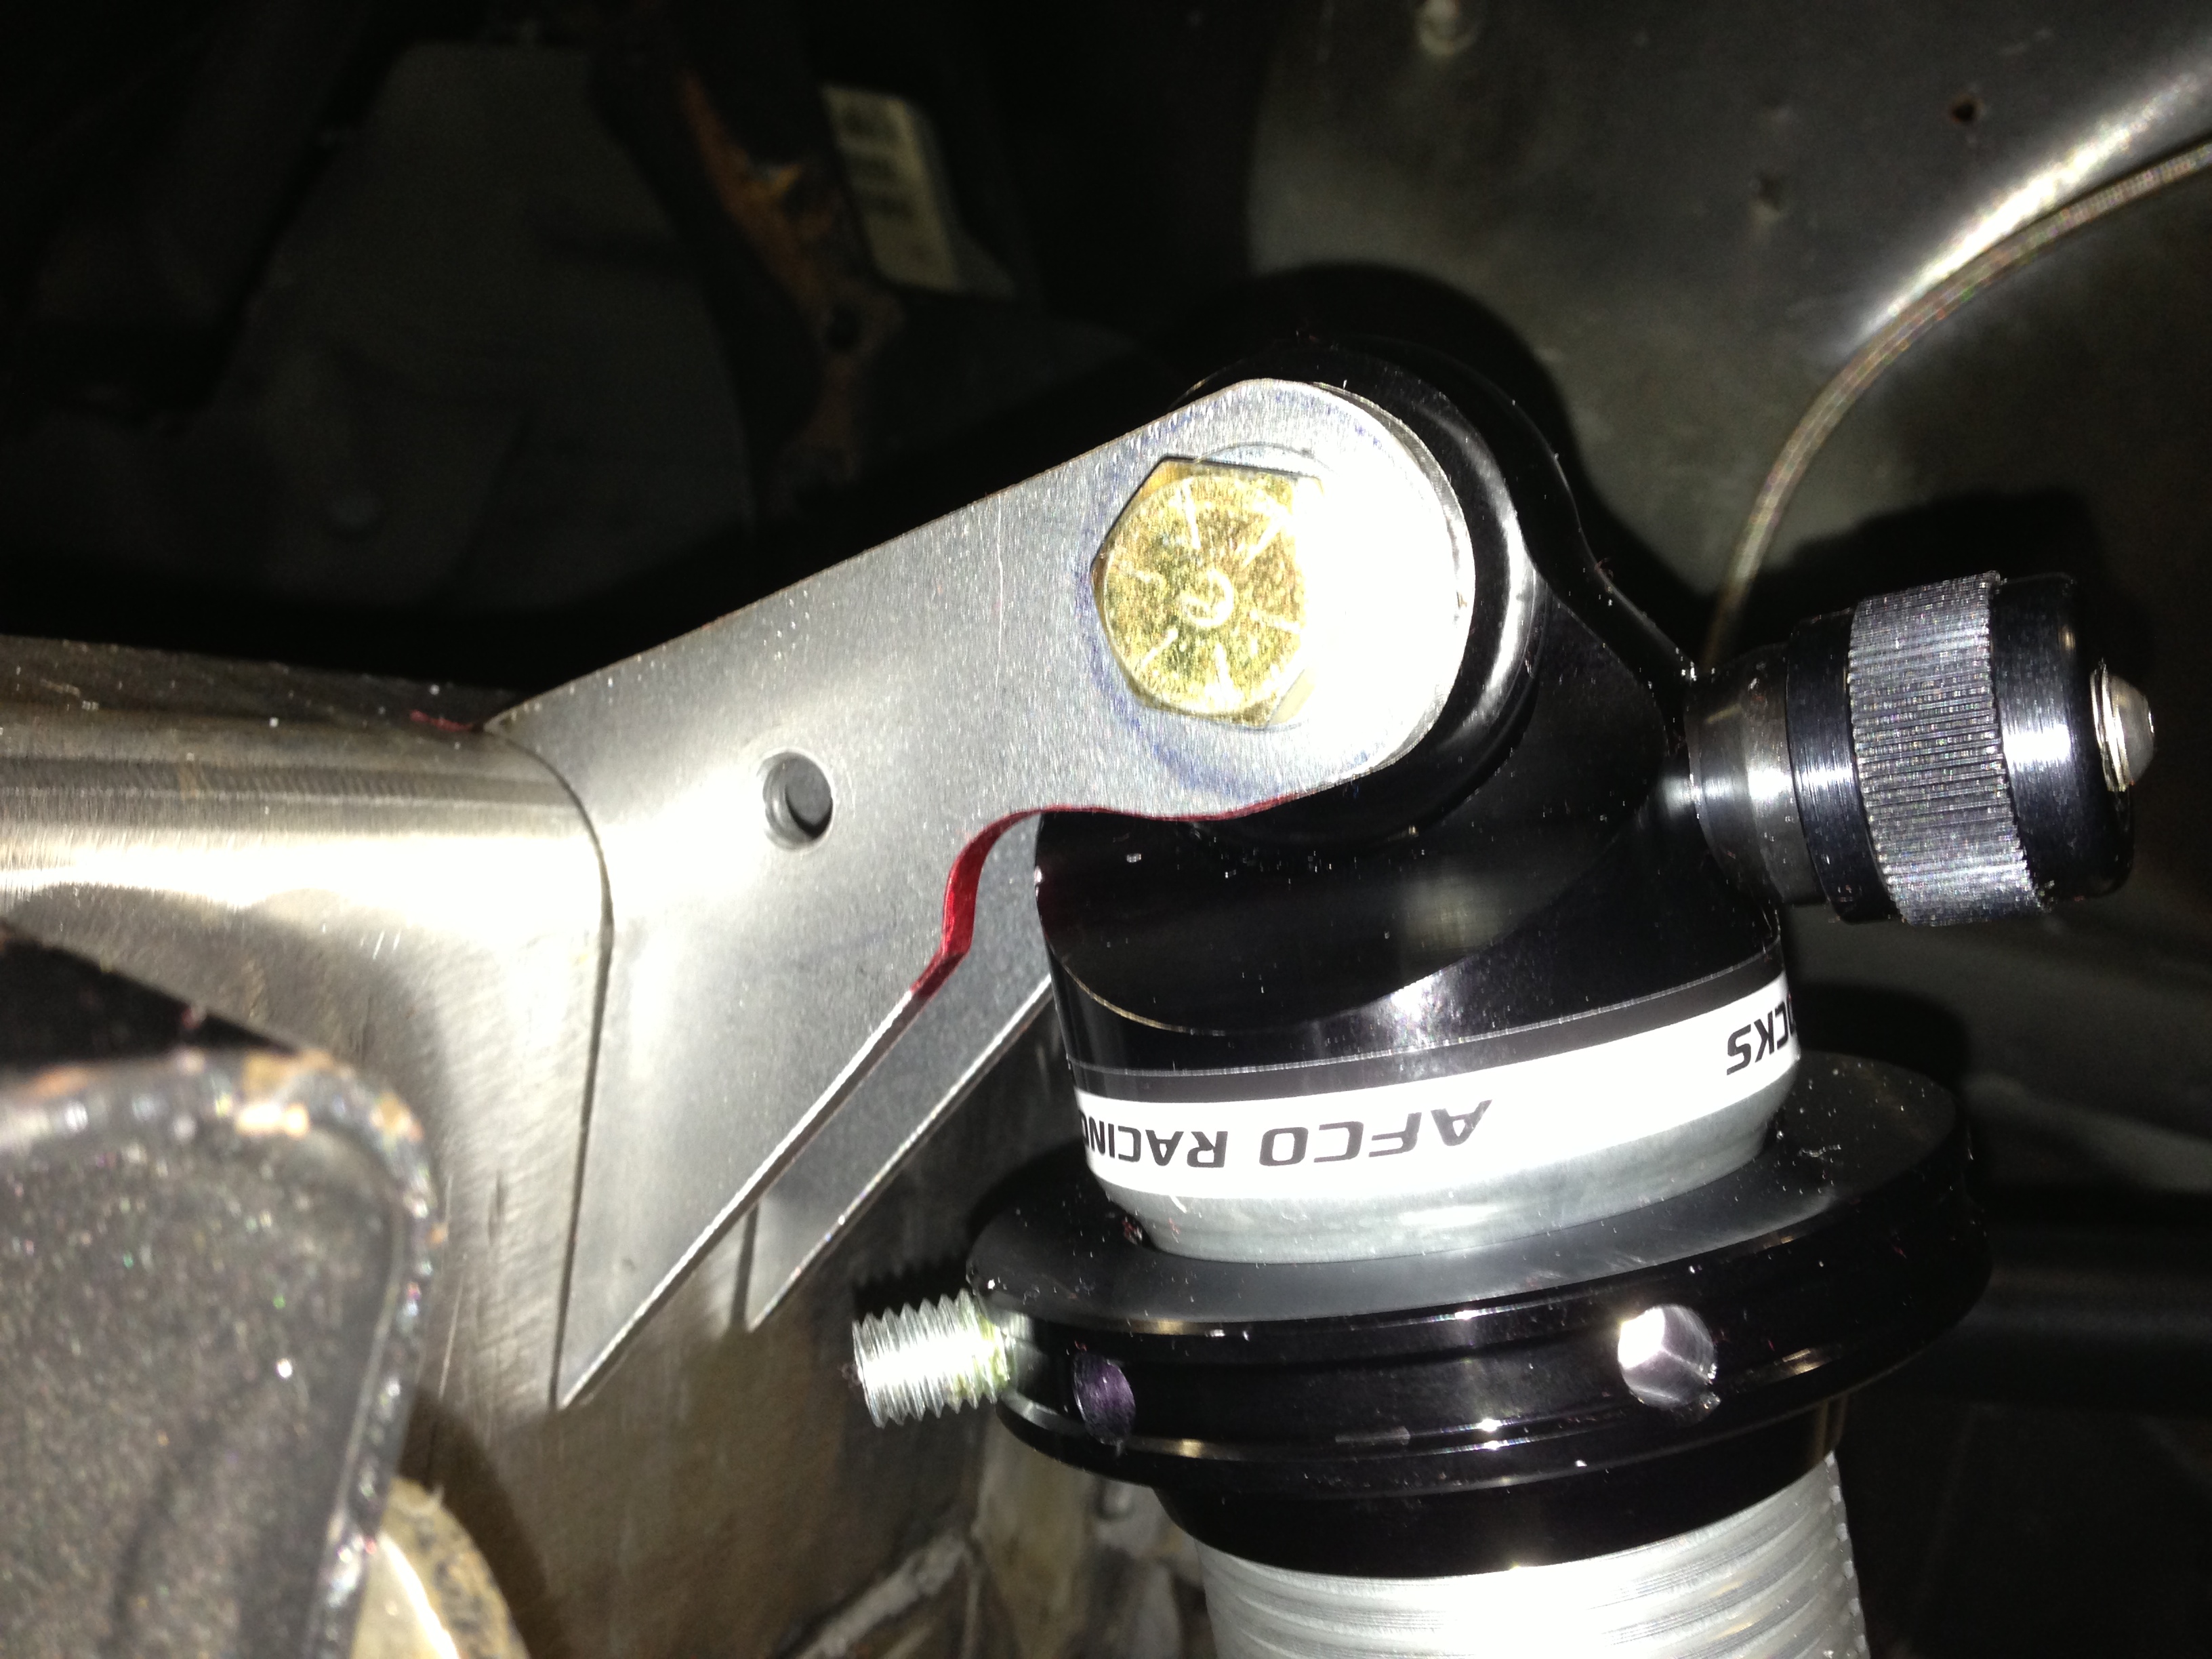
Updates have been slow. I tend to just stop everything when money gets tight. I did have a chance to get the cross member welded back up, the lower a-arm brackets braced and some upper mounts for the coil overs made.
I had the truck at ride height and made some shock simulators to build the mounts off of. With the mounts in the pics below, the shock angle was set to 22* from straight up. Mounts made from .190" 4130 plate. Tonight I trial fitting the actual shock and ran into two problems that are gonna make me have to redo the mounts. Not too big of a deal as I can make them pretty quick now that I know all the measurements and stuff.
Here are some pics:
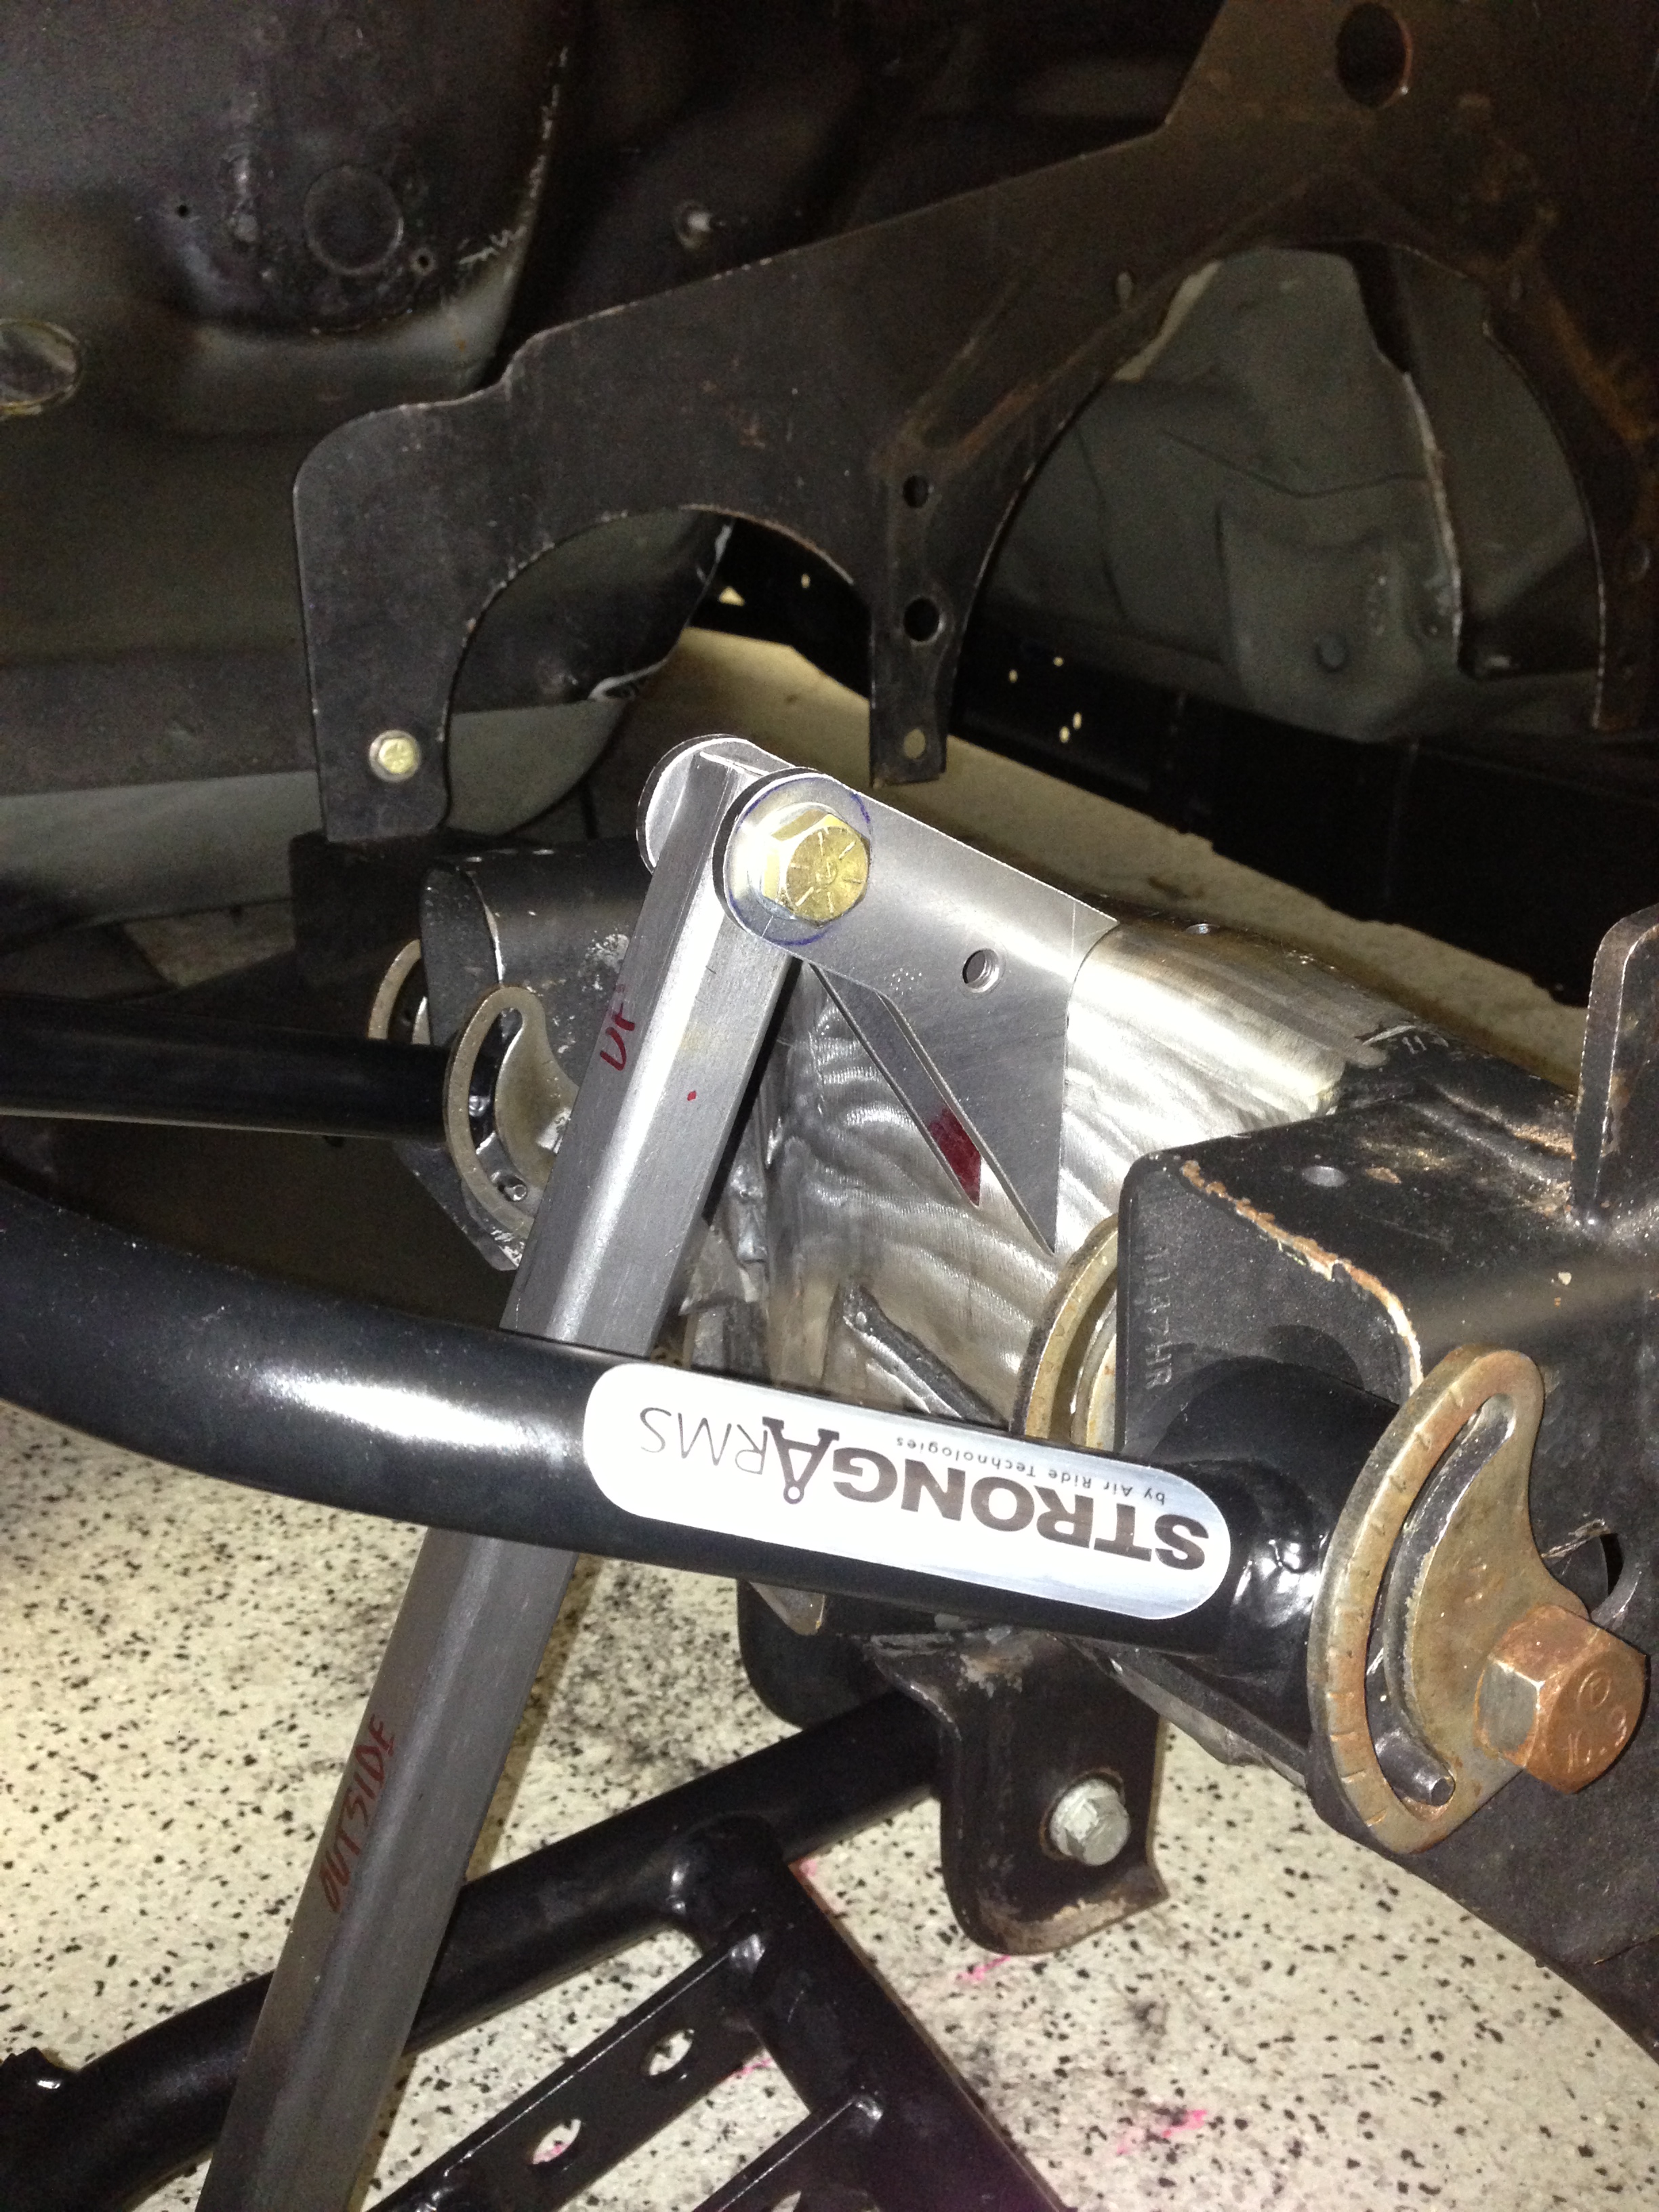
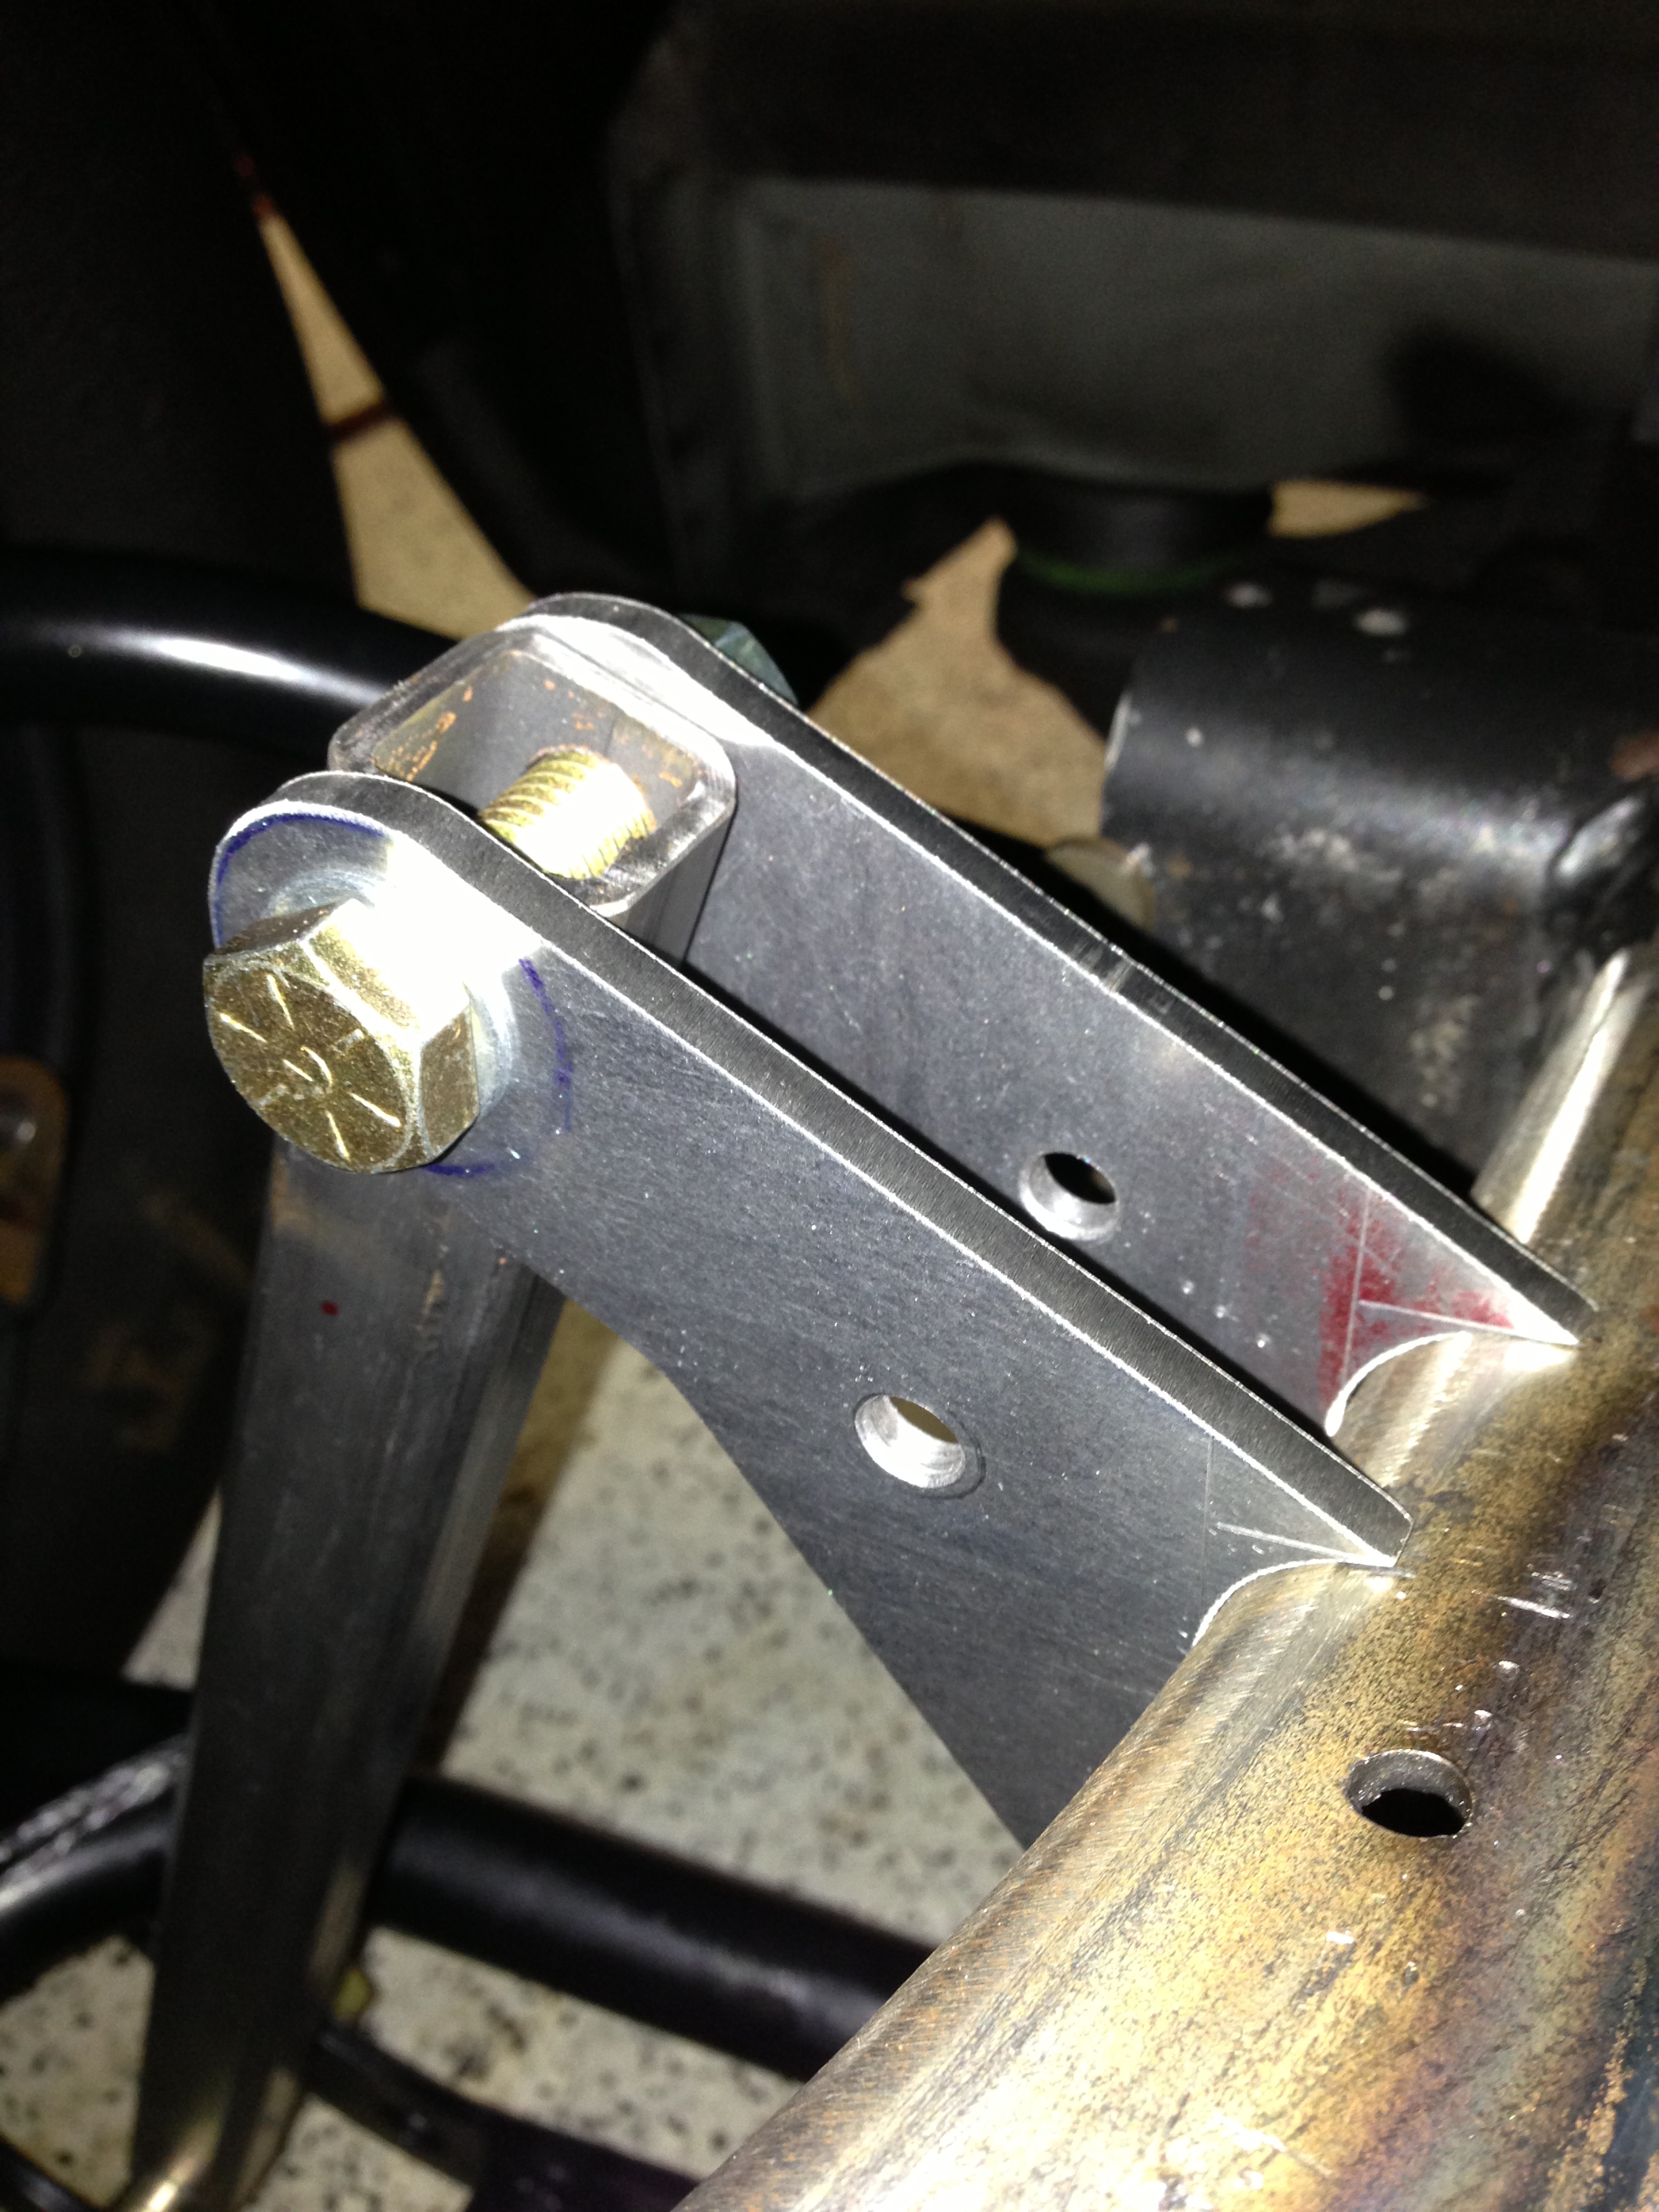
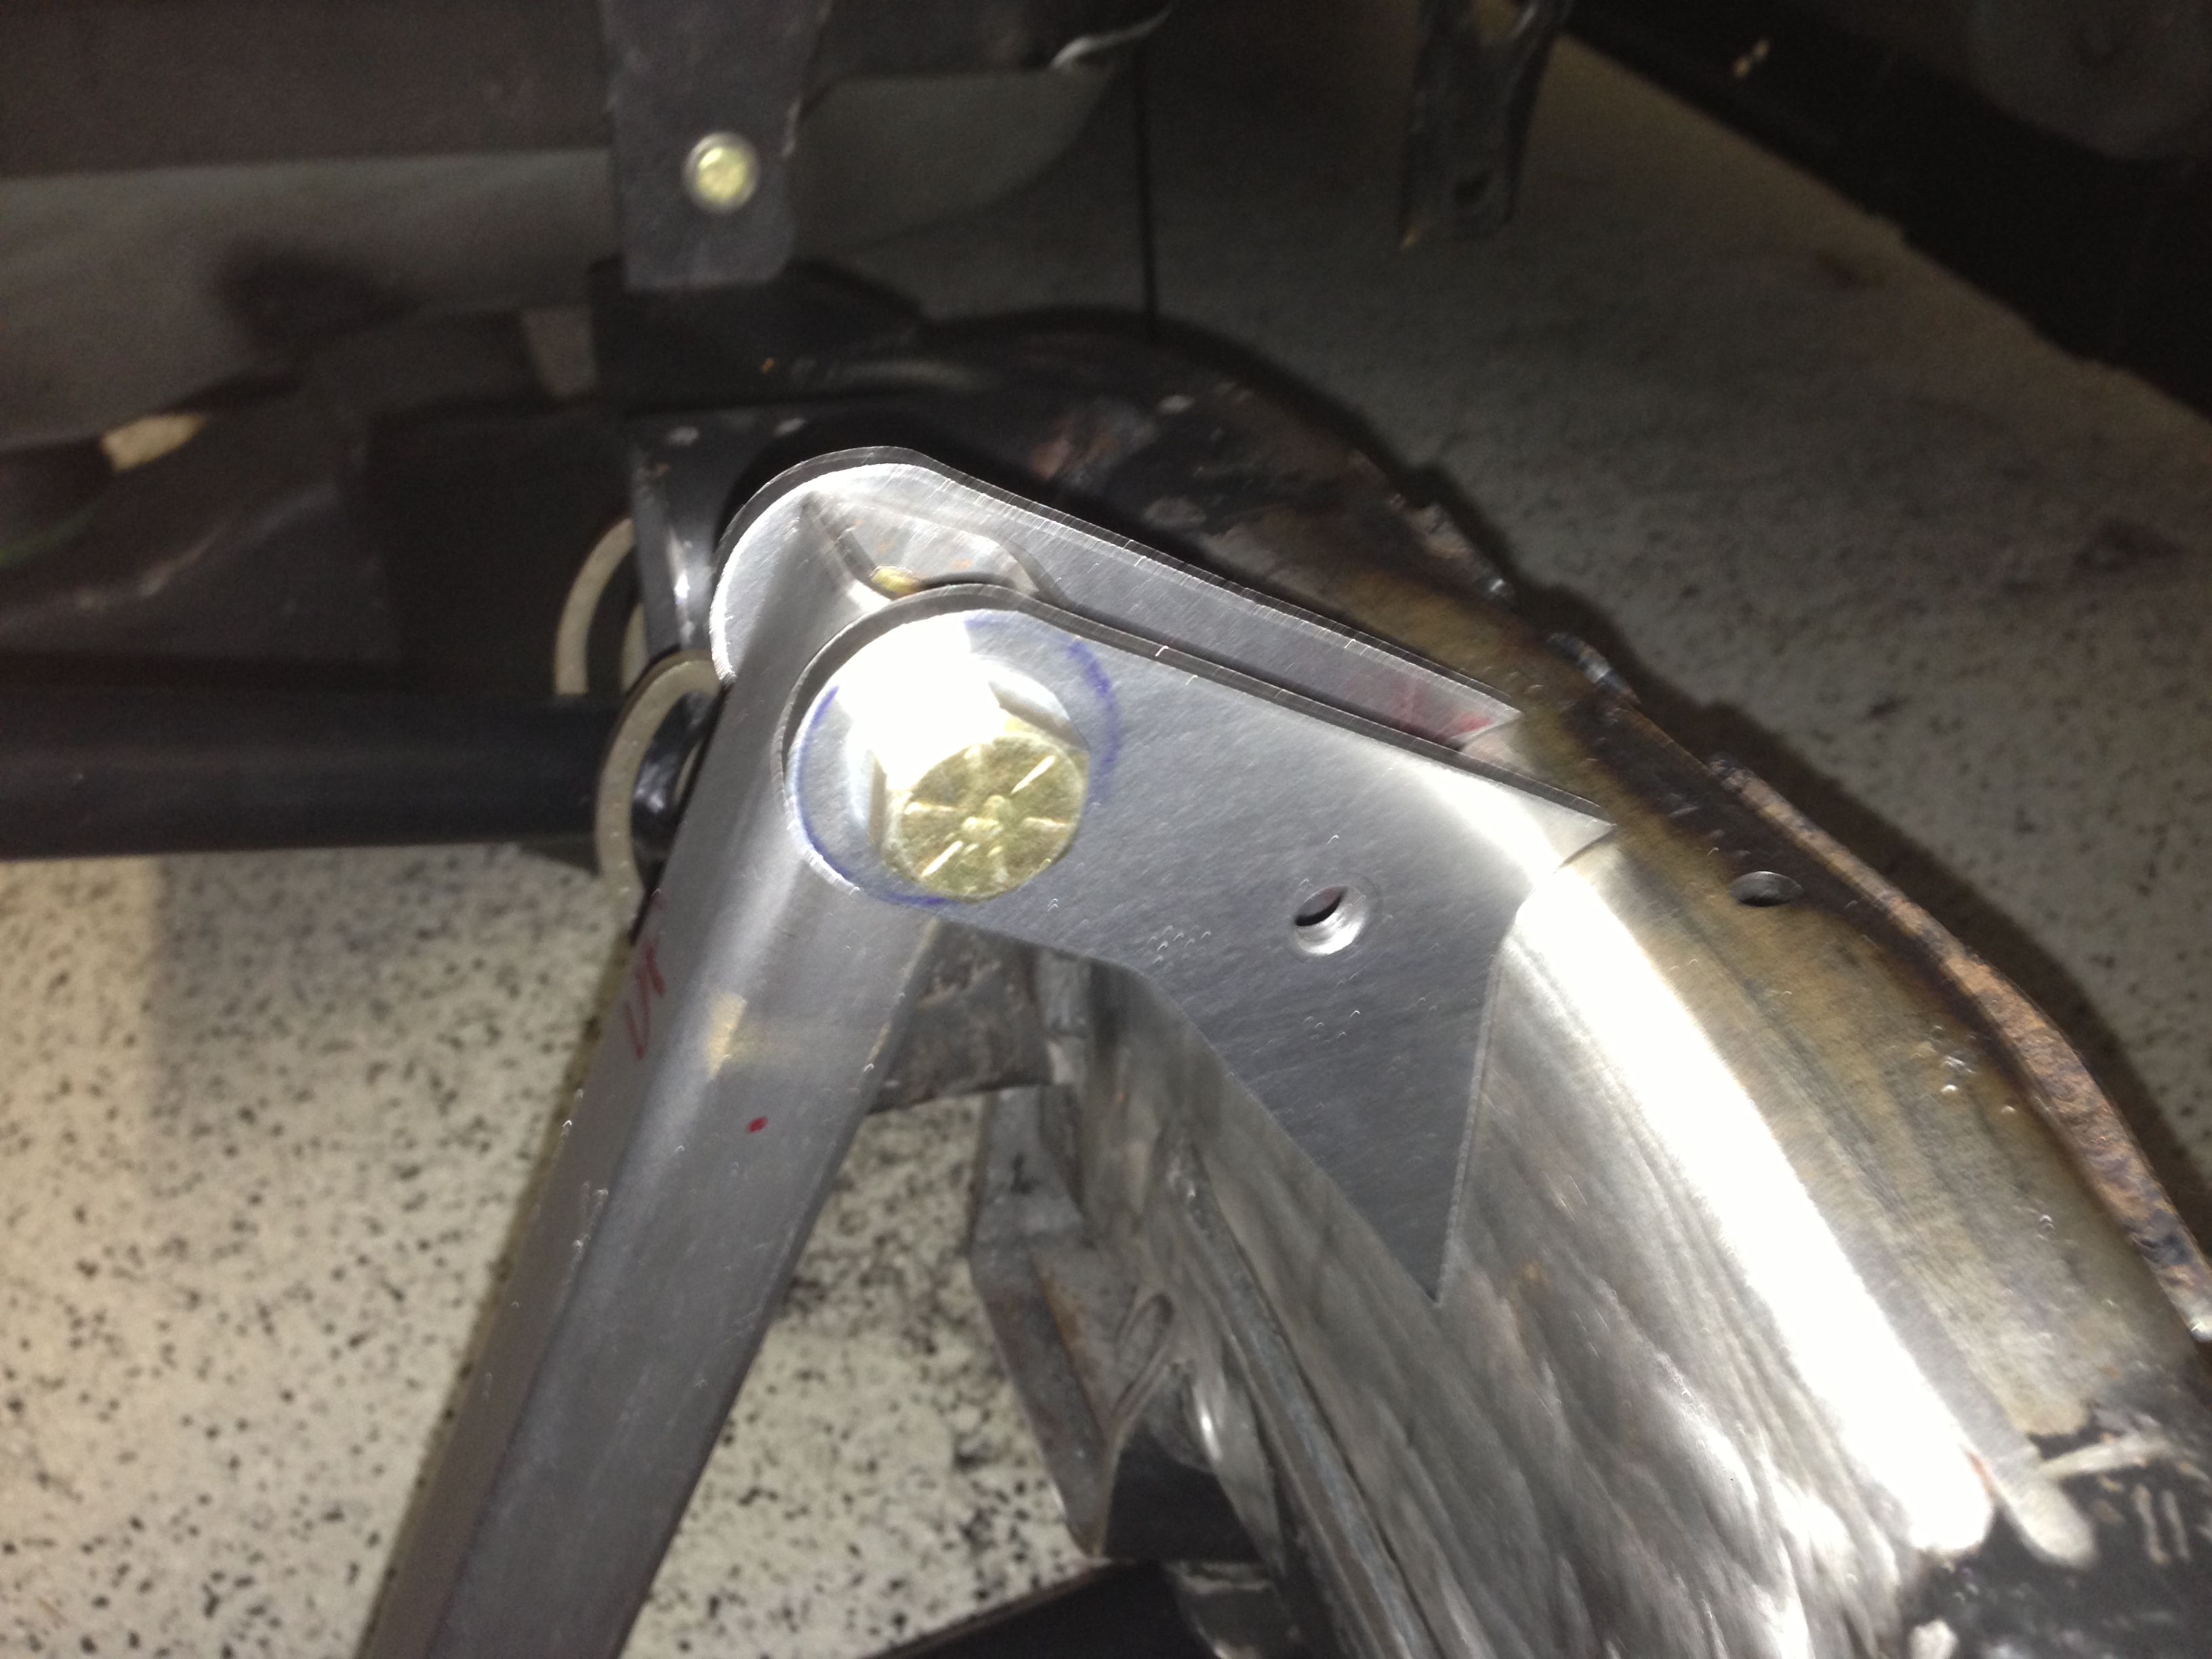
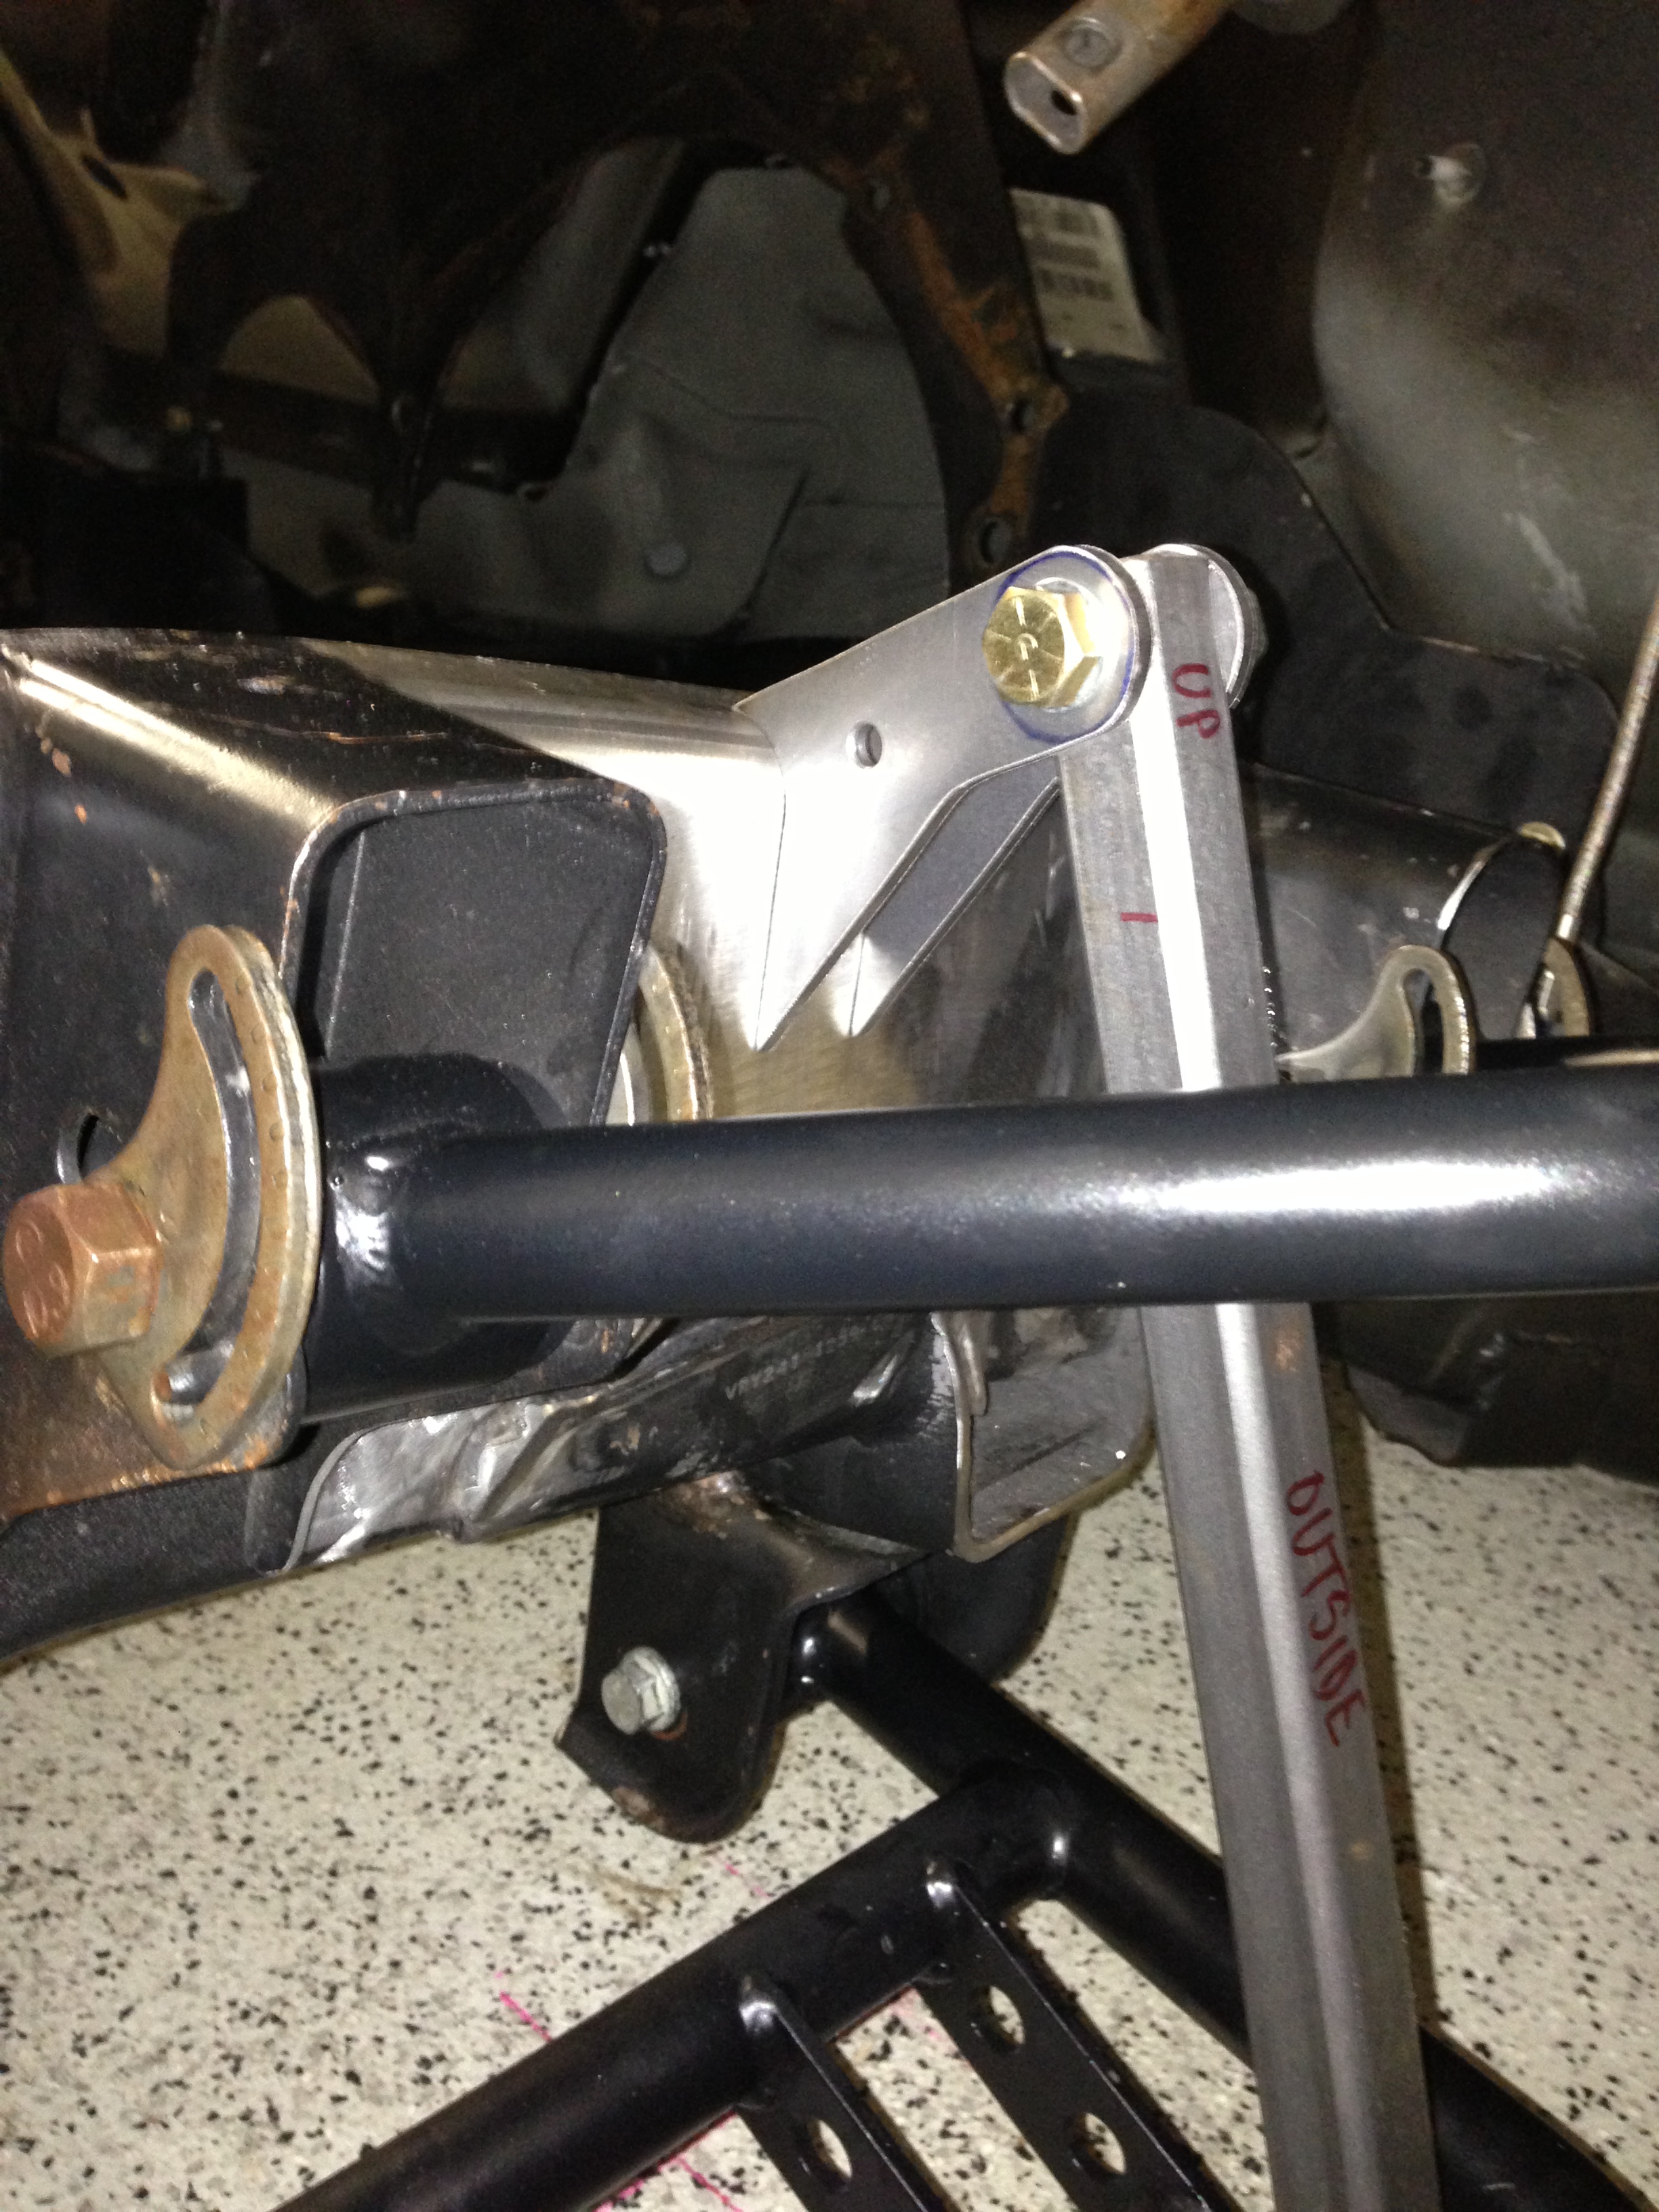
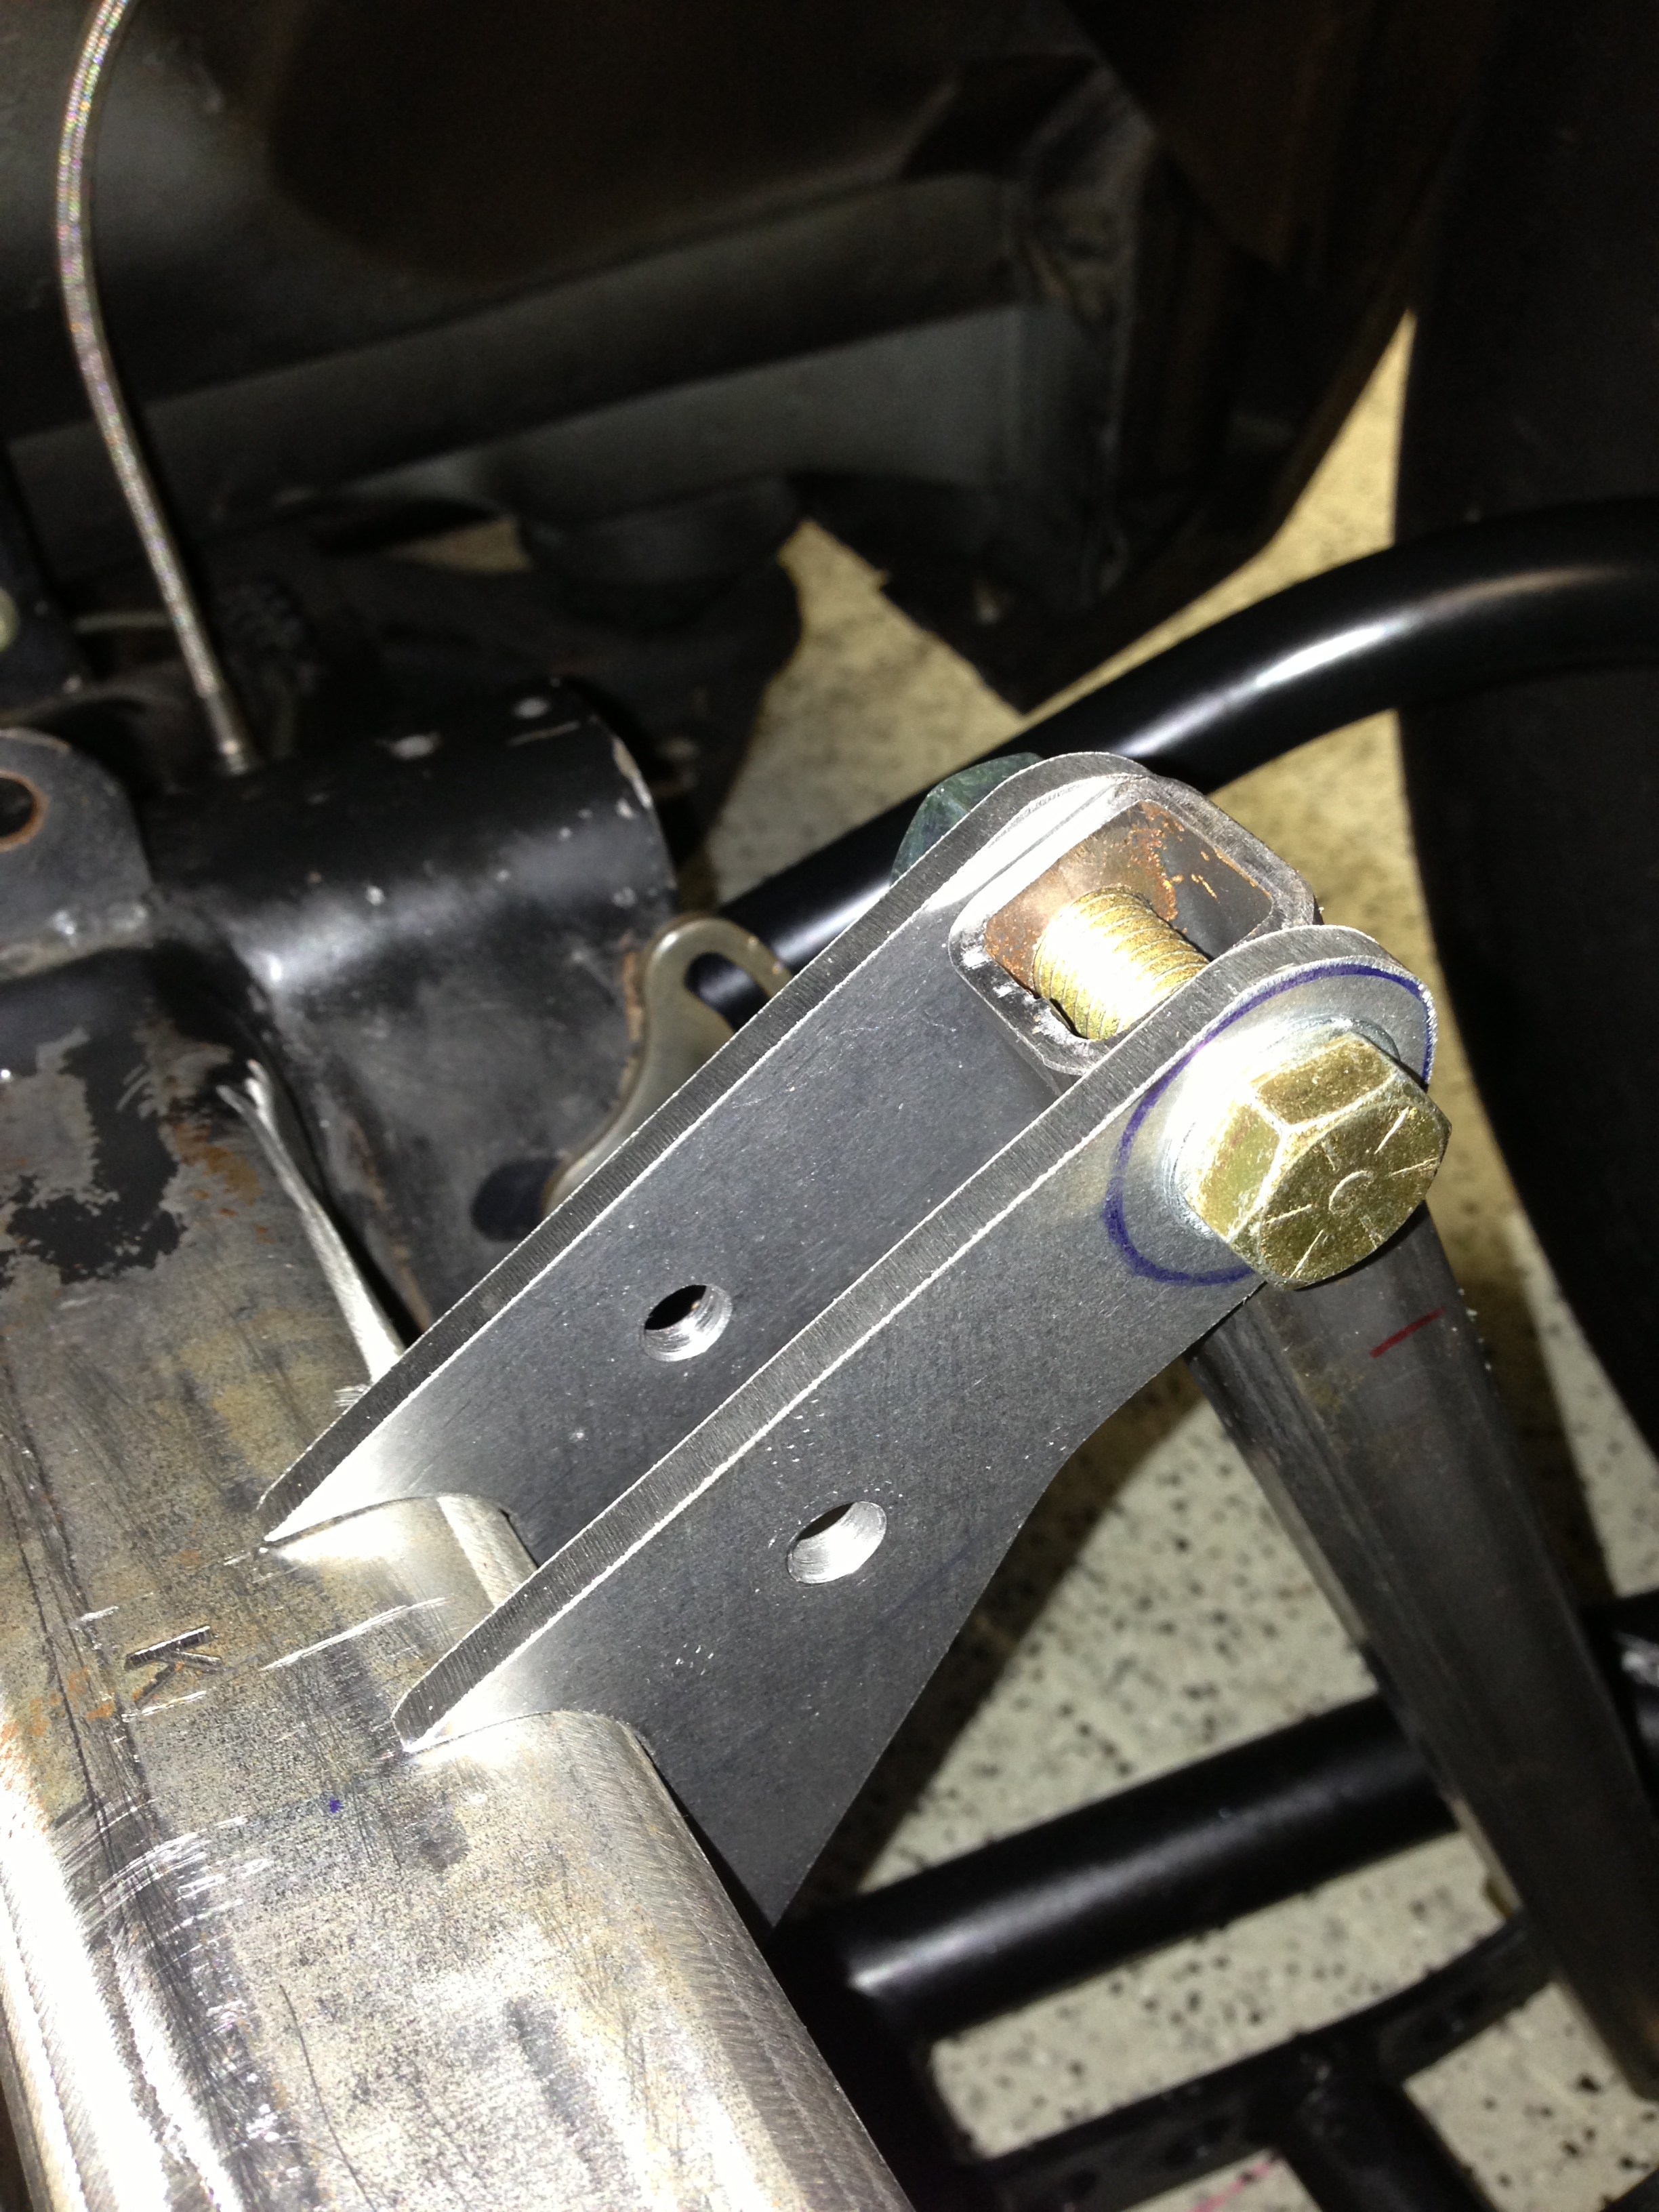
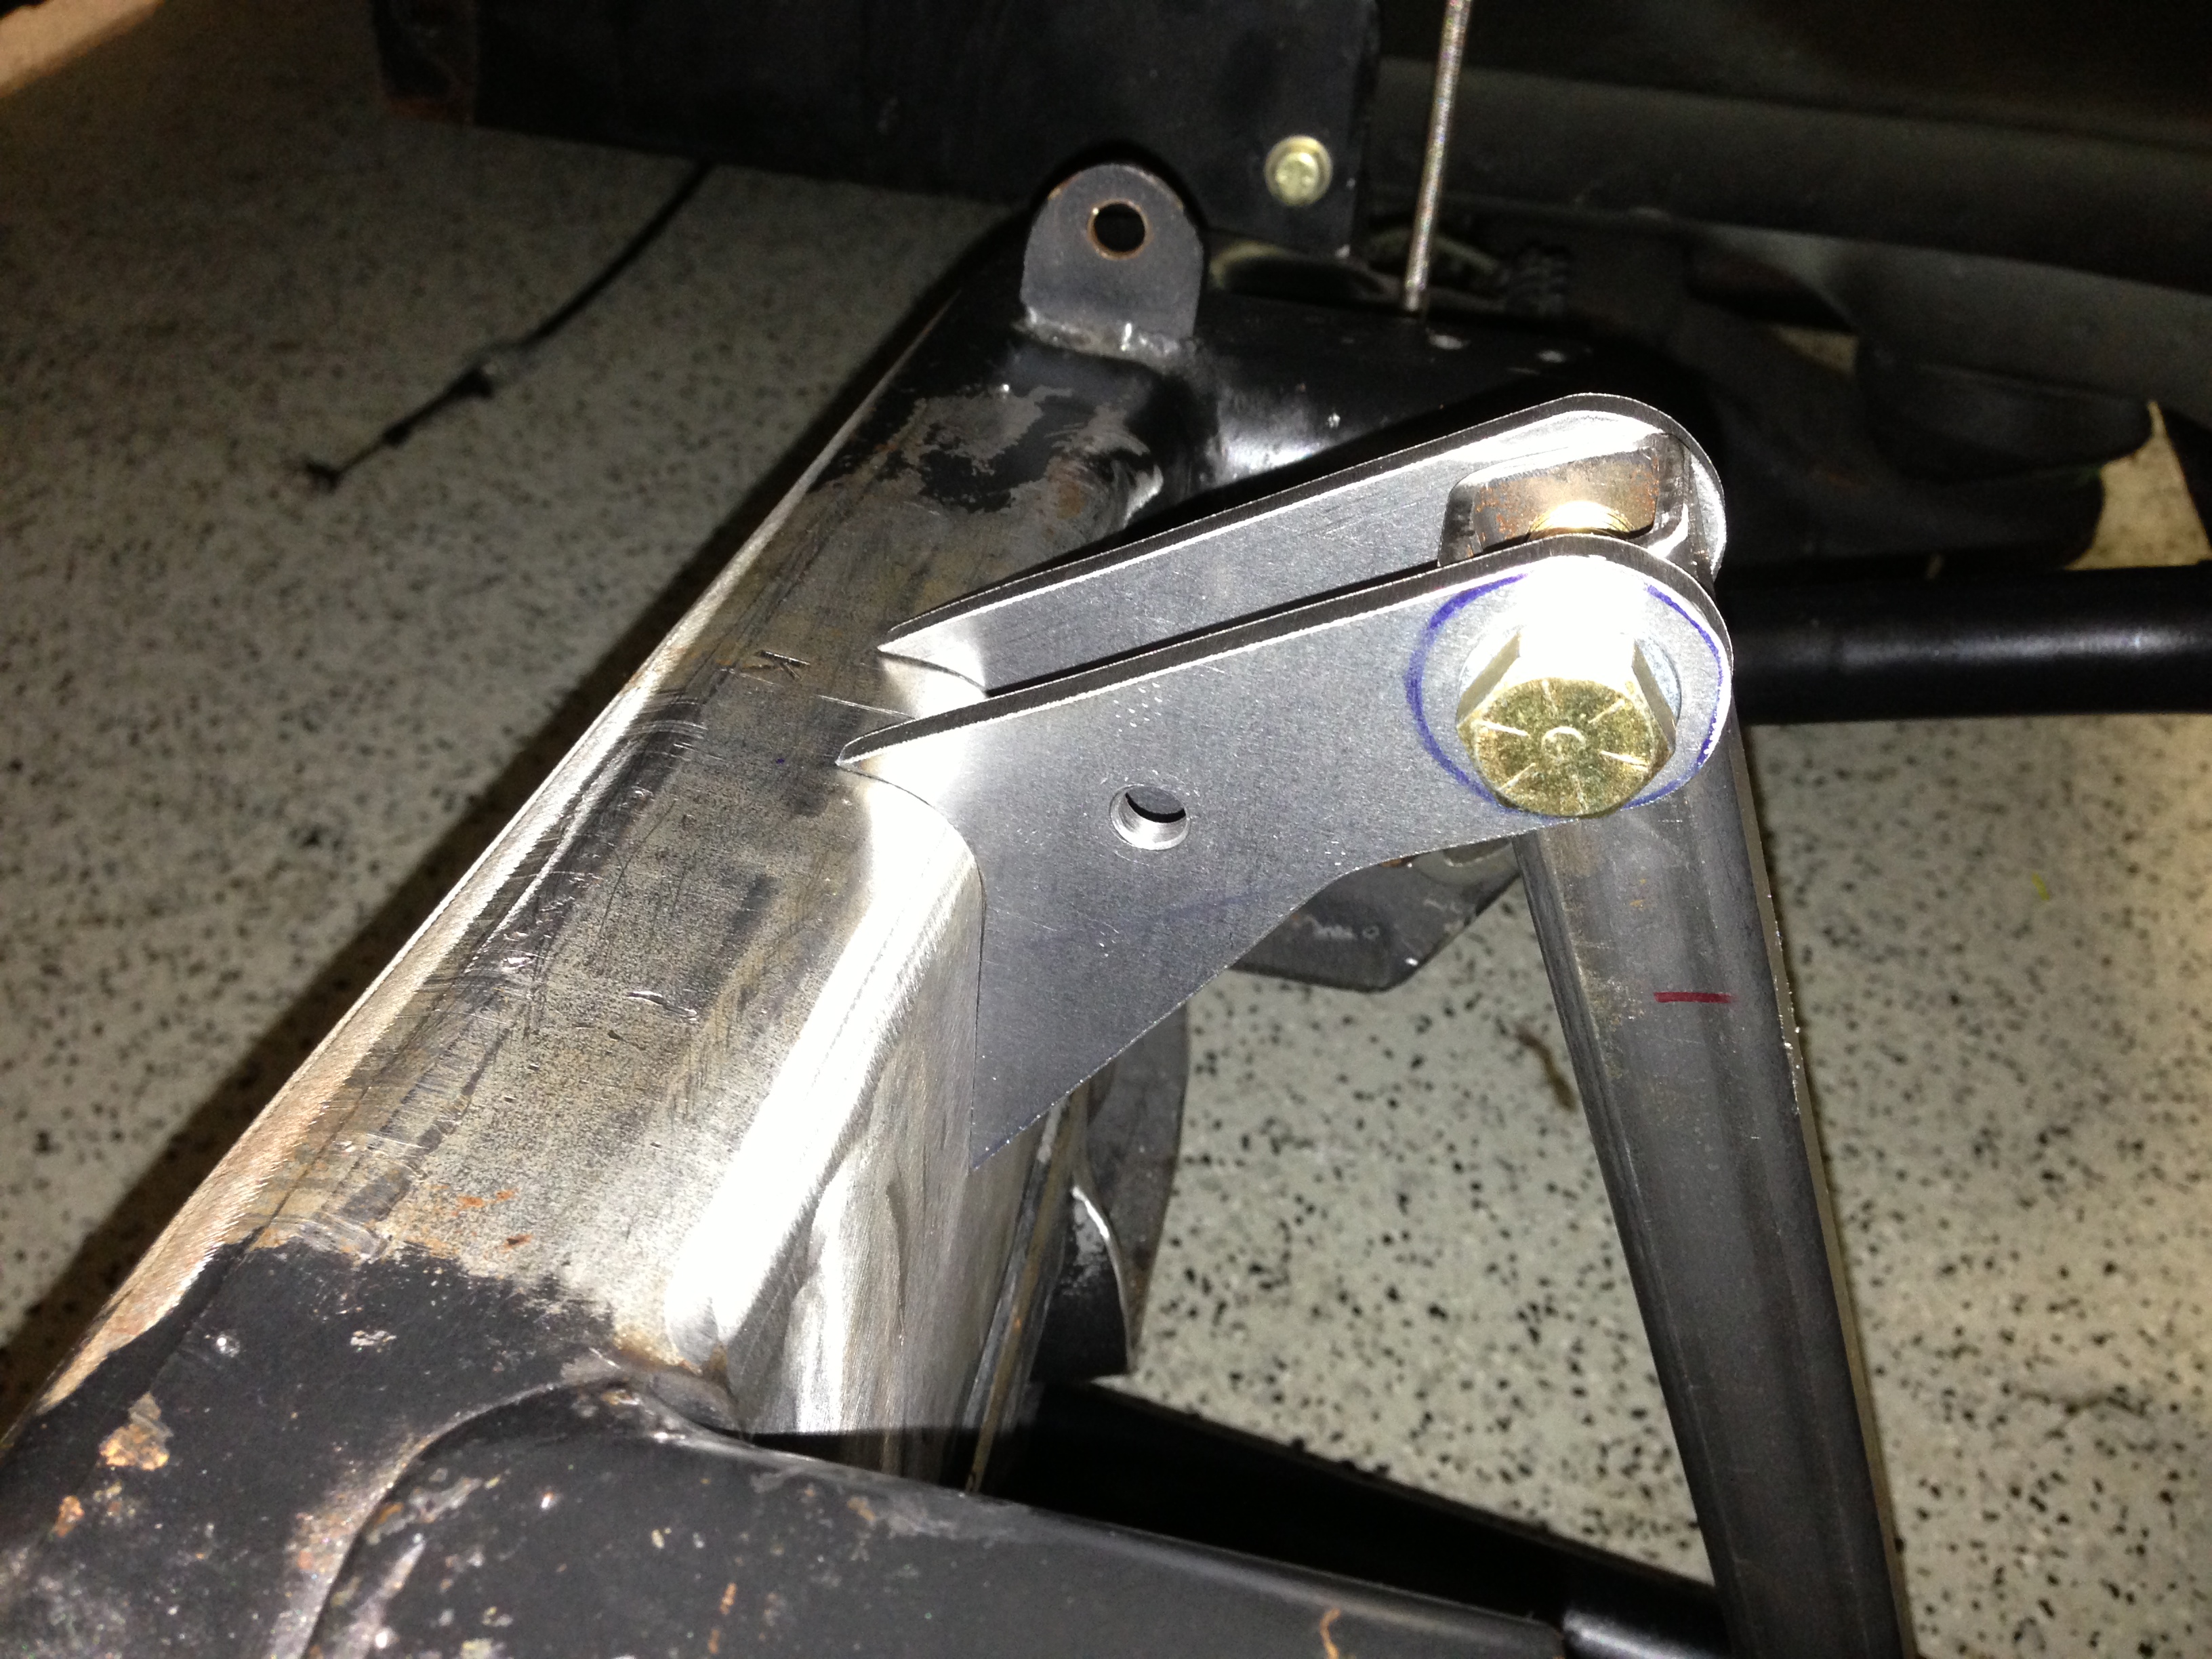
Back to the problems I ran into. First the shock will have to be mounted upside down (body side up) as the ridetech arms will not accommodate the adjuster that sticks out the side. You can see in the pic below where I had to trim the brackets to clear the shock body. It's a little more than I feel comfortable with so I'm just gonna remake them. The second problem I ran into is with the ridetech lowers. All of the attachment points are in the same (correct) location, but the tubing bends are not quite the same. The left side has plenty of clearance from the back tube to the coil over spring cap on the shock. The right side just barely rubs. The ridetech arms have a 2" space to mount the shock. The shock has a 1" wide ball in the mount, so the other inch is taken up with 1/2" spacers on either side. My solution to fix the problem is to move the shock over in the mount. So instead of 1/2" spacers, I'll make one of them 1/4" and the other 3/4". Here is a pic of the clearance I had to grind in my mounts:
I had the truck at ride height and made some shock simulators to build the mounts off of. With the mounts in the pics below, the shock angle was set to 22* from straight up. Mounts made from .190" 4130 plate. Tonight I trial fitting the actual shock and ran into two problems that are gonna make me have to redo the mounts. Not too big of a deal as I can make them pretty quick now that I know all the measurements and stuff.
Here are some pics:


Back to the problems I ran into. First the shock will have to be mounted upside down (body side up) as the ridetech arms will not accommodate the adjuster that sticks out the side. You can see in the pic below where I had to trim the brackets to clear the shock body. It's a little more than I feel comfortable with so I'm just gonna remake them. The second problem I ran into is with the ridetech lowers. All of the attachment points are in the same (correct) location, but the tubing bends are not quite the same. The left side has plenty of clearance from the back tube to the coil over spring cap on the shock. The right side just barely rubs. The ridetech arms have a 2" space to mount the shock. The shock has a 1" wide ball in the mount, so the other inch is taken up with 1/2" spacers on either side. My solution to fix the problem is to move the shock over in the mount. So instead of 1/2" spacers, I'll make one of them 1/4" and the other 3/4". Here is a pic of the clearance I had to grind in my mounts:

 03-06-2015 | 12:29 AM
#1748
I'm please that you would ask if they were laser cut. lol
Each of the 4 brackets are slightly different as the frame rail is at a compound angle in and out and up and down.
It would take forever to type what my procedure was to make these look this good.
Each of the 4 brackets are slightly different as the frame rail is at a compound angle in and out and up and down.
It would take forever to type what my procedure was to make these look this good.
 03-06-2015 | 08:05 AM
#1750