boostdsierra FINALLY becomes a Boosted Sierra!!
 02-17-2015, 12:01 PM
#31
Staging Lane
Thread Starter

Join Date: Jan 2012
Location: Louisville, KY
Posts: 99
Likes: 0
Received 0 Likes
on
0 Posts
Did you speak with LPW about using the braces on a leaf spring application? Just curious as I don't see them helping that much as it seems the leafs themselves would keep the axle tubes from moving inward. Especially since the tubes are already welded.
As for making room for the braces... is the brace out far enough you could straighten the shock vertically and go outside of it? With the rotten crossmember, it would be an opportune time to move it forward a bit and do a shock relocation.
Thanks for the heads up on the spring eye sleeves. I have a set of poly bushings in the garage I plan to change out in the not so distant future.
I didn't think about that... I could cut the whole cross member out, especially since I don't plan to reuse the stock spare tire mounting, and replace it w/ a piece of 1 1/2"-2" sch. 40 pipe and just fabricate a shock mount... That would be pretty easy and definitely help with weight savings. I'll have to double check my shock clearances but I don't see why it wouldn't work.
Thanks for the idea man!!!!!!!!!!!!!
Last edited by boostdsierra; 02-17-2015 at 12:42 PM.
 04-06-2015, 08:57 AM
#32
Staging Lane
Thread Starter
Join Date: Jan 2012
Location: Louisville, KY
Posts: 99
Likes: 0
Received 0 Likes
on
0 Posts
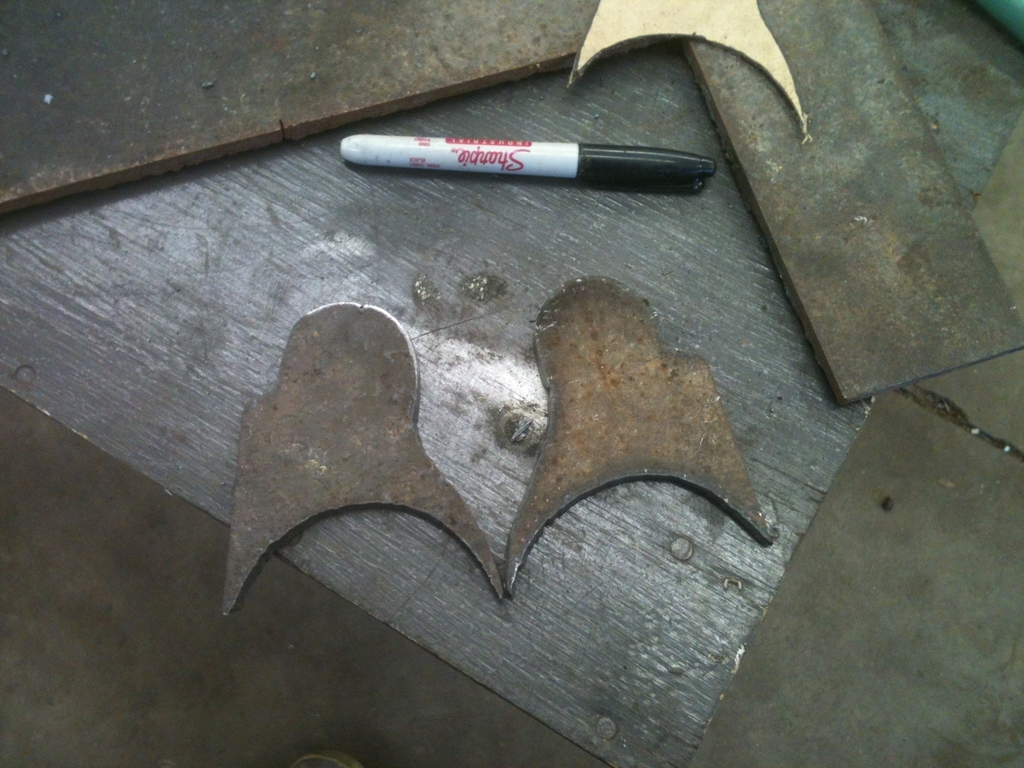
It's that time again...
Thanks to BigKID for the suggestion, today we build shock mount tabs!
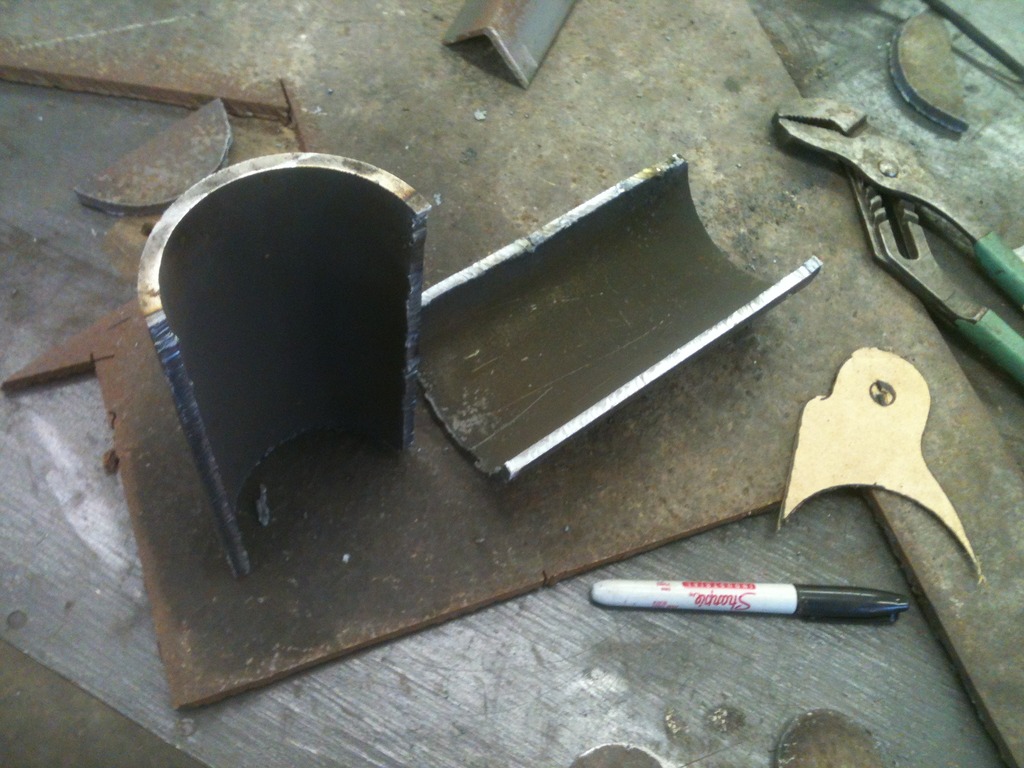
I'm OBVIOUSLY not a welder if you counldn't tell..... LOL

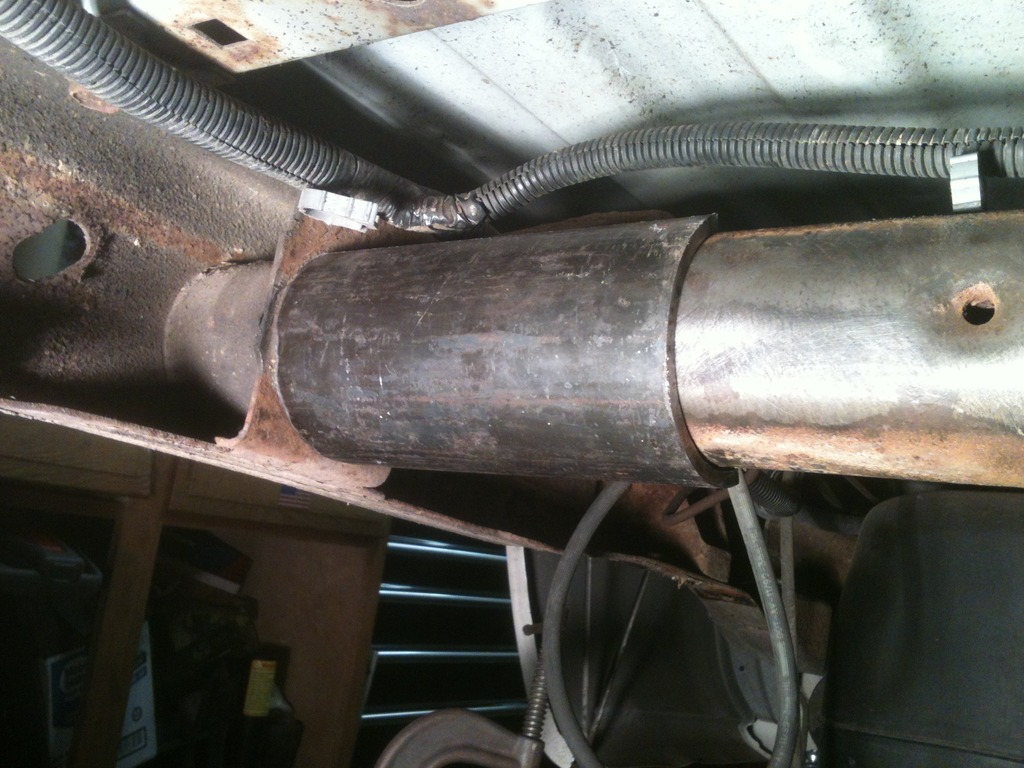
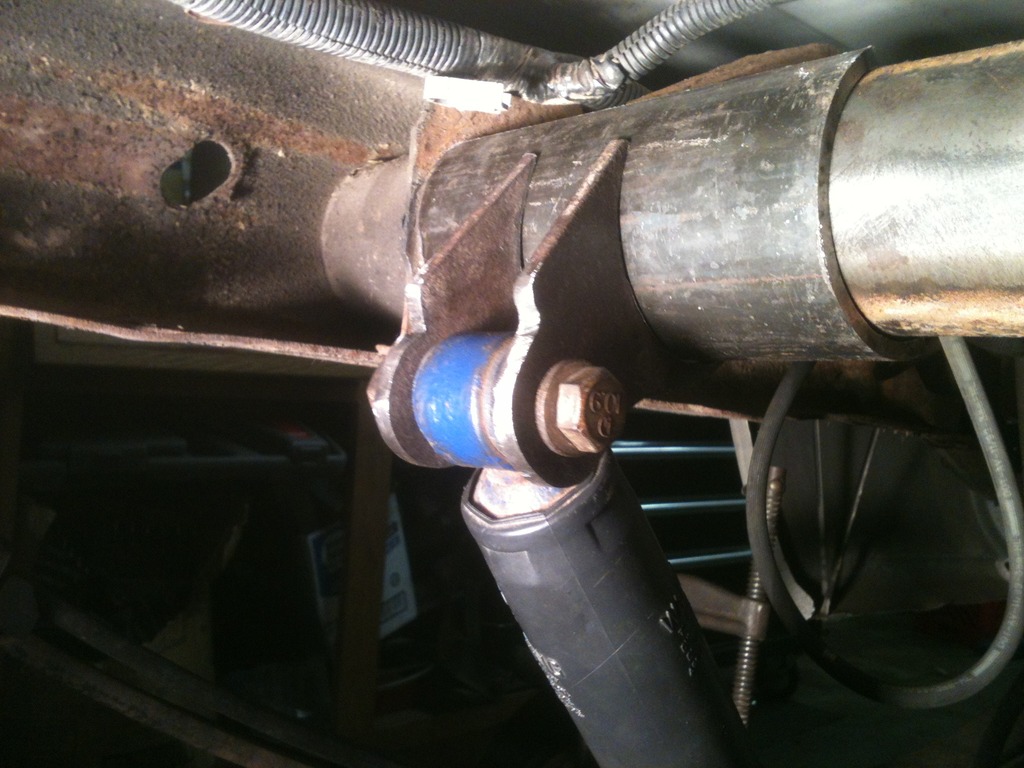
Good thing this is under the truck and painted black or I'd have to grind it and try again! haha!
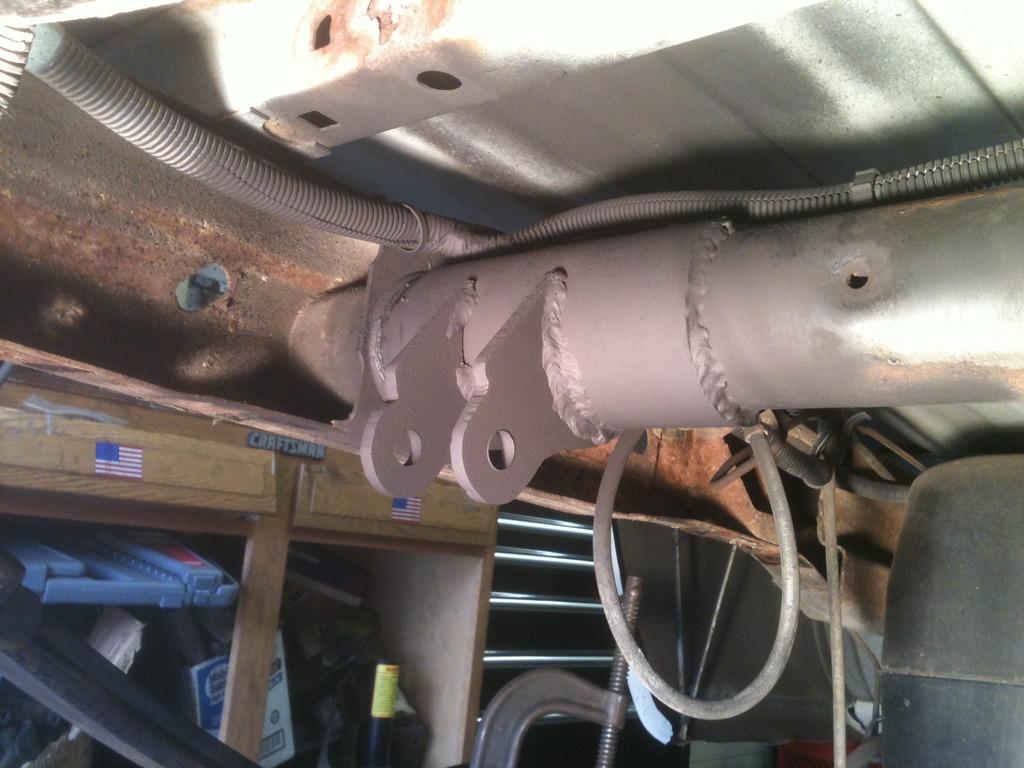
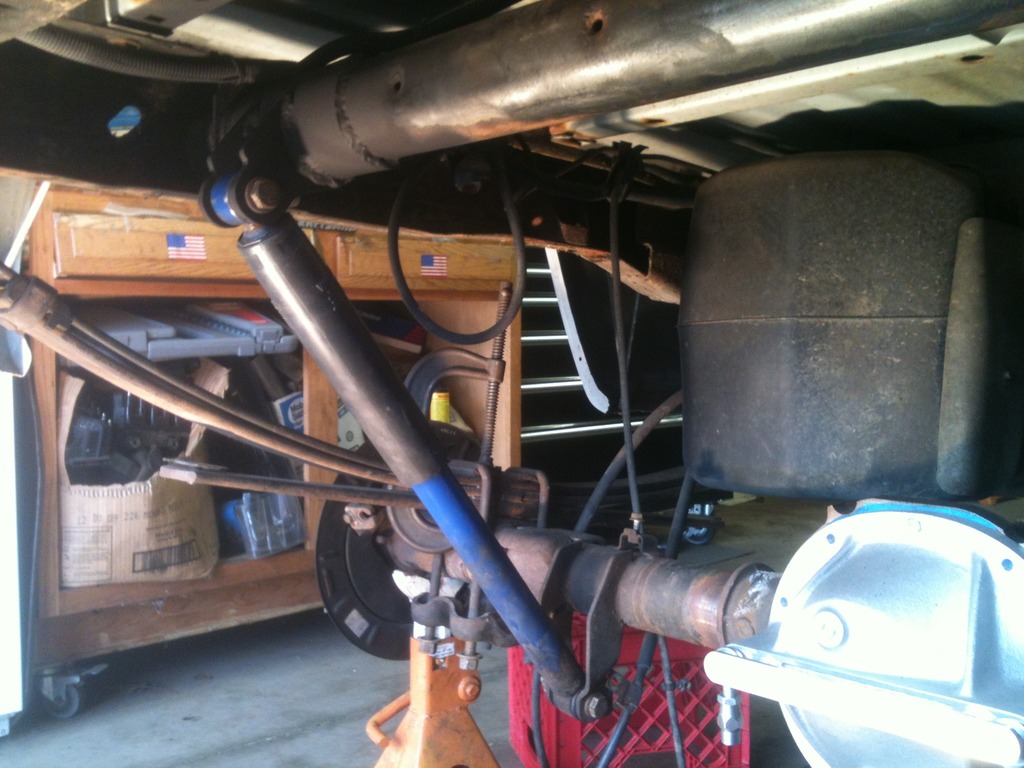
Got the LPW Anti-Flex housing brace installed too. Productivity, FTW!


Going to order me some 2wd u-bolts and new leaf spring bolts this week. Hopefully going to get all the bearings installed in the rear end so I can put it back together and permanently mounted under the truck.
Thanks to BigKID for the suggestion, today we build shock mount tabs!


I'm OBVIOUSLY not a welder if you counldn't tell..... LOL
Good thing this is under the truck and painted black or I'd have to grind it and try again! haha!


Got the LPW Anti-Flex housing brace installed too. Productivity, FTW!


Going to order me some 2wd u-bolts and new leaf spring bolts this week. Hopefully going to get all the bearings installed in the rear end so I can put it back together and permanently mounted under the truck.
04-06-2015, 09:26 AM
#33

I know you already made some, but I have used some stuff from here before that you may find useful https://www.ruffstuffspecialties.com...cketstabs.html
04-06-2015, 11:39 AM
#34
Staging Lane
Thread Starter
Join Date: Jan 2012
Location: Louisville, KY
Posts: 99
Likes: 0
Received 0 Likes
on
0 Posts
I know you already made some, but I have used some stuff from here before that you may find useful https://www.ruffstuffspecialties.com...cketstabs.html
 04-10-2015, 08:22 AM
#36
Staging Lane
Thread Starter
Join Date: Jan 2012
Location: Louisville, KY
Posts: 99
Likes: 0
Received 0 Likes
on
0 Posts

 05-03-2015, 08:59 PM
#37
Staging Lane
Thread Starter
Join Date: Jan 2012
Location: Louisville, KY
Posts: 99
Likes: 0
Received 0 Likes
on
0 Posts
Well..... I had a momentary lapse of intelligence recently...... 
Went to strip the ring gear off the carrier because it was still in good shape and had planned to reuse it...... but I forgot the carrier bolts were LH thread....
Oops....
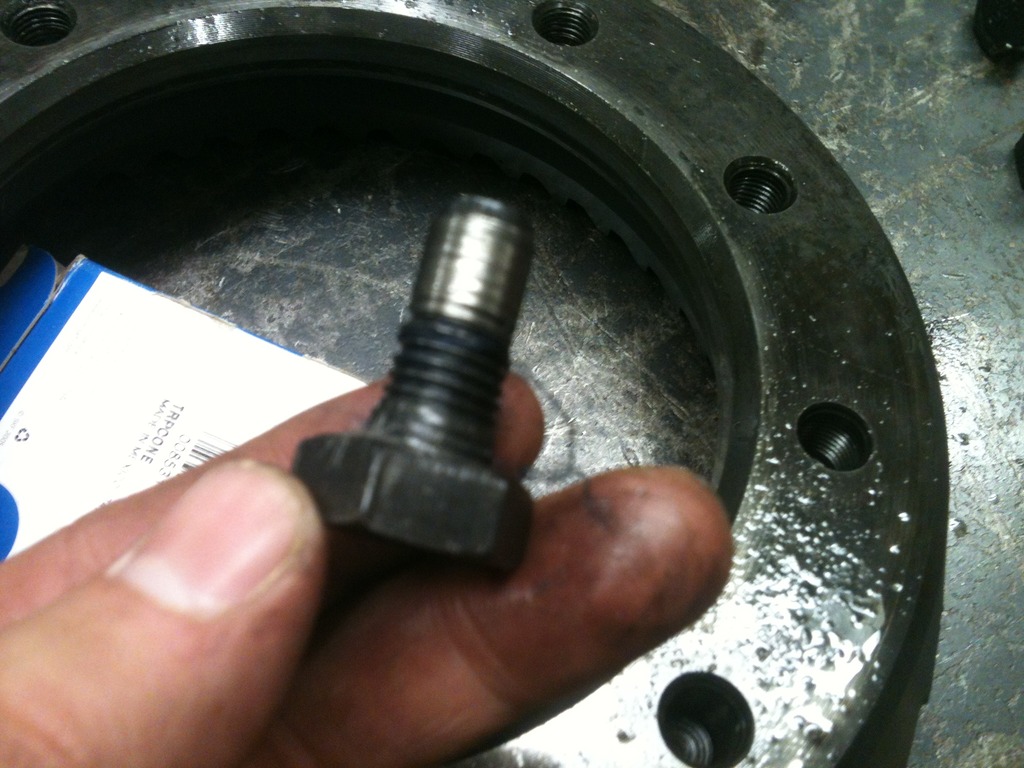
Pulled the threads right out of the ring gear.....
I don't believe I'll be making that mistake again, haha!
$200 and a few clicks on Jegs got me a new Motive Gear ring & pinion a few days later so I was back in business. I got a little too caught up in work so forgot to take pics but I did grab a few....
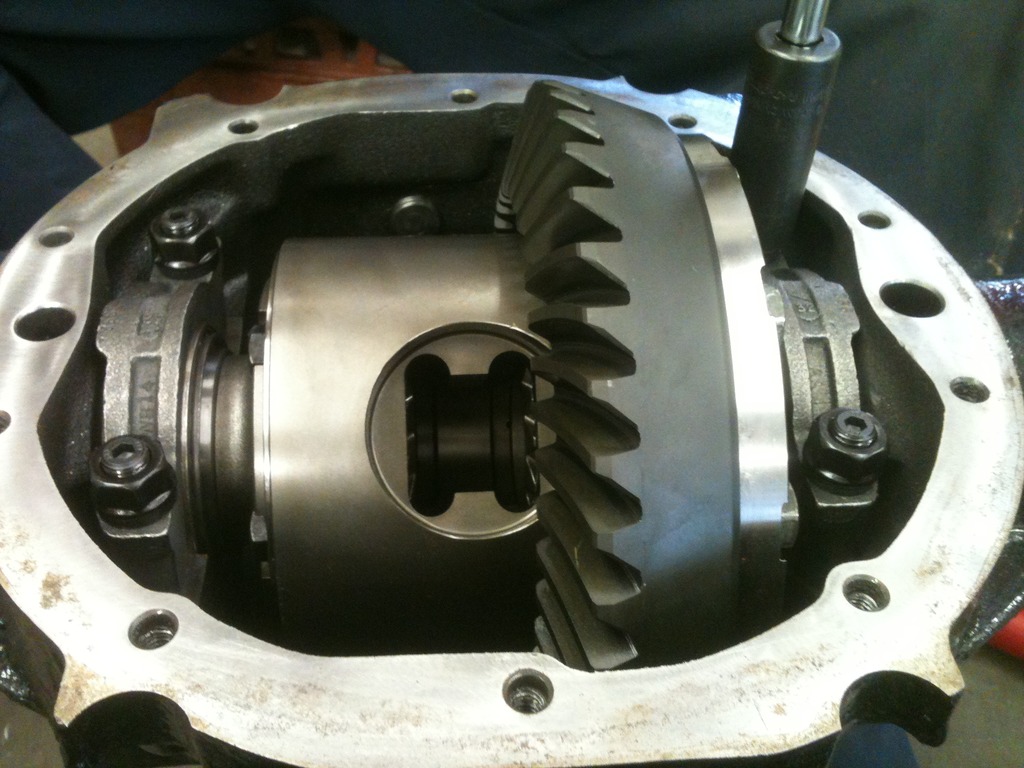
Pinion installed, studs in.
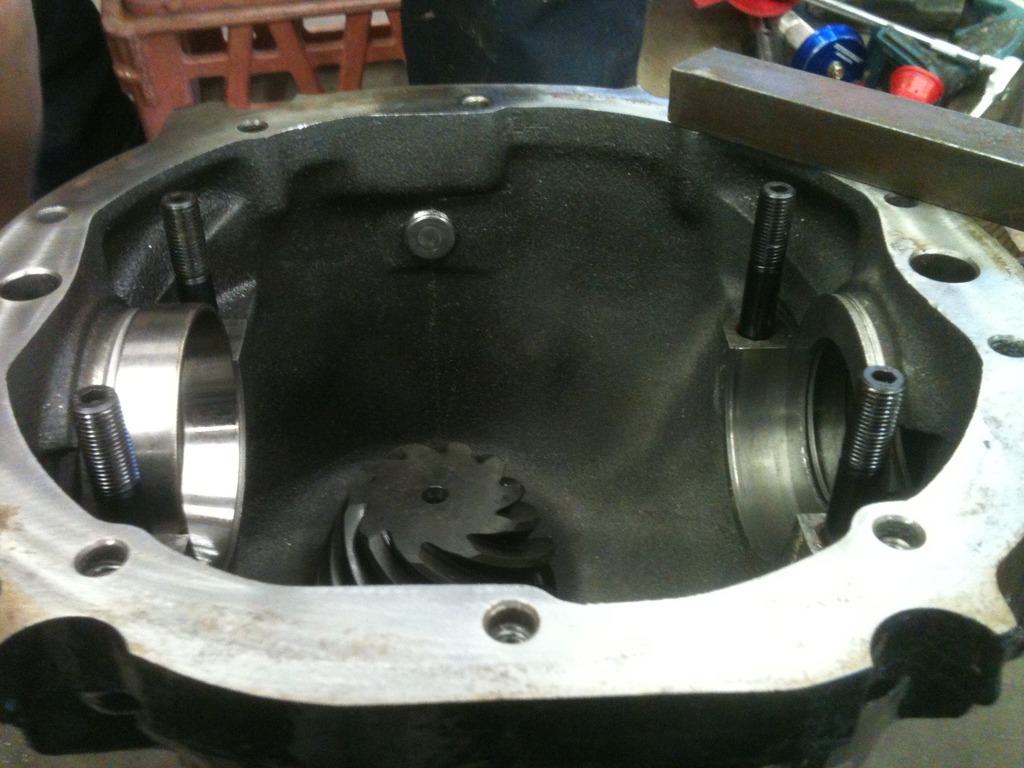
Carrier in.
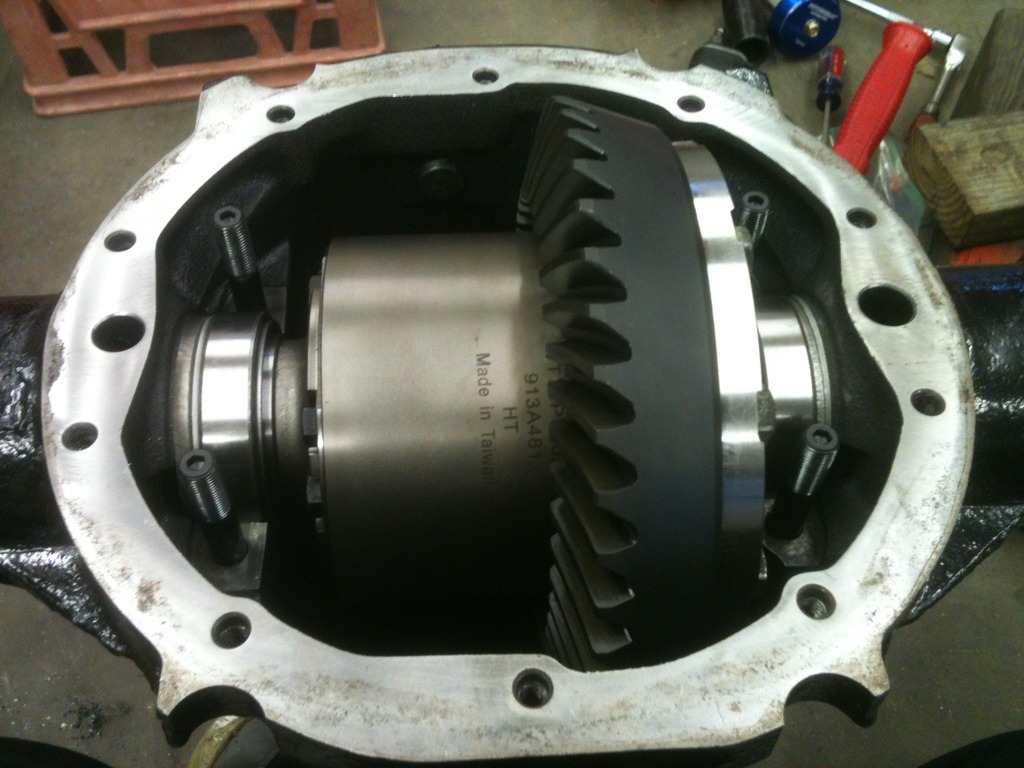
Caps on and torqued.
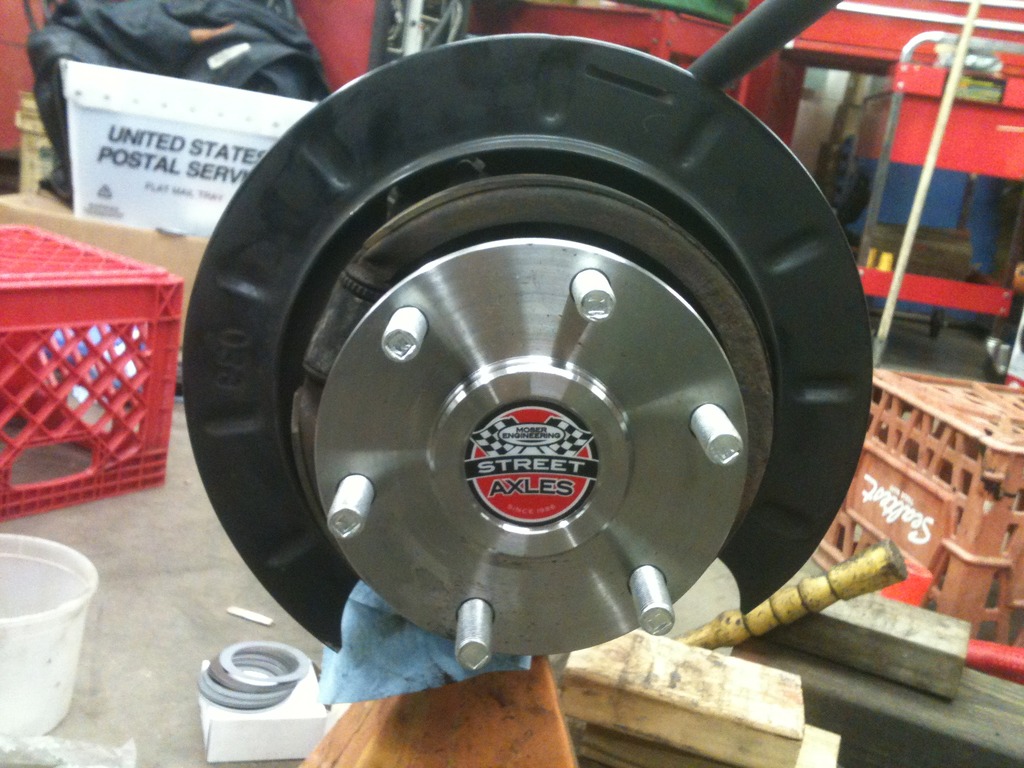
Shiny axels in!
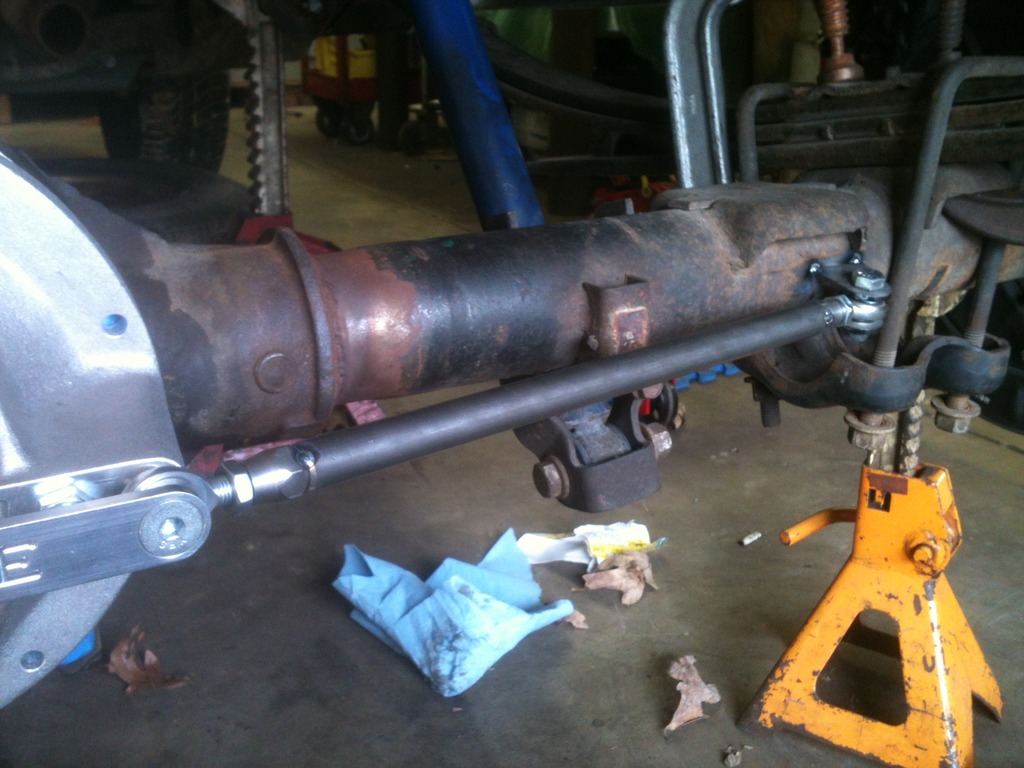
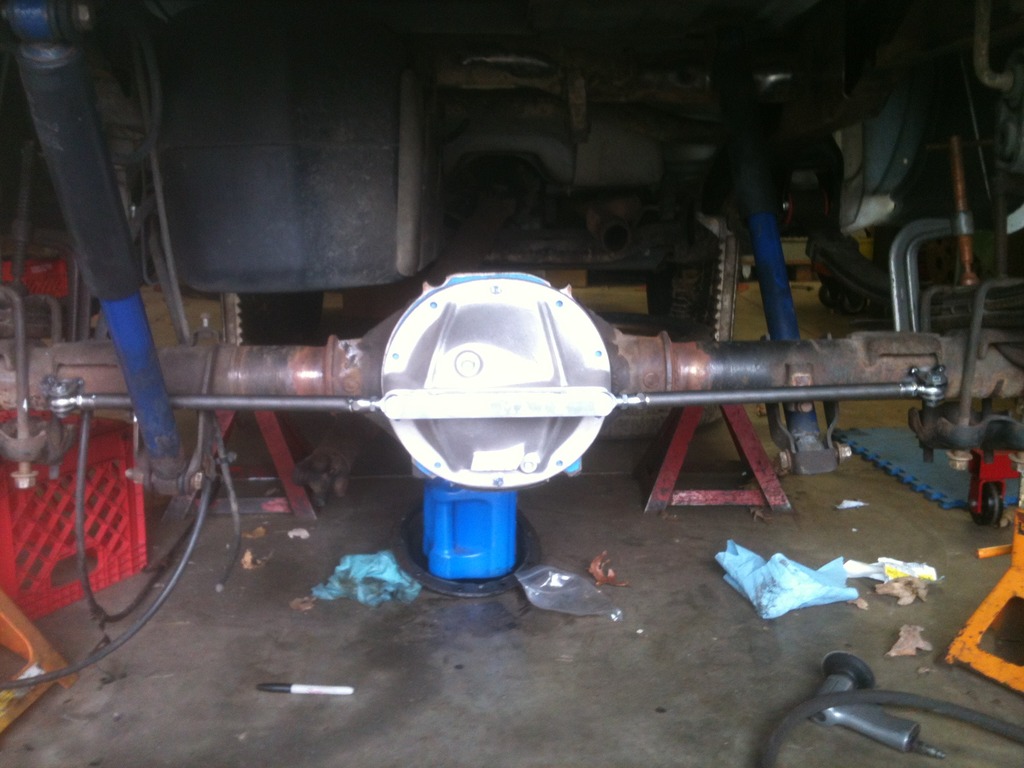
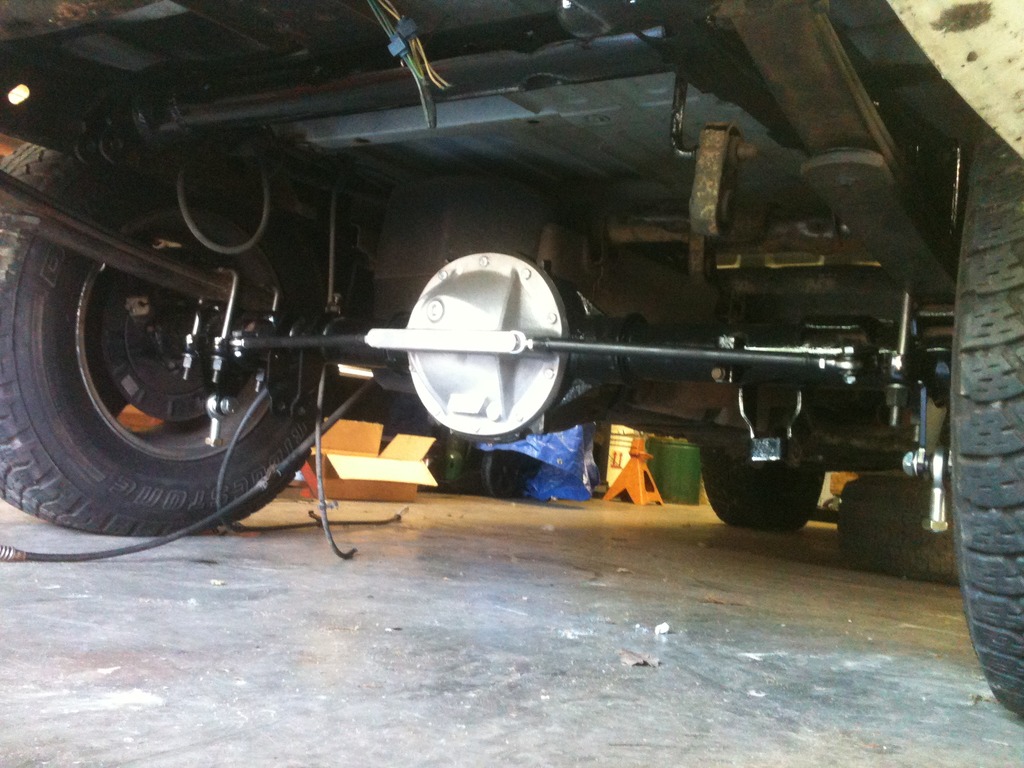
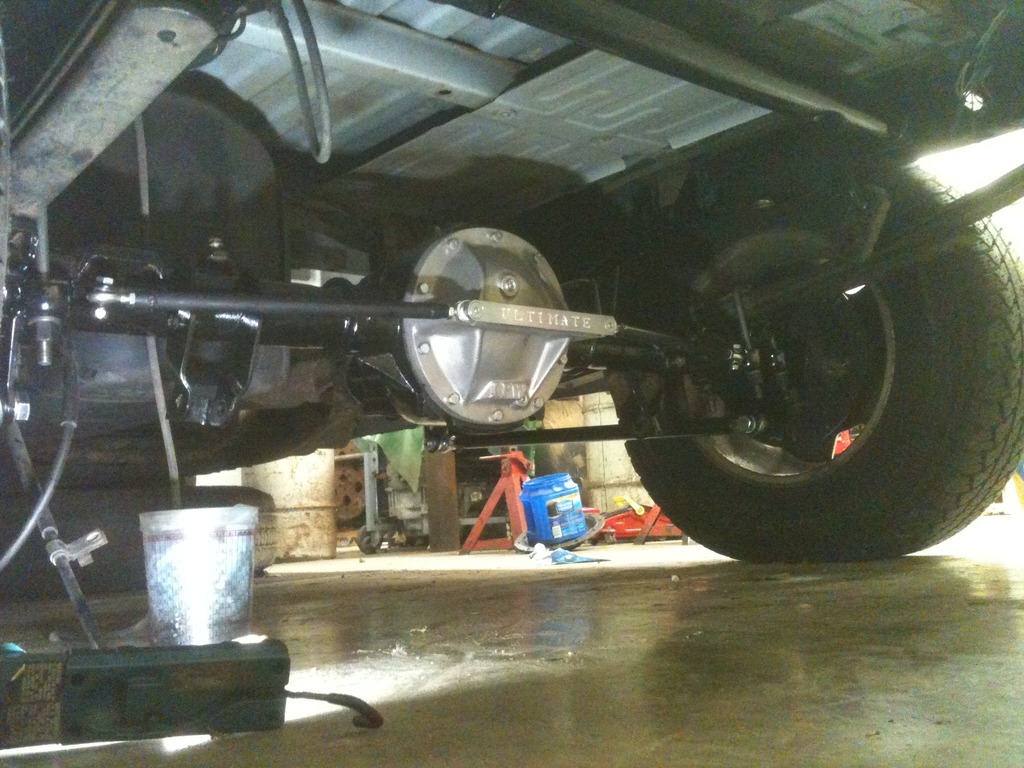
Brace on and torqued.


Dat *** tho....

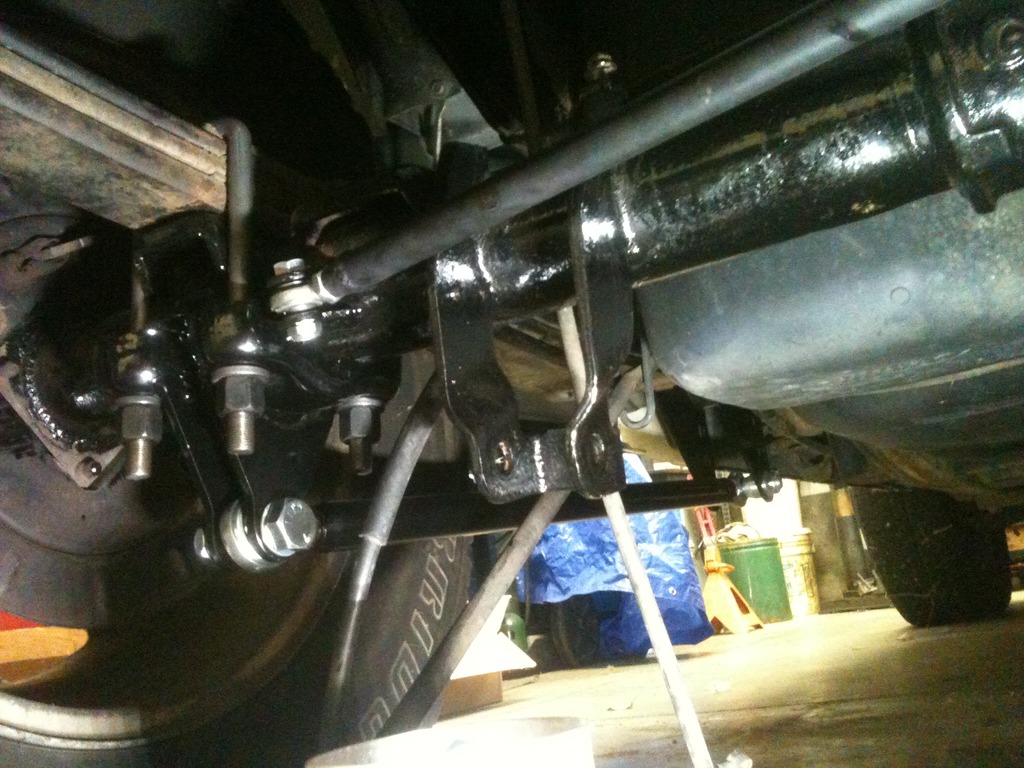
Louisville Auto Spring made me some new U-bolts for about half the price you could buy new ones for. Picked up some grade 8 hardware for the hangers as well.
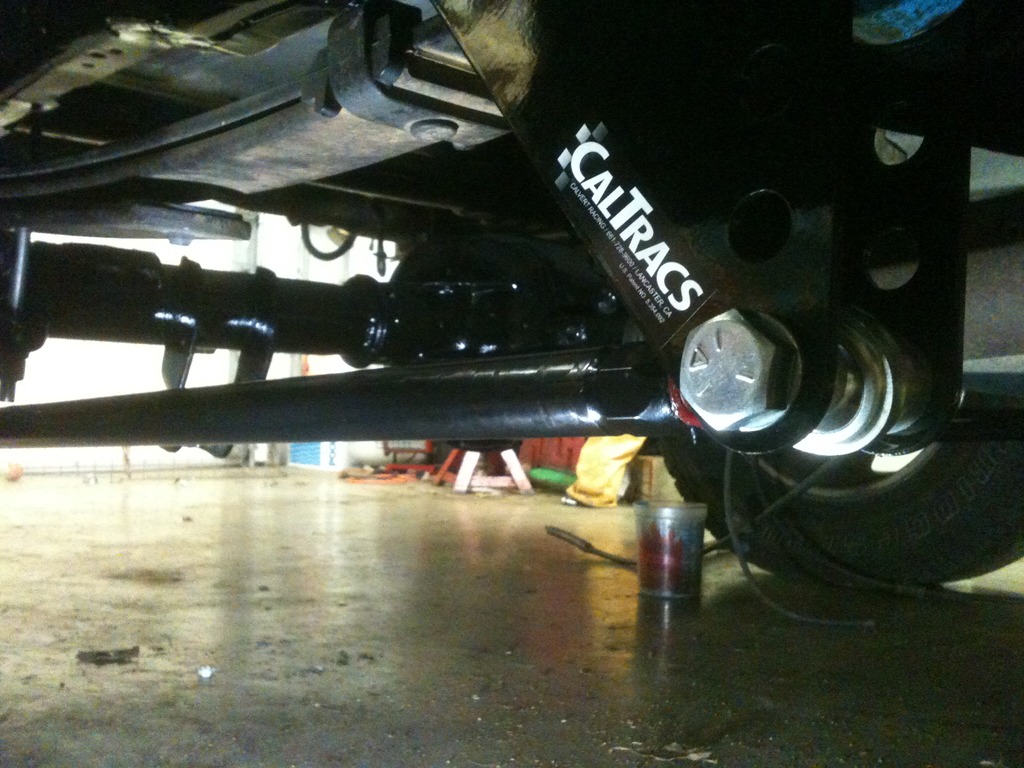
Got the Cal-tracs installed too!

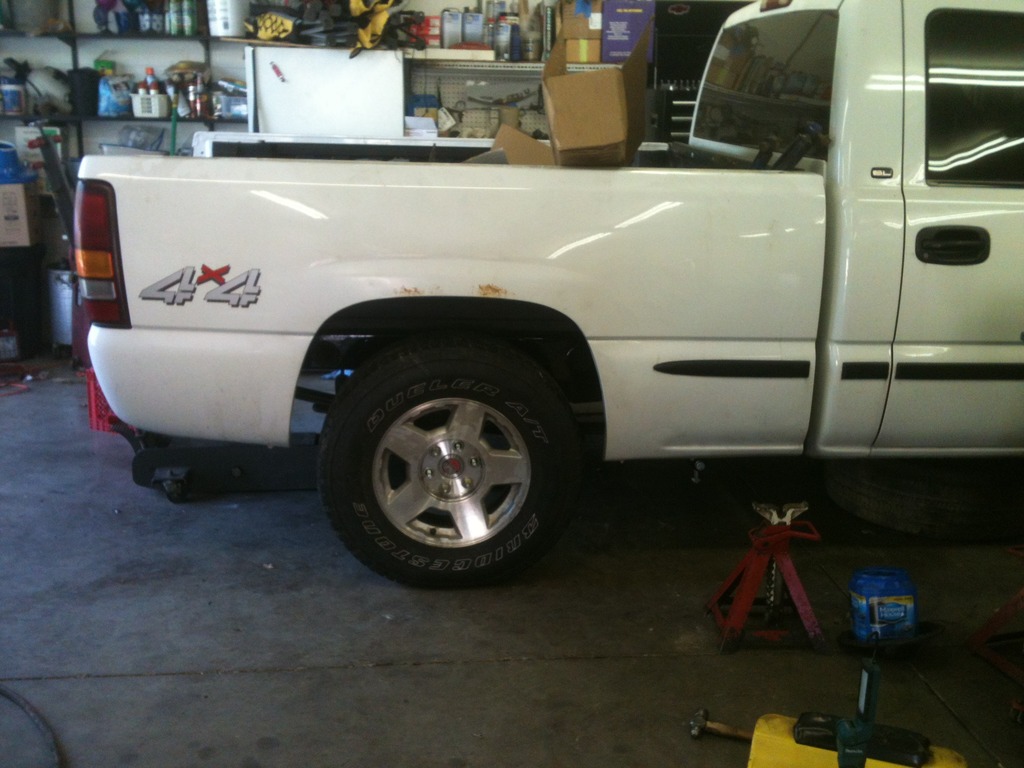
Ride height (w/out factory lift blocks)
Need to get me some new shocks and that should wrap up the back.
Next we tackle the transfer case!
Went to strip the ring gear off the carrier because it was still in good shape and had planned to reuse it...... but I forgot the carrier bolts were LH thread....
Oops....

Pulled the threads right out of the ring gear.....
I don't believe I'll be making that mistake again, haha!
$200 and a few clicks on Jegs got me a new Motive Gear ring & pinion a few days later so I was back in business. I got a little too caught up in work so forgot to take pics but I did grab a few....
Pinion installed, studs in.

Carrier in.

Caps on and torqued.

Shiny axels in!

Brace on and torqued.


Dat *** tho....


Louisville Auto Spring made me some new U-bolts for about half the price you could buy new ones for. Picked up some grade 8 hardware for the hangers as well.
Got the Cal-tracs installed too!


Ride height (w/out factory lift blocks)

Need to get me some new shocks and that should wrap up the back.
Next we tackle the transfer case!