
I'm calling her Mia


 11-20-2009, 07:09 PM
#223
TECH Regular
Thread Starter
iTrader: (3)
Join Date: Apr 2008
Location: arizona
Posts: 436
Likes: 0
Received 0 Likes
on
0 Posts
SHE HAS POWER!!
I was too scared to start her since I dont have any way of connecting my transmission cooler to her and there for have no fluid in the tranny. but I have power! fuel pump comes on, lights, interior, everything!
I have a bunch of progress pics and some good info for everyone, but i'll update that this weekend. she will be started this weekend! for real this time!
11-22-2009, 09:38 PM
#224
TECH Regular
Thread Starter
iTrader: (3)
Join Date: Apr 2008
Location: arizona
Posts: 436
Likes: 0
Received 0 Likes
on
0 Posts
SHE LIVES
video of her first start. she needs a tune soo bad. 5.3 computer trying to controll a cammed 6.0 with over sized injectors...

I'll get a more detailed update later. I have some radiator hose numbers you guys could use. and all the other little details. I'm going to go wire in my wideband and get some loose ends tied up.
video of her first start. she needs a tune soo bad. 5.3 computer trying to controll a cammed 6.0 with over sized injectors...
I'll get a more detailed update later. I have some radiator hose numbers you guys could use. and all the other little details. I'm going to go wire in my wideband and get some loose ends tied up.

 11-23-2009, 11:24 PM
#227
TECH Regular
Thread Starter
iTrader: (3)
Join Date: Apr 2008
Location: arizona
Posts: 436
Likes: 0
Received 0 Likes
on
0 Posts
now to catch up on what went on before starting it. many trips to the parts store and a little fab work to make this big square peg fit in a round hole. excuse the dirty pics, the dust makes my engine bay look like crap.
first off the radiator hoses. these are numbers from orilies/checker auto and with a little trimming they fit better then most hoses made for stock trucks.
upper hose
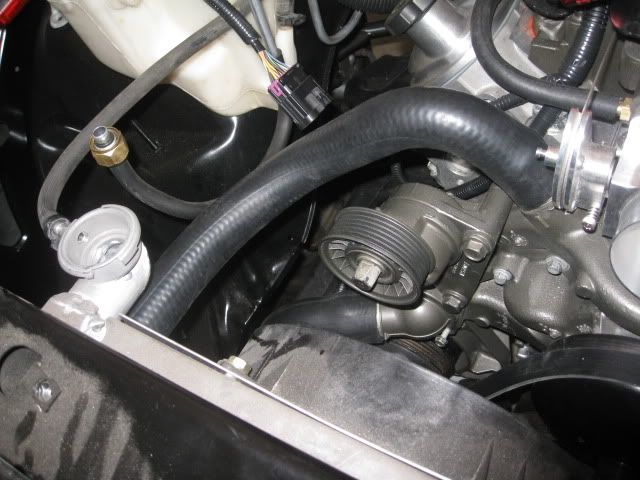
lower hose
numbers, sorry I dont remember which was top and wich was bottom. but these will fit currents radiator with a 07 and up truck water pump. the lower hose should fit an y truck water pump.
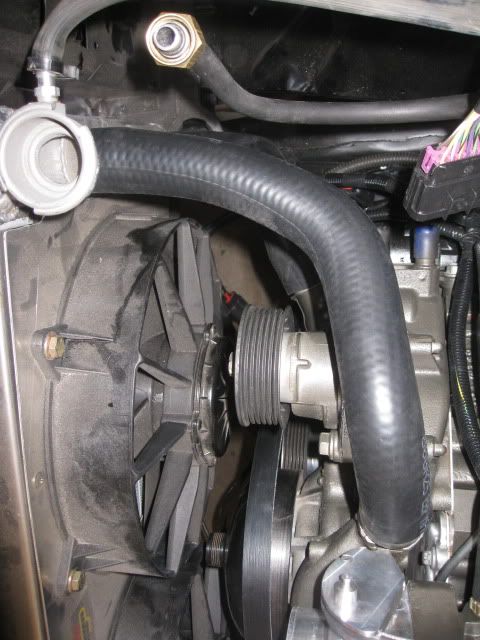
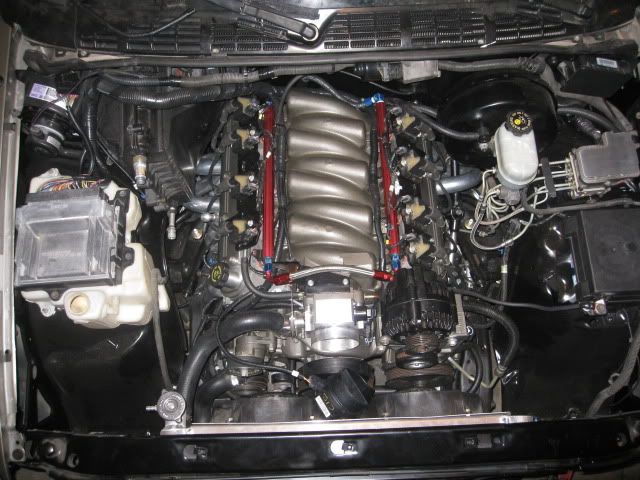
next up is spark plug wires. after i raised the coils my stock wires didnt fit, so I got a set of make-your-own and cut them to fit
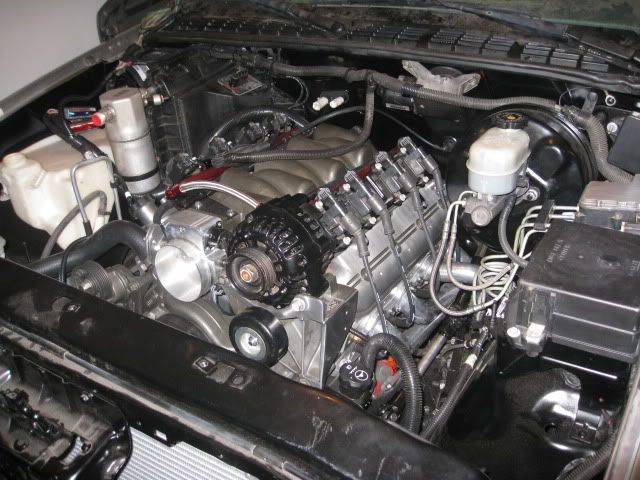
I installed my brake system, computer, and most everything else, in the engine bay.
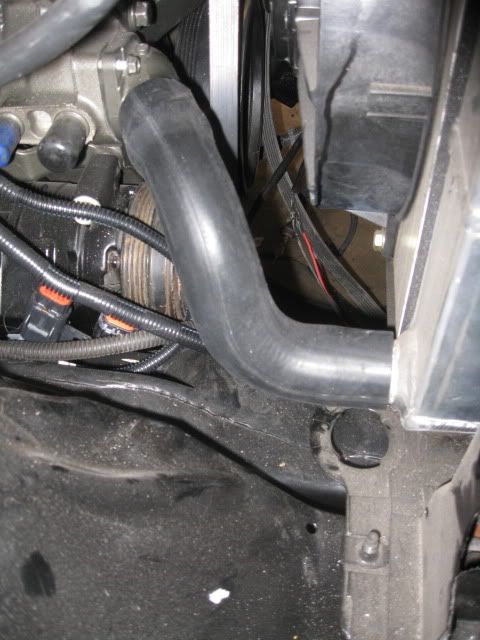
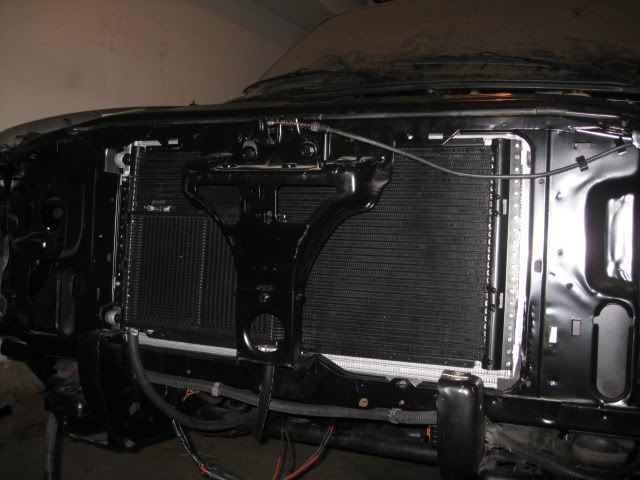
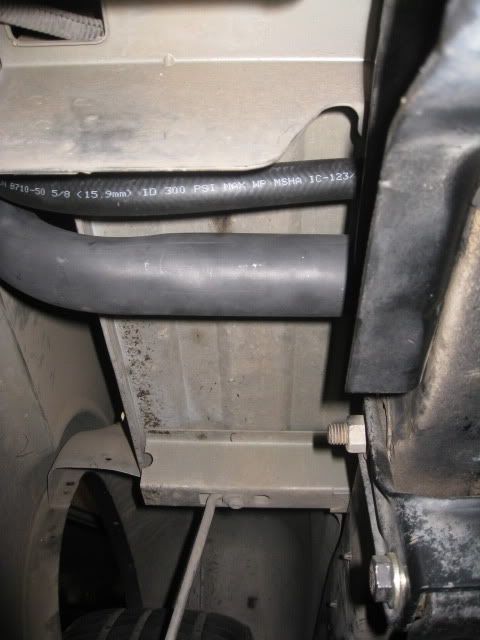
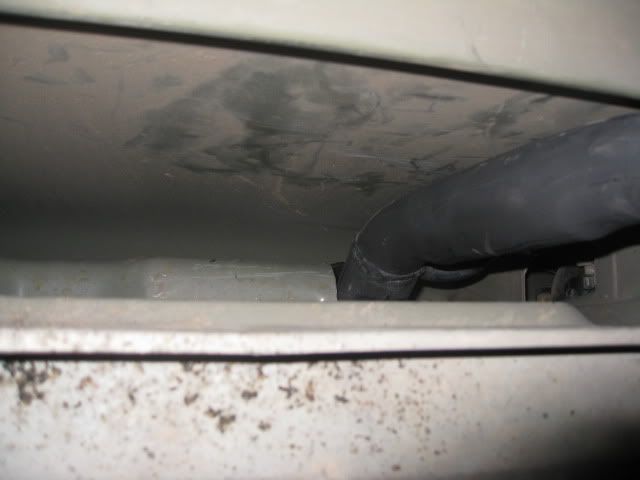
installed my condencer again after trimming so that I can get some lines onto it when I install my ac in the summer. then installed my tranny cooler, its a b&m plate style cooler.
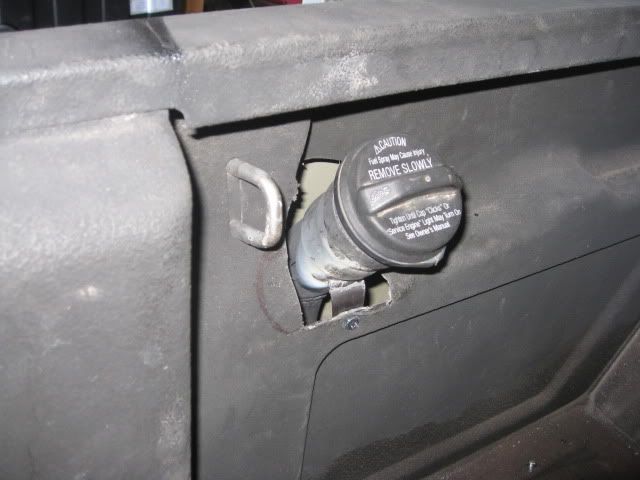
I had some questions about installing the filler neck so here are some pics and info on that.
-I notched the frame for the filler neck, then welded in reinforcements so it was still solid.
-I took some measurements and went to my local exhaust shop and had them bend me a 2" tube. I had them cut it 30" long and do a 90 degree bend in the middle, then trimmed each side at home to my liking.
-I cut a hole when I wanted my filler neck to enter my bedthat was large enough for me to work in a little.
-I welded on the top of my old filler neck onto the tube at an angle of around 40-45 dergrees so it pointed inside the bed. be sure to weld on the little vent tubeon the side or it will be a pain to fill up.
-I ran a soft line on the vent side from the top by the filler neck down to the tank, get some large fuel hose, do not use heater hose or it will deteriorate quickly.
-I used the stock rubber ends off the stock blazer tank to connect the exhaust tube to the tank.
-once I had everything in place I marked where I wanted to put some tabs and welded them on to keep the new filler neck in place. I welded nuts to the tabs then welded the tabs to the filler neck so that I wouldnt have to worry about holding a nut on the inside of the bed while turning a bolt on the other side.
all in all it did not take me much time once I had it in my head what I wanted to do. working by myself i did it in an evening and total cost was less then $50. it fits with plenty of clearance too.
onto the pics
tank to frame(not the plate welded in place.)

frame to bedside
up the bedside
and lastly the filler neck in the bed
to do list
-install drive shaft
-bleed brakes
-install grill, lights and bumper.
-tune
-make intake
-intall wideband
-fab exhaust
-find bedcover
-burn tires off
first off the radiator hoses. these are numbers from orilies/checker auto and with a little trimming they fit better then most hoses made for stock trucks.
upper hose
lower hose
numbers, sorry I dont remember which was top and wich was bottom. but these will fit currents radiator with a 07 and up truck water pump. the lower hose should fit an
y truck water pump.next up is spark plug wires. after i raised the coils my stock wires didnt fit, so I got a set of make-your-own and cut them to fit
I installed my brake system, computer, and most everything else, in the engine bay.
installed my condencer again after trimming so that I can get some lines onto it when I install my ac in the summer. then installed my tranny cooler, its a b&m plate style cooler.
I had some questions about installing the filler neck so here are some pics and info on that.
-I notched the frame for the filler neck, then welded in reinforcements so it was still solid.
-I took some measurements and went to my local exhaust shop and had them bend me a 2" tube. I had them cut it 30" long and do a 90 degree bend in the middle, then trimmed each side at home to my liking.
-I cut a hole when I wanted my filler neck to enter my bedthat was large enough for me to work in a little.
-I welded on the top of my old filler neck onto the tube at an angle of around 40-45 dergrees so it pointed inside the bed. be sure to weld on the little vent tubeon the side or it will be a pain to fill up.
-I ran a soft line on the vent side from the top by the filler neck down to the tank, get some large fuel hose, do not use heater hose or it will deteriorate quickly.
-I used the stock rubber ends off the stock blazer tank to connect the exhaust tube to the tank.
-once I had everything in place I marked where I wanted to put some tabs and welded them on to keep the new filler neck in place. I welded nuts to the tabs then welded the tabs to the filler neck so that I wouldnt have to worry about holding a nut on the inside of the bed while turning a bolt on the other side.
all in all it did not take me much time once I had it in my head what I wanted to do. working by myself i did it in an evening and total cost was less then $50. it fits with plenty of clearance too.
onto the pics
tank to frame(not the plate welded in place.)
frame to bedside
up the bedside
and lastly the filler neck in the bed
to do list
-install drive shaft
-bleed brakes
-install grill, lights and bumper.
-tune
-make intake
-intall wideband
-fab exhaust
-find bedcover
-burn tires off
12-01-2009, 08:42 AM
#228
TECH Regular
Thread Starter
iTrader: (3)
Join Date: Apr 2008
Location: arizona
Posts: 436
Likes: 0
Received 0 Likes
on
0 Posts
drove it to school last night and drove it to work this morning. its running very poorly because of the tune, cruses fine but I cant take it over 3500 rpms. and if I go WOT(wide open throttle) it floods itself. tranny is leaking like a sob from the front seal so I need to change that out. and right now my exhaust is just muffles clamped onto my collectors so its loud as hell, that will get worked out this weekend.
it still felt great to drive it. i'm getting tons of looks in it.
I really wanted to tune this thing myself but i'm behind on school right now so I really dont have time to learn how to do that right now. I'll try to get this thing tuned before the end of the week, have to find a shop and get some prices to see if I even can.
12-12-2009, 02:21 PM
#229
TECH Regular
Thread Starter
iTrader: (3)
Join Date: Apr 2008
Location: arizona
Posts: 436
Likes: 0
Received 0 Likes
on
0 Posts
well the truck is back on jackstands and the tranny is on the garage floor. I had a tq converter made for my truck that was supposed to adapt the older style 4l60e to my 6.0. and it doesnt fit. tried to get ahold of fuddle racing who built it for me and they apparently went under, their site is down and the phone number has been disconnected.
going to see if I can find a converter shop or machine shop that can lengthen the pilot on the converter to make one of my tq converters fit.
this thing is going to be the death of me...
going to see if I can find a converter shop or machine shop that can lengthen the pilot on the converter to make one of my tq converters fit.
this thing is going to be the death of me...
12-12-2009, 04:57 PM
#230
Launching!
iTrader: (4)

Join Date: Oct 2007
Location: Gillette,WY
Posts: 232
Likes: 0
Received 0 Likes
on
0 Posts
I used to work for these guys, look at BTP Total Performance in Bismarck, North Dakota. Go under there website, I think it is btptotalperformance.net. Talk to JJ.