
I'm calling her Mia
 09-29-2008, 10:30 AM
#41
 10-01-2008, 08:00 PM
#42
TECH Regular
Thread Starter
iTrader: (3)
Join Date: Apr 2008
Location: arizona
Posts: 436
Likes: 0
Received 0 Likes
on
0 Posts
not too much to update, tore down the 6.0 all the way, and pulled the wiring harness from the 4.8. had some down time at work so i cleaned up the valley cover.
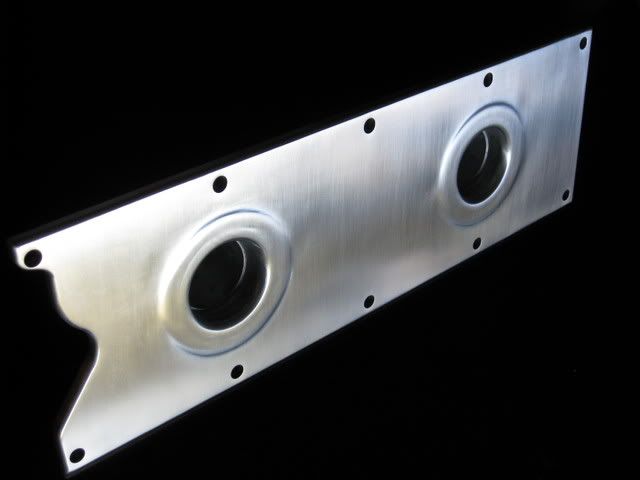
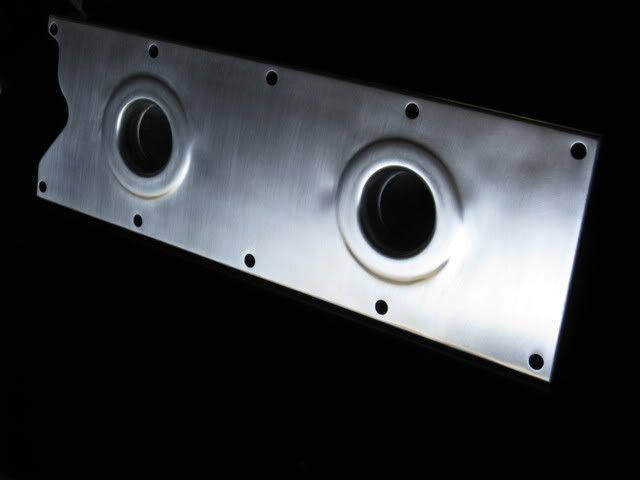
do you guys think I should polish it or leave it brushed? My plan was to polish it, but when I started to clean it up I tried brushing it and liked the look. i'll be doing the timing cover and valve covers too, along with whatever else I get the time to do.
does anyone know the best way to seal raw aluminum?
10-06-2008, 12:55 AM
#43
TECH Regular
Thread Starter
iTrader: (3)
Join Date: Apr 2008
Location: arizona
Posts: 436
Likes: 0
Received 0 Likes
on
0 Posts
update:
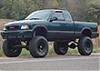
been busy all weekend, but i got a little time to work on Mia.
finally got the cab lifted and the engine and tranny out.
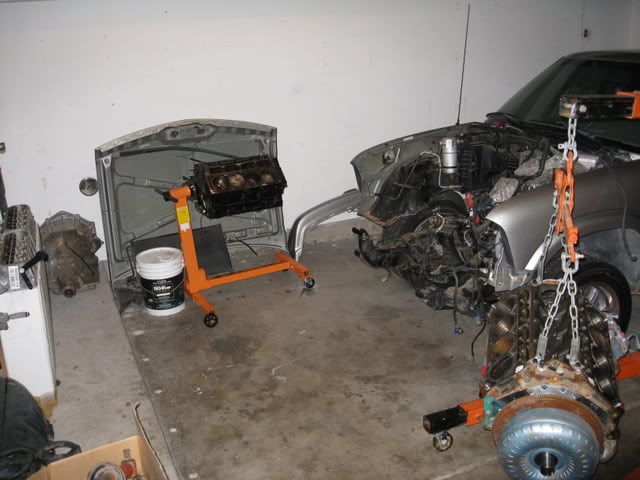
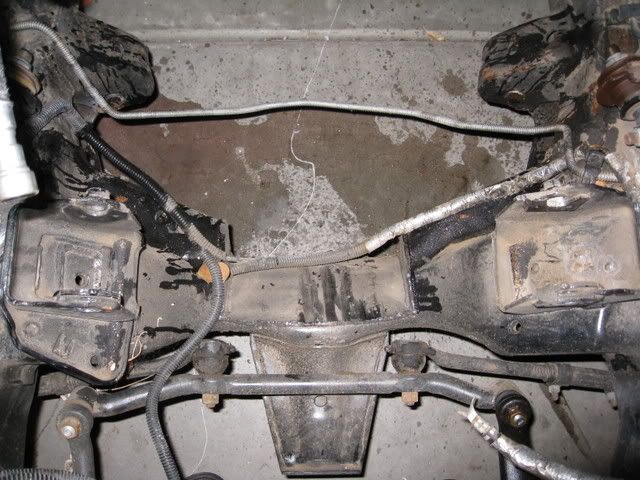
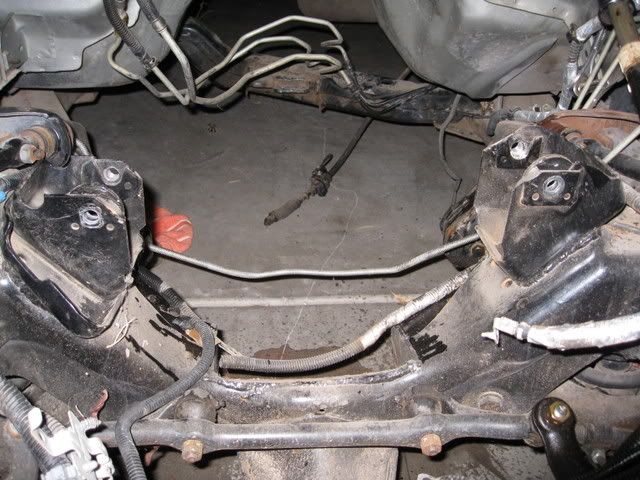
now I have to try and clean all this up
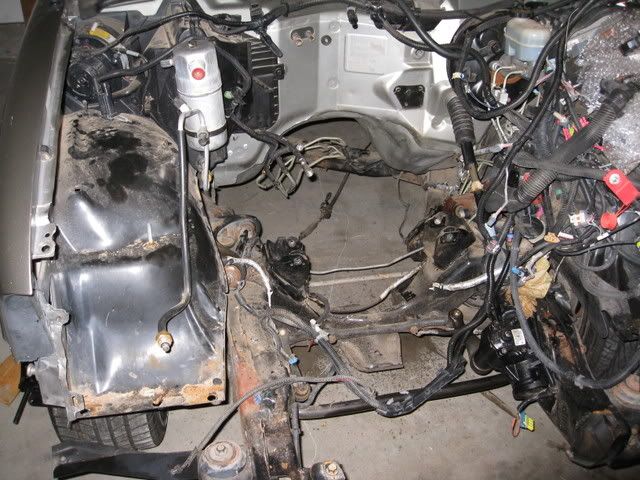
I'm going to redo the notch and engine mounts. I don't like these at all.

cleaned up the timing chain cover, this thing was a *****. but I like how it turned out. and its going to be the hardest one to clean up.

I picked up a set of stripes this weekend

so now after I did all my work and progress i'm going to have me some of this.

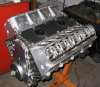
tomorrow I'll be pulling the pan on the tranny, cleaning and repainting the new block, and whatever else I get around too. the valve covers should be shaved and brushed this coming week sometime.
been busy all weekend, but i got a little time to work on Mia.
finally got the cab lifted and the engine and tranny out.
now I have to try and clean all this up
I'm going to redo the notch and engine mounts. I don't like these at all.
cleaned up the timing chain cover, this thing was a *****. but I like how it turned out. and its going to be the hardest one to clean up.
I picked up a set of stripes this weekend
so now after I did all my work and progress i'm going to have me some of this.
tomorrow I'll be pulling the pan on the tranny, cleaning and repainting the new block, and whatever else I get around too. the valve covers should be shaved and brushed this coming week sometime.
10-06-2008, 01:01 AM
#44
13 Second Truck Club
iTrader: (13)

Join Date: Mar 2008
Location: Arlington (DFW), Texas
Posts: 2,663
Likes: 0
Received 0 Likes
on
0 Posts
What all did you do to get those kind of finishes? How did you achieve the brushed look?
BTW, I dont know if you mentioned, Which pan are you going with?
________
**** Webcams
BTW, I dont know if you mentioned, Which pan are you going with?
________
**** Webcams
Last edited by A Low Dime; 09-02-2011 at 02:36 AM.
10-06-2008, 01:30 AM
#45
TECH Regular
Thread Starter
iTrader: (3)
Join Date: Apr 2008
Location: arizona
Posts: 436
Likes: 0
Received 0 Likes
on
0 Posts
a have the truck pan, but i'm trying to hunt down an ls2 pan. I ground everything off with sanding discs, then rough stripping/buffing disks, to softer buffing disks, and brushed them with a scratch pad, something a little rougher then your average dish scrubber. i can get more details later, I used a friends tools and discs.
10-06-2008, 01:33 AM
#46
13 Second Truck Club
iTrader: (13)
Join Date: Mar 2008
Location: Arlington (DFW), Texas
Posts: 2,663
Likes: 0
Received 0 Likes
on
0 Posts
Whenever I finally get settled in a new place, I was planning on using the LS2 pan.
________
VAPORIZER WIKI
________
VAPORIZER WIKI
Last edited by A Low Dime; 09-02-2011 at 02:36 AM.
10-12-2008, 09:24 PM
#47
its taking a blazer tank and making a cross member for it to sit in. You have to relocate the spare tire or remove it, and get some mounts made for the tank along with extending the fuel lines. Its not too difficult if you or someone you know can cut and weld and do simple fabrication. i'll try and dig up a thread from another site later, and hopefully will do the swap myself depending on if my buddy gets here before I have to leave again for school. I can fabricate, but I dont have a welder and am not great at welding, I can but my buddy is great at it and he has a few welders.
 10-13-2008, 01:50 AM
#49
TECH Regular
Thread Starter
iTrader: (3)
Join Date: Apr 2008
Location: arizona
Posts: 436
Likes: 0
Received 0 Likes
on
0 Posts
the blazer tank sits behind the axle for better weight distribution. the s-10s have a reputation for leaning to one side, especially in the front right corner because the gas tank is located just below the driver. with the driver and a full tank the left side will lean quite a bit, especially with my 235lb self in it. with the blazer tank the wieght is over the rear so it will help me hook, plus will diminish the lean. i'll be relocating as much as I can to under the bed as I can.
10-13-2008, 01:57 AM
#50
TECH Regular
Thread Starter
iTrader: (3)
Join Date: Apr 2008
Location: arizona
Posts: 436
Likes: 0
Received 0 Likes
on
0 Posts
that should be pretty sweet, you got a build thread for me to follow? I was really torn between building a 5.3 s10 or a sbsc full size with a built 6.0 in it, but I couldn't find a full size for a good price when I got back. and now that I have an s10 with a 6.0 in it I'm glad I ended up getting this one.