

NBS Auto floor shifter install (and fun with fiberglass)
 01-07-2010 | 09:47 PM
#1

I have a 00 GMC and I hate column shifters. This install is a B&M quicksilver ratchet shifter.
First I made a base to mount it on. Makes things easier and less apt to tear up your truck's sheet metal. But I made it larger than normal due to the custom cover I was making
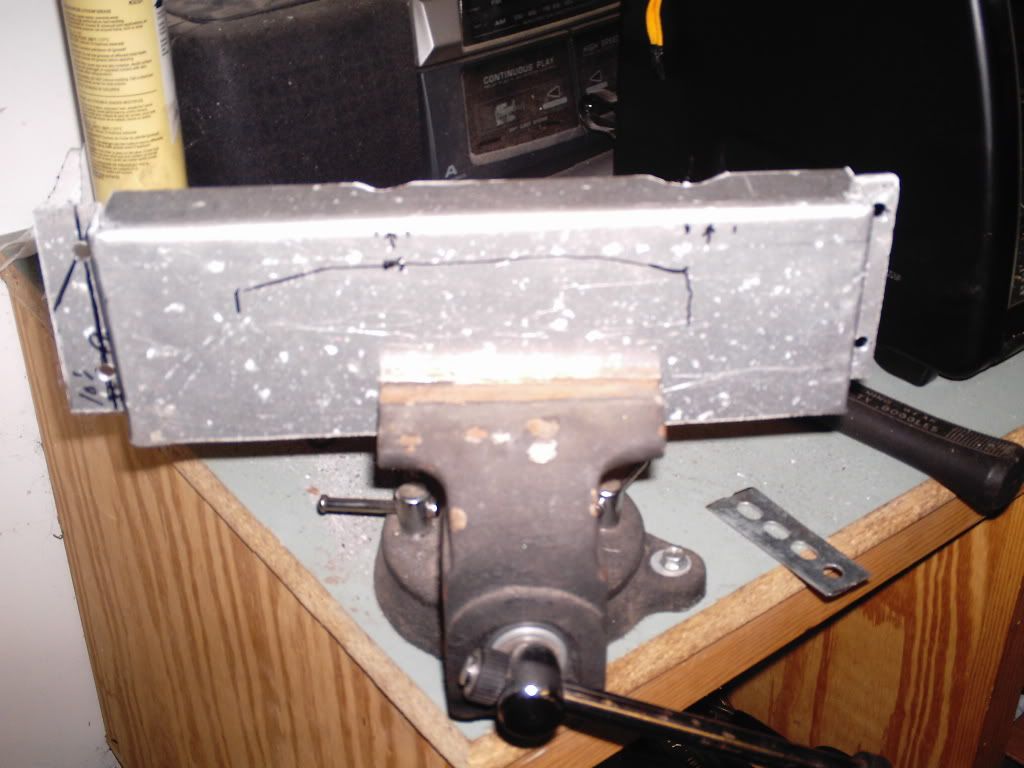
Be sure to put a 2x4 block of wood over your fuel rails so your drill bit doesn't eat them
Someone told me B&M makes these to work on 4L60e trannys, but mine was the old kind, and required some tweaking
First I made a base to mount it on. Makes things easier and less apt to tear up your truck's sheet metal. But I made it larger than normal due to the custom cover I was making
Be sure to put a 2x4 block of wood over your fuel rails so your drill bit doesn't eat them
Someone told me B&M makes these to work on 4L60e trannys, but mine was the old kind, and required some tweaking
01-07-2010 | 09:53 PM
#2
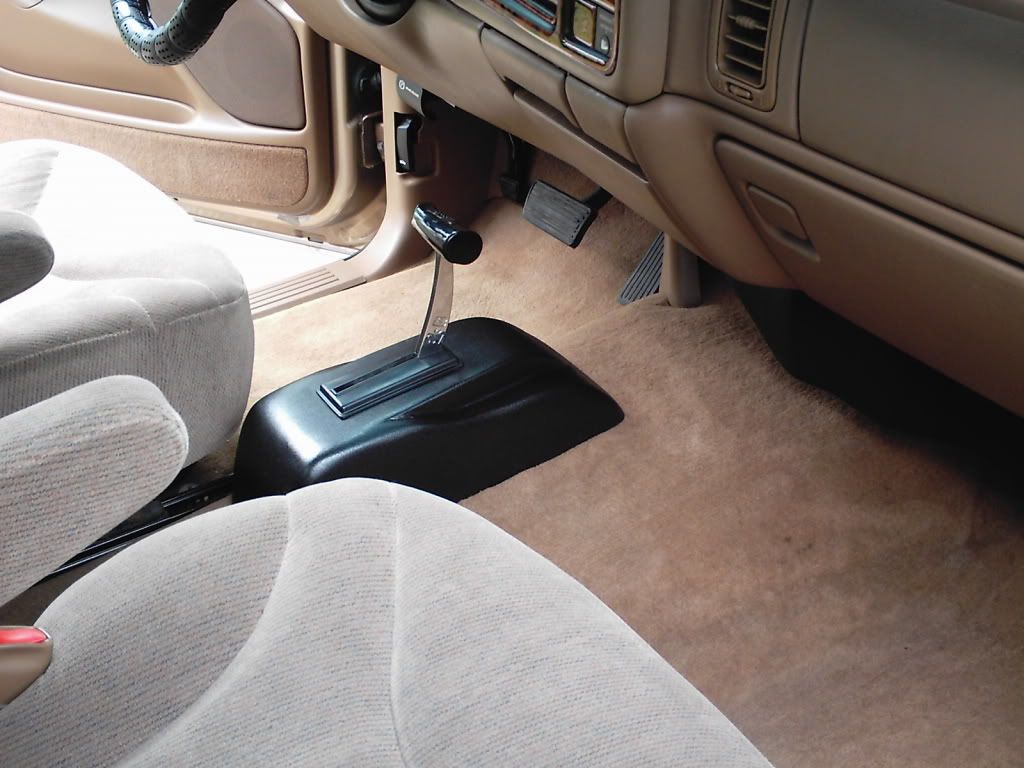
It takes some patience to get this thing level. And getting the waves out of the carpet is a trick too

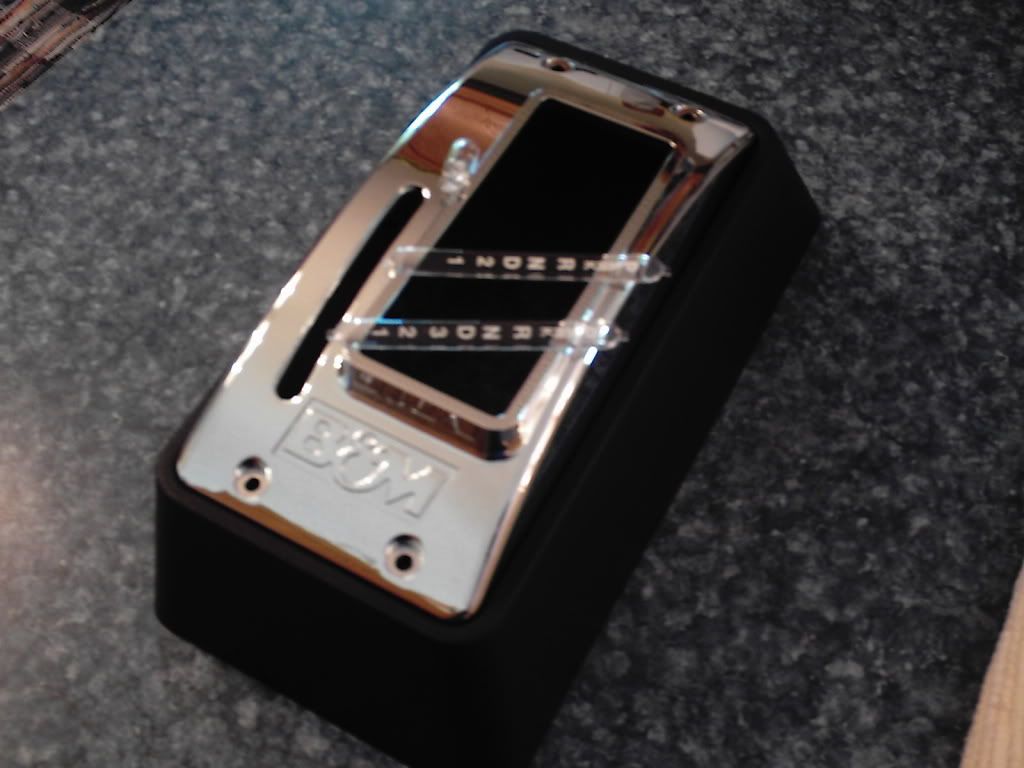
This is the stock cover. It's not long enough to cover the shift cable, and IMO looks cheap
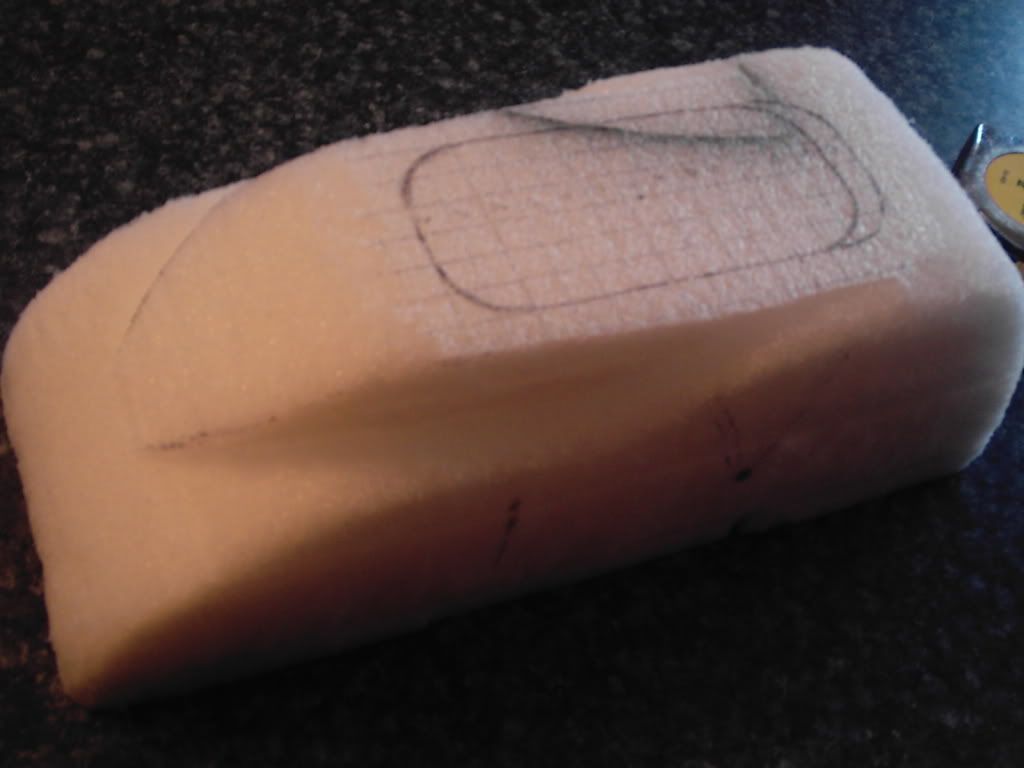
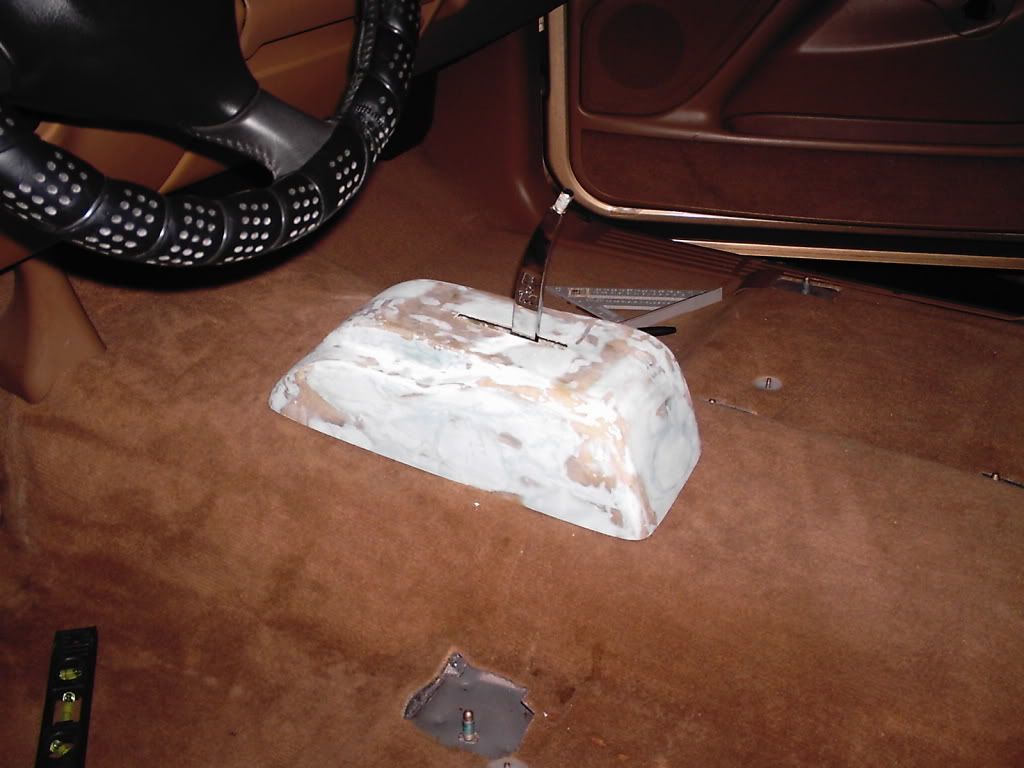
So I got some packaging foam and carved out a base for a custom cover
OH yeah, there's one other thing that's goofy about these shifters. They're made for Ford also, and the shifter mechanism has an extra detent between P and N, which is lame. I filled in the detent with some wire with my welder, and dremeled it smooth so there's no extra click. Problem is, you have to drill out your rivets to take it apart, then rivet it back together when you're done. This is a sturdy piece of hardware, well built shifter.
This is the stock cover. It's not long enough to cover the shift cable, and IMO looks cheap
So I got some packaging foam and carved out a base for a custom cover
OH yeah, there's one other thing that's goofy about these shifters. They're made for Ford also, and the shifter mechanism has an extra detent between P and N, which is lame. I filled in the detent with some wire with my welder, and dremeled it smooth so there's no extra click. Problem is, you have to drill out your rivets to take it apart, then rivet it back together when you're done. This is a sturdy piece of hardware, well built shifter.
Last edited by NoShow; 01-07-2010 at 10:14 PM.
01-07-2010 | 10:00 PM
#3
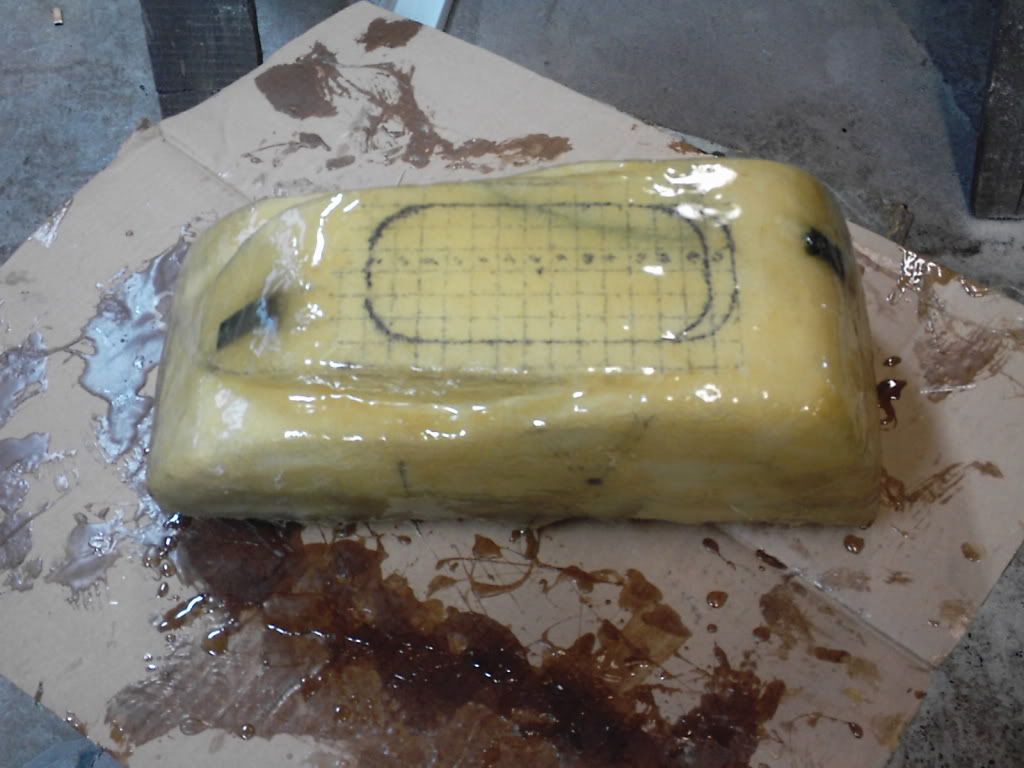
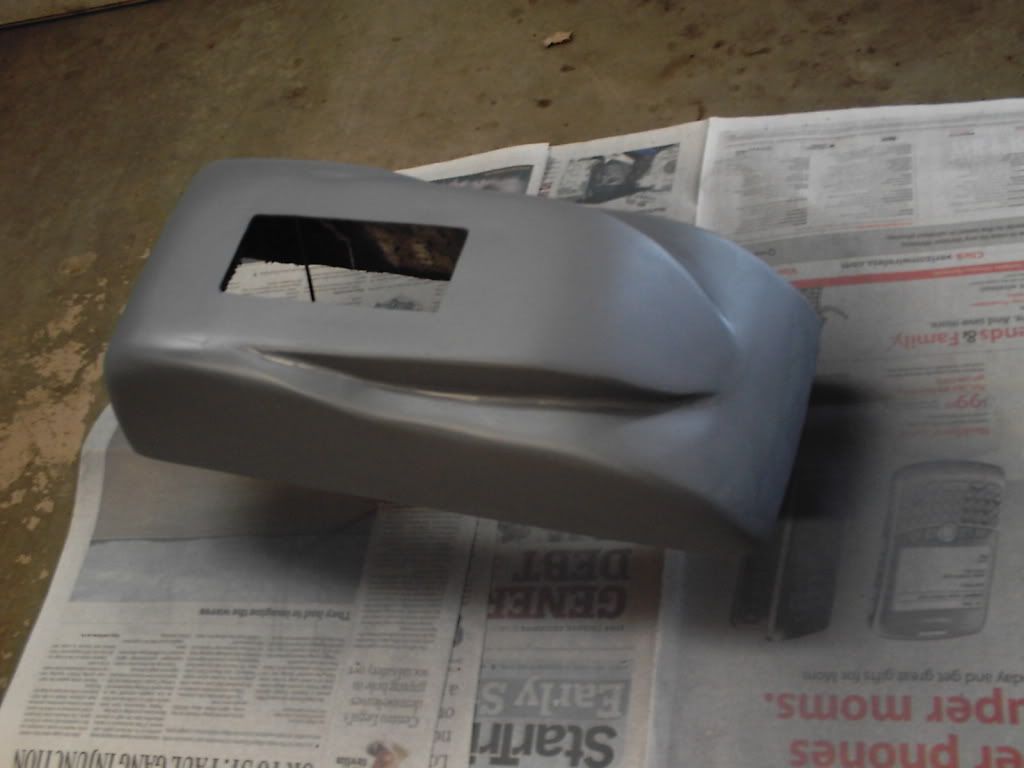
I used the woven type fiberglass fabric and stapled it to the foam. There's 2 layers on most, and more small pieces here and there. My first time working with this stuff, but it went pretty well when I got the epoxy/hardner ratio right
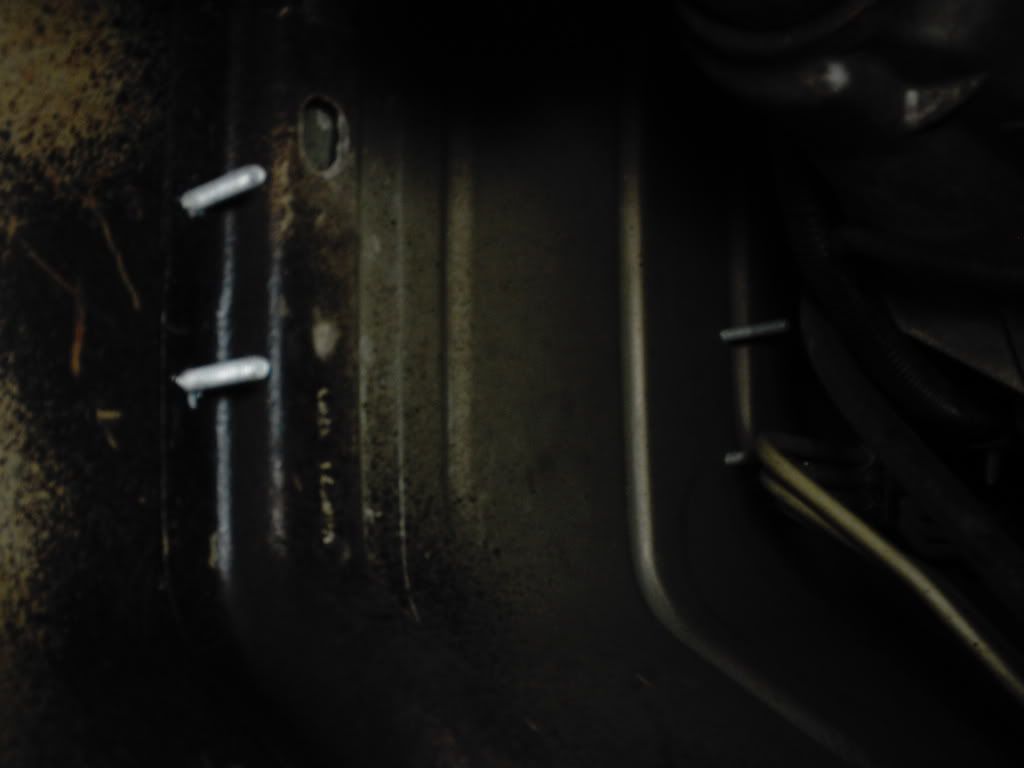
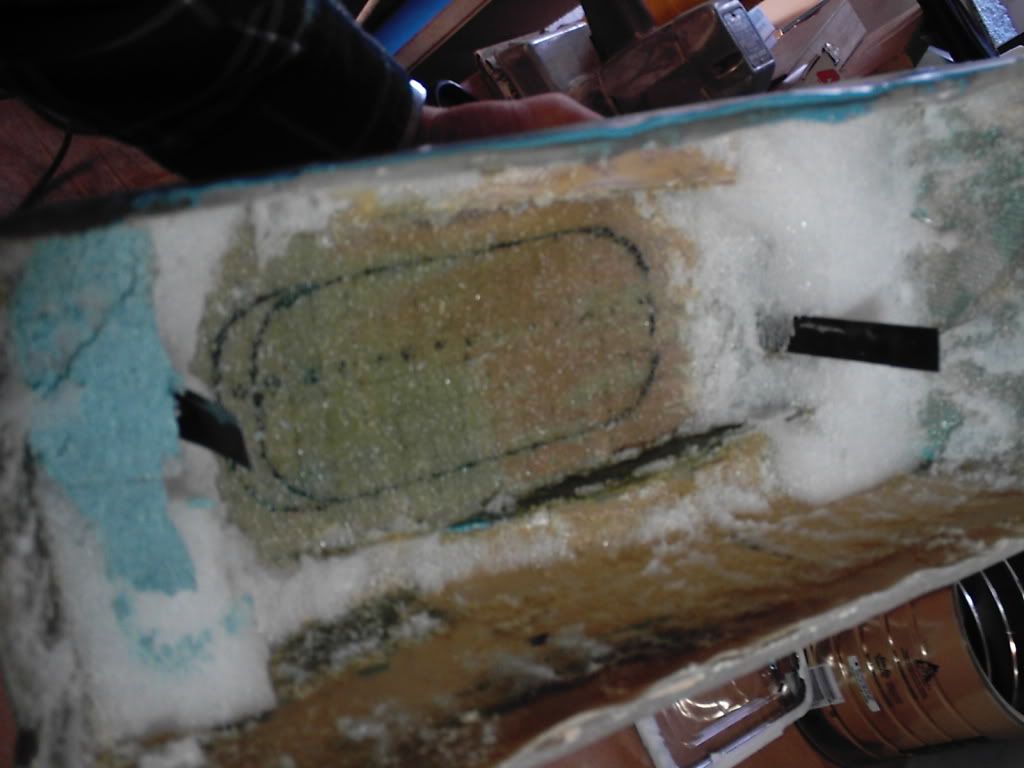
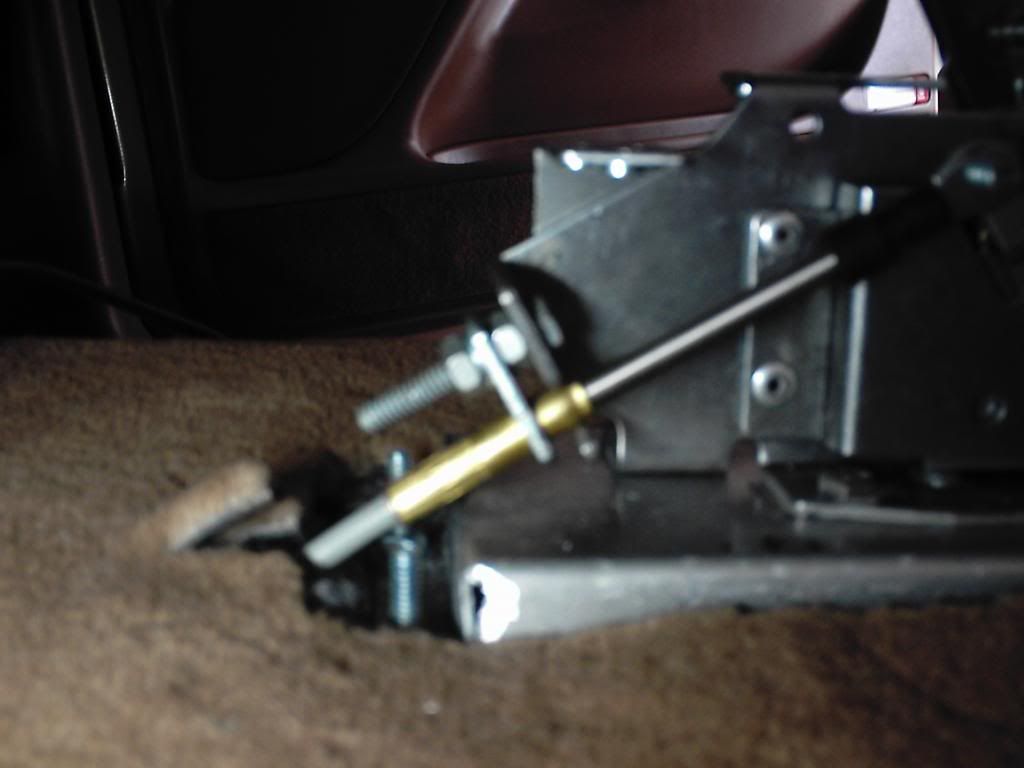
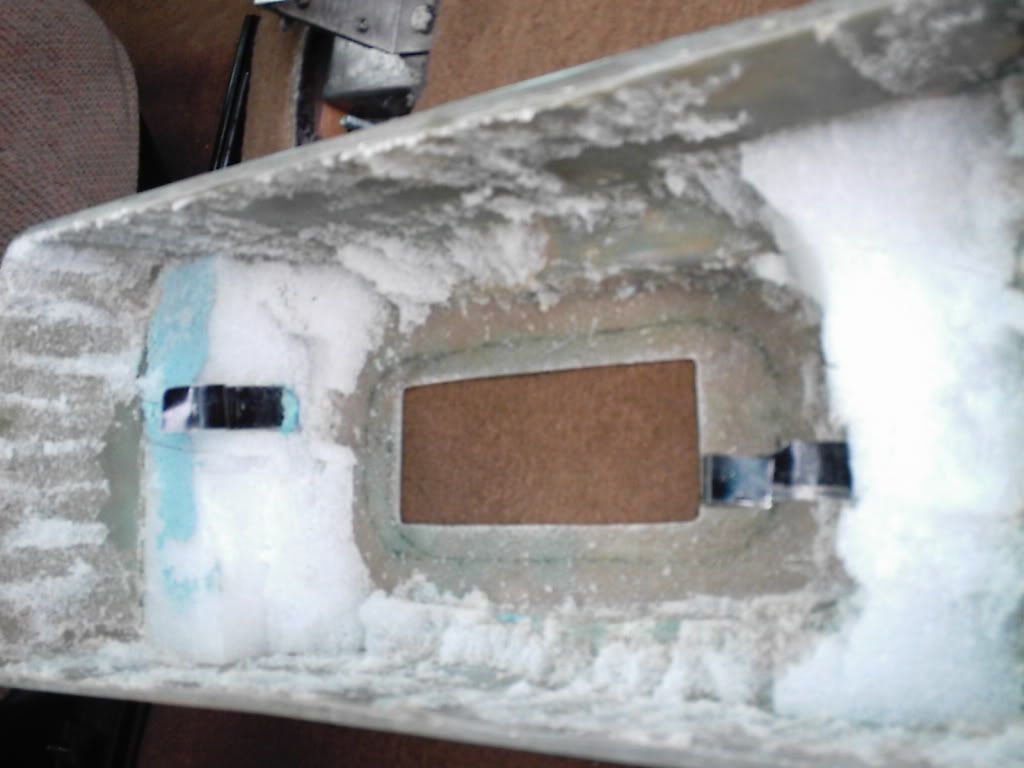
You can see the metal tabs I put in for the spring clips that hold the cover on.
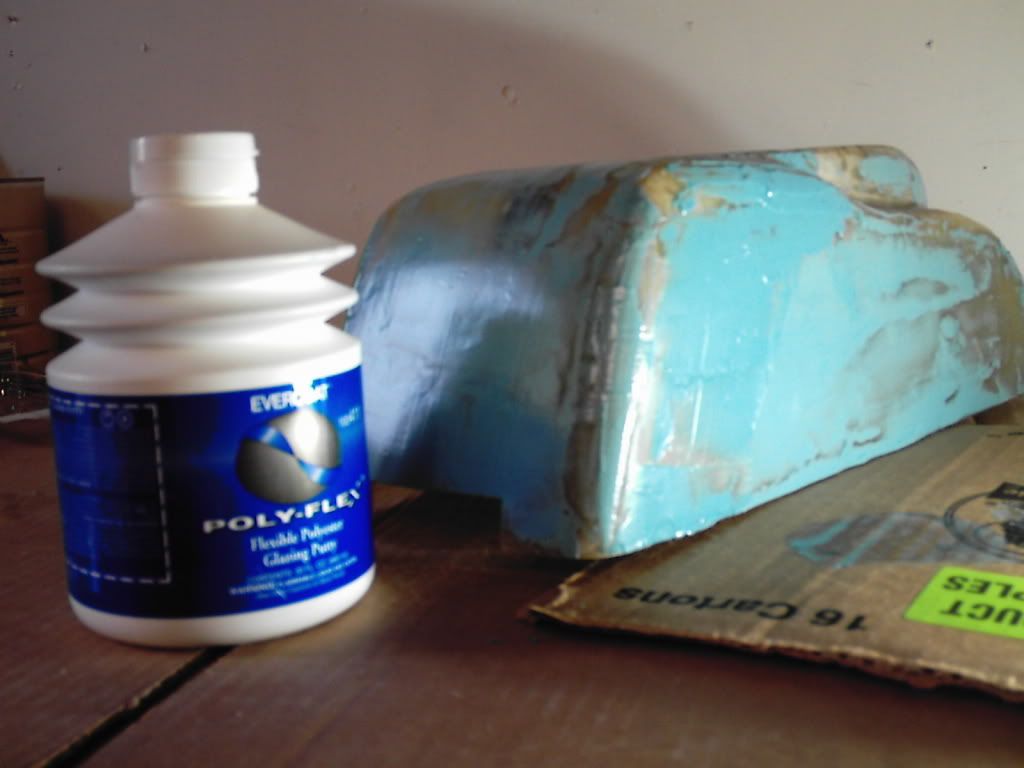
Alot of sanding and some of this stuff...Worth the $40. Called PolyFlex. Also good for repairing flexible body parts such as bumpers
You can see the metal tabs I put in for the spring clips that hold the cover on.
Alot of sanding and some of this stuff...Worth the $40. Called PolyFlex. Also good for repairing flexible body parts such as bumpers
 01-07-2010 | 10:06 PM
#5
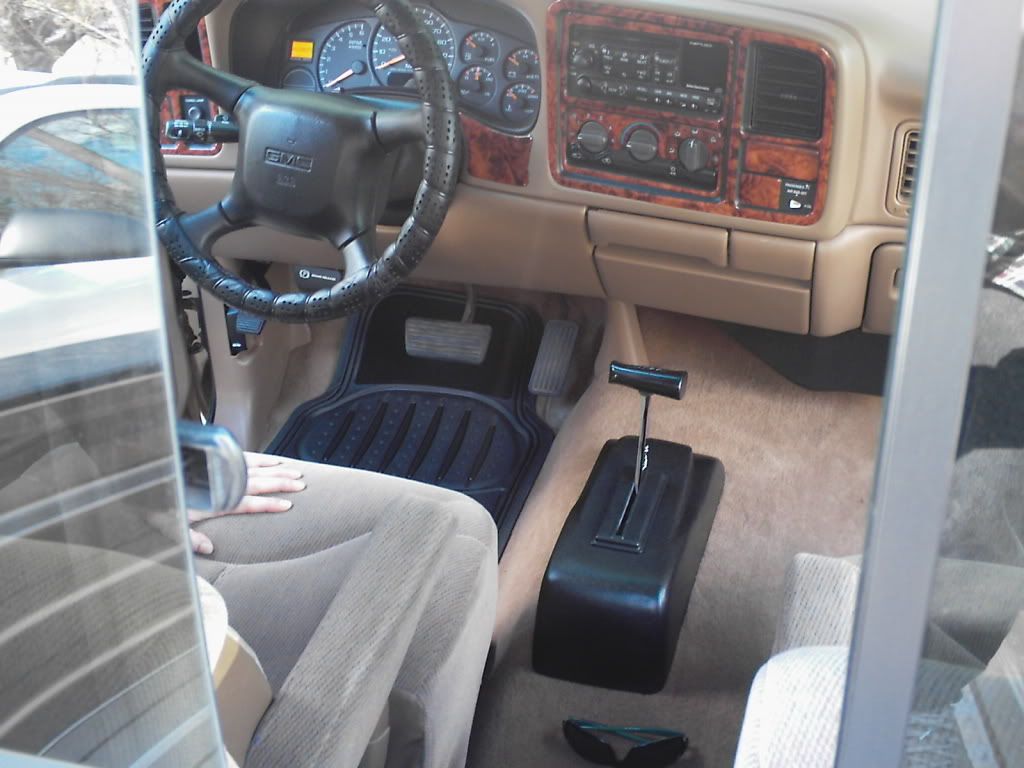
One thing I wished I had done is make the mold taller,then cut it off so I wasn't dealing with the wavy bottom edge. A dremel with a cut-off wheel breezes right thru this
Getting the cable straight is difficult with the B&M cover, but not with this 1. I had to drill out a large hole, and put a deep well socket in and bend it downward to make it go thru easily. Also, I route the cable just like it shows in the diagram that B&M sends. It seems goofy, but works very well
Getting the cable straight is difficult with the B&M cover, but not with this 1. I had to drill out a large hole, and put a deep well socket in and bend it downward to make it go thru easily. Also, I route the cable just like it shows in the diagram that B&M sends. It seems goofy, but works very well
Last edited by NoShow; 01-07-2010 at 10:37 PM.
01-07-2010 | 10:23 PM
#6
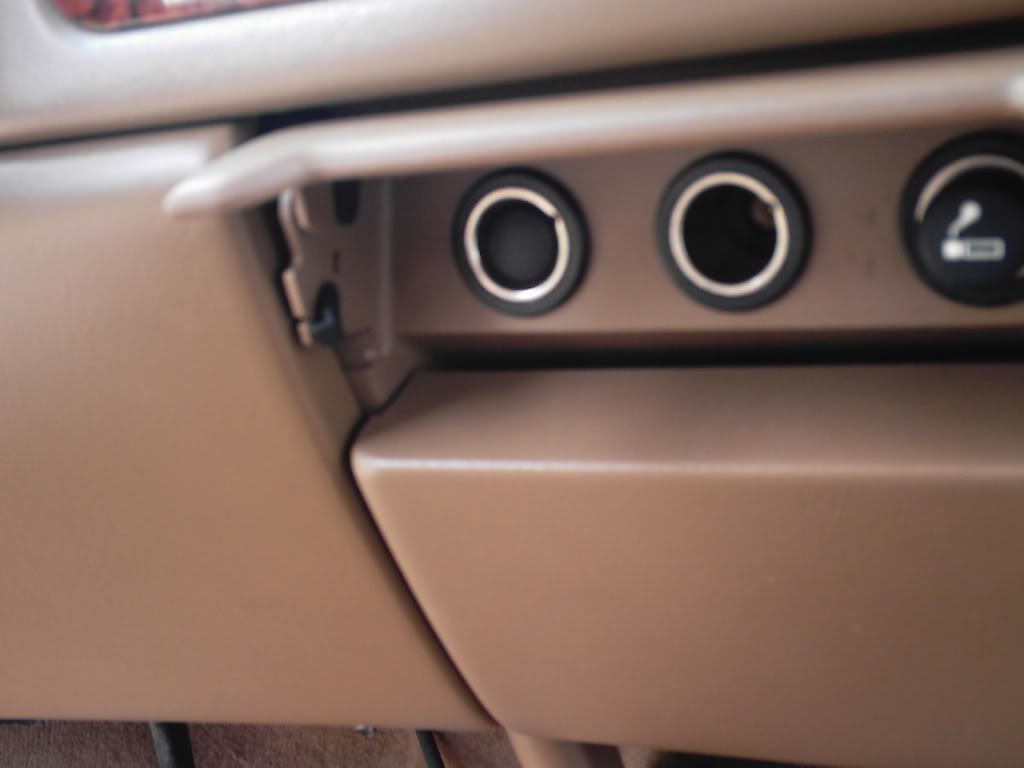
You'll need a male and female torx set to properly disassemble your console. You don't need to fool with the airbag, but you do need to get a Haynes manual so you know what your looking at. Follow the instructions, which includes pulling the airbag fuse, IIRC. Your truck will not run with this fuse missing, by the way, so replace it when you're done.
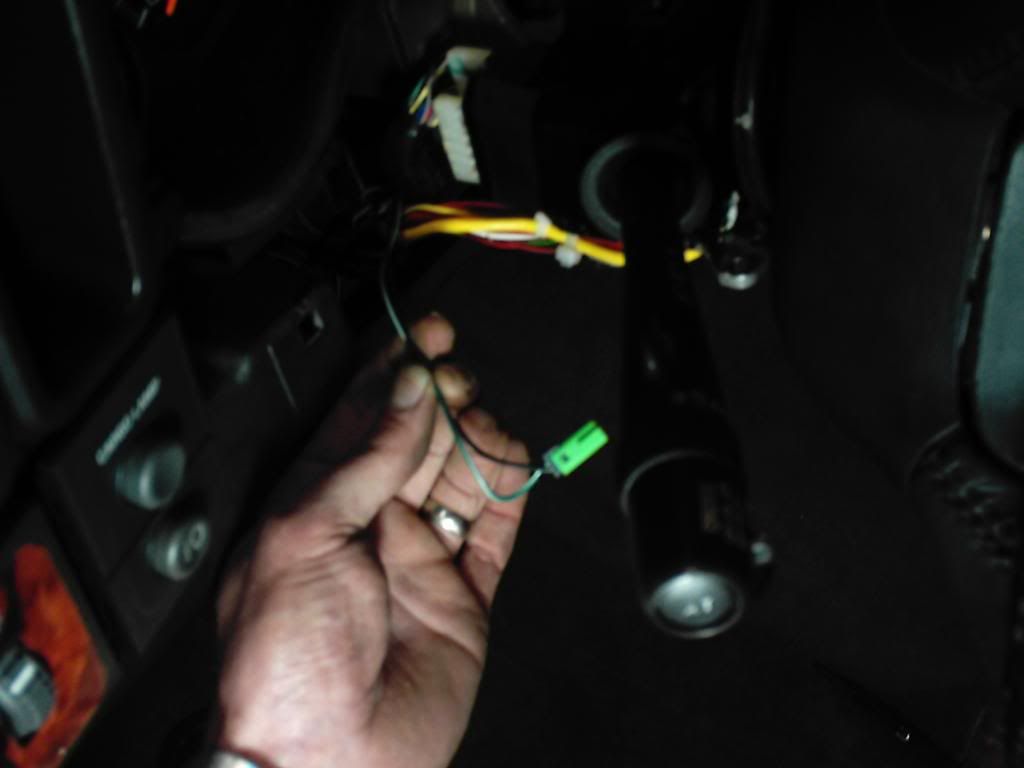
There is a wire that illuminates the "P" indicator on the dash when you're in park. You need this wire hard-wired in order for it to work properly. I think this is the right picture, sorry it was spring '09 when I did this project.
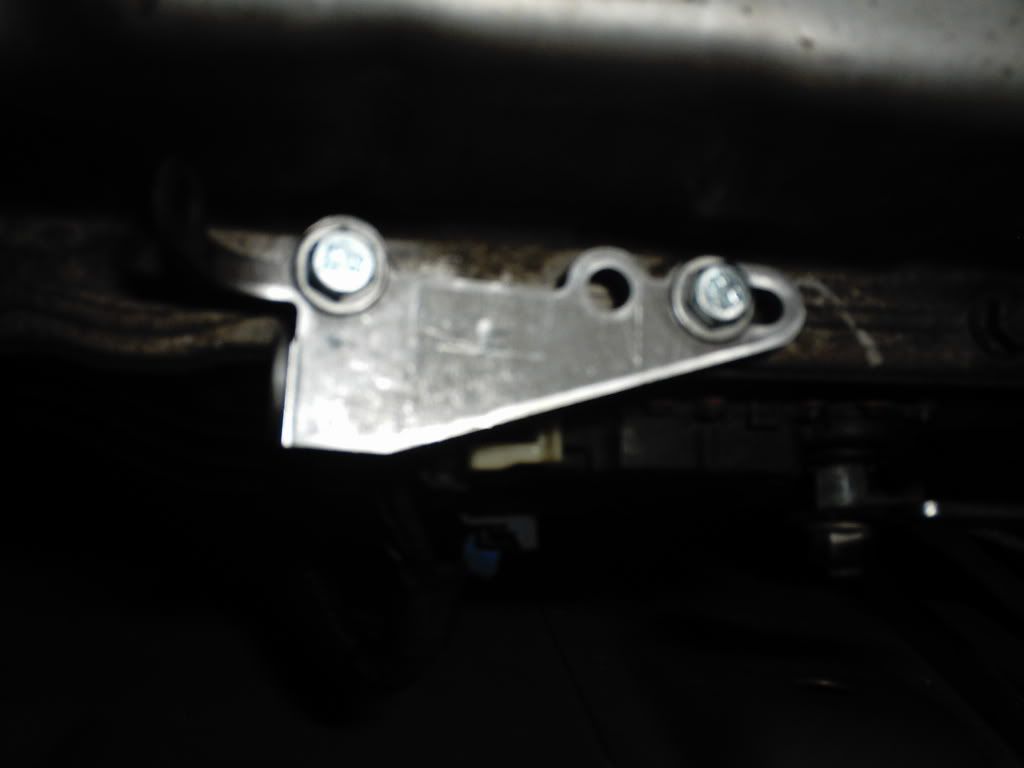
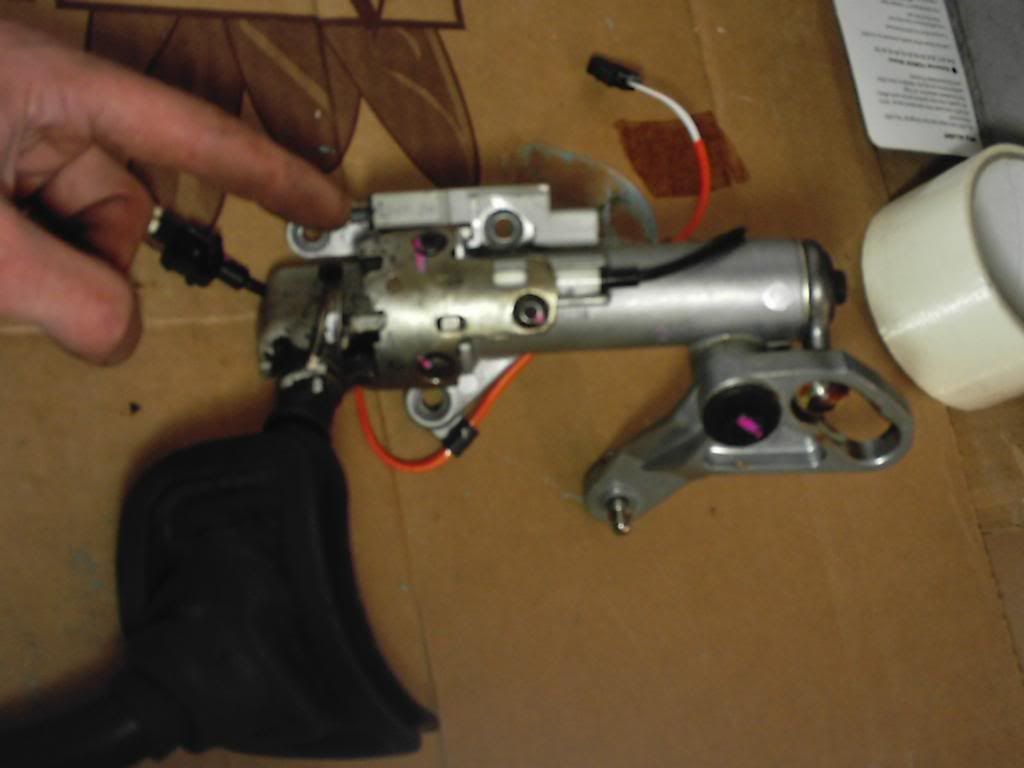
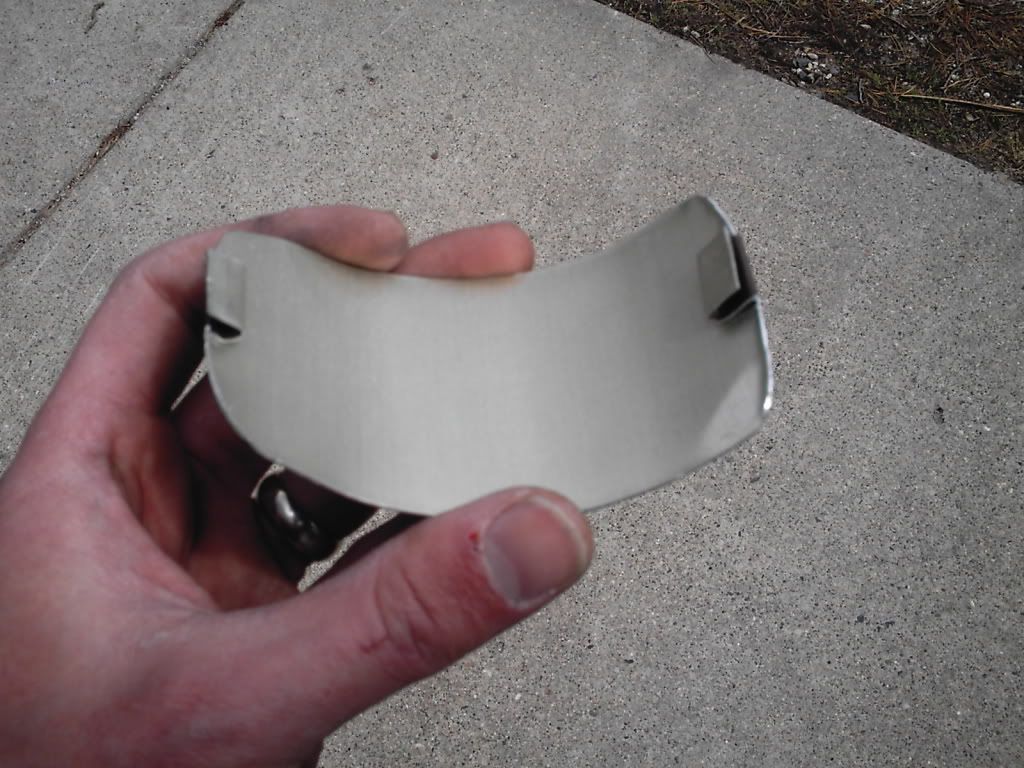
The wire comes from this piece:
There are two wires, just join them together
There is a wire that illuminates the "P" indicator on the dash when you're in park. You need this wire hard-wired in order for it to work properly. I think this is the right picture, sorry it was spring '09 when I did this project.
The wire comes from this piece:
There are two wires, just join them together
Trending Topics
01-07-2010 | 10:31 PM
#8
Here's my hack-job cover for the hole in my console where the shifter used to be. It works and is unnoticeable, so I've never bothered to do anything else with it. Painted it with truck bedliner spray
Painted the cover with it too. It's cool cuz it kinda matches the textured plastic in the interior, but you can't wipe it off with a rag. It's like sandpaper

Painted the cover with it too. It's cool cuz it kinda matches the textured plastic in the interior, but you can't wipe it off with a rag. It's like sandpaper
 01-07-2010 | 10:43 PM
#10
