
Oakley's History Lesson and Build Thread


 07-08-2014, 08:20 PM
#612

 I stare at it sitting on my desk at work every day. I need to do my fuel system before I can run any more boost through the truck so there is no reason not to do it at the same time as the intake. I'm having a hard time finding a fuel tank to swap in my truck. Really, that is the only thing holding me back.
07-22-2014, 04:43 PM
I stare at it sitting on my desk at work every day. I need to do my fuel system before I can run any more boost through the truck so there is no reason not to do it at the same time as the intake. I'm having a hard time finding a fuel tank to swap in my truck. Really, that is the only thing holding me back.
07-22-2014, 04:43 PM
#614
Last night I ordered some stuff from summit at 6:30pm. Showed up at 11am this morning. Living in Vegas has its benefits, one of them being so close to the Sparks Nevada warehouse.
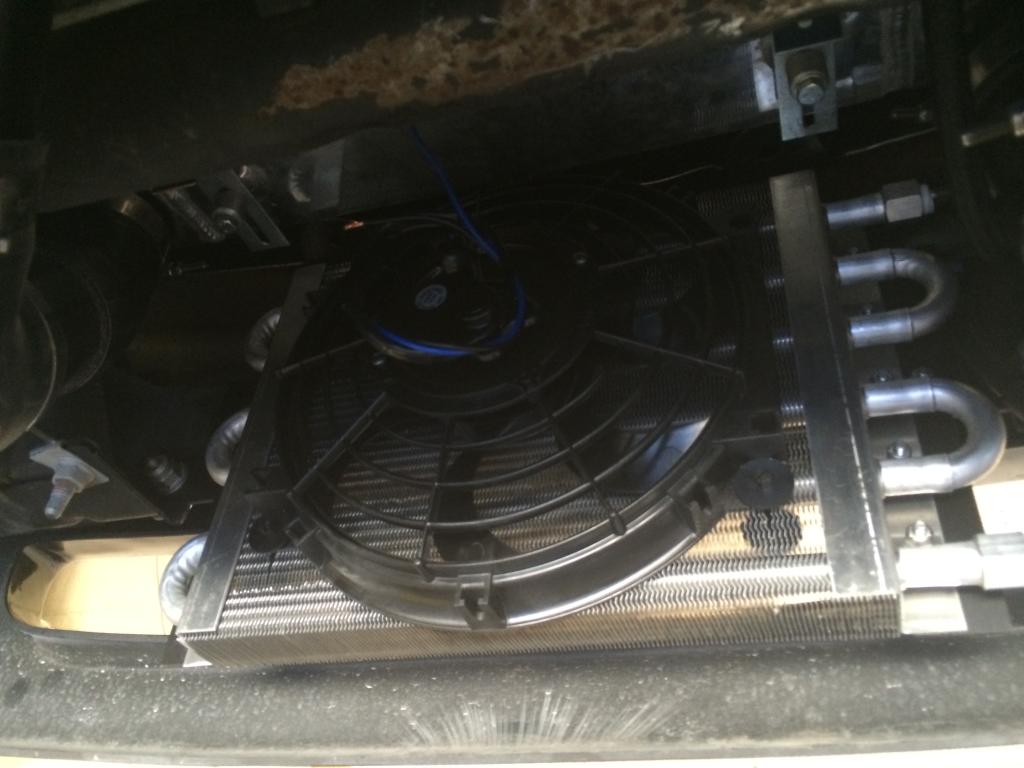
So I got a flexalite fan for my transcooler and a hayden automotive relay/controller for it. The fan is a 10" s blade that pulls 800cfm so I'm thinking it should work well. The fan will come on at 160* and hopefully keep the trans fluid temp around 175 or so driving around town.
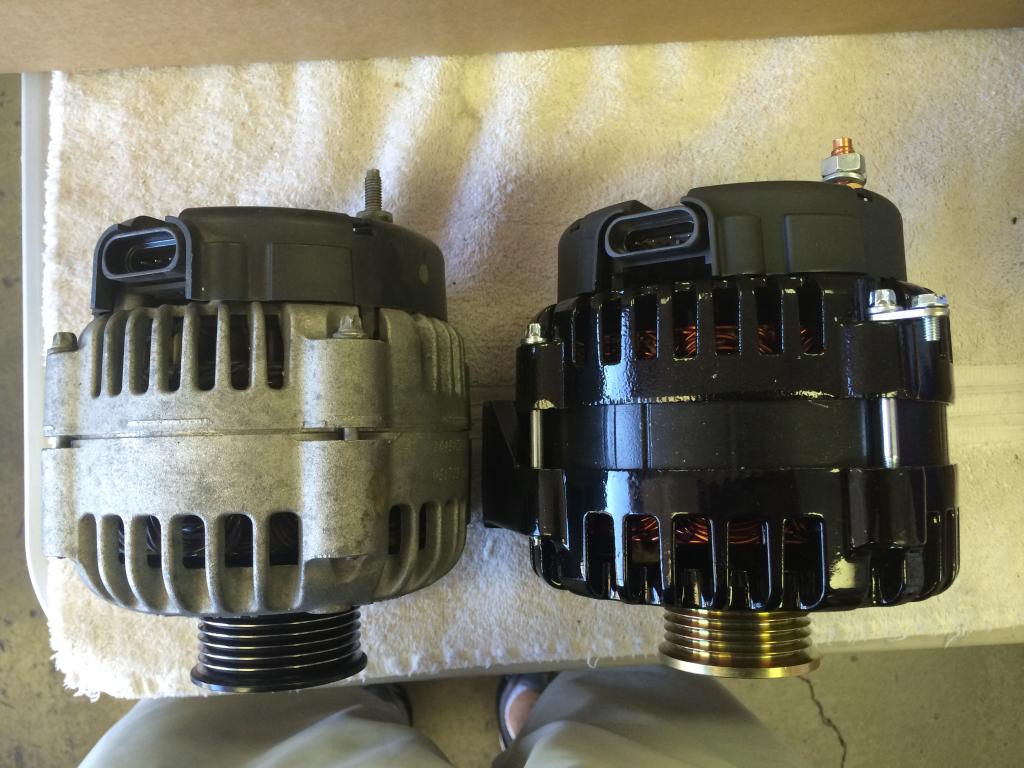
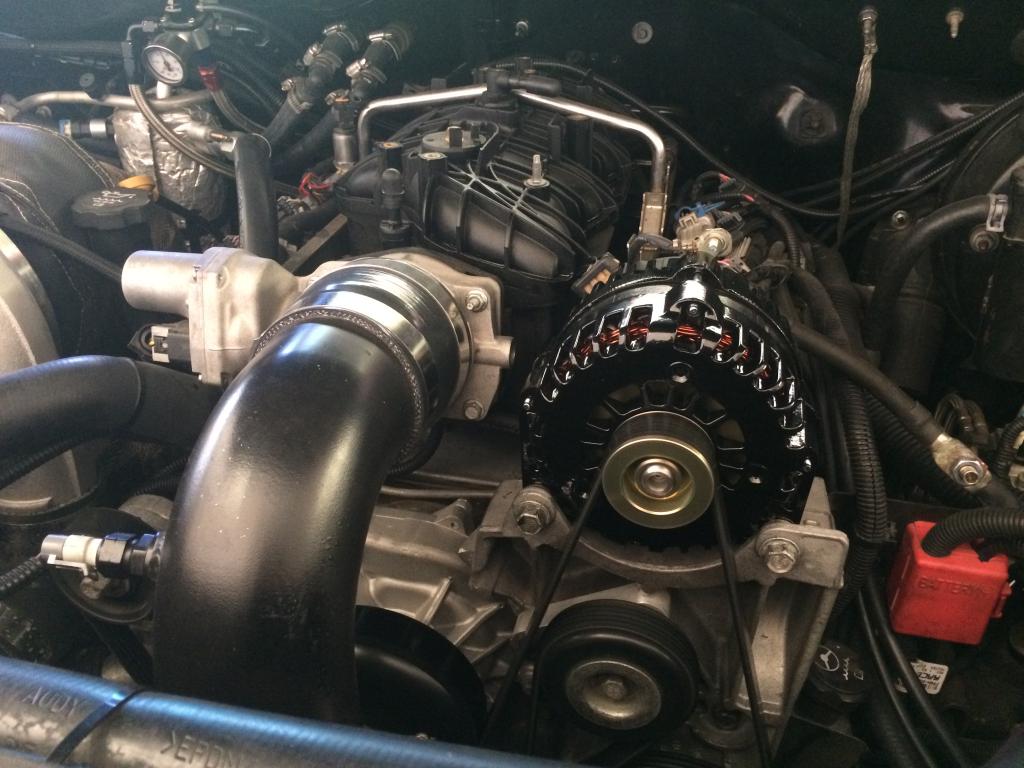
I was having some voltage issues since I installed the A/C in the truck. With that running and the fans on high, my stereo system ect., I was seeing voltage down around 12v or below. So I ordered a 8237B Tuff Stuff 200 amp alternator and a 2 gauge charging wire. I read a couple threads about this alternator where they came from the factory dead so I was kind of paranoid about it. I got it installed and what do you know... Not charging at all. The first start, voltage dropped down to 10.5v.. I redid a 10 gauge ground wire for the top of the alternator like stated in the box thinking the ground I was using was bad. This time I ran the ground strait to the battery. Still no dice. So I was pissed and took a break. Eating lunch it just came to me that I didn't plug the harness into the alternator Went back into the shop, plugged it in, and it works like a champ. Voltage sits in between 13.5v - 14v and doesn't budge from that. Talk about a retard moment.
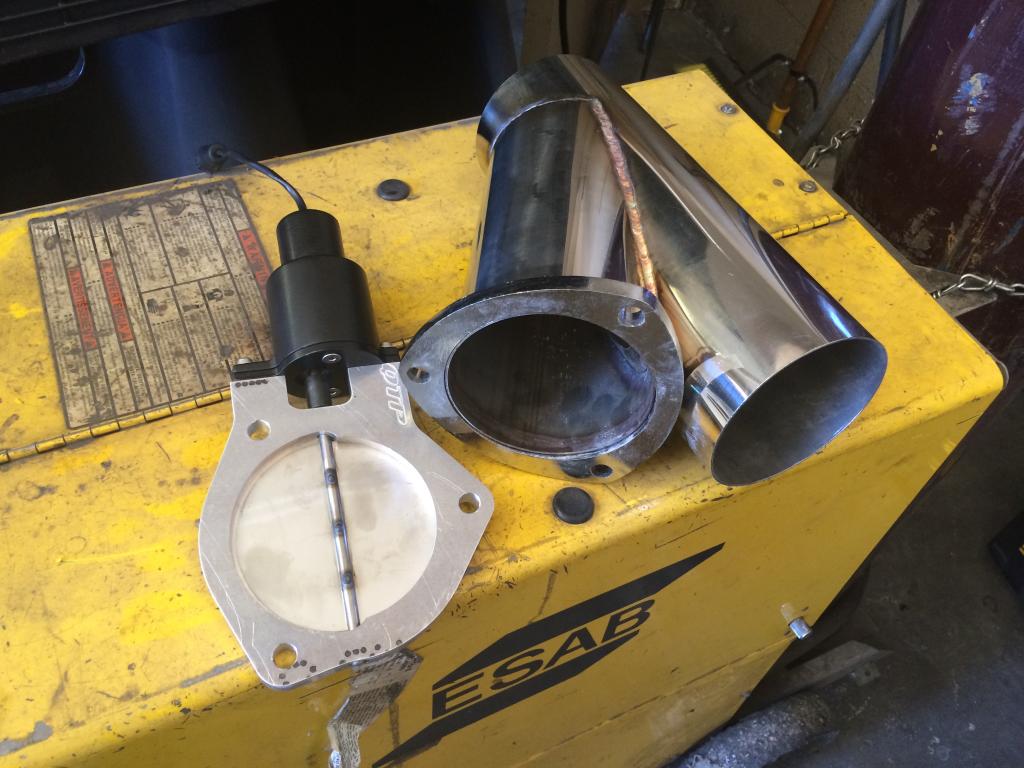
Next I got a QTP 4" cutout for my exhaust system. I never planned on running a cut out on this set up but it was an impulse buy. I already have a QTP switch in my truck from the 383 SBC set up I ran a while ago but never took it out. So I thought it would be a real simple bolt in that I could add. 4" looks cray big compared to the dual 2.5" I ran with the 383. I also ordered some VHT gray primer to hit my welds with when I get the exhaust in to keep from rusting. No that that is a problem here in Vegas but I thought I might as well. Anyway, here are some pics of the parts and some install pics.
Compared to my 105 amp ALT

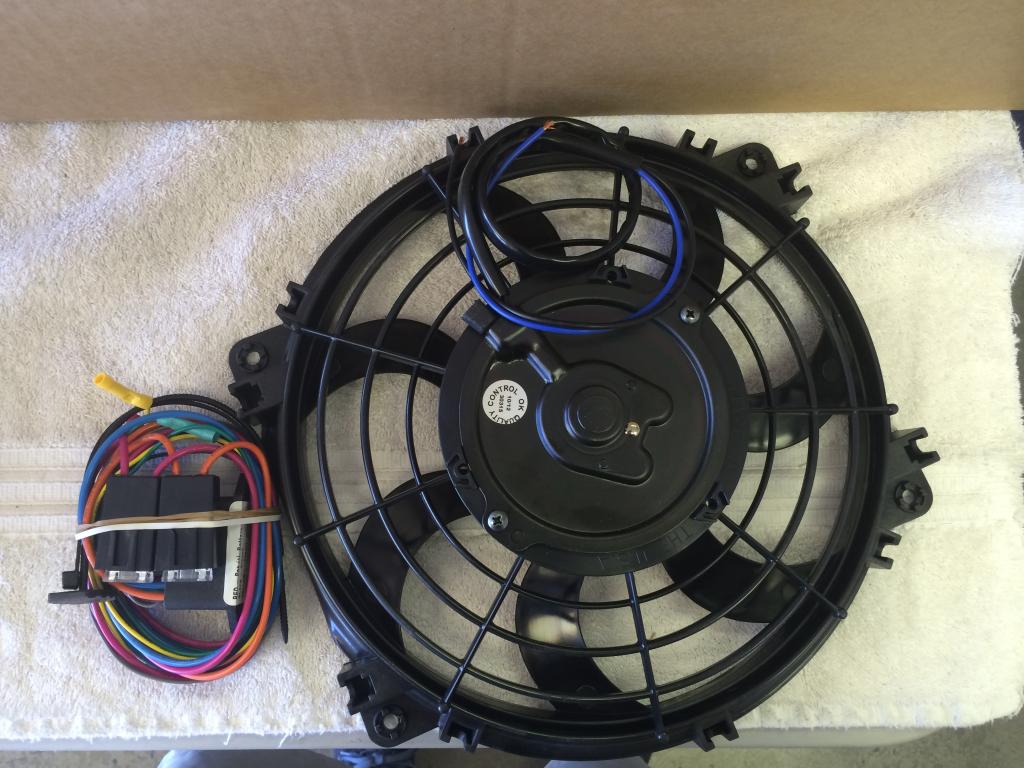
So I got a flexalite fan for my transcooler and a hayden automotive relay/controller for it. The fan is a 10" s blade that pulls 800cfm so I'm thinking it should work well. The fan will come on at 160* and hopefully keep the trans fluid temp around 175 or so driving around town.
I was having some voltage issues since I installed the A/C in the truck. With that running and the fans on high, my stereo system ect., I was seeing voltage down around 12v or below. So I ordered a 8237B Tuff Stuff 200 amp alternator and a 2 gauge charging wire. I read a couple threads about this alternator where they came from the factory dead so I was kind of paranoid about it. I got it installed and what do you know... Not charging at all. The first start, voltage dropped down to 10.5v.. I redid a 10 gauge ground wire for the top of the alternator like stated in the box thinking the ground I was using was bad. This time I ran the ground strait to the battery. Still no dice. So I was pissed and took a break. Eating lunch it just came to me that I didn't plug the harness into the alternator
Went back into the shop, plugged it in, and it works like a champ. Voltage sits in between 13.5v - 14v and doesn't budge from that. Talk about a retard moment. Next I got a QTP 4" cutout for my exhaust system. I never planned on running a cut out on this set up but it was an impulse buy. I already have a QTP switch in my truck from the 383 SBC set up I ran a while ago but never took it out. So I thought it would be a real simple bolt in that I could add. 4" looks cray big compared to the dual 2.5" I ran with the 383.
I also ordered some VHT gray primer to hit my welds with when I get the exhaust in to keep from rusting. No that that is a problem here in Vegas but I thought I might as well. Anyway, here are some pics of the parts and some install pics. Compared to my 105 amp ALT


 08-01-2014, 05:44 PM
#617
For those of you guys who haven't seen my 15" wheel thread in the GMT800 section, I've been working on a bracket/backing plate that I will be able to bolt a pair of 1990 K1500 calipers to. Running that caliper and rotor, I will be able to run my 315/60-15 MT's I got a while ago.
Anyway, while I tore down the rear end of the truck, I decided to fix a few things that bug me from time to time. First one was with my trac bars. I clearanced the saddle in the rear so the bars would stop hitting it when I put the truck on the lift. And while I was in there I removed the overload leafs to get my truck to sit a little more level. This truck has alway had a horrible chevy lean and it bugs the hell out of me. After i removed the overloads, the drivers side was half an inch too high and the passenger side was half an inch to low. So I moved the shackle on the passenger side down a hole and it is perfect now except for the drivers side.
Front Driver: 30-3/8"
Front Passenger: 30-3/8"
Rear Passenger: 30-3/8"
Rear Driver: 30-7/8"
So should I put the passenger side overload leaf back in or just a 1/2" block? Not sure if it would make a difference running an overload on only one side...
Anyway, while I tore down the rear end of the truck, I decided to fix a few things that bug me from time to time. First one was with my trac bars. I clearanced the saddle in the rear so the bars would stop hitting it when I put the truck on the lift. And while I was in there I removed the overload leafs to get my truck to sit a little more level. This truck has alway had a horrible chevy lean and it bugs the hell out of me. After i removed the overloads, the drivers side was half an inch too high and the passenger side was half an inch to low
. So I moved the shackle on the passenger side down a hole and it is perfect now except for the drivers side. Front Driver: 30-3/8"
Front Passenger: 30-3/8"
Rear Passenger: 30-3/8"
Rear Driver: 30-7/8"
So should I put the passenger side overload leaf back in or just a 1/2" block? Not sure if it would make a difference running an overload on only one side...
