When you click on links to various merchants on this site and make a purchase, this can result in this site earning a commission. Affiliate programs and affiliations include, but are not limited to, the eBay Partner Network.
I decided that I was going to rebuild my 4l80e instead of doing a hd2 and hope it works. I have been into a few trans before but never a full rebuild from start to finish. I was quite nervous to start, Ive read all the horror stories with transmissions and DIY rebuilds but I don't have the money to spend on a built unit and why not give it a shot.
I did a ton of reading and it all seemed pretty straight forward. I wanted to make it easy on myself and get a trans holder for my engine stand. After doing some looking I figured I could make one. I found some scrap I had left over from another job, luckily it all worked perfect.
This was the worst part, tube is 2.5" .250" wall tubing. Notched it so it fit tight around the tube as I didn't want to just butt it up against and weld it.
All pieces cut and ready to weld. Square tubing is all 2x2 .125" wall. Ended up being plenty strong.
Welded up
I counter sunk 7/16" nuts down in the wall. Used some long 7/16" bolts on the top and outside of the holder to adjust and tighten the holder against the case. The inside arm I just cut the threads off a 7/16" bolt and used it as a fixed "stud" that rides in the cast bosses in the case
All finished up and test fitting, also drilled holes in the tube every 90* so I could lock it in any position I needed.
Heavy bugger mounted up. It was super nerve racking letting it sit at full weight for the first time. Kept expecting a big crash lol. All went well and it worked like a champ!
That is way better than the attempt I made at it. I tried angle iron which sucked and if I had to do another one would do square tube like you did. The real test is when you turn it vertical.
Man, beautiful work, top notch! Do you have anywhere for the tubing to flex between the firewall mounted FPR and the block? I know that aluminum is more forgiving than stainless, but I'd think that it would bite you eventually.
Motor is on solid mounts so it doesn't move much, the aluminum is pretty soft so it can move around a bit. I check over everything pretty regularly, we will see how it goes lol
sorry been a really crazy couple months for me and haven't been able to update.
So once I got it on the stand I got to tearing it down. I don't have a ton of pictures of the teardown/assembly, to much running through my head trying not to screw anything up. My original plan was to do just an HD2 kit and run the thing. But as everything else goes I over thought things.
I didn't want to buy a nice converter, then fill it full of junk when the junkyard trans lets go. So then I decided to do just a basic clutch/steel kit and the HD2. Then I got reading and decided to internal dual feed and build it the way I thought it should once.
I stumbled upon a old thread on ls1tech that Jake had posted his suggestions on what to use and not to use out of the HD2. I also got my hands on the ATSM manual and another manual that helped a ton.
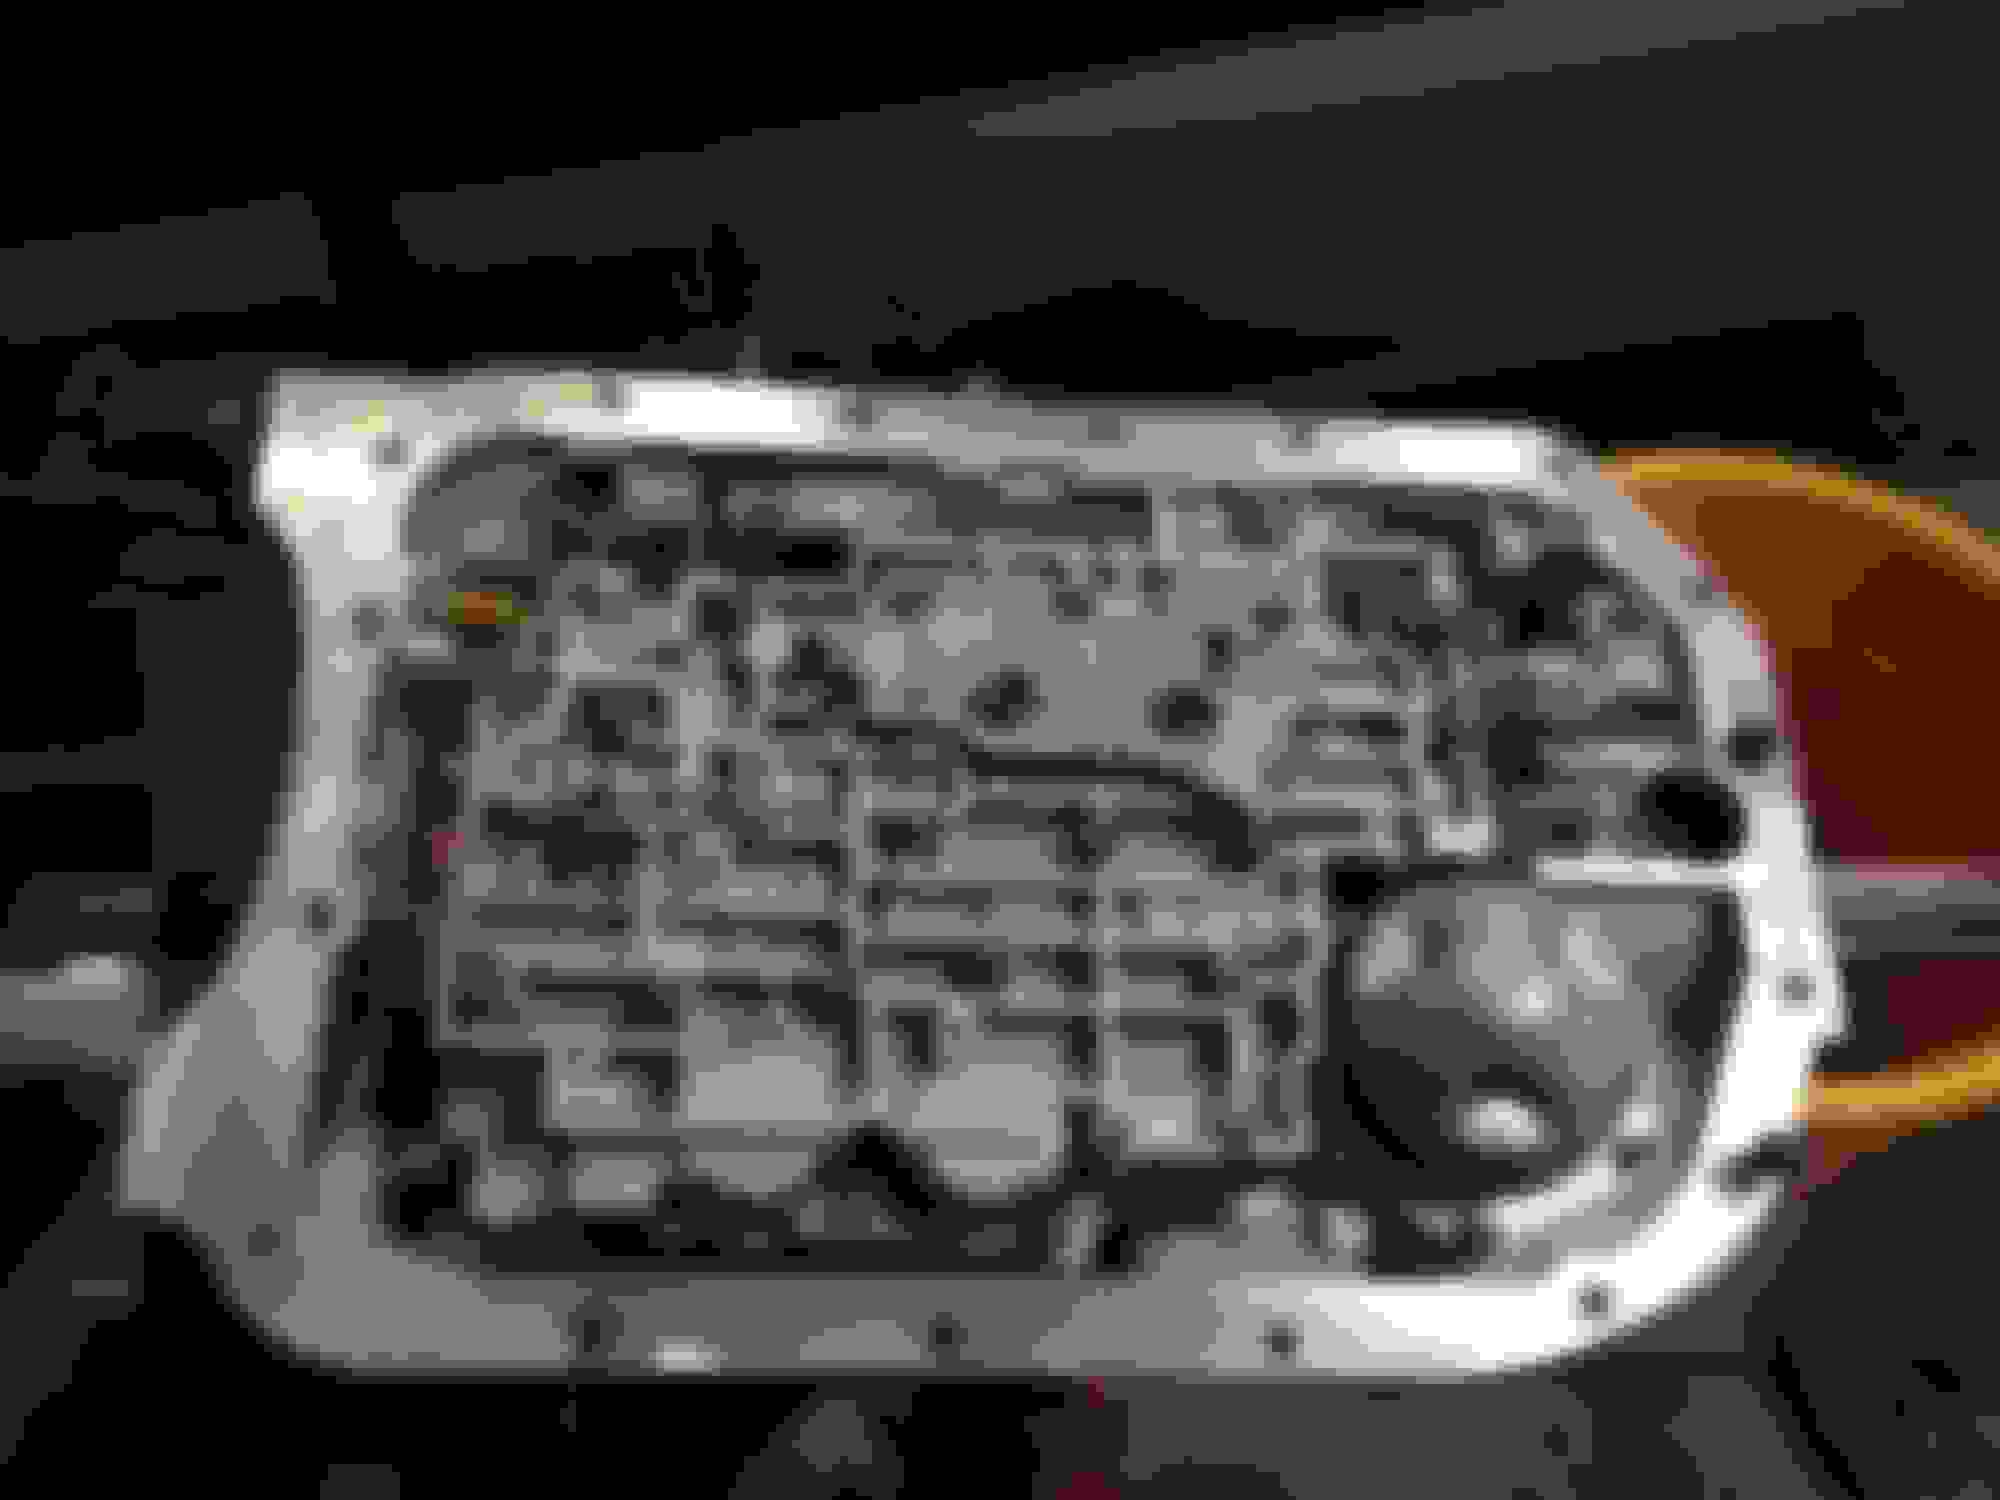
Got the valve body all tore down, didn't do to much here, just cleaned everything really good. I did do the solid plug for the solenoid filter.
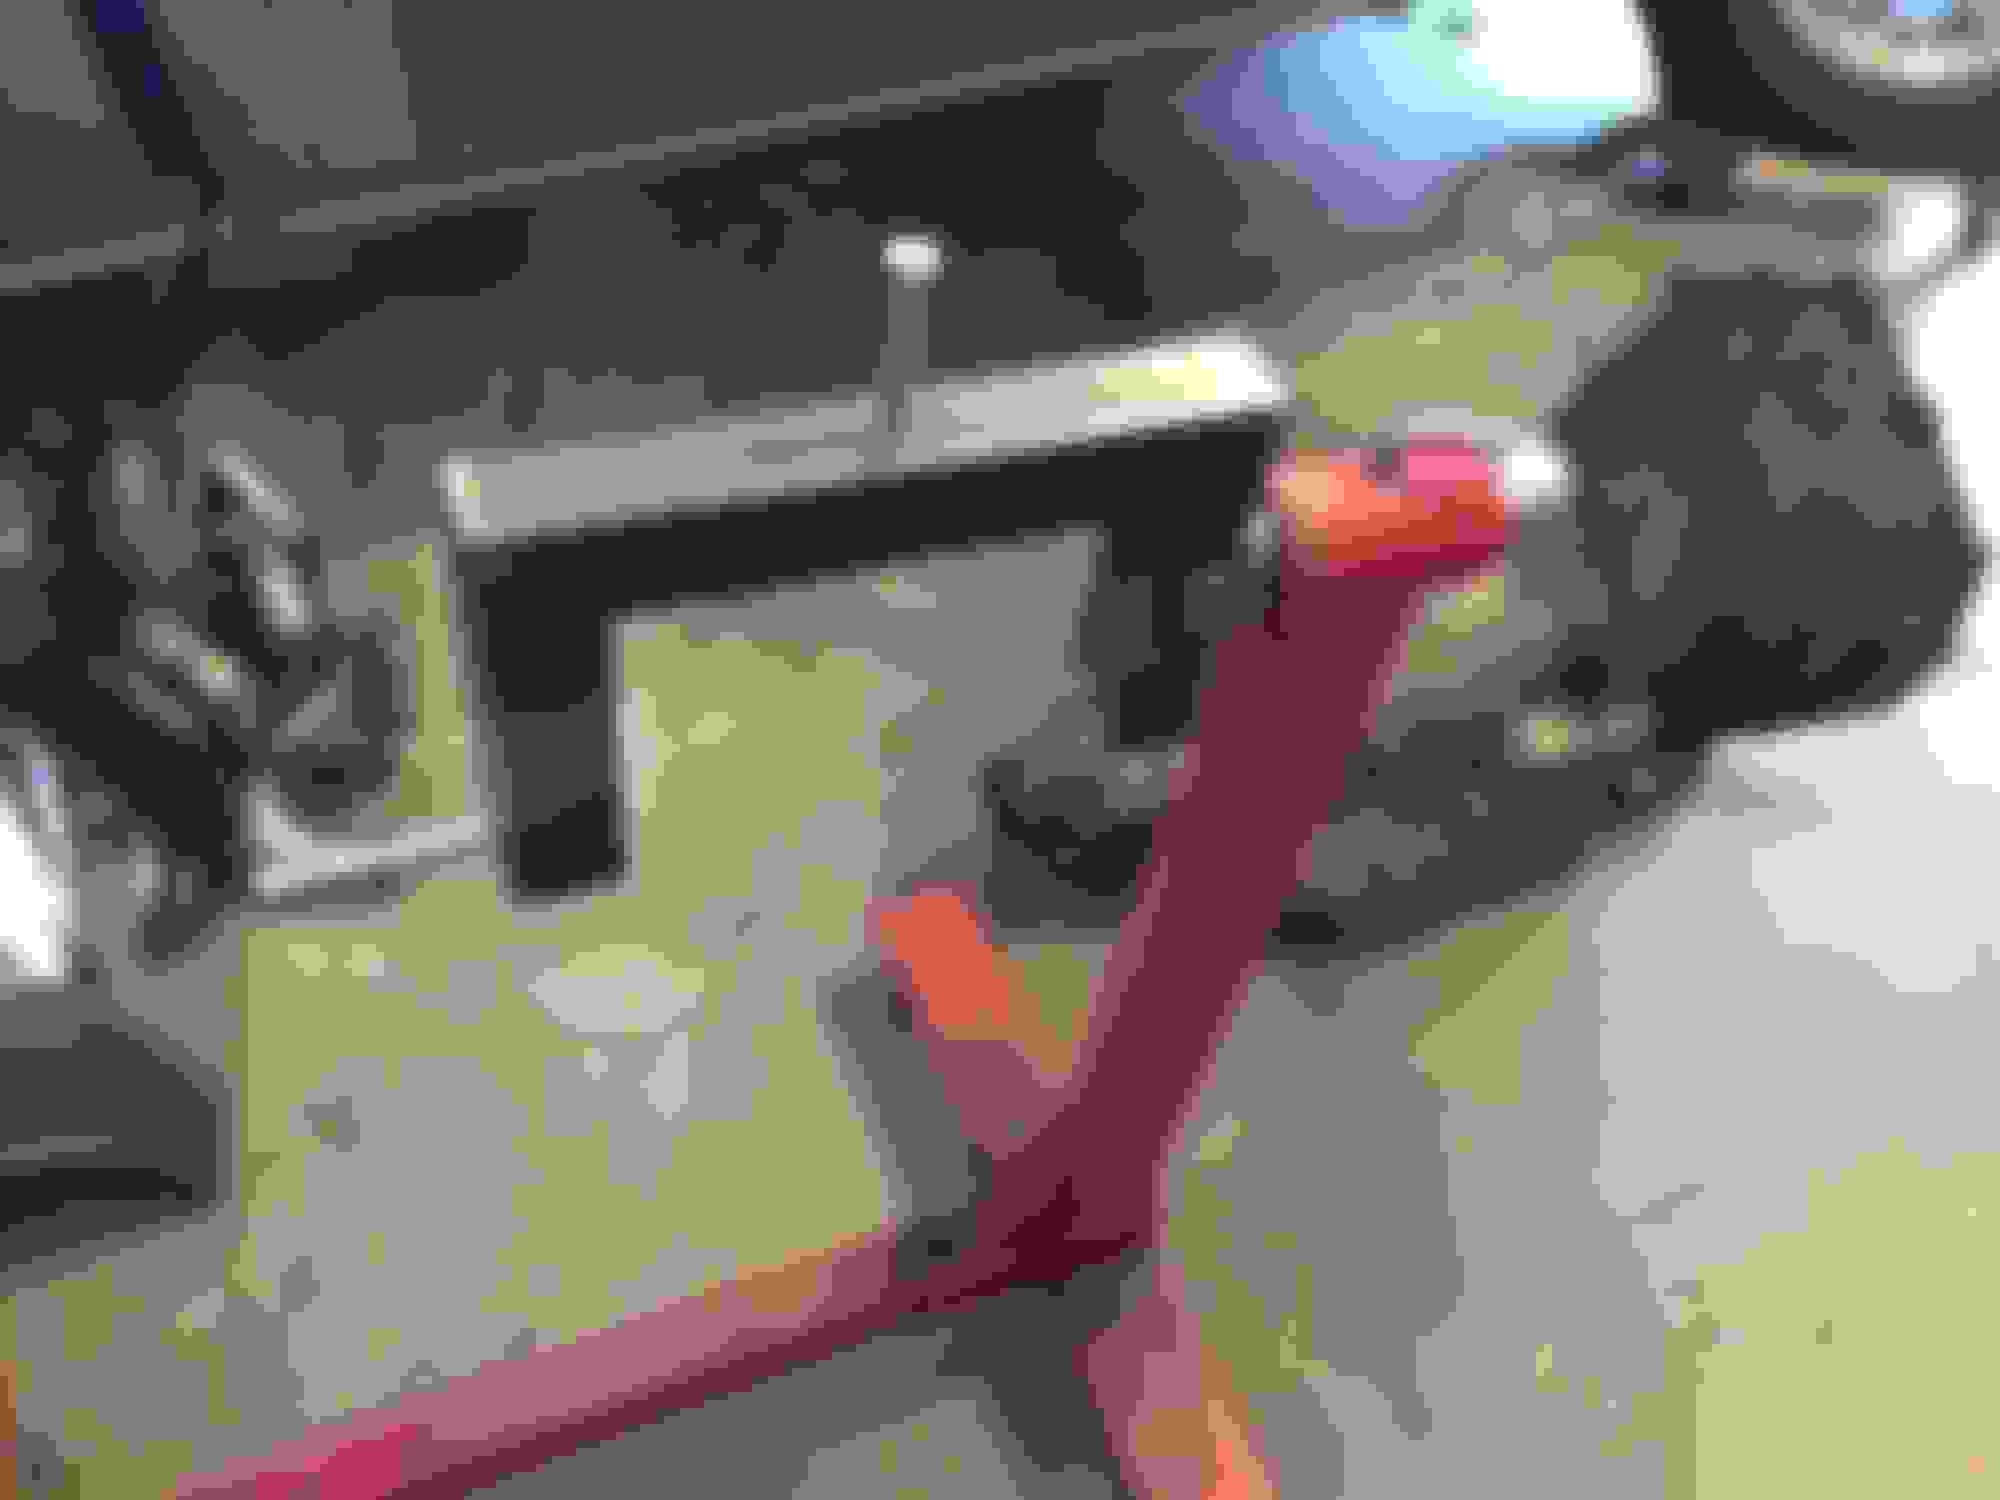
Here is a little pic of the hole I plugged in the case for the internal dual feed. Pretty straight forward, just ran a pipe tap down through and put the plug in.
I decided to "rollerize" the tailshaft. I just used the basic Torrington bearing for a th350 or th400. One thing you do have to do is use a early 80e pump bushing (.550" wide) instead of the normal case bushing. This will give a little lip that will locate the Torrington bearing in the case.
Checking end play to get the new bearing shimmed correctly.
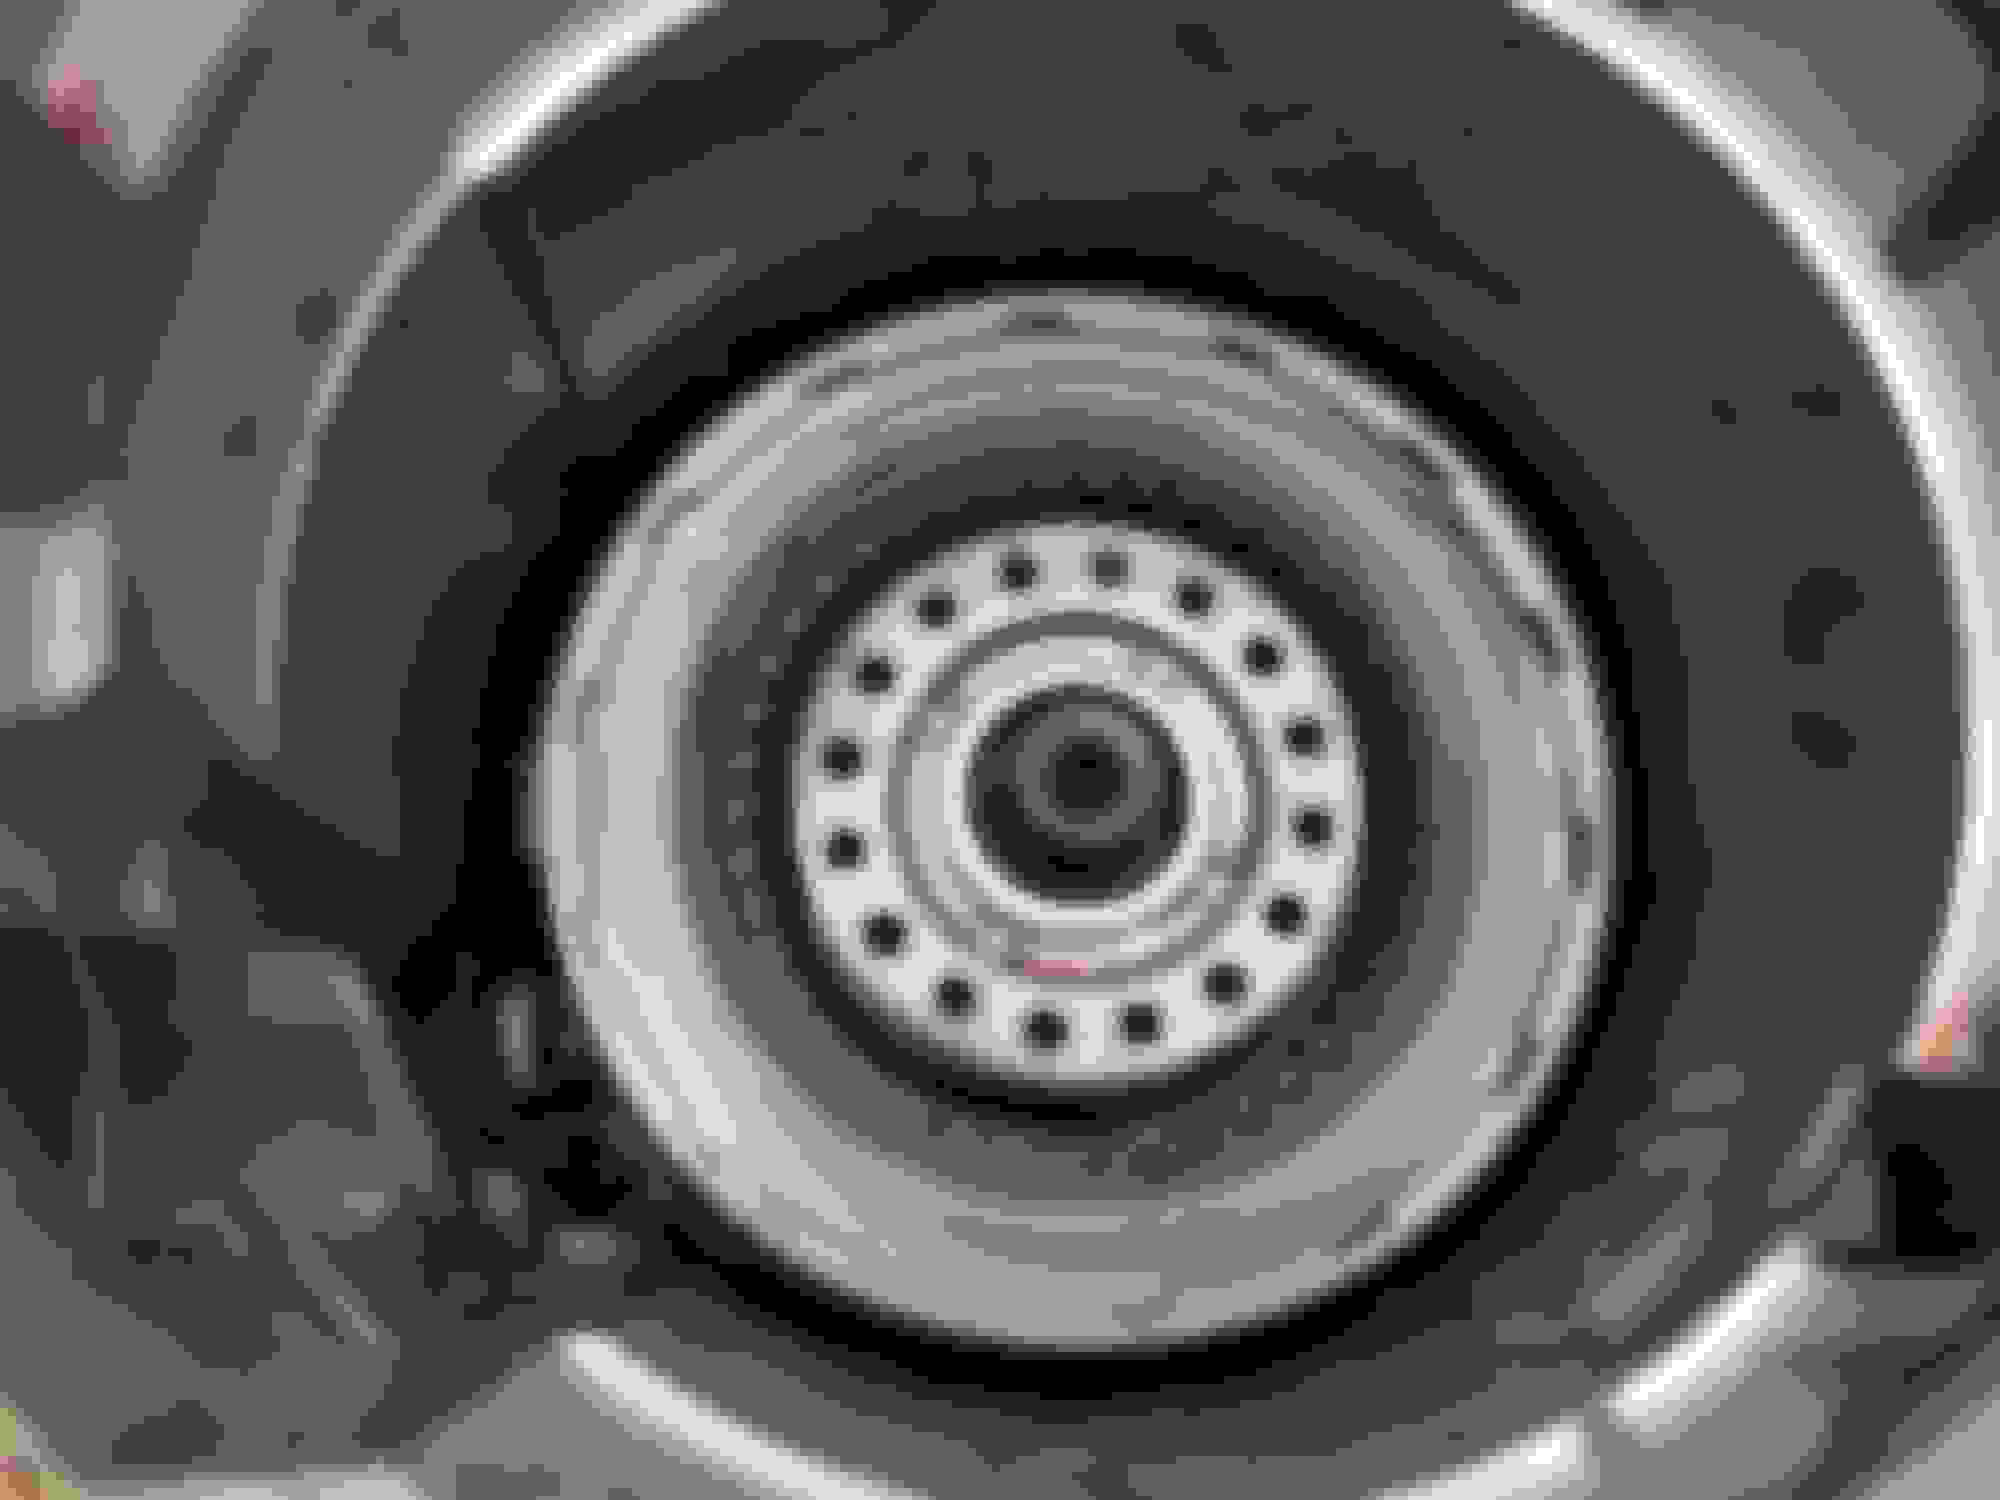
Center support and rear geartrain cleaned and back together. Center support is missing the seal as needed for the dual feed. I ended up using a th400 steel in the intermediate to get clearance where I wanted as well.
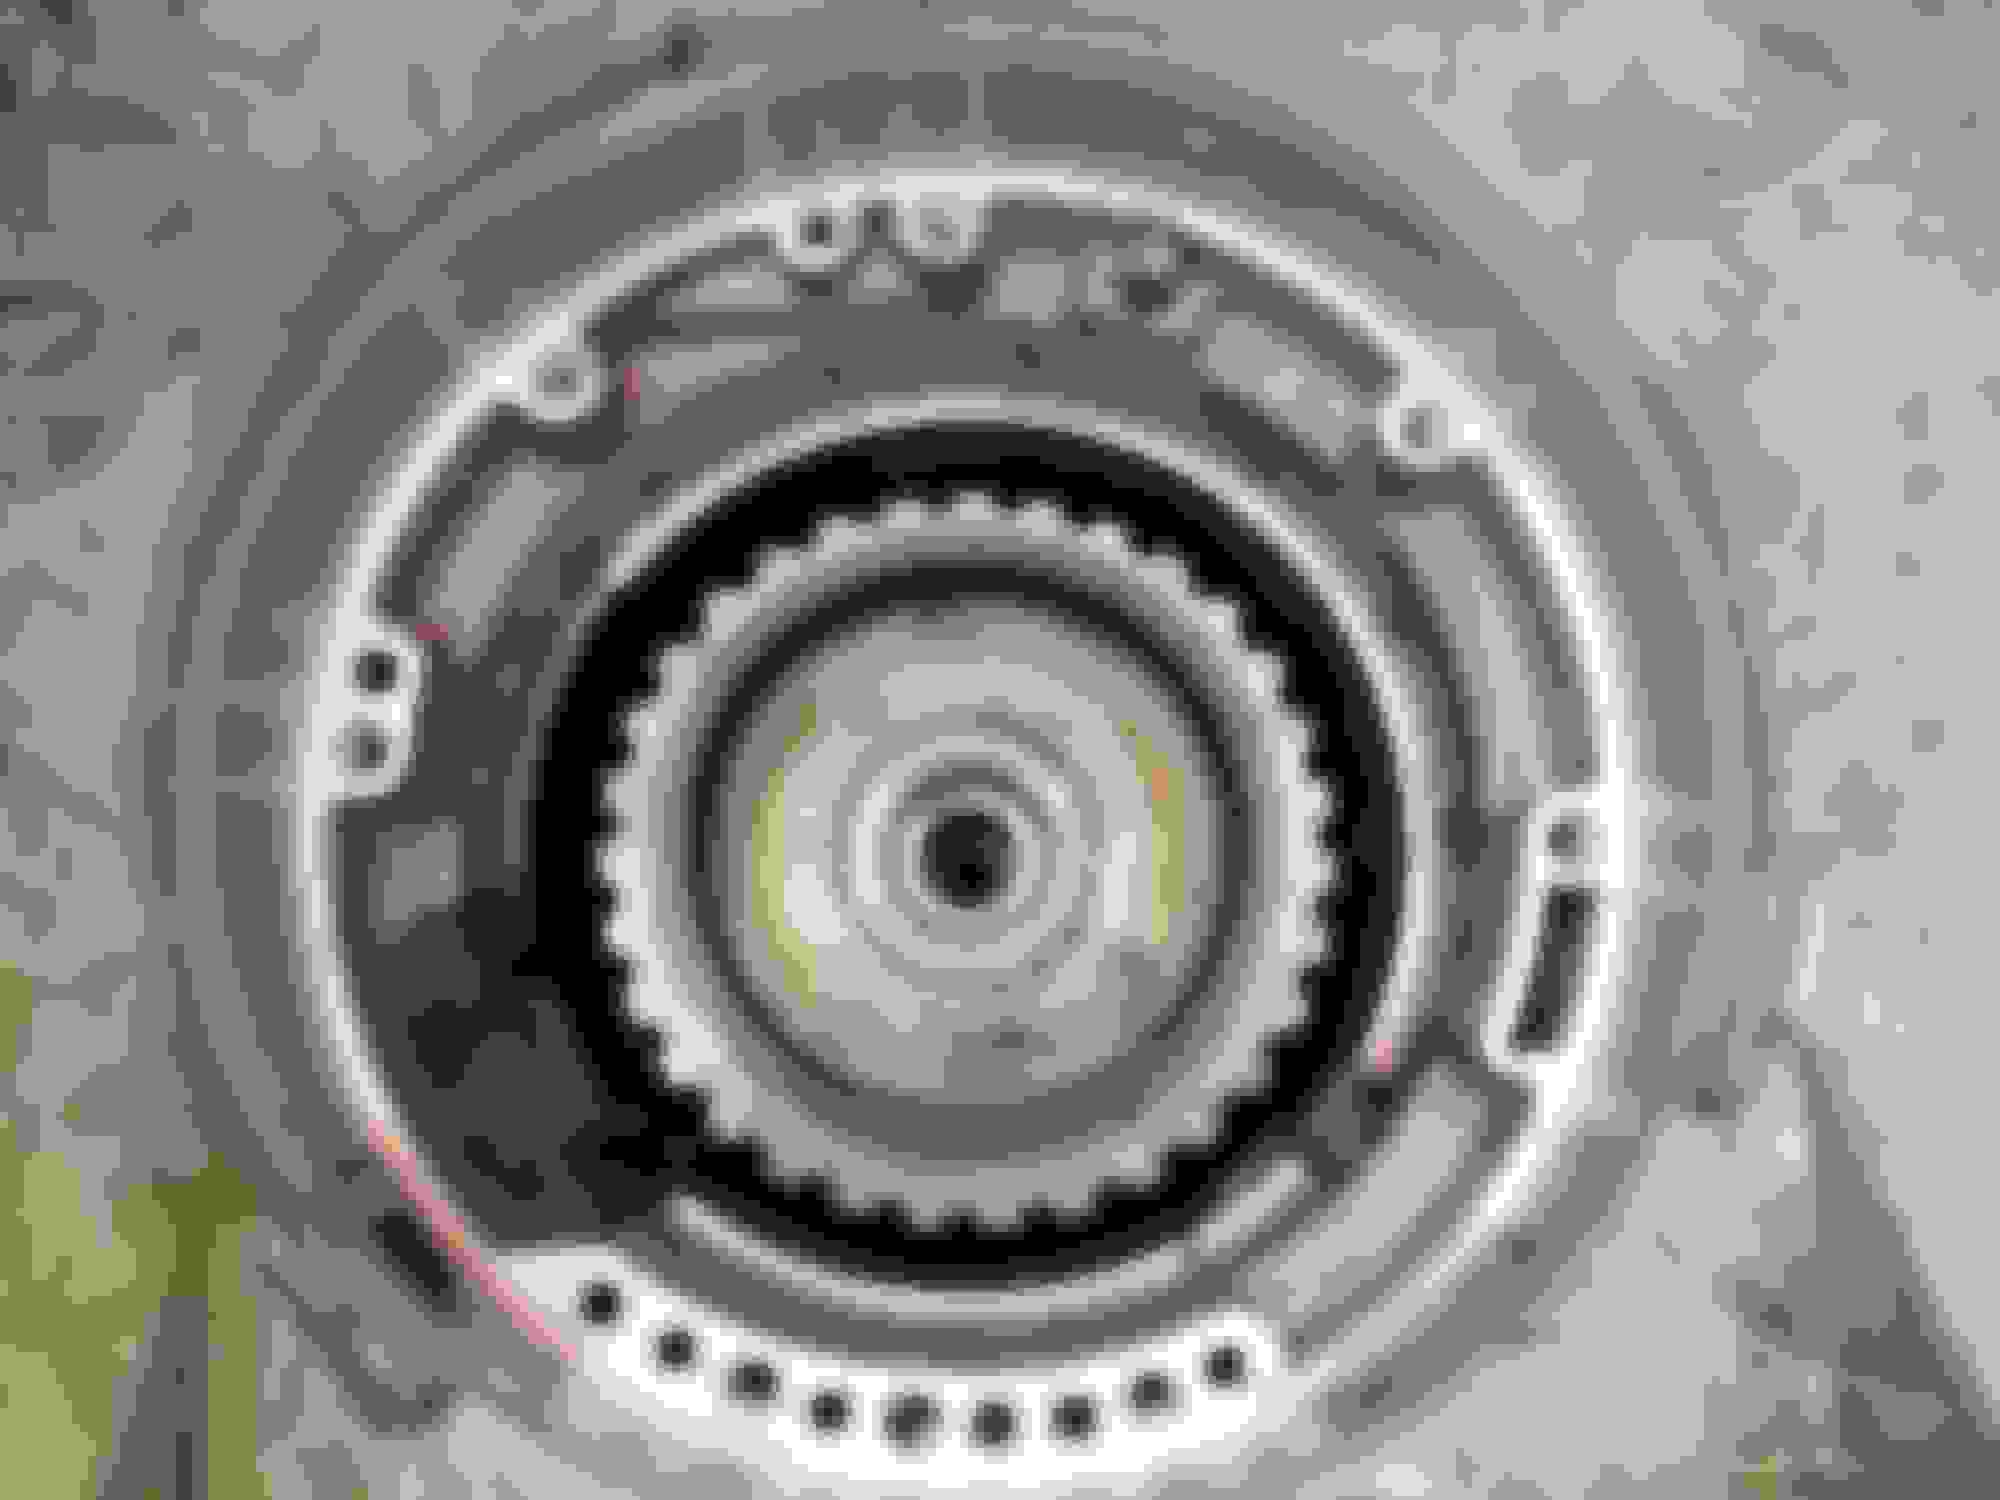
Direct clutch in place. I used Borg frictions on everything. I decided to do a 6 friction pack, just removed the wave plate and ran .077 forward steels in place of the .092" steels and it came out perfect.
Had to add a bit to the reverse servo pin to get my servo travel where I wanted it. just tig'd a bit on and ground it down till travel was within spec
Got a few goodies from Jake's performance. He had a good sale on his new billet input shafts. I also snagged a billet forward hub will a Torrington bearing as well.
Forward clutch went together well. Decided to run a bit heavier th400 wave plate to help tighten up some clearance. I tried to add an extra clutch to this pack but couldn't get the steels I wanted for a decent price. Since this clutch is engaged in all forward gears I am not super worried since the clearance was good.
Forward clutch installed
No pictures of the pump rebuild but it was pretty basic. I used a sonnax self regulating boost valve instead of the stuff supplied in the HD2 kit. Only other thing I did was swap the pressure relief springs and add the spring that Yank sends with the converter.
All together checking forward play.
So with the dual feed and lots of reading I decided to leave the #8 and #9 checkball out of the case. I used a transgo separator plate, 1/2 and 3/4 drilled to .125 and I left the 2/3 stock since i removed the #8 checkball.
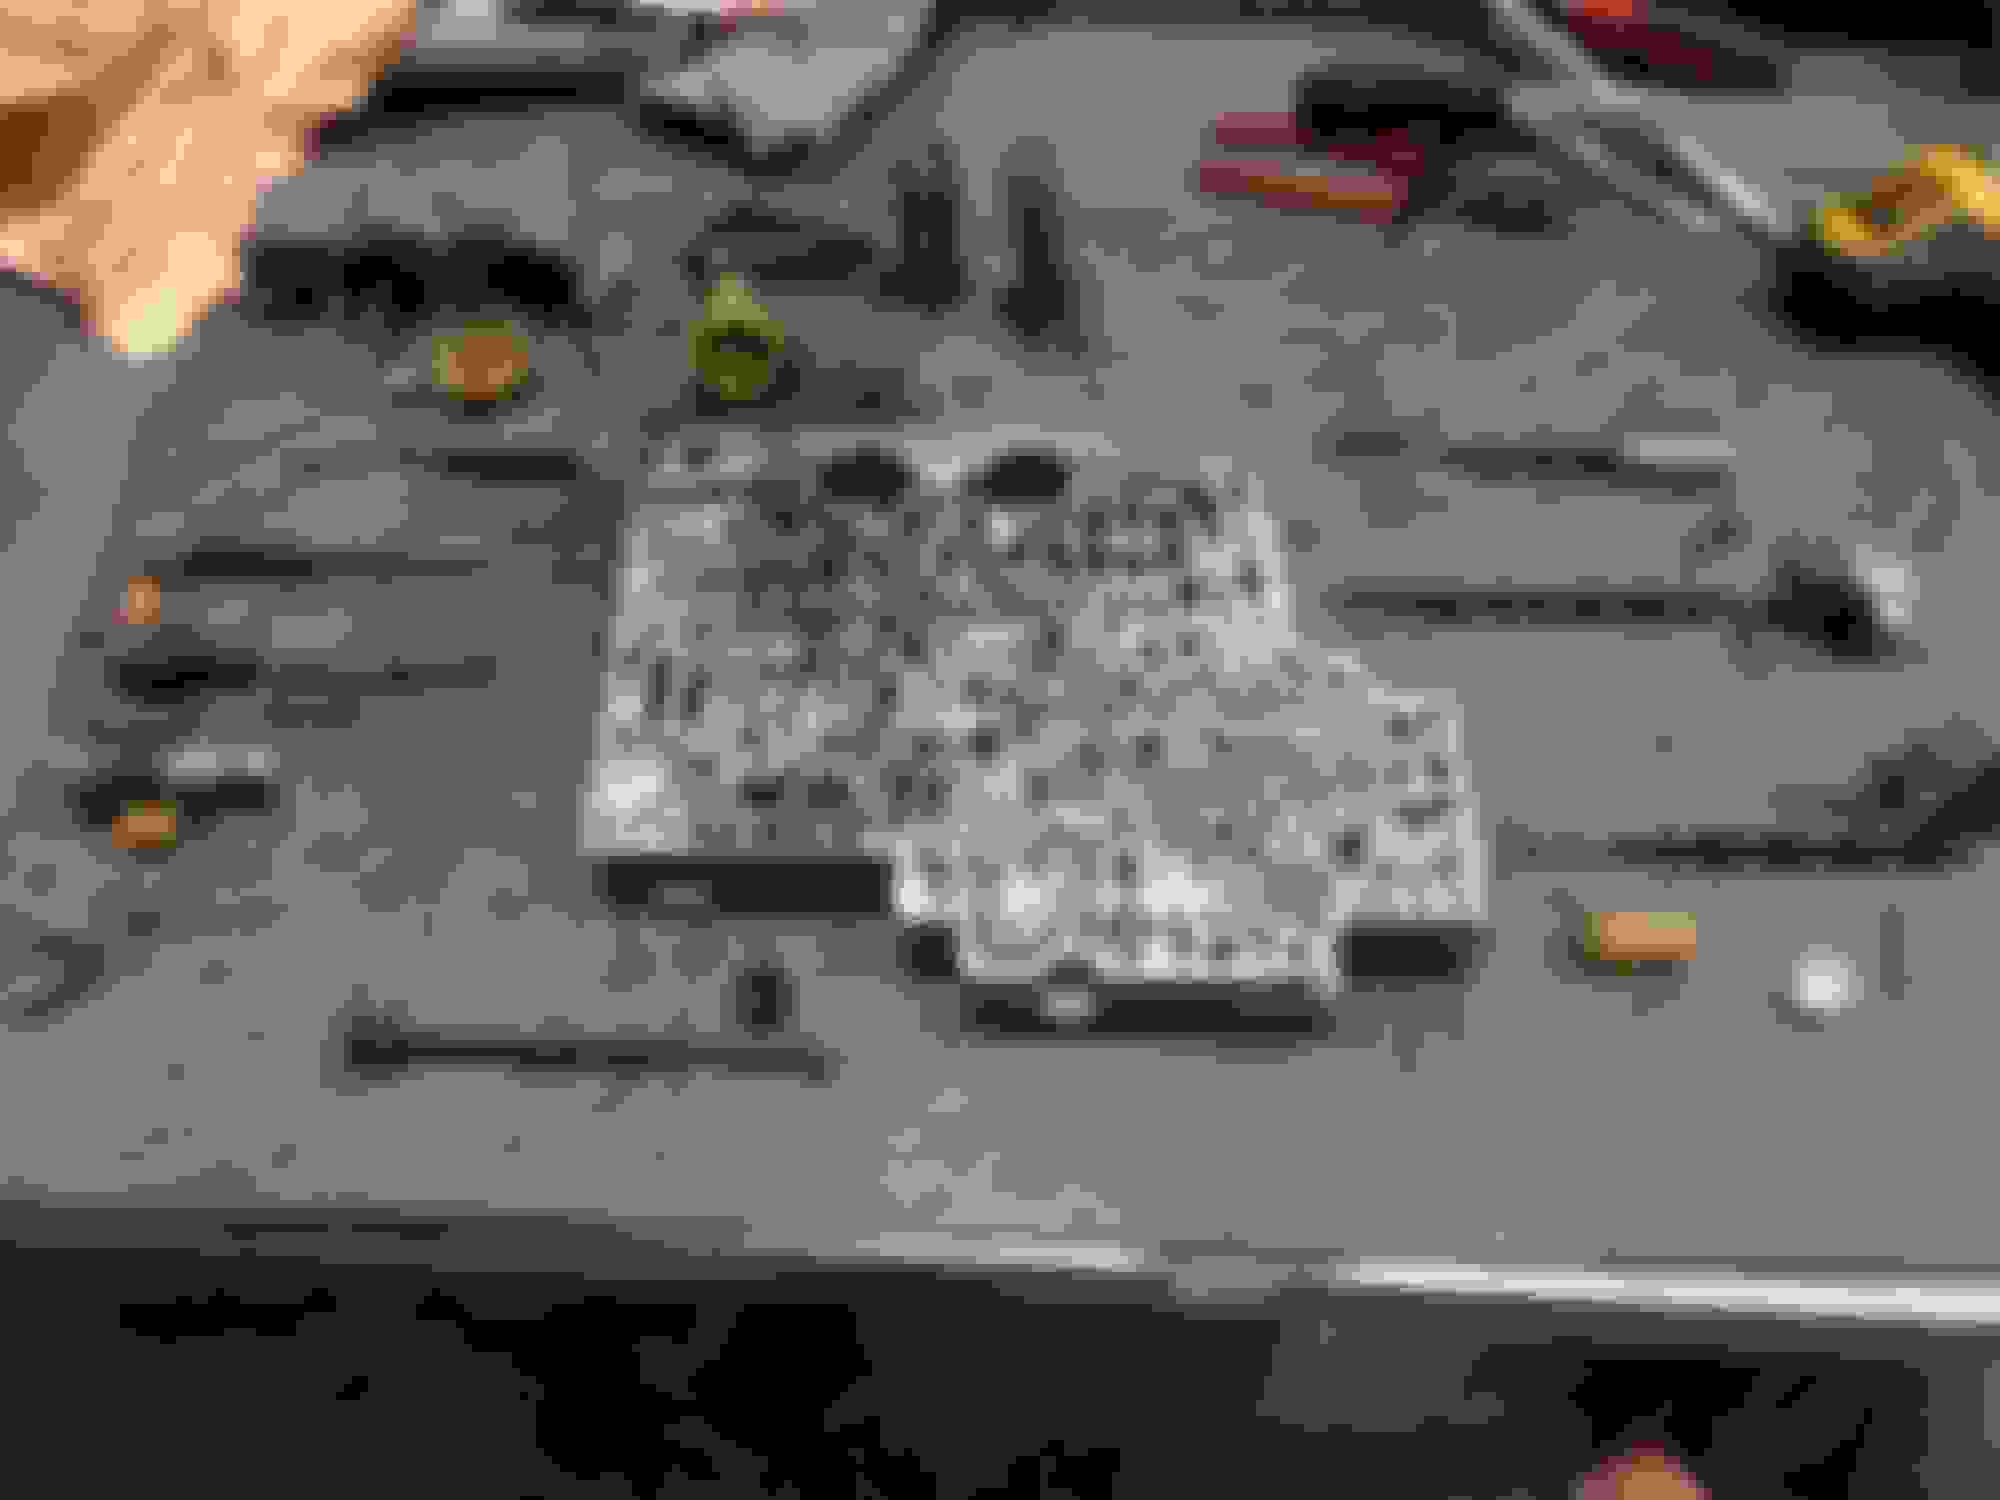
All assembled. Didn't he much pictures of the trans past this point. I welded a 1/8npt fitting in the pan just in case a ever run temp sender for a gauge.


 12-07-2016, 06:36 PM