
SHOPTRK build
 10-29-2012, 10:54 PM
#1

Sup y'all!? I've been a lurker for a while, not new to LS's or GM Fullsize's though, figured it's time to make a build thread now that I'm building a rig.
Cliff notes for those that don't wanna read: picked up a 2001 2wd, blown up V6, rcsb; sold my spare racecar shell; putting 6.0l, Masterpower T70 and T56 into clapped out shop truck to troll on local Vette's and BMW's and what not. Cool pics below and stuff.
Background info: My father and I run a full service auto shop with some custom LS swap stuff on the side. I compete in XDC, DMCC drift events, I have my Formula D license and am aiming to run FD in 2014 depending on partnership funding. Built my first LSx swapped 240sx back in 2008, done two other 240's and we swapped a LS1 and T56 into a 1969 Jaguar E-Type last winter for a customer from New Mexico.
(For some reason my internwebz is being sketchy...racecar/previous project pics to come soon if y'all wanna see some)
Last year around this time I picked up my first RCSB from a member on here, took me forever to find a clean, loaded rcsb since I'm super picky, drove to Illinois, got home on a Thursday, had my spare LS6 race motor in it and running Saturday afternoon haha. Loved the truck but I was in it for a decent amount of money and knew I'd never get my money back if I ever put any into it so I sold it to a buddy who will probably keep it forever haha.

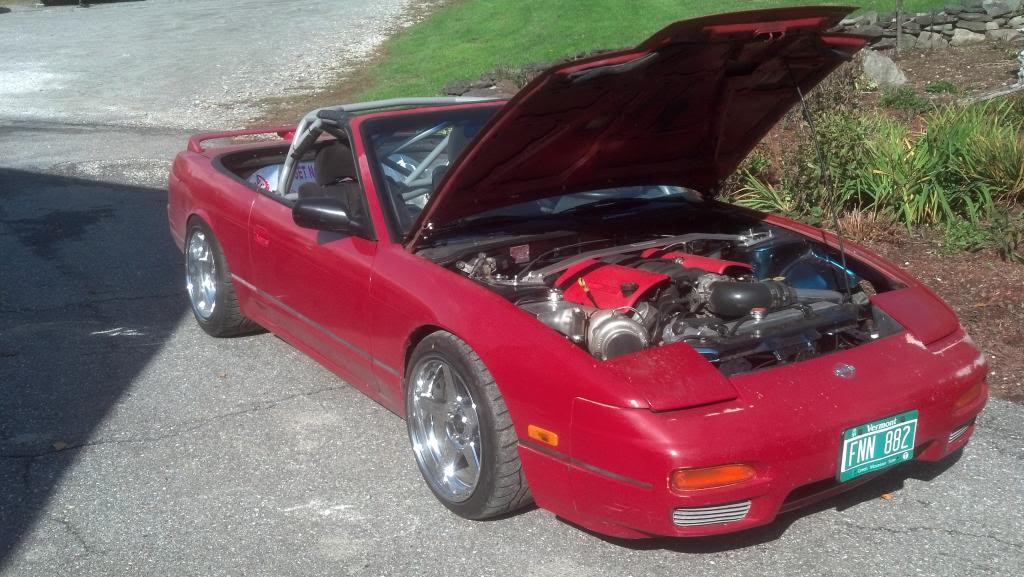
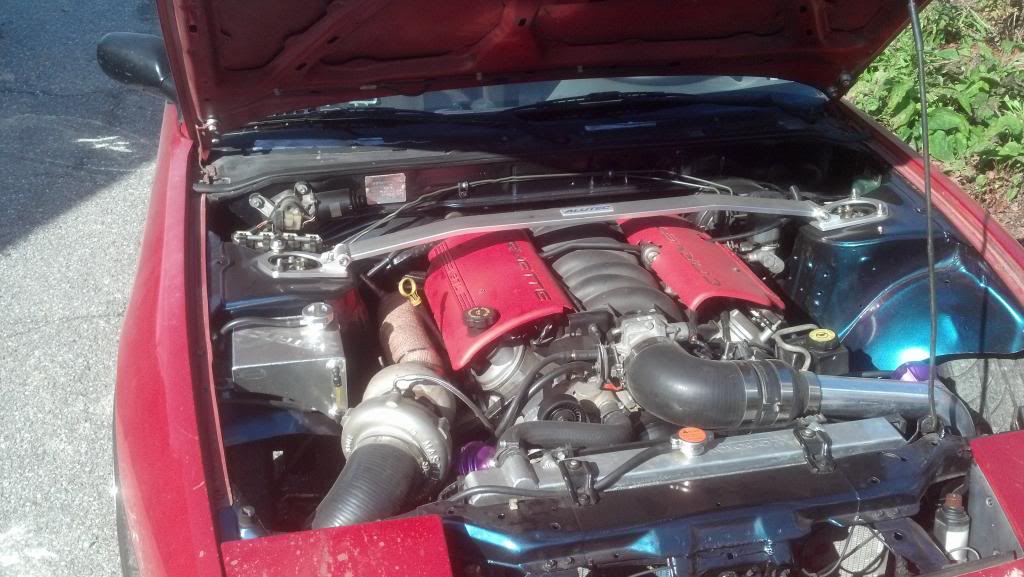
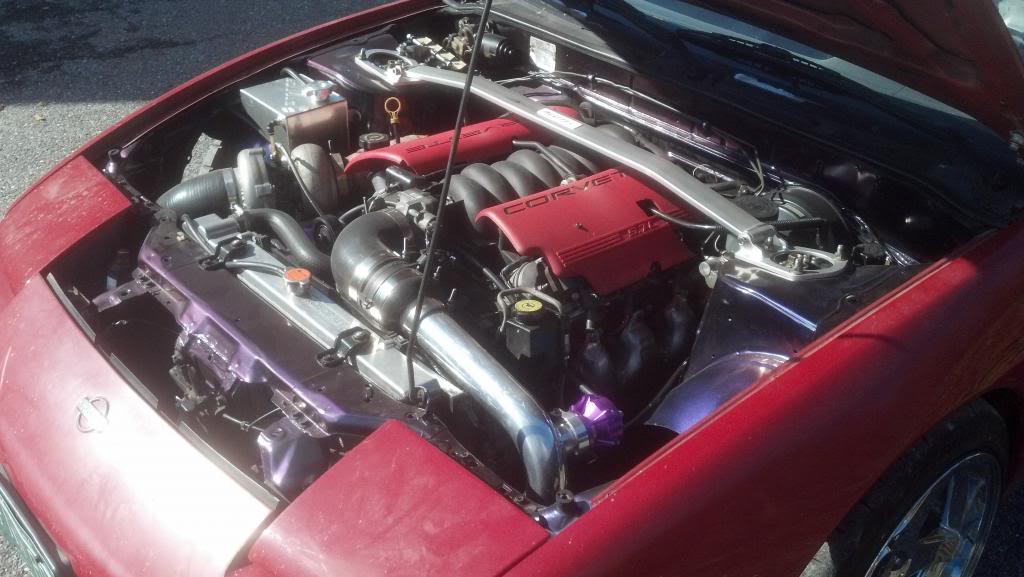
I'd always wanted a turbo LS of some sort, so when I picked up a spare 'vert 240sx I decided it was time to do a turbo build. Originally ran a 4.8l and MPT70, 4.8l was super clapped out so we swapped it out for a 6.0l and daannggg is it rad. The car is insane, no convertible stuff, gutted and a cage I'm estimating it around 2400lbs give or take, with 275/40/17 Falken RT615K's it spins 4th at 75mph just rolling into it! Downside, no roof made storing it a huge pain. It couldn't sit in the shop all the time due to customer work, so it was always in the trailer leaving my main car out in the weather. No dice.
Sold the vert shell/in the process of selling it, killer deal on this rcsb came on Clist so I went and scooped it up! $900 for what's basically a roller in decent shape (for Vermont), and it's the exact same color as my other rcsb! The body is in rough shape with some dents and scratches all over, but the under side isn't horrible rusty and it was so cheap I couldn't pass it up.
I'll be leaving the exterior all beat and clapped out looking aside from some new headlights, painted bumper stuff up front, rollpan and wheels...but it'll still be sneaky/clapped out looking. The engine bay/driveline, and interior will be super nice like my other projects, really going for the sleeper dealio with this one; and a vanity SHOPTRK plate :-)
Vert/donor car
Cliff notes for those that don't wanna read: picked up a 2001 2wd, blown up V6, rcsb; sold my spare racecar shell; putting 6.0l, Masterpower T70 and T56 into clapped out shop truck to troll on local Vette's and BMW's and what not. Cool pics below and stuff.
Background info: My father and I run a full service auto shop with some custom LS swap stuff on the side. I compete in XDC, DMCC drift events, I have my Formula D license and am aiming to run FD in 2014 depending on partnership funding. Built my first LSx swapped 240sx back in 2008, done two other 240's and we swapped a LS1 and T56 into a 1969 Jaguar E-Type last winter for a customer from New Mexico.
(For some reason my internwebz is being sketchy...racecar/previous project pics to come soon if y'all wanna see some)
Last year around this time I picked up my first RCSB from a member on here, took me forever to find a clean, loaded rcsb since I'm super picky, drove to Illinois, got home on a Thursday, had my spare LS6 race motor in it and running Saturday afternoon haha. Loved the truck but I was in it for a decent amount of money and knew I'd never get my money back if I ever put any into it so I sold it to a buddy who will probably keep it forever haha.
I'd always wanted a turbo LS of some sort, so when I picked up a spare 'vert 240sx I decided it was time to do a turbo build. Originally ran a 4.8l and MPT70, 4.8l was super clapped out so we swapped it out for a 6.0l and daannggg is it rad. The car is insane, no convertible stuff, gutted and a cage I'm estimating it around 2400lbs give or take, with 275/40/17 Falken RT615K's it spins 4th at 75mph just rolling into it! Downside, no roof made storing it a huge pain. It couldn't sit in the shop all the time due to customer work, so it was always in the trailer leaving my main car out in the weather. No dice.
Sold the vert shell/in the process of selling it, killer deal on this rcsb came on Clist so I went and scooped it up! $900 for what's basically a roller in decent shape (for Vermont), and it's the exact same color as my other rcsb! The body is in rough shape with some dents and scratches all over, but the under side isn't horrible rusty and it was so cheap I couldn't pass it up.
I'll be leaving the exterior all beat and clapped out looking aside from some new headlights, painted bumper stuff up front, rollpan and wheels...but it'll still be sneaky/clapped out looking. The engine bay/driveline, and interior will be super nice like my other projects, really going for the sleeper dealio with this one; and a vanity SHOPTRK plate :-)
Vert/donor car
Last edited by MunsonAuto; 07-07-2013 at 08:51 PM.
 10-29-2012, 11:11 PM
#2
I've been researching a lot and have been ordering tons of parts for the rcsb build, hoping to have everything here ahead of time so I can just progressively put the truck back together and not be waiting on parts.
Things I'm pulling and re-using from the vert:
-32k mile LQ4 6.0l (Stock #317's & gaskets/bolts, TSP ported/shimmed oil pump, 03 LS6 cam, PRC dual springs)
-Truck MAF
-MPT70 .96 a/r (+20k miles lol)
-Tial MV-R 44mm wastegate
-Tial 50mm bov
-Boost gauge
-AEM Uego wideband
-Truck alternator
-O2 sensors
-RKT Built T56 (Pro 5.0 shifter and 03/04 Cobra shift ****)
-Monster Level 3 clutch and 18lb flywheel
Things I've bought so far:
-60k mile 5.3l Dropout (I'll be using this dropout for the motor/frame mounts, wiring harness, oil pan, front drive accessory brackets and intake manifold. My buddy is building a Lsx 240sx so he'll be buying the shortblock from me to use in his swap, leaving me spending $100 for above mentioned parts)
-GM Clutch pedal bracket #15713209
-GM Steering column cover kit #26072994
-GM Clutch pedal assembly #15027983
-GM Master cylinder and line #24235619
-$500 worth of stainless piping, schedule 10 piping, flanges and everything to make the turbo manifold, crossover pipe, downpipe and exhaust
-Walbro 400lph pump
-Racetronix GM truck fuel pump hotwire kit
-3" Universal intercooler (31x12x3 core) and piping/couplers and what not
-New headlights (stockers had broken brackets and aimers)
-4.88 R&P and Master gear install kit from Rons Machining
-Detroit TruTrac from Rons Machining
-TA Performance Girdle diff cover
-DJM 2" rear lowering shackles
What I have left to buy/make:
-EGR block off for the intake manifold
-'Vette fuel filter (I'll be redoing all the fuel lines, running a single 3/8" line to the engine bay)
-2005 Silverado E-fans
-5.3l/V8 radiator and heater core hoses
-Tahoe loaded rear brake calipers and rotors
-Front rotors and pads
-New front sway bar endlinks
-Helwig front sway bar
-Helwig rear sway bar
-Front lower valance, bumper, bumper cap and a 2500hd hood
-Header wrap
-Tahoe "captain" style seats and full center console
If anyone can think of anything else I'm gonna need let me know! I think I've got most of my bases covered and I'm probably forgetting some stuff that I've ordered or know I need to order, but still, post up haha.
10-29-2012, 11:23 PM
#3
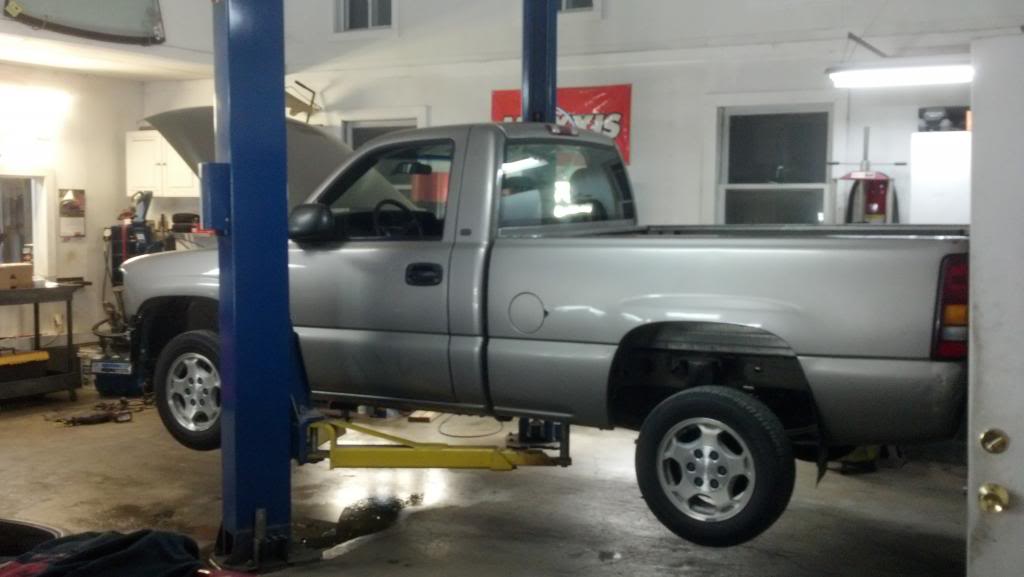
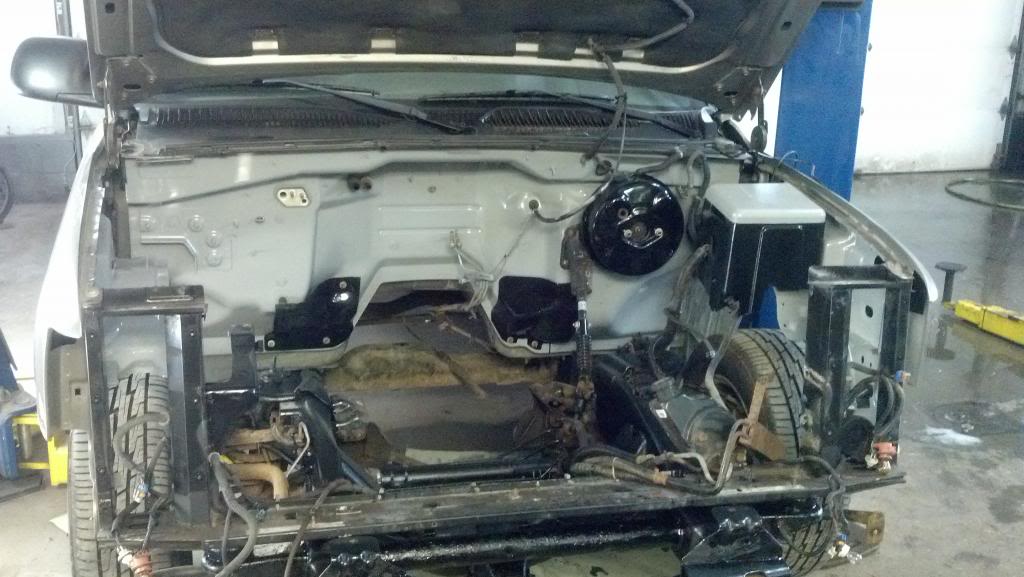
This past weekend I had the shop to myself, so in came the truck and I got to work!
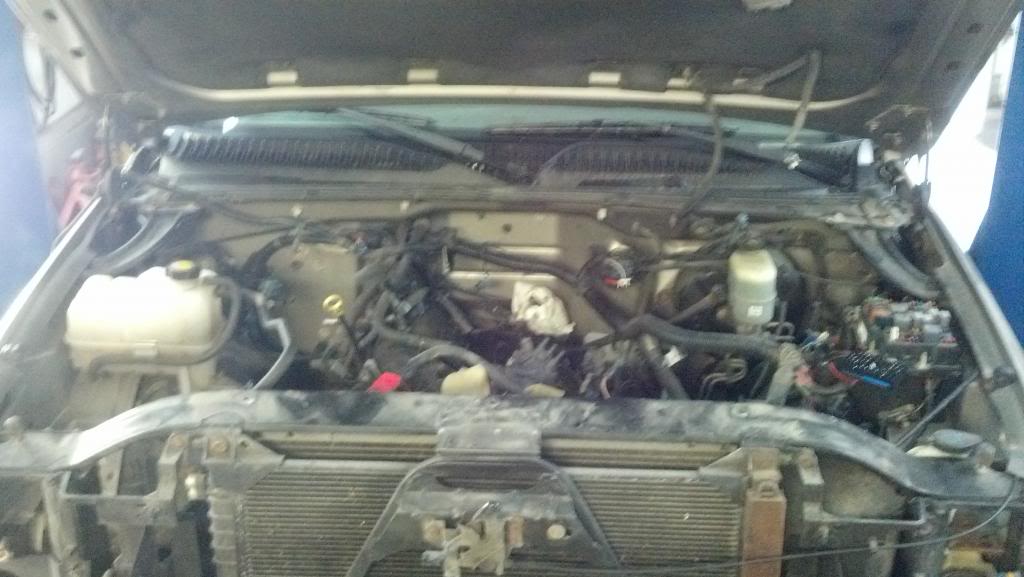
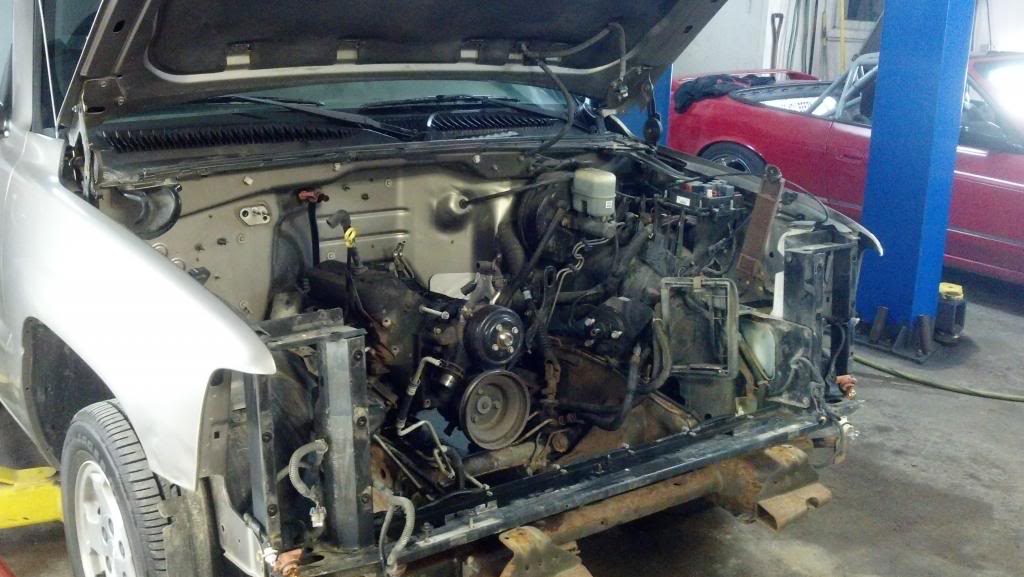
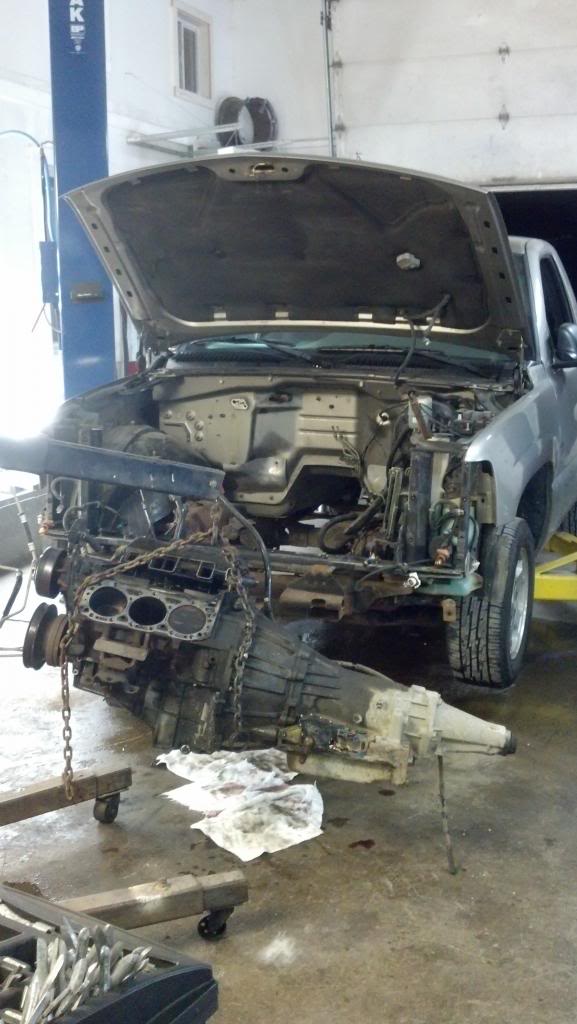
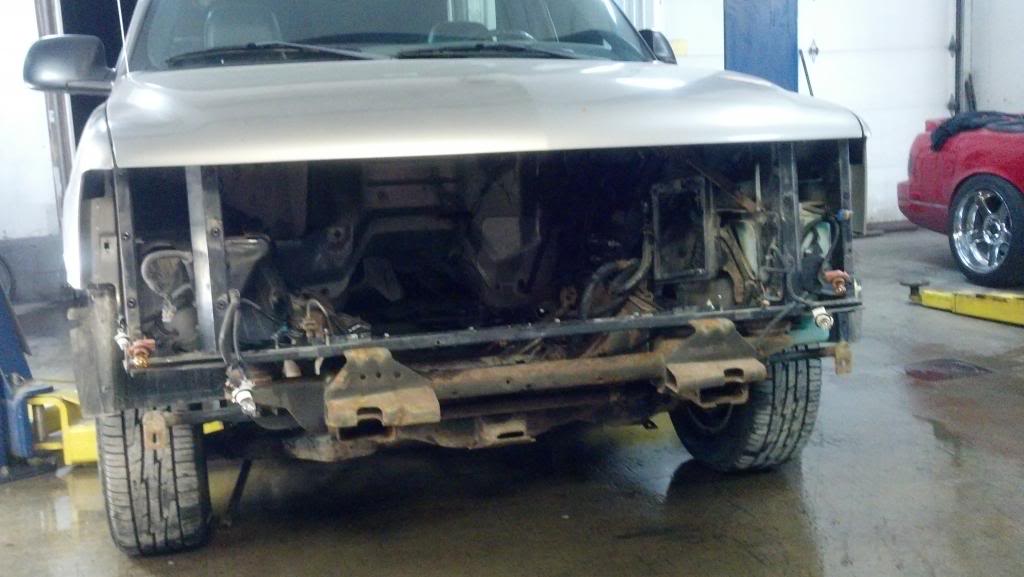
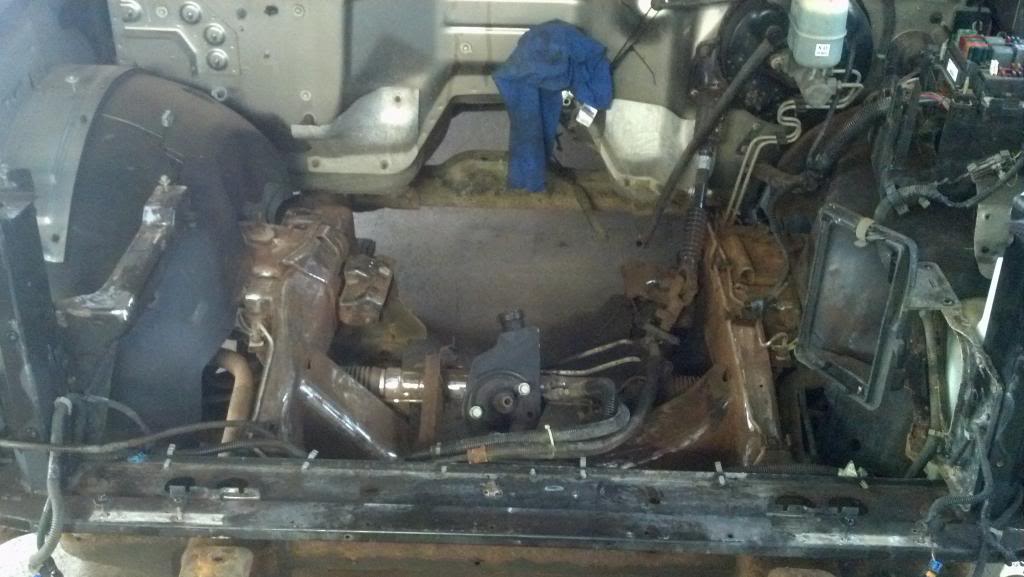
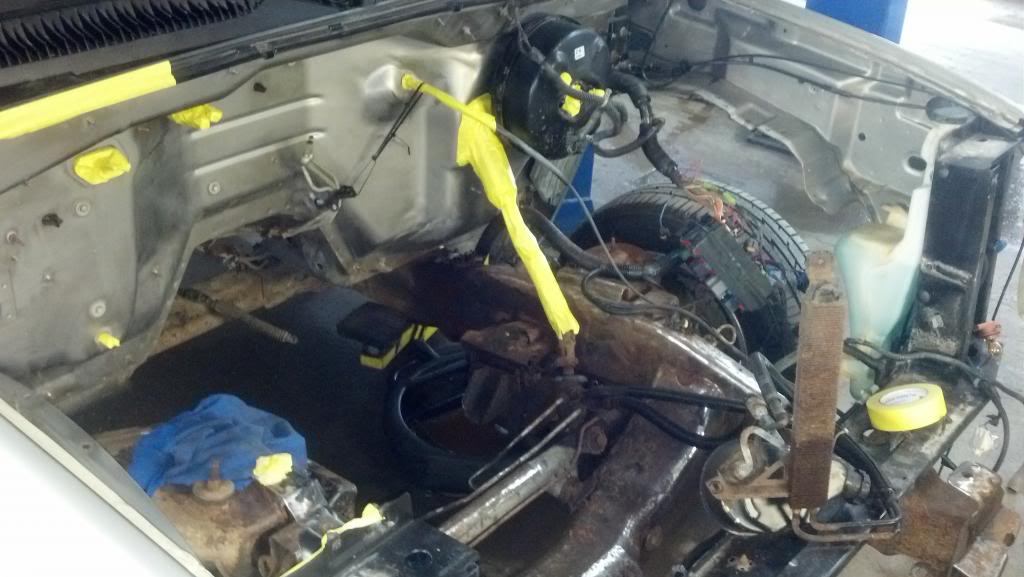
I started Saturday morning around 11am, full front end was still on, but the motor was torn halfway apart by the previous owner. My goal for the day was to get the majority of the front clip off, and the entire drivetrain/exhaust and wiring harness stripped out of the engine bay.
I forgot to take pictures before I started, I had most of the grille and what not off and the harness halfway out when I remembered to start taking pics haha.
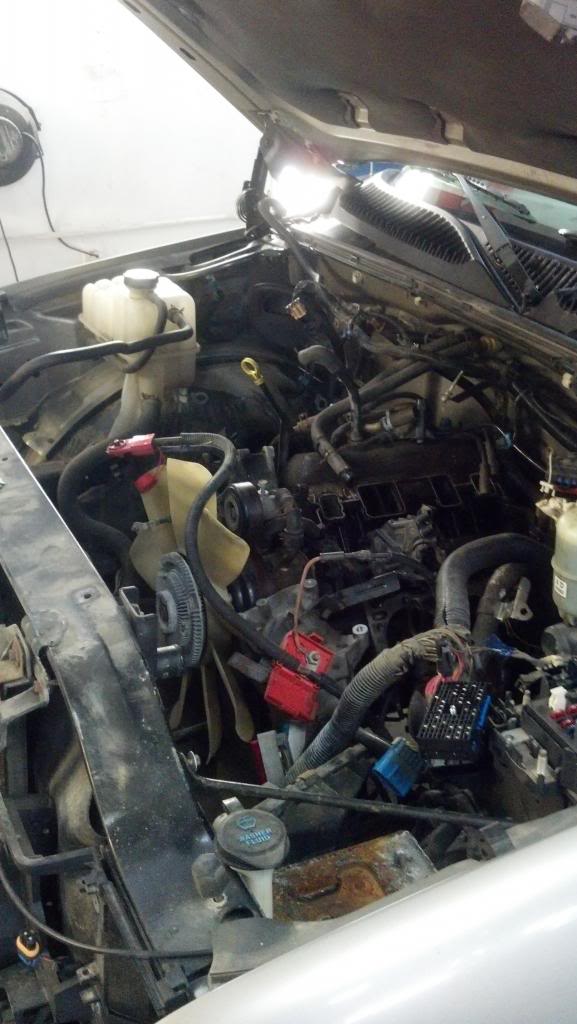
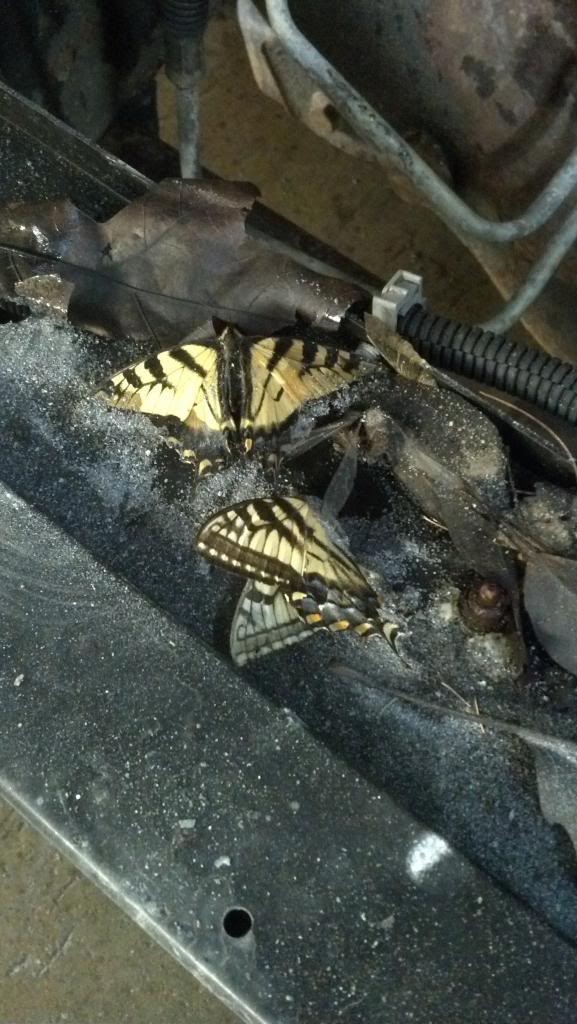
Found these guys under the rad...they were still wicked colorful for being cooked.
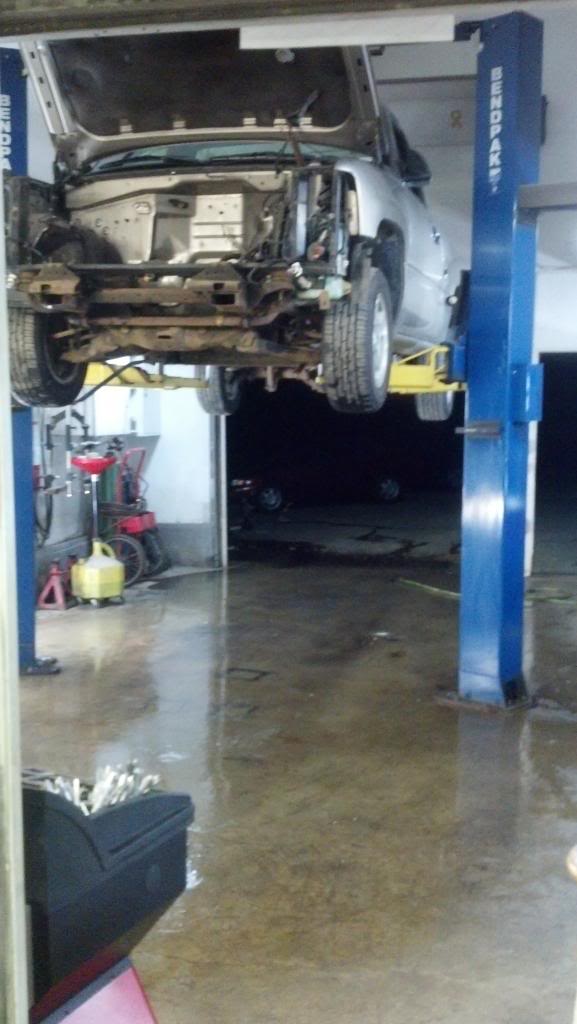
Almost ready to pull
The bright florescent shop lights suck for cell phone pics, sorry guys!
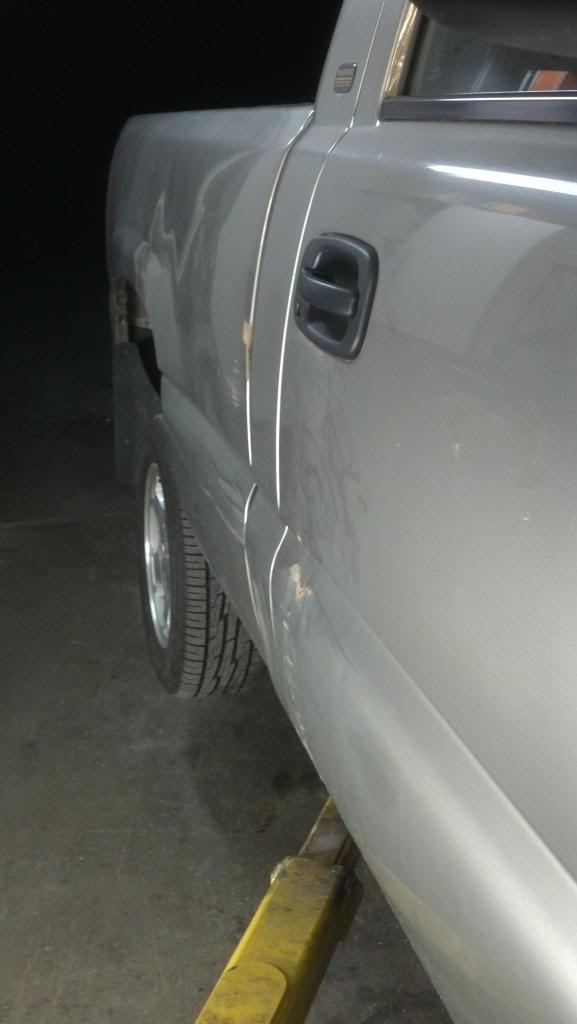
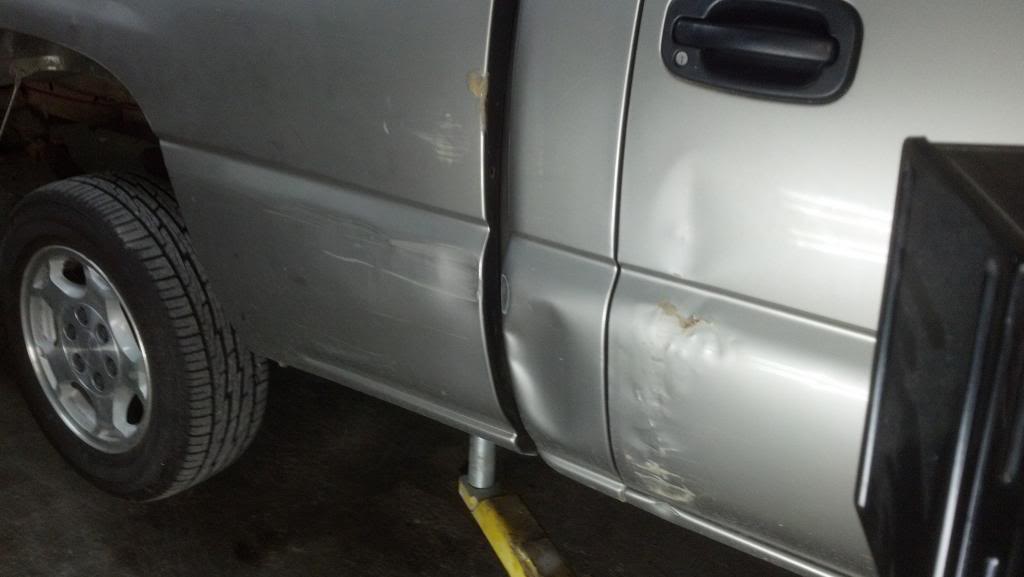
Dents and clapped out-ness
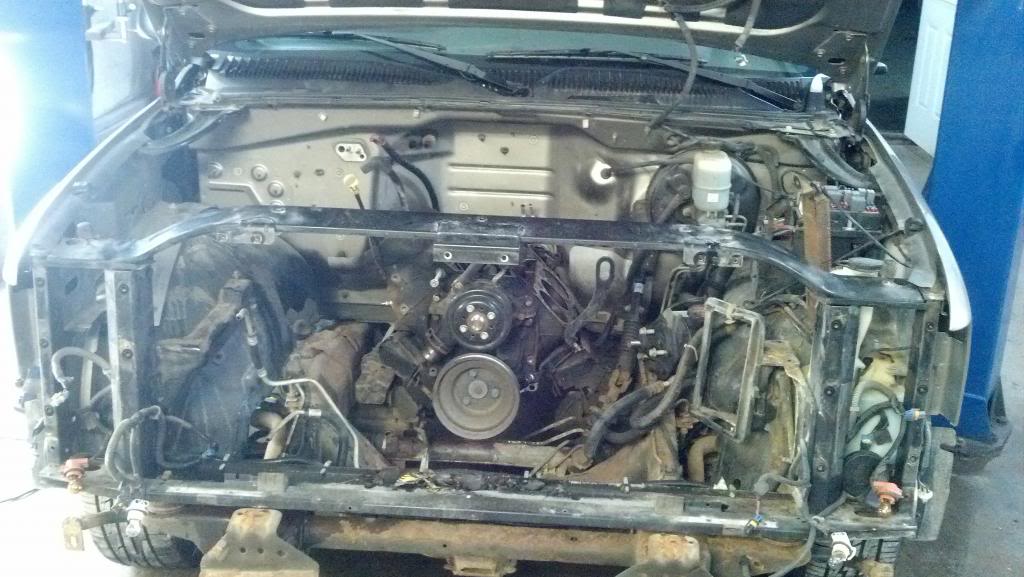
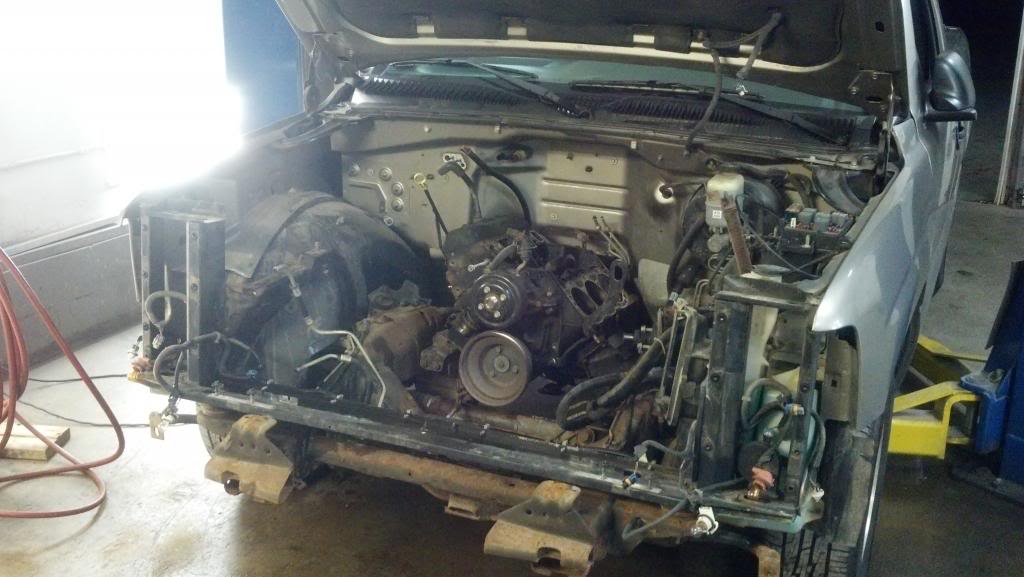
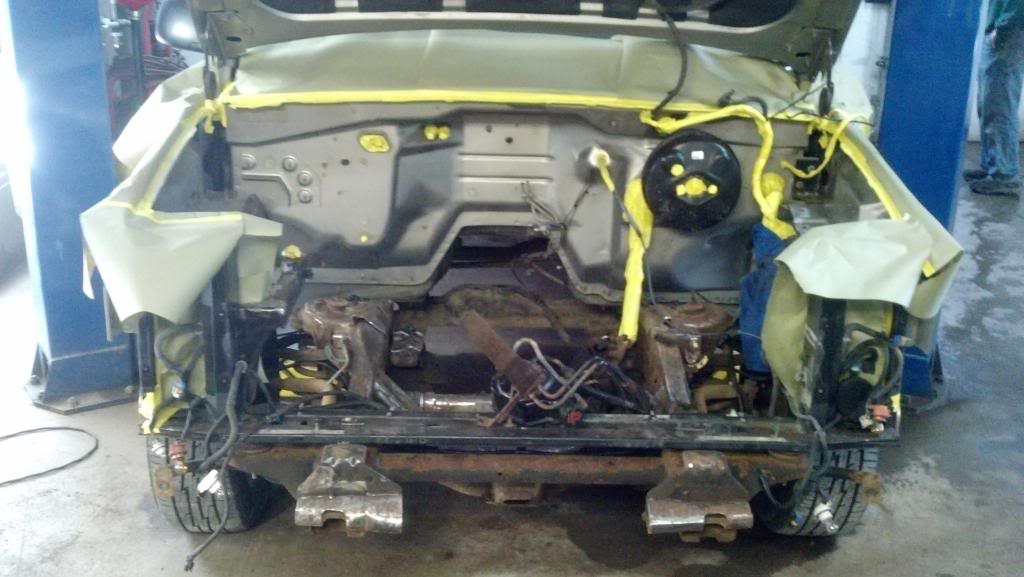
Ta-daaaaa!
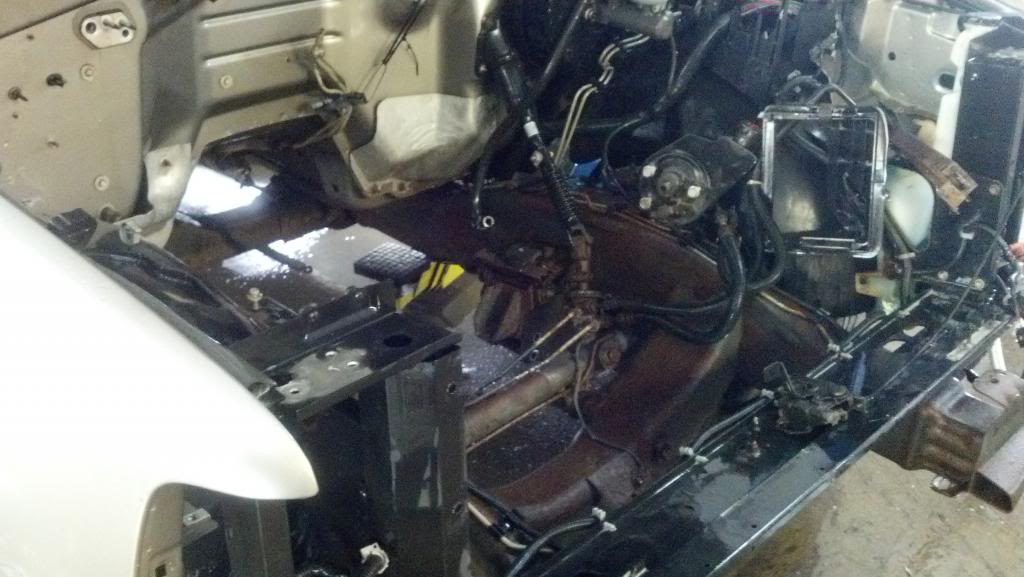
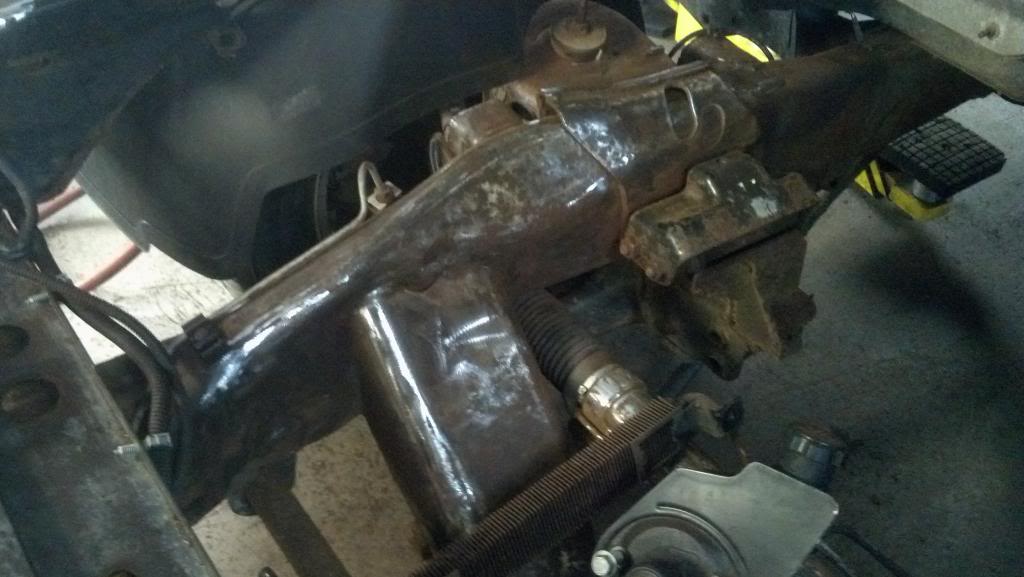
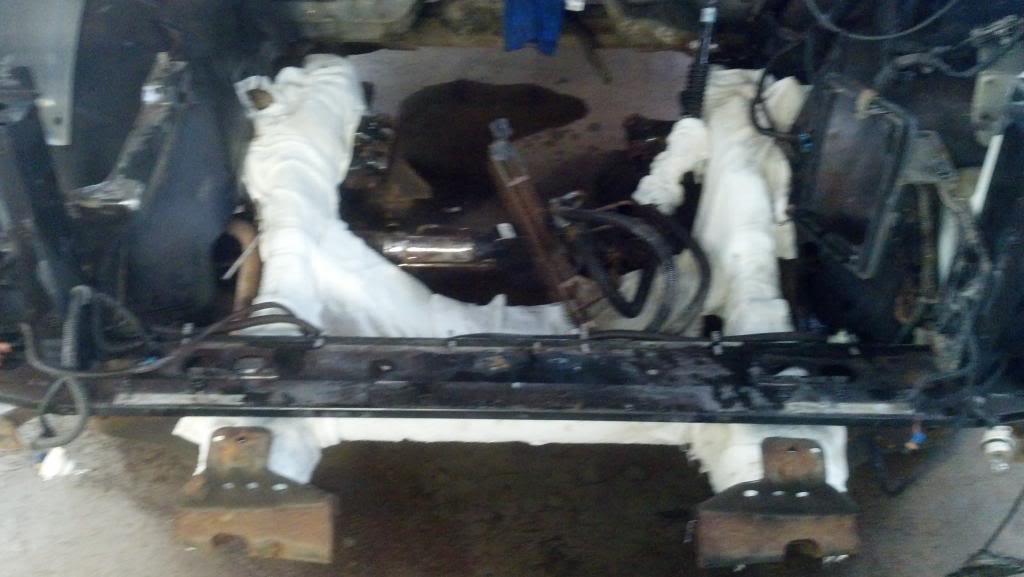
Stripped underside
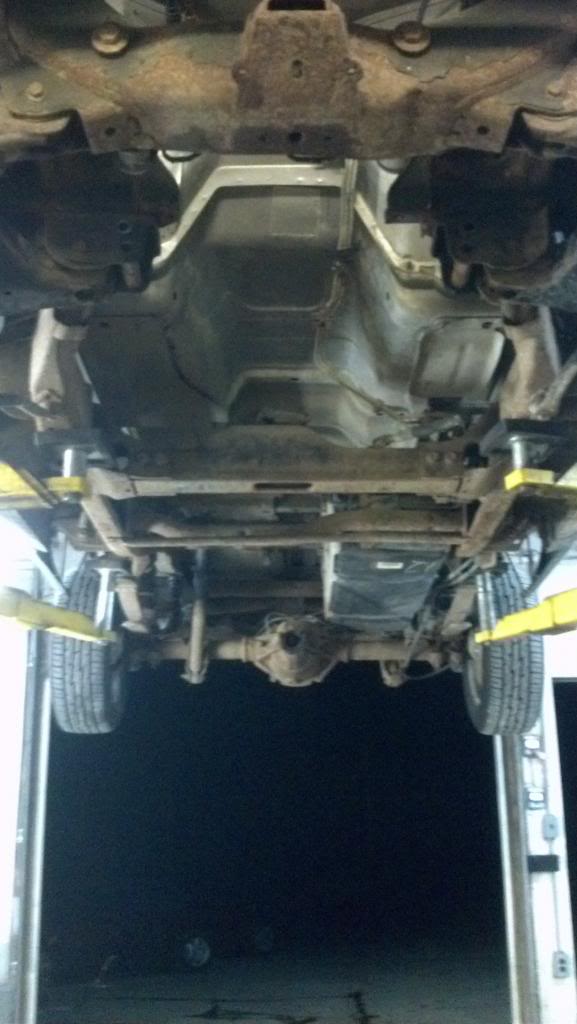
The truck has some scale on it from sitting a decent amount of it's life, but luckily there isn't any real ROT or holes in it like 99% of Vermont vehicles.
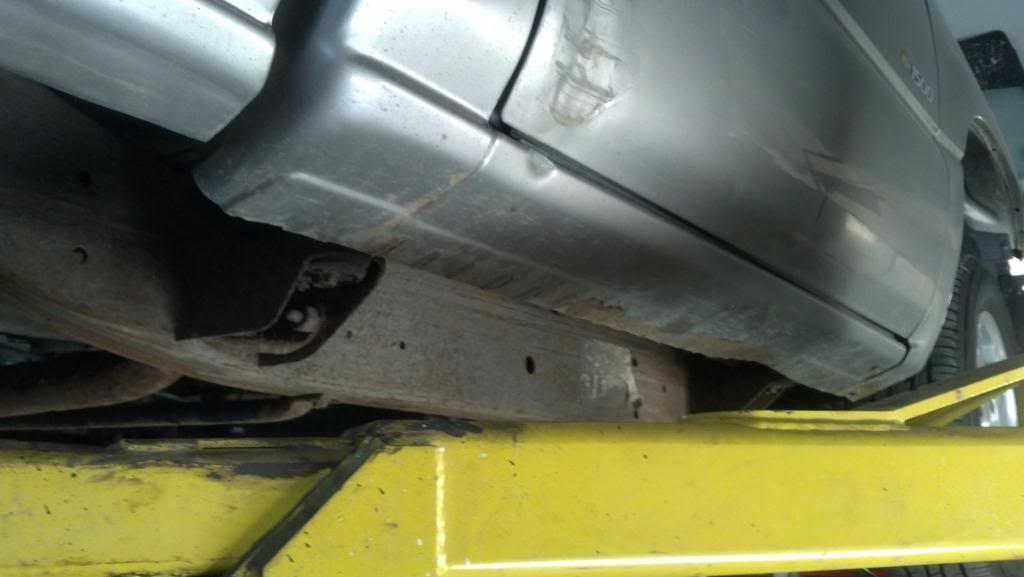
VT salts the roads in the winter and has recently switched to that bryne/brine sp?? mixture/liquid stuff and it's really been harsh on cars these past few years...so this is what I deal with in the shop frequently. This is a 2003 Subaru Outback rear subframe.

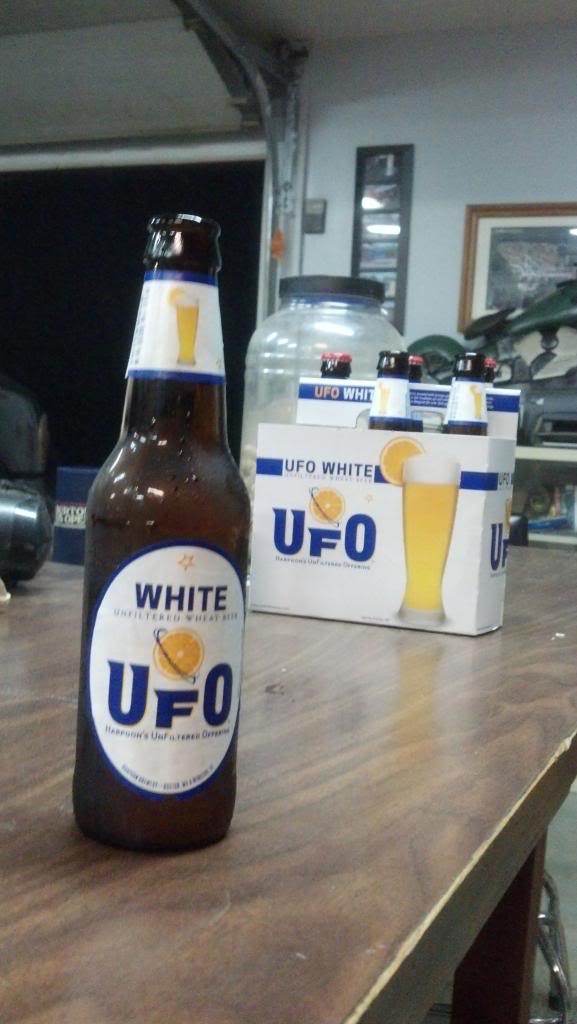
Come 9 o'clock I had the truck stripped, the floor washed/degreased and I was ready for some beers!
I started Saturday morning around 11am, full front end was still on, but the motor was torn halfway apart by the previous owner. My goal for the day was to get the majority of the front clip off, and the entire drivetrain/exhaust and wiring harness stripped out of the engine bay.
I forgot to take pictures before I started, I had most of the grille and what not off and the harness halfway out when I remembered to start taking pics haha.
Found these guys under the rad...they were still wicked colorful for being cooked.
Almost ready to pull
The bright florescent shop lights suck for cell phone pics, sorry guys!
Dents and clapped out-ness
Ta-daaaaa!
Stripped underside
The truck has some scale on it from sitting a decent amount of it's life, but luckily there isn't any real ROT or holes in it like 99% of Vermont vehicles.
VT salts the roads in the winter and has recently switched to that bryne/brine sp?? mixture/liquid stuff and it's really been harsh on cars these past few years...so this is what I deal with in the shop frequently. This is a 2003 Subaru Outback rear subframe.
Come 9 o'clock I had the truck stripped, the floor washed/degreased and I was ready for some beers!
10-29-2012, 11:34 PM
#4
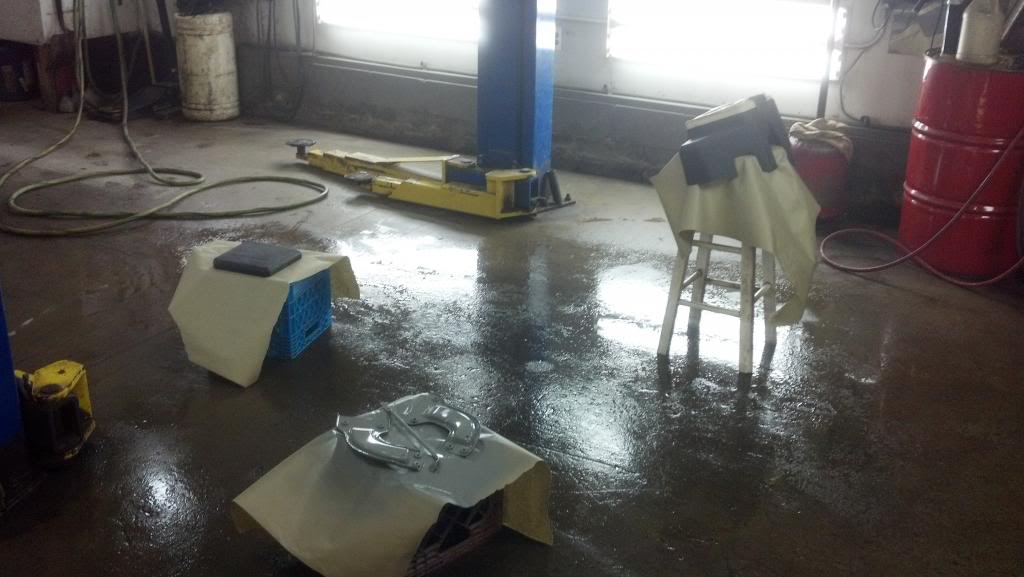
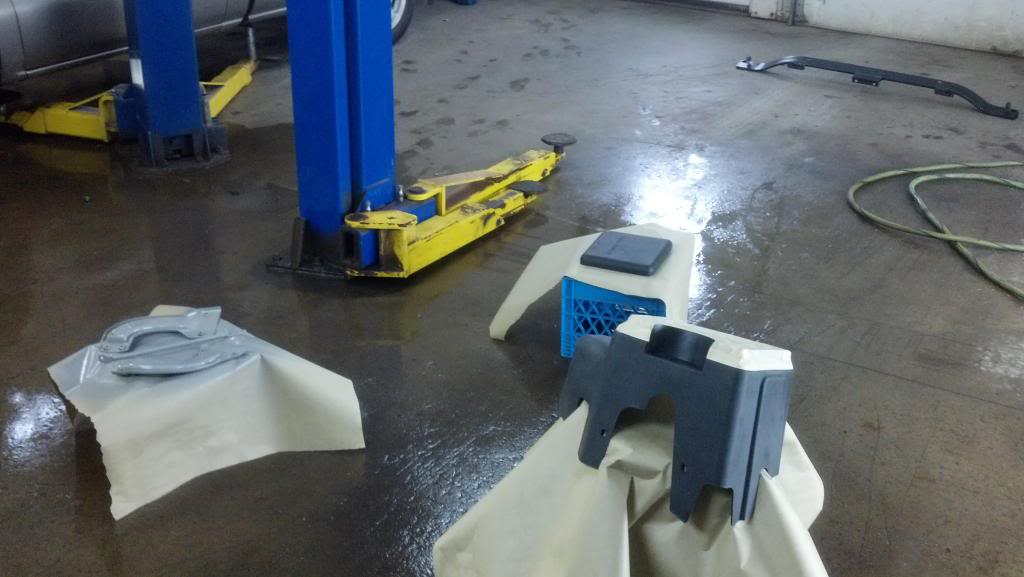
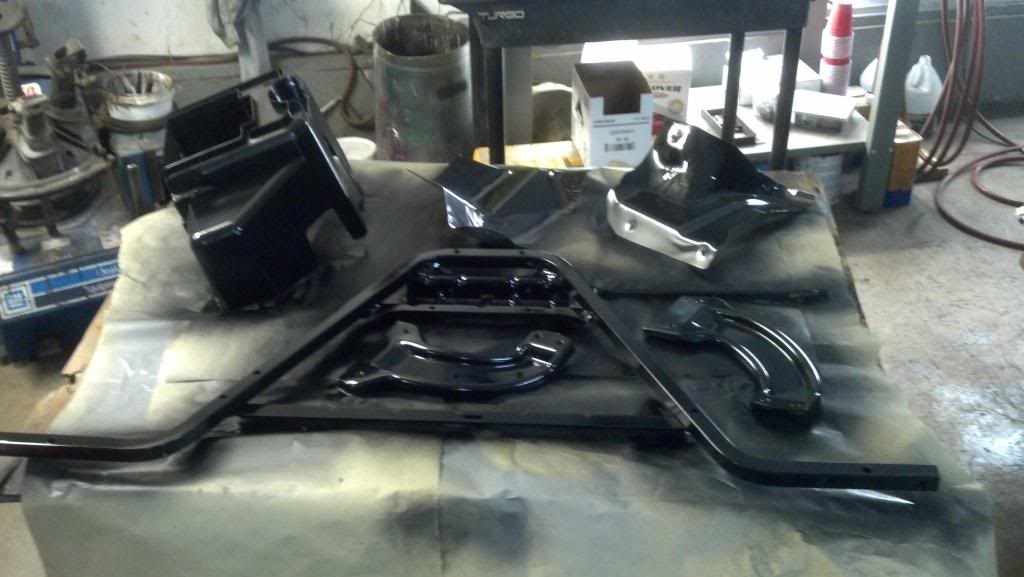
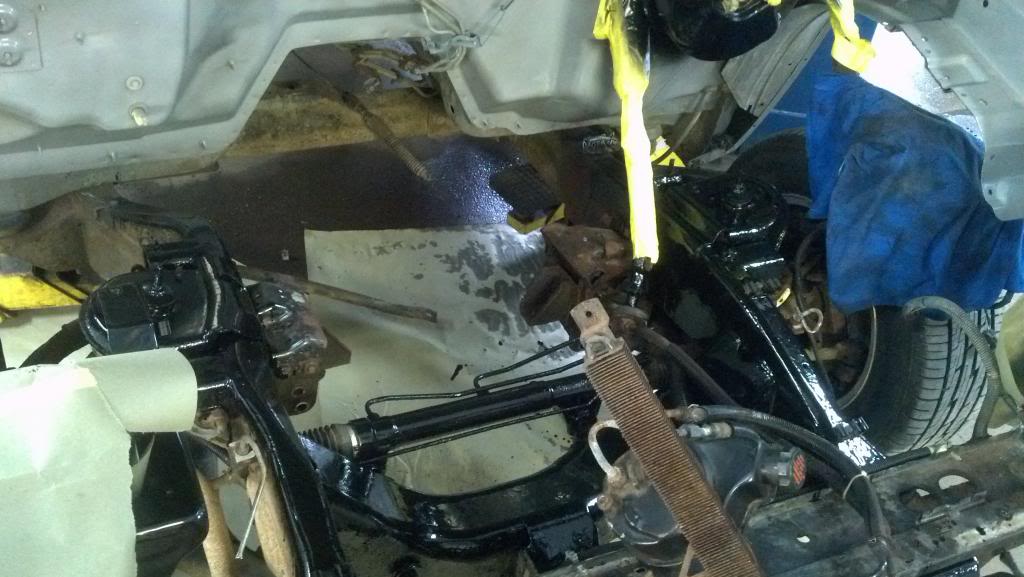
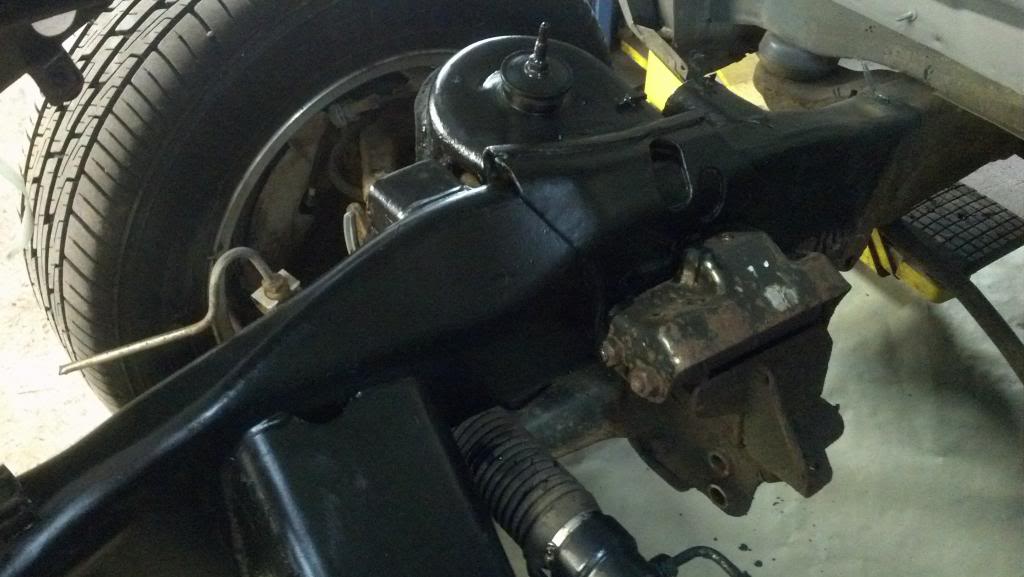
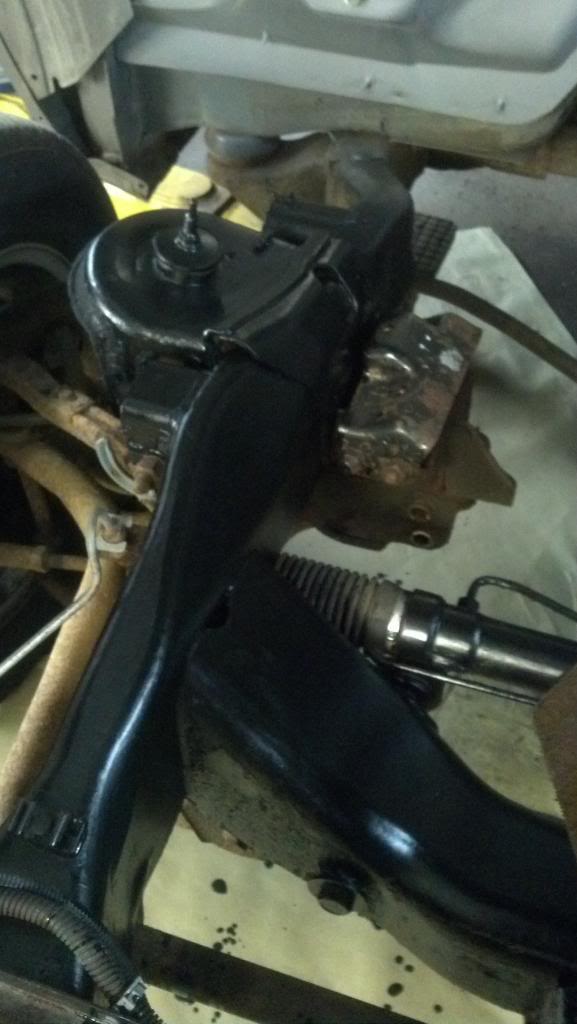
Sunday I decided to just degrease the engine bay and start prepping and painting a few pieces and call it a day.
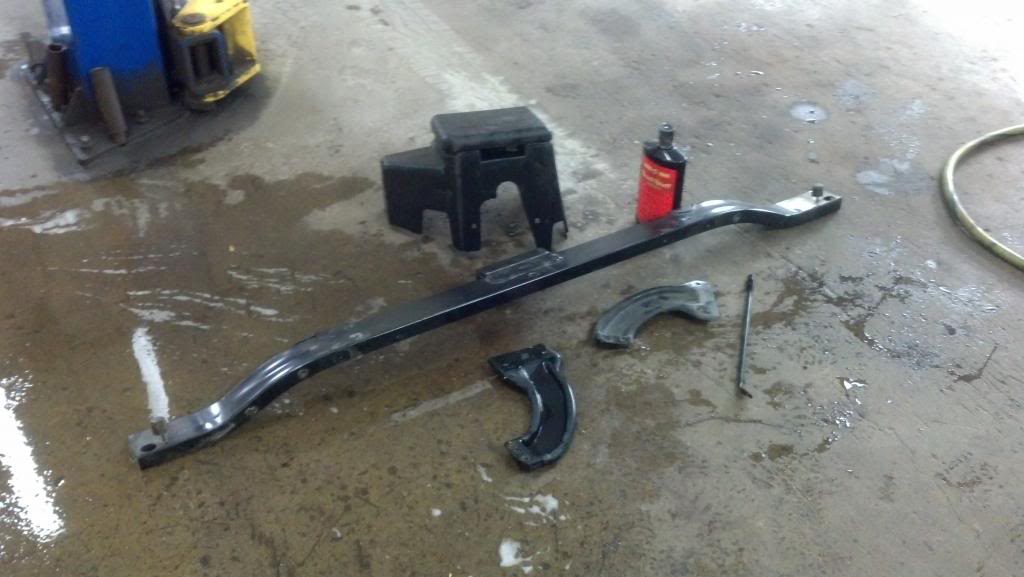
I decided to paint most bracketry/small stuff what the drift world calls "East Coast Grey". It kind of looks like a shiny primer *shrug*. Makes for a clean, simple look and contrasts really well with black and darker colors/areas like engine bays.
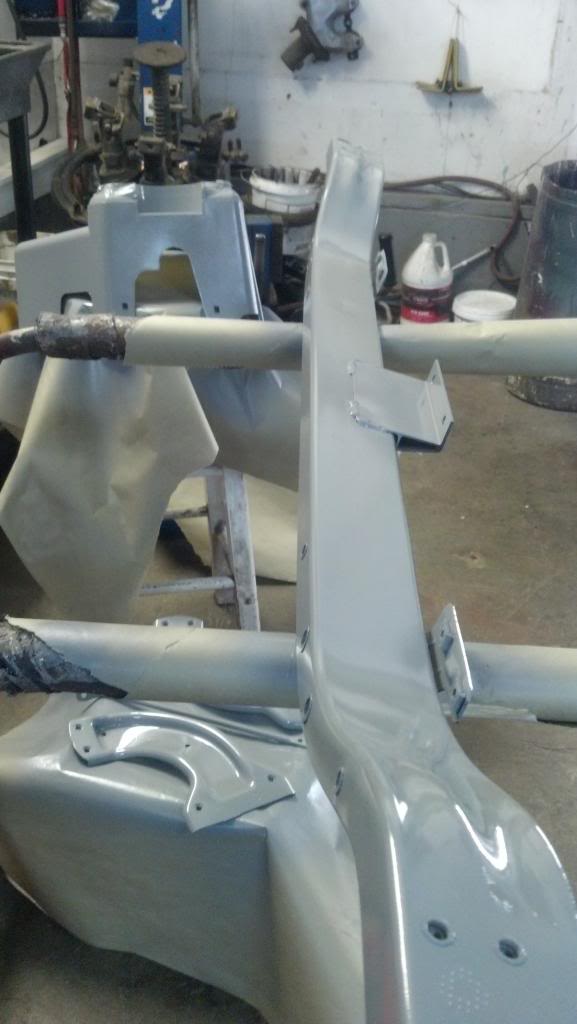
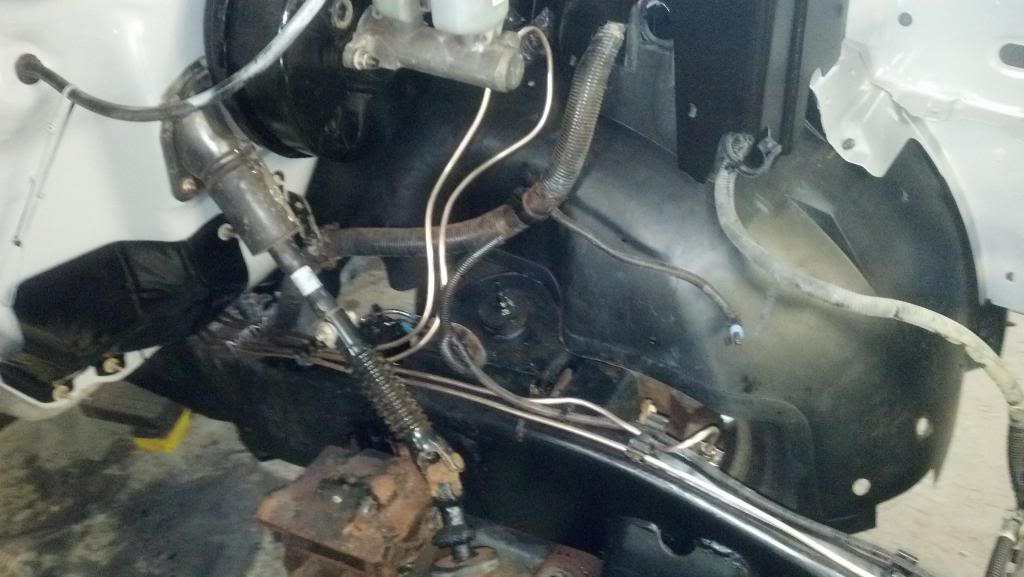
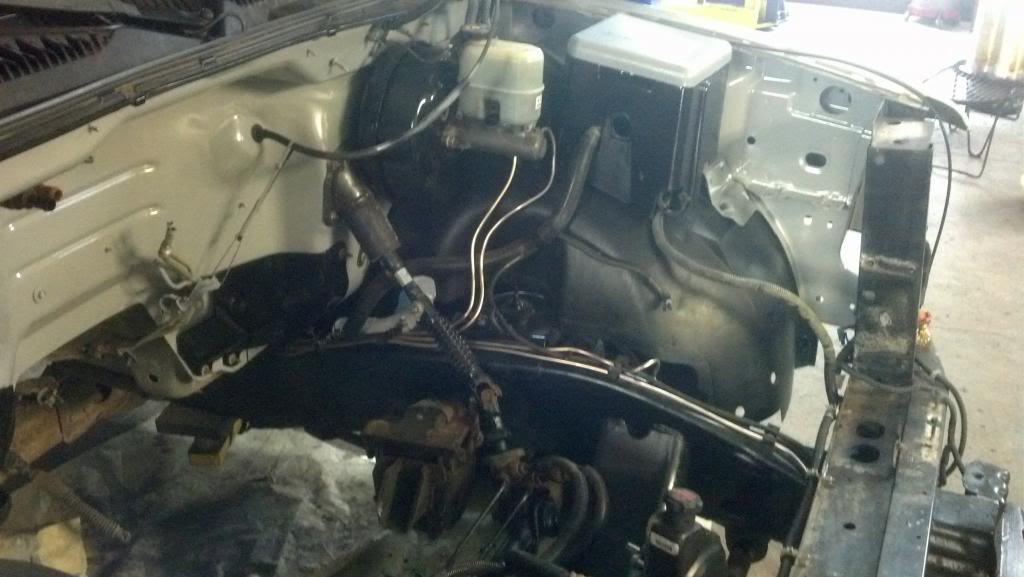
After our stupid busy work day today I broke out the wire wheel and grinder and started cleaning up the front frame rails/engine bay rails.
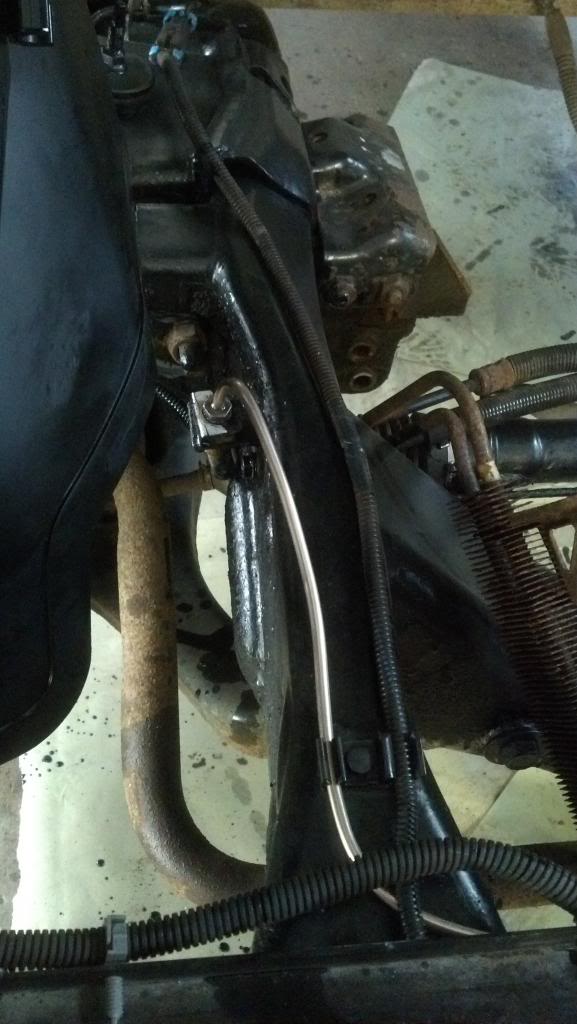
All the brake lines in the truck will be getting pulled off and replaced with all new 1/4 Bronze-lite line and new fittings, VT hasn't been kind to the drivers side front line or the rear line post ABS unit. Once that's done I'll finish cleaning up this drivers side.
I put away the wire brush and grinder and got out some "rough" scotchbrite pads and started sanding the insides of the fenders and the firewall.


I'm still debating what color to paint the inner fenders and firewall. I'm torn between either black or the East Coast Grey. I was thinking the ECG would look good especially with the black fender liners and black brake booster and all the black wiring, but then again I don't want it too be TOO grey in there. Also don't want it TOO black/dark. Thoughts/opinions on which color to go with would be appreciated!
I decided to paint most bracketry/small stuff what the drift world calls "East Coast Grey". It kind of looks like a shiny primer *shrug*. Makes for a clean, simple look and contrasts really well with black and darker colors/areas like engine bays.
After our stupid busy work day today I broke out the wire wheel and grinder and started cleaning up the front frame rails/engine bay rails.
All the brake lines in the truck will be getting pulled off and replaced with all new 1/4 Bronze-lite line and new fittings, VT hasn't been kind to the drivers side front line or the rear line post ABS unit. Once that's done I'll finish cleaning up this drivers side.
I put away the wire brush and grinder and got out some "rough" scotchbrite pads and started sanding the insides of the fenders and the firewall.
I'm still debating what color to paint the inner fenders and firewall. I'm torn between either black or the East Coast Grey. I was thinking the ECG would look good especially with the black fender liners and black brake booster and all the black wiring, but then again I don't want it too be TOO grey in there. Also don't want it TOO black/dark. Thoughts/opinions on which color to go with would be appreciated!
10-30-2012, 03:48 PM
#5
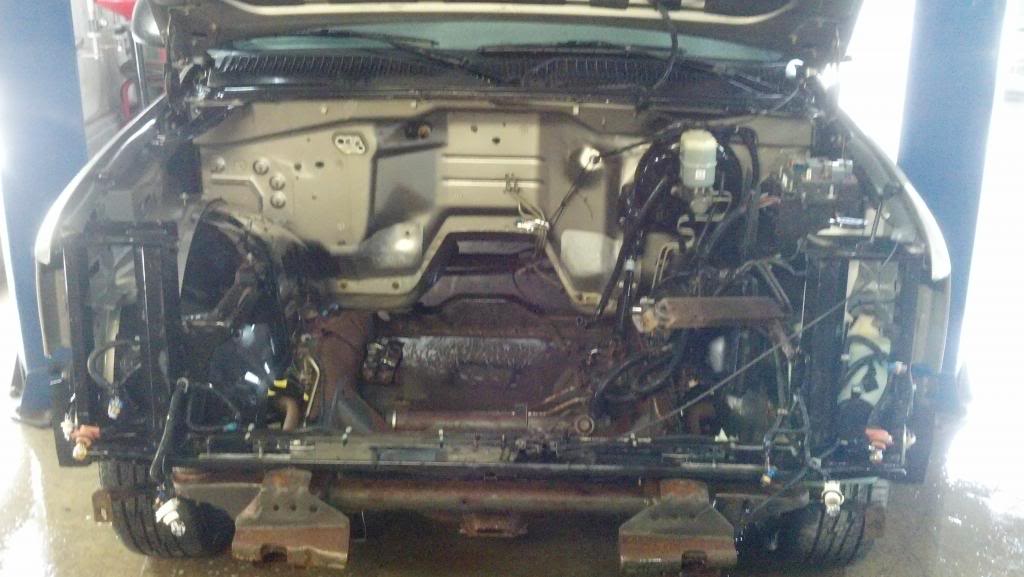
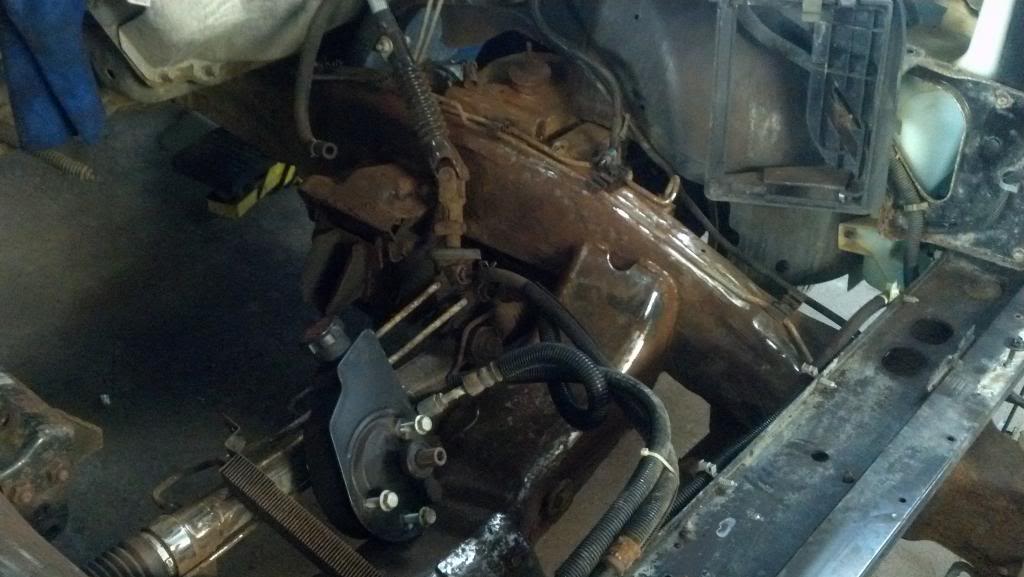
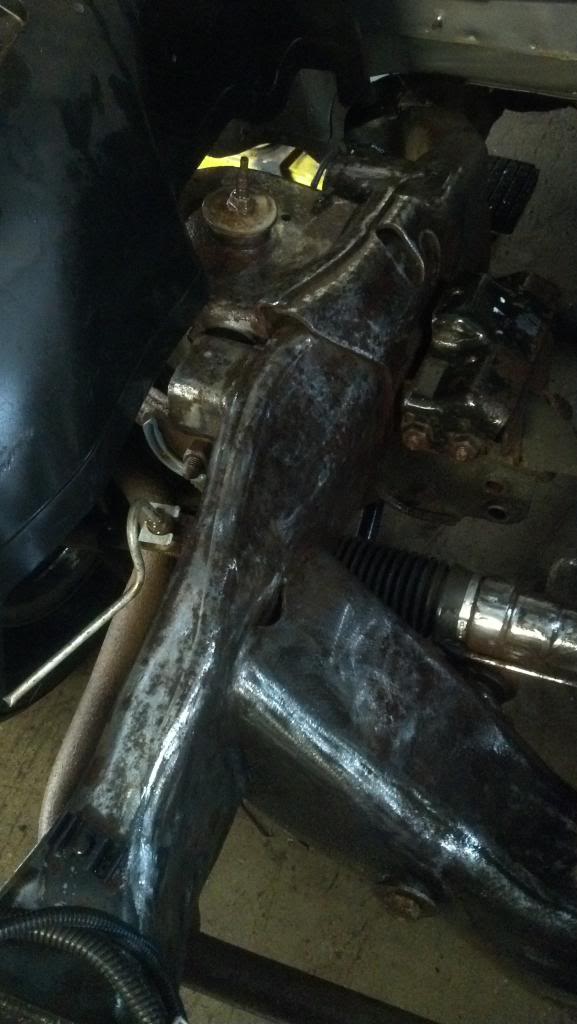
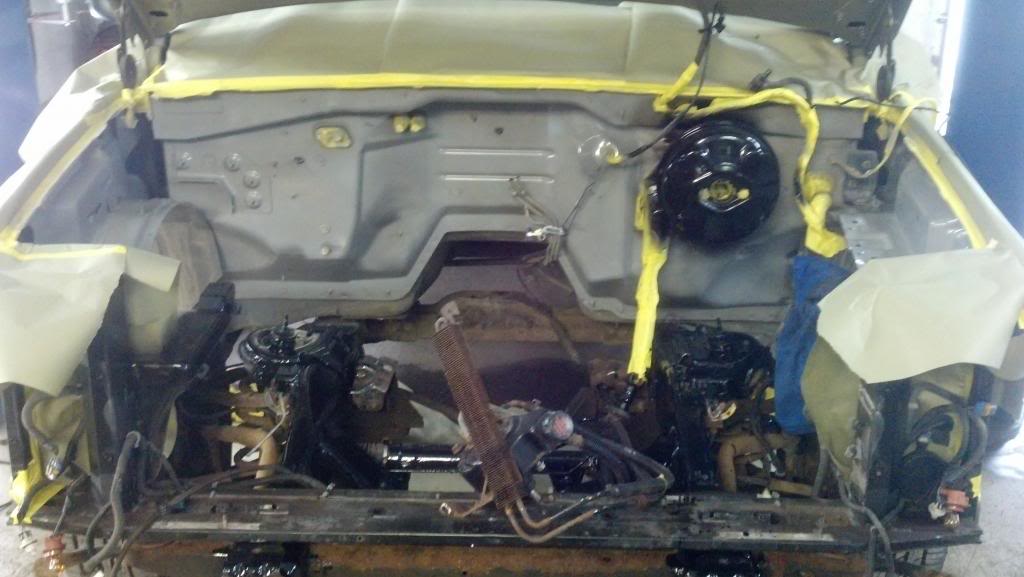
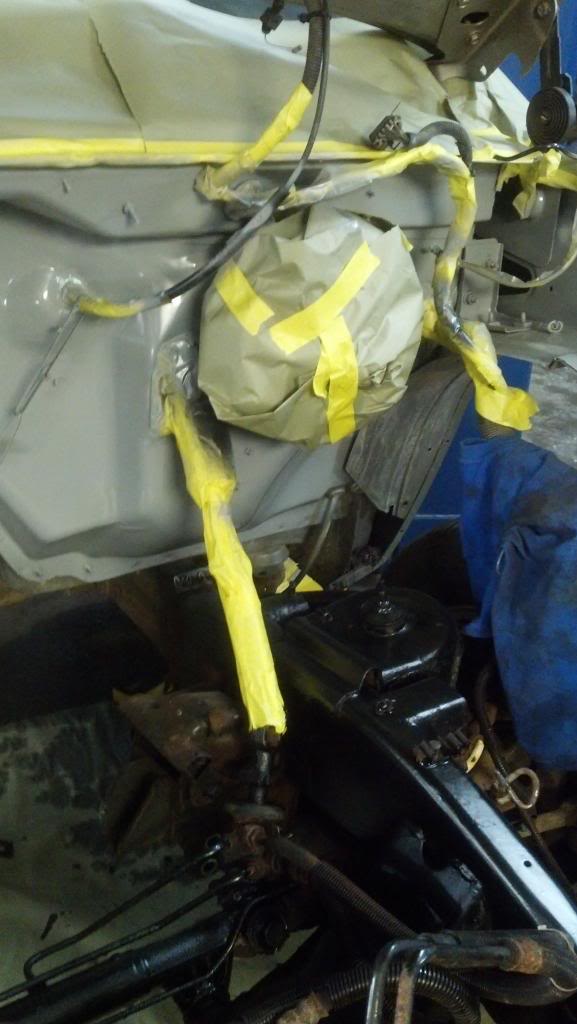
Just a heads up to you...
In the very last picture that shows the coolant quick disconnects going to the firewall, you WILL want to replace the one on the right (white). On BOTH of my silverados this piece has corroded and dumped coolant everywhere! And by the looks of how yours is changing color from white to almost brown, tells me its time to swap that out.
Just a heads up! Gonna be a great build you got going on here when all said and done!
10-30-2012, 08:07 PM
#6
Good to know! Thanks for the heads up, I'll order one of those up tomorrow!
Ordered up my EV1 injector pigtails today. Also after a little digging around online last night I came across this "Evapo-Rust" and decided to track some down today and give it a shot. Supposedly removes corrosion and rust and leaves a "like new" metal underneath, washes off with a hose, non corrosive/acidic, blahdy blah.
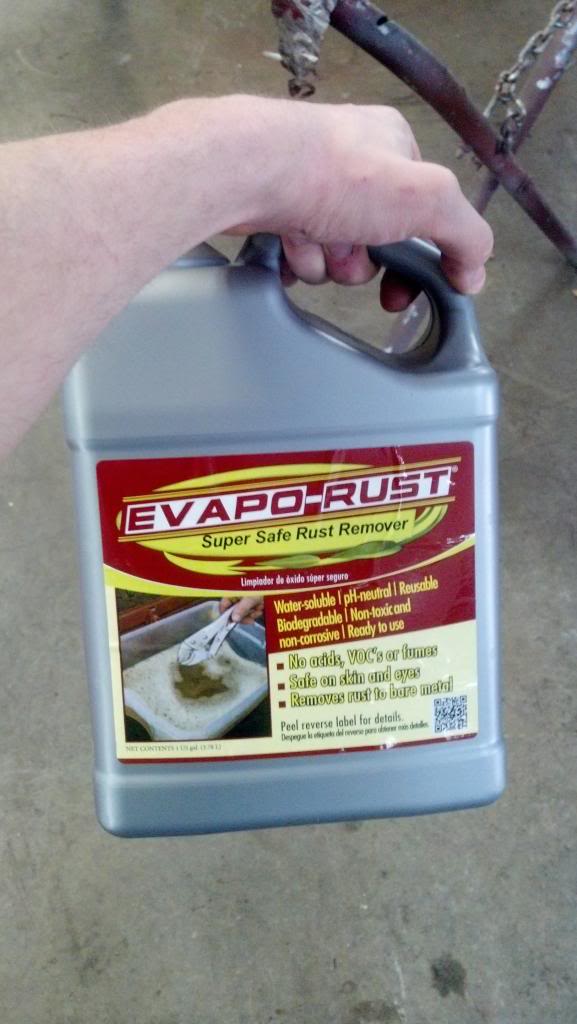
The instructions said for small parts, to let them soak in a bath of Evapo-Rust, and for bigger areas to soak towels in Evapo-Rust and then let them sit on the rusted areas for 1-12hrs.
I decided to go with East Coast grey on the firewall and inner fenders and paint other parts black. I painted a few things and repainted some other stuff today as well.
Going back out to the shop in another hour or two to pull the towels off the rails and see how this stuff worked.
Ordered up my EV1 injector pigtails today. Also after a little digging around online last night I came across this "Evapo-Rust" and decided to track some down today and give it a shot. Supposedly removes corrosion and rust and leaves a "like new" metal underneath, washes off with a hose, non corrosive/acidic, blahdy blah.
The instructions said for small parts, to let them soak in a bath of Evapo-Rust, and for bigger areas to soak towels in Evapo-Rust and then let them sit on the rusted areas for 1-12hrs.
I decided to go with East Coast grey on the firewall and inner fenders and paint other parts black. I painted a few things and repainted some other stuff today as well.
Going back out to the shop in another hour or two to pull the towels off the rails and see how this stuff worked.

Trending Topics
 10-31-2012, 11:32 PM
#9
Evapo-Rust would work well for lightly rusted/surface rust things if you can let them sit in a tub of it over night as they advertise...the larger scale stuff where you have to soak rags and place them on the affected areas as per the instructions doesn't work incredibly well. The spots where I had already ground most of the flake off, it did indeed clean that up very well and leave the rails nice and shiny like new, other spots I hadn't touched yet not so much. Oh well, was worth a shot!
Post Evapo-Rusting
Today/Tonight I cleaned up the rest of the rails, got some more paint, got to taping everything off and went to painting!
Pulled the fender liners and started taping
First coat of paint on the firewall and brake booster, also first coat of "Chassis Saver" on the frame rails and what not

Booster masked off so I can finish the firewall, and the rails were mostly dry at this point
This Chassis Saver works really well, would definitely recommend it to anyone looking to clean up any sort of chassis parts on a build
All finished and a few things back in the bay
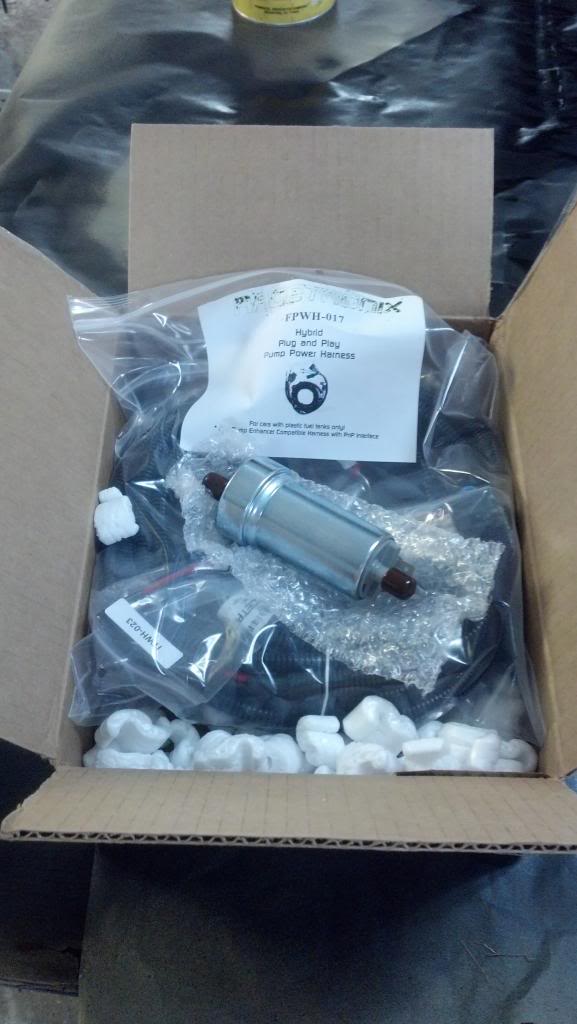
UPS brought a few boxes today, Racetronix package with the Walbro 400lph pump and the hotwire kit. I didn't realize at the time that I bought the Walbro pump only and it didn't include a sock or strainer as some say. So I spent a good 30min figuring out what sock to use/order and where to get it. Racetronix had it, it was $6.25, but you can't order online unless the order is over $10..so after adding four $1 hoseclamps to the order just to try and get it ordered they wanted $12.30 for shipping...lol@that. Did some more poking around online and found an Airtex sock that should work. Ordered via Summit for just under $15 shipped. So to anyone that makes the same mistake and needs a fuel sock for a Walbro 400lph, Airtex sock pn: ATX-FS158 should work. I'll know for sure when it gets here.
Extreme PSI box came with misc Tial flanges and the T4 turbo flange.
Summit box with 2.5" flex pipe and the 2" DJM drop shackles showed up as well.
LKQ also came just after lunch with the 5.3l dropout. It's super clean and came with everything I wanted except for the red power distribution box..but I saved the one from the V6 and will make that work so it's no biggie. I did however discover that the drivers side frame mount wont work on my truck...this motor was pulled from a 4wd truck and the 4wd frame mount is indeed different from a 2wd frame mount. So a call to the dealer with a 2wd V8 truck vin # (local dealer sucks and always needs a vin no matter what) will be made tomorrow lol.
Drivetrain is coming out of the 'Vert this weekend and the shell is getting delivered, GM Parts Direct order with clutch line and what not will be here Tuesday, hopefully mid week the motor/driveline will be in.
Does anyone know where the GM quick disconnect fitting is on the truck master-slave line? Example, on F-body's it's AT the slave/in the bellhousing...I've seen a few different pictures of truck setups, some have the fitting at the master, and others seem to have it like F-bodys...any insight on this??
Post Evapo-Rusting
Today/Tonight I cleaned up the rest of the rails, got some more paint, got to taping everything off and went to painting!
Pulled the fender liners and started taping
First coat of paint on the firewall and brake booster, also first coat of "Chassis Saver" on the frame rails and what not
Booster masked off so I can finish the firewall, and the rails were mostly dry at this point
This Chassis Saver works really well, would definitely recommend it to anyone looking to clean up any sort of chassis parts on a build
All finished and a few things back in the bay
UPS brought a few boxes today, Racetronix package with the Walbro 400lph pump and the hotwire kit. I didn't realize at the time that I bought the Walbro pump only and it didn't include a sock or strainer as some say. So I spent a good 30min figuring out what sock to use/order and where to get it. Racetronix had it, it was $6.25, but you can't order online unless the order is over $10..so after adding four $1 hoseclamps to the order just to try and get it ordered they wanted $12.30 for shipping...lol@that. Did some more poking around online and found an Airtex sock that should work. Ordered via Summit for just under $15 shipped. So to anyone that makes the same mistake and needs a fuel sock for a Walbro 400lph, Airtex sock pn: ATX-FS158 should work. I'll know for sure when it gets here.
Extreme PSI box came with misc Tial flanges and the T4 turbo flange.
Summit box with 2.5" flex pipe and the 2" DJM drop shackles showed up as well.
LKQ also came just after lunch with the 5.3l dropout. It's super clean and came with everything I wanted except for the red power distribution box..but I saved the one from the V6 and will make that work so it's no biggie. I did however discover that the drivers side frame mount wont work on my truck...this motor was pulled from a 4wd truck and the 4wd frame mount is indeed different from a 2wd frame mount. So a call to the dealer with a 2wd V8 truck vin # (local dealer sucks and always needs a vin no matter what) will be made tomorrow lol.
Drivetrain is coming out of the 'Vert this weekend and the shell is getting delivered, GM Parts Direct order with clutch line and what not will be here Tuesday, hopefully mid week the motor/driveline will be in.
Does anyone know where the GM quick disconnect fitting is on the truck master-slave line? Example, on F-body's it's AT the slave/in the bellhousing...I've seen a few different pictures of truck setups, some have the fitting at the master, and others seem to have it like F-bodys...any insight on this??
11-01-2012, 11:05 PM
#10
Not too much of an update today, got the brake lines from the master to the ABS unit and back up to the front two wheels done. I'll be doing the rear line when the bed is off to do the fuel pump and shackles.
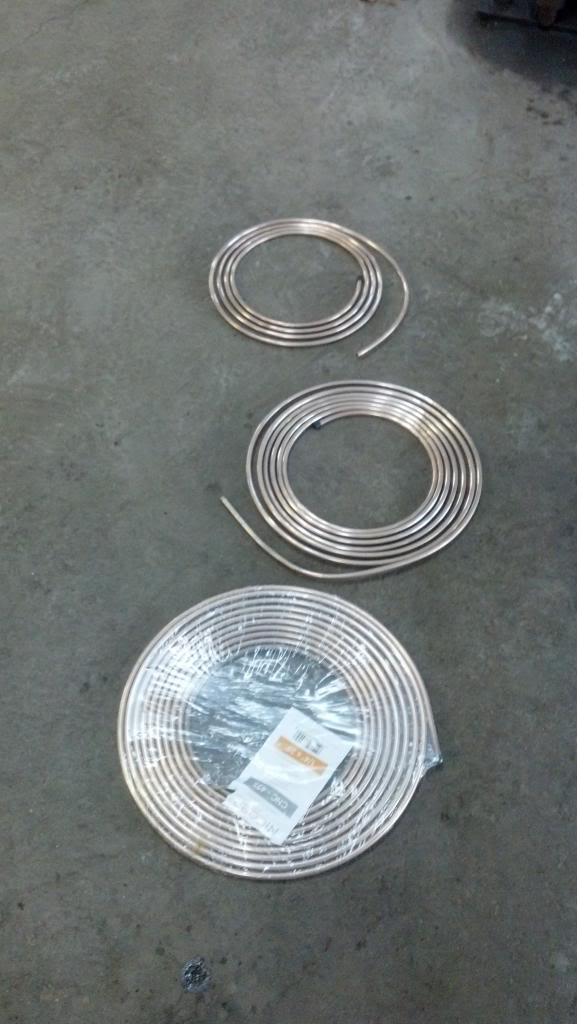
New 1/4" bronze-lite lines
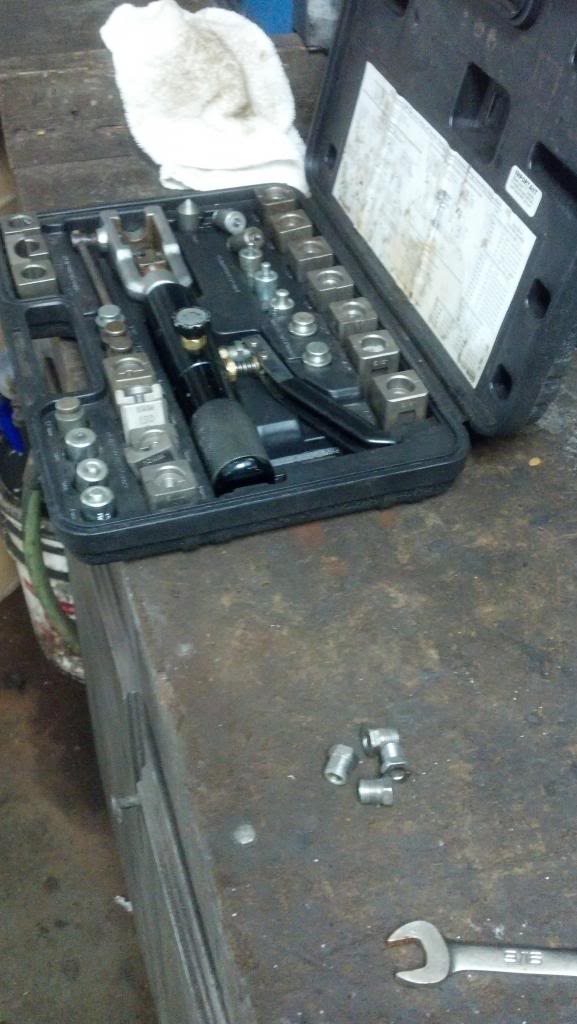
A couple fittings and the hydraulic flaring tool
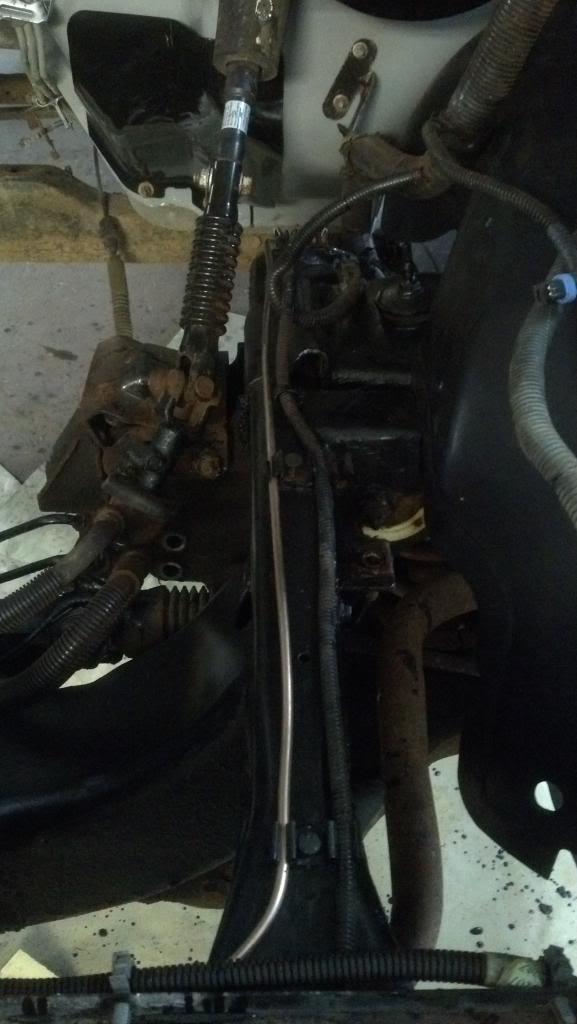
Passenger line
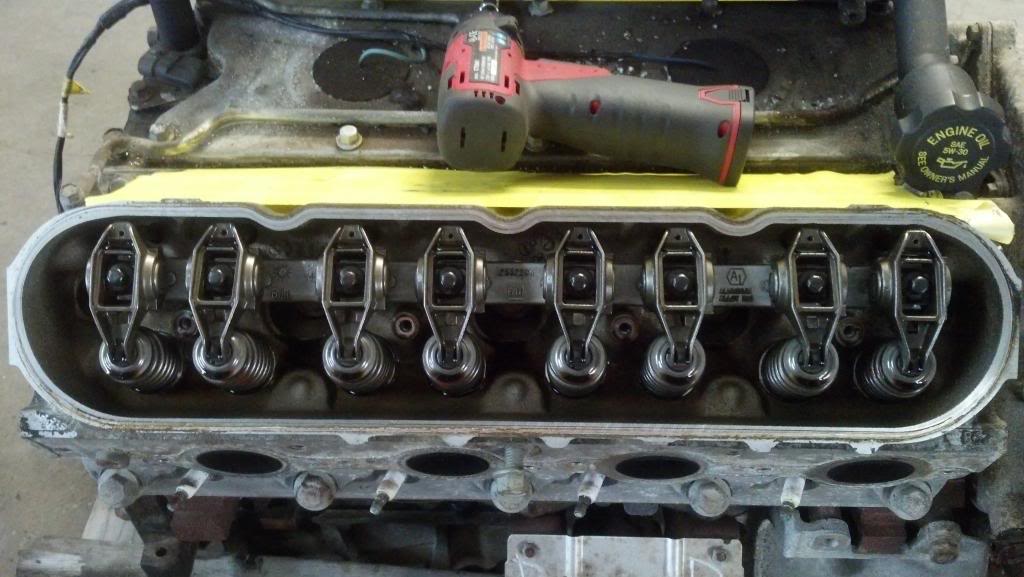
Got the 5.3l stripped down most of the way
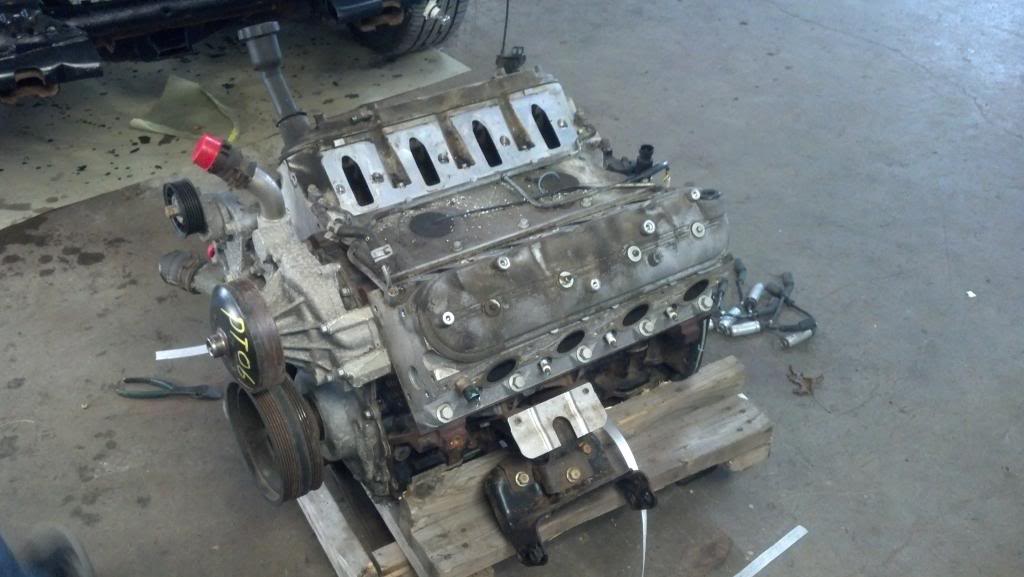
Not bad for 60k miles
Truck is going out tomorrow, 'Vert is coming in and I'll be stripping that out so I can drop it off to the new owner Sunday.
New 1/4" bronze-lite lines
A couple fittings and the hydraulic flaring tool
Passenger line
Got the 5.3l stripped down most of the way
Not bad for 60k miles
Truck is going out tomorrow, 'Vert is coming in and I'll be stripping that out so I can drop it off to the new owner Sunday.