
Some fabbing of my own, on the harley :D
 02-27-2011, 02:09 AM
#11
Staging Lane
iTrader: (6)

Join Date: May 2009
Location: Ohio
Posts: 64
Likes: 0
Received 0 Likes
on
0 Posts
I used to build bikes, and have done alot of modding to them.
I love the pipes on that bike. Good job.
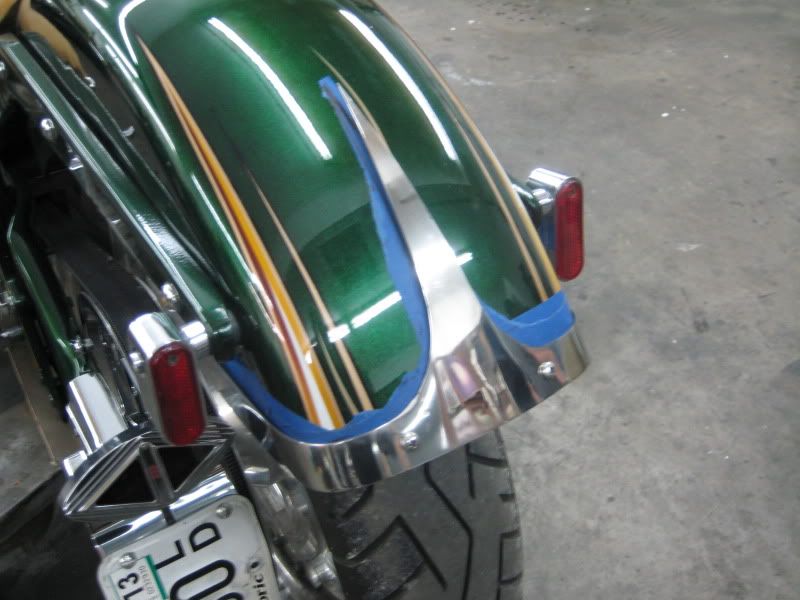
Can you rotate the rear fender so that the bottom is to the point where you want to cut it? I can't tell if it's stock or an aftermarket fender. All you might have to do is drill two holes for the struts on each side, one for the seat, and cut some off the inside where the splash guard and belt are.
This would allow you to keep the paint work on the fender which looks very nice.
I love the pipes on that bike. Good job.
Can you rotate the rear fender so that the bottom is to the point where you want to cut it? I can't tell if it's stock or an aftermarket fender. All you might have to do is drill two holes for the struts on each side, one for the seat, and cut some off the inside where the splash guard and belt are.
This would allow you to keep the paint work on the fender which looks very nice.


 jk awsome bike not to mention kick *** paint scheme
 02-27-2011, 12:25 PM
#14
Baltimore Whore
Thread Starter
iTrader: (95)

Join Date: Apr 2004
Location: In a van DOWN BY THE RIVER
Posts: 16,820
Likes: 0
Received 2 Likes
on
2 Posts
I used to build bikes, and have done alot of modding to them.
I love the pipes on that bike. Good job.
Can you rotate the rear fender so that the bottom is to the point where you want to cut it? I can't tell if it's stock or an aftermarket fender. All you might have to do is drill two holes for the struts on each side, one for the seat, and cut some off the inside where the splash guard and belt are.
This would allow you to keep the paint work on the fender which looks very nice.

Thanks all
 02-27-2011, 06:59 PM
#16
Baltimore Whore
Thread Starter
iTrader: (95)
Join Date: Apr 2004
Location: In a van DOWN BY THE RIVER
Posts: 16,820
Likes: 0
Received 2 Likes
on
2 Posts
Thanks.. 
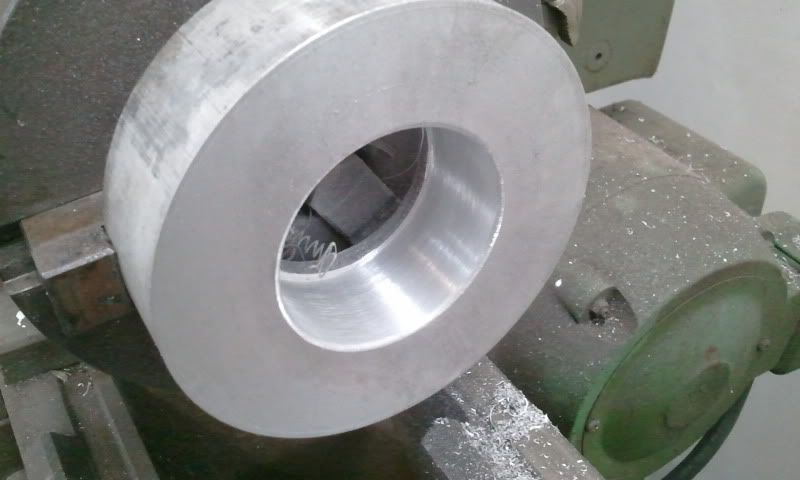
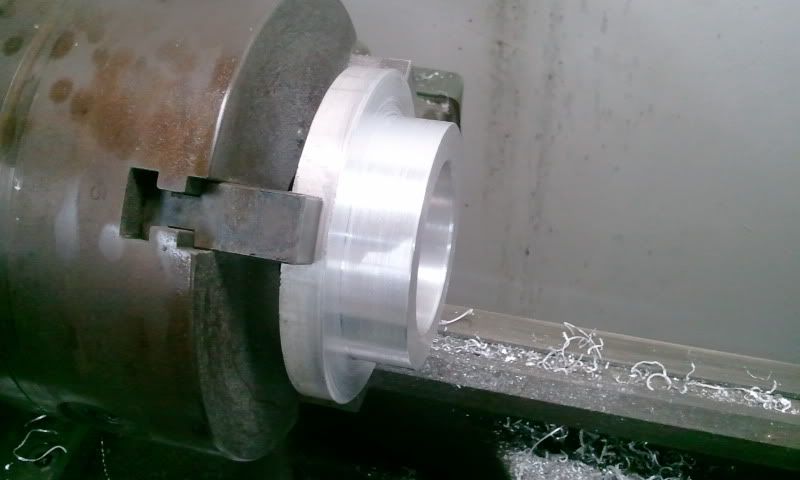
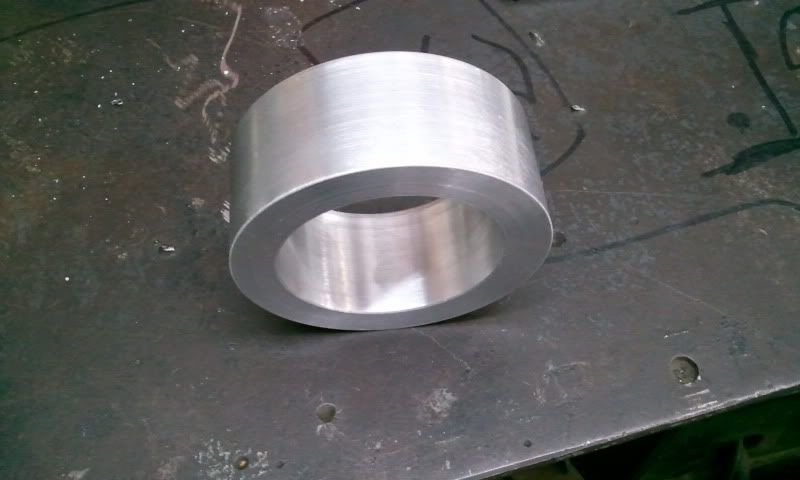
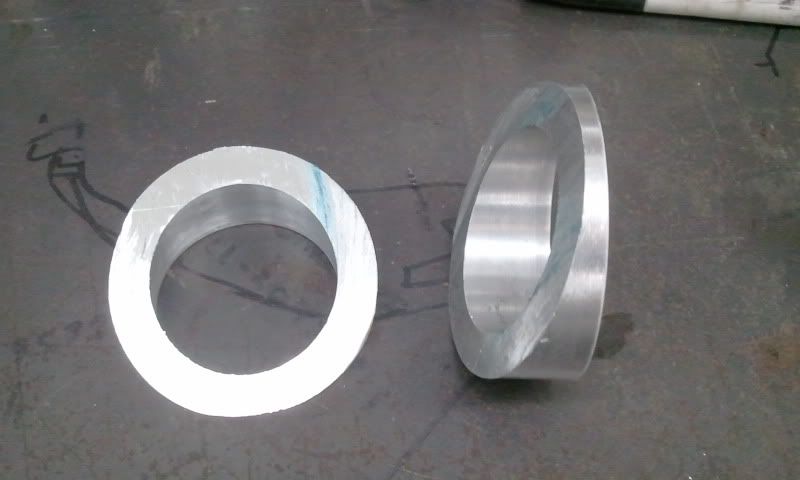
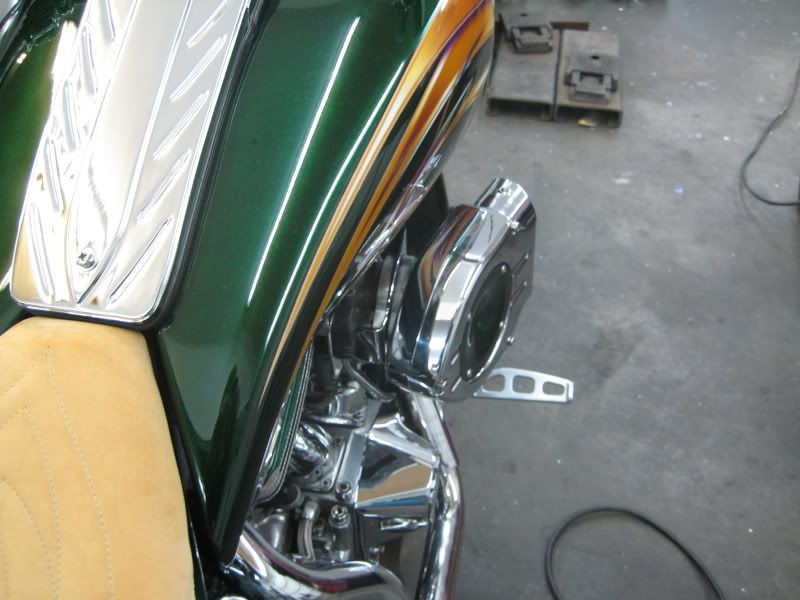
Here are some more pics of the metal working.. Dad is the man, much props to him.. Still a bit of work left. Going to incorporate some design that will keep the paint theme, so it just doesn't look like it was slapped on, however in it state it is a one off part..
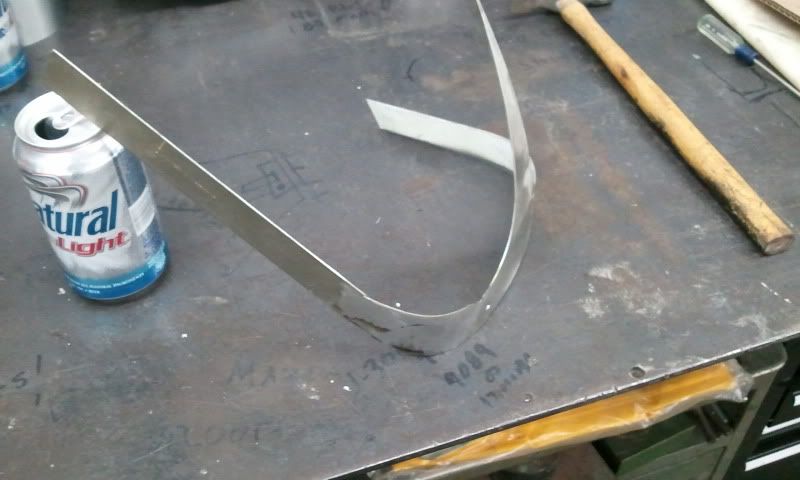

After the other part was welded, some light polishing.. This is a long process, metal has to be block sanded totally smooth, then buffed..
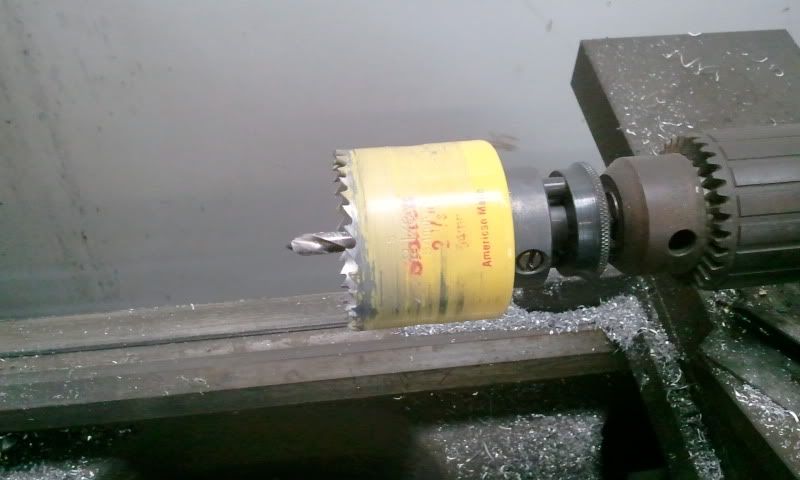
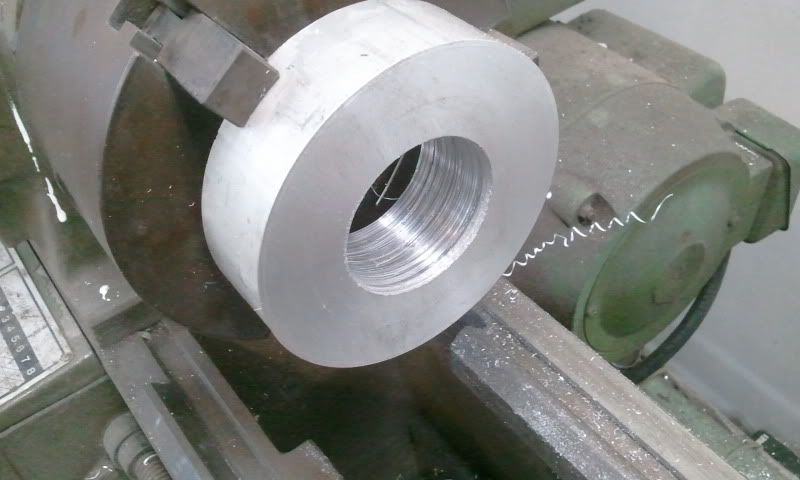
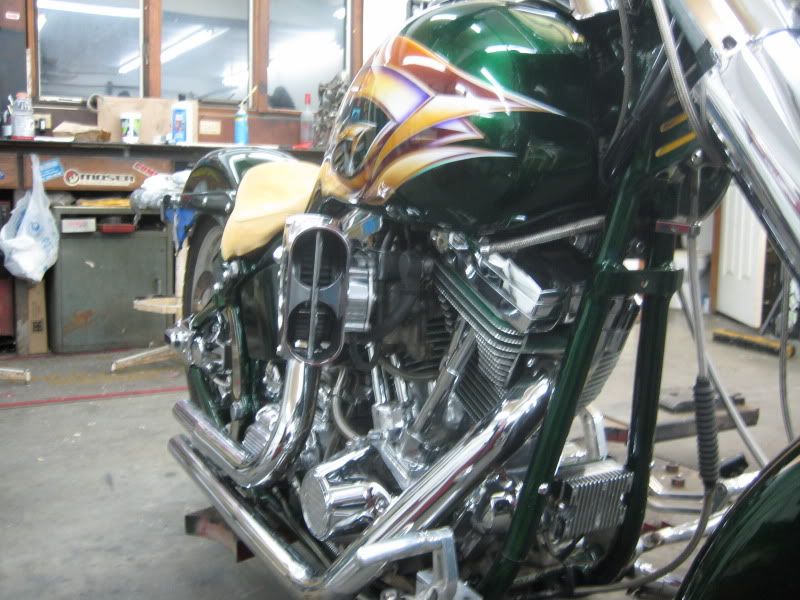
Ok so I added a lil more of a twist.. I am not a fan of the hyper charger. But after looking at what else is offered, I like it enough to keep it.. So I decided I was going to add a spacer to it, that not only spaced it out a 1'' but also kicked the front out in a angle.. So now it is out, keeps the same lines as the gas tank. Took a bit of time to machine this all down, drill holes, finesse the holes in the cover of the charger to all work. But it was well worth it, looks great.. Again another part that is 1 off.. I have never seen this done with this style cleaner, have never seen a spacer of this kind for these..

Here are some more pics of the metal working.. Dad is the man, much props to him.. Still a bit of work left. Going to incorporate some design that will keep the paint theme, so it just doesn't look like it was slapped on, however in it state it is a one off part..
After the other part was welded, some light polishing.. This is a long process, metal has to be block sanded totally smooth, then buffed..
Ok so I added a lil more of a twist.. I am not a fan of the hyper charger. But after looking at what else is offered, I like it enough to keep it.. So I decided I was going to add a spacer to it, that not only spaced it out a 1'' but also kicked the front out in a angle.. So now it is out, keeps the same lines as the gas tank. Took a bit of time to machine this all down, drill holes, finesse the holes in the cover of the charger to all work. But it was well worth it, looks great.. Again another part that is 1 off.. I have never seen this done with this style cleaner, have never seen a spacer of this kind for these..
Last edited by Mangled03gmc; 02-27-2011 at 07:21 PM.
02-27-2011, 09:35 PM
#17
TECH Fanatic
iTrader: (23)
Join Date: May 2006
Location: Ravenna, MI
Posts: 1,858
Likes: 0
Received 0 Likes
on
0 Posts
I dont think I've ever seen a project thread of yours without a can of Natty in at least one picture. 
Bike looks good!
for sure. When I see stock Harleys I dont like them but with a few things done some look awesome.
Bike looks good!
for sure. When I see stock Harleys I dont like them but with a few things done some look awesome.

 Never know. A 25 shot would be cool... Yah it worked great, but you have to turn the rpms down supper low, or it just chatters.. Thanks man