

5 Day Detail: Restoring a very hammered F350
 07-05-2011, 01:37 PM
#1
FormerVendor
Thread Starter

I wanted to take time to properly document this one b/c its gonna be dramatic. Over 250 pictures, bare with me as the site only allows for 20 per post 
Subject:
Exterior Diagnosis:
The Pictures:


more coming.
Subject:
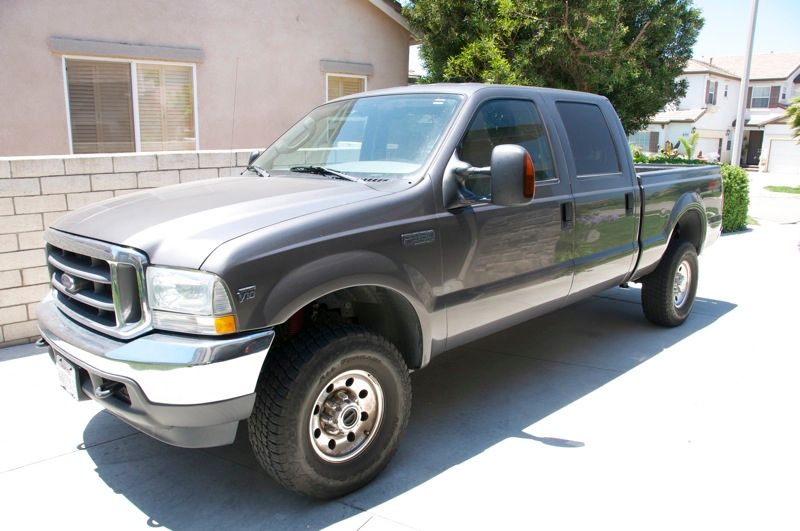
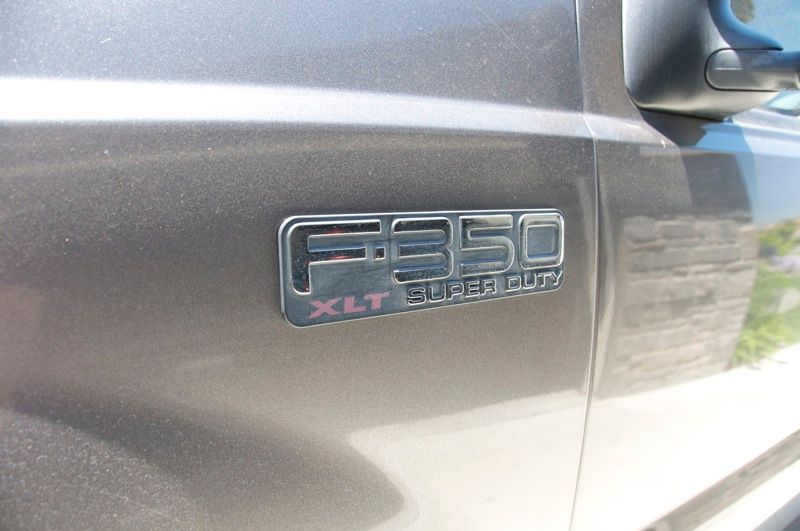
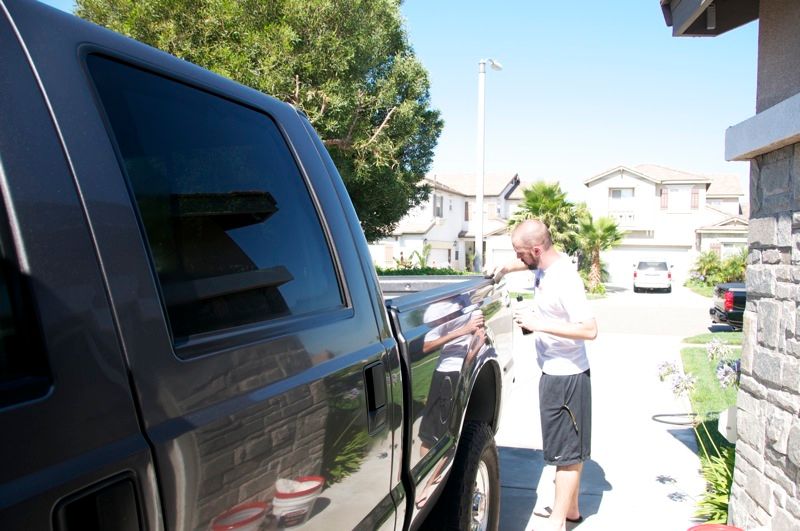
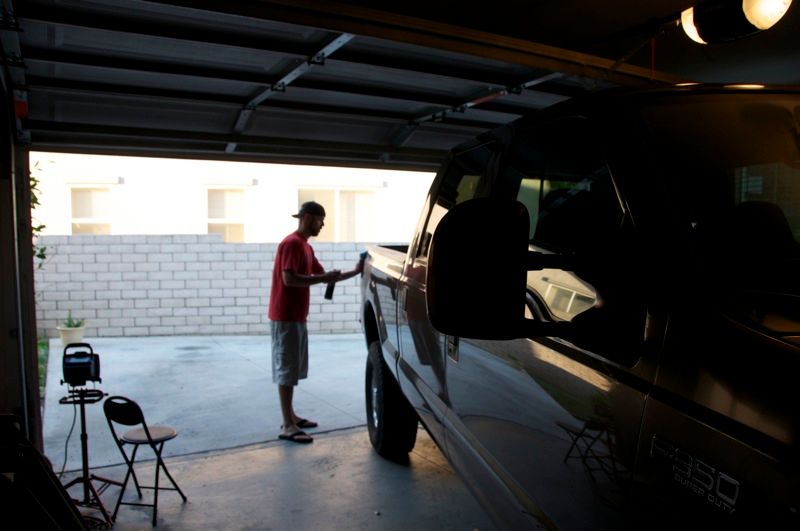
2001 Ford F350 belonging to my cousin Josh. This detail is actually a gift to him for his birthday from his wife.
Background: This truck has been only washed via automated car washes since new, spent every single day of its life outdoors, and has been waxed maybe a handful of times.
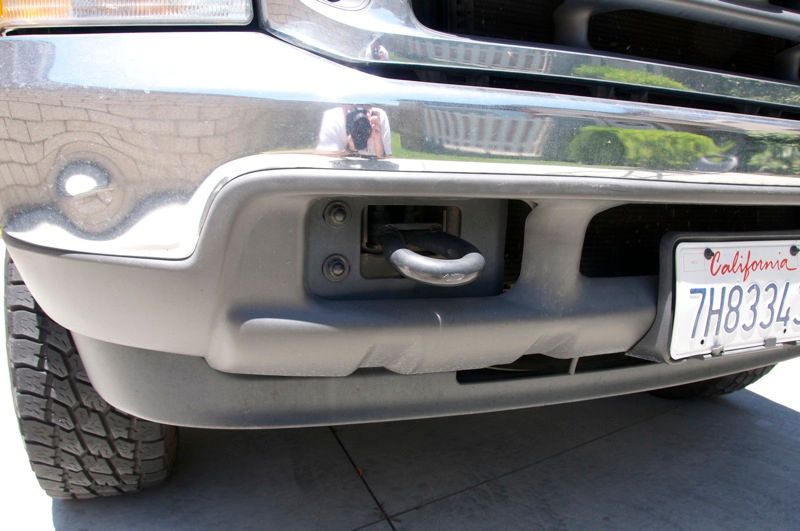
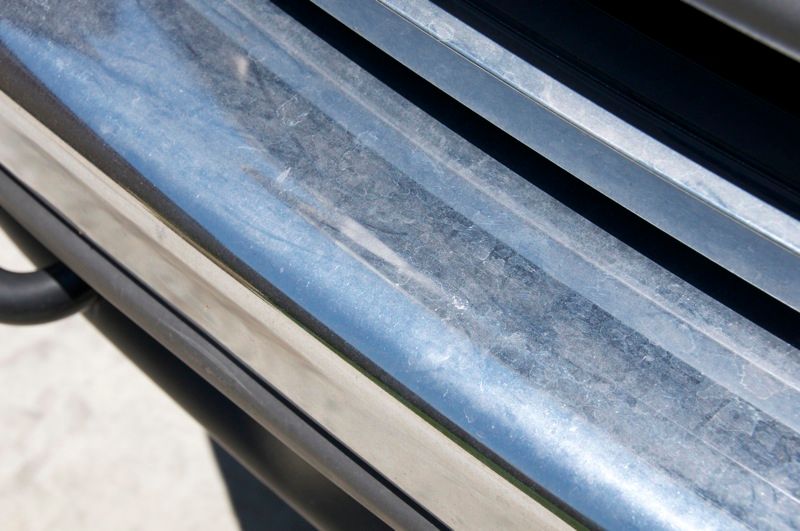
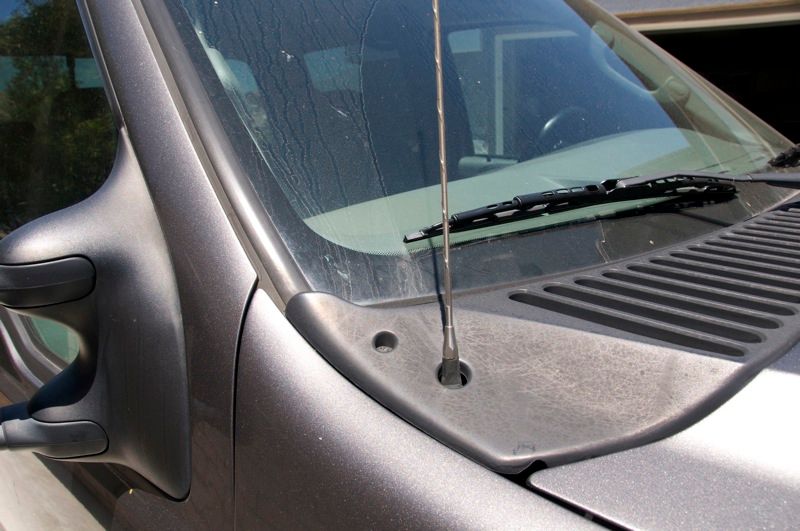
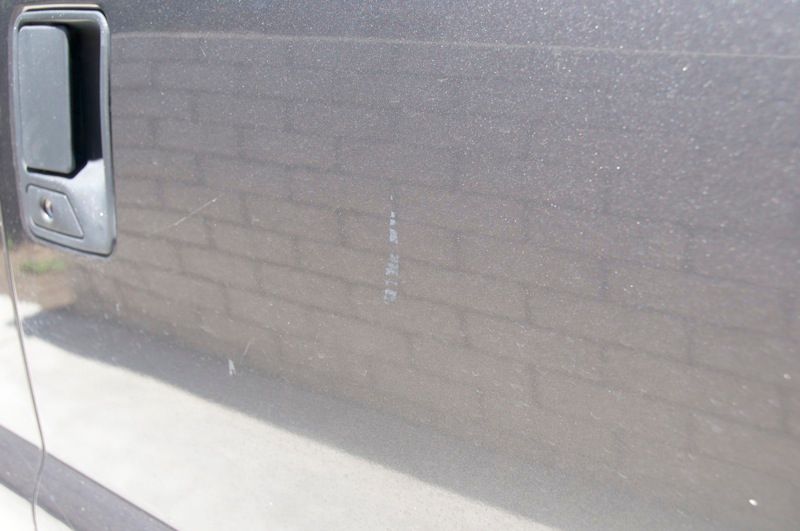
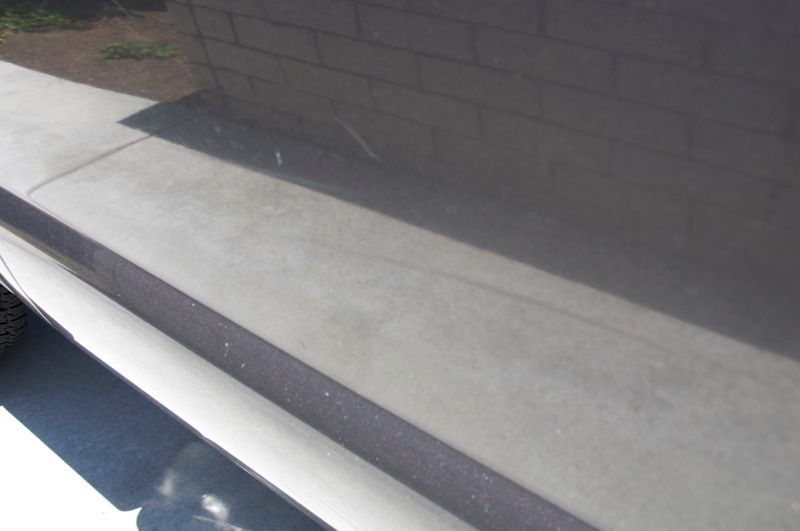
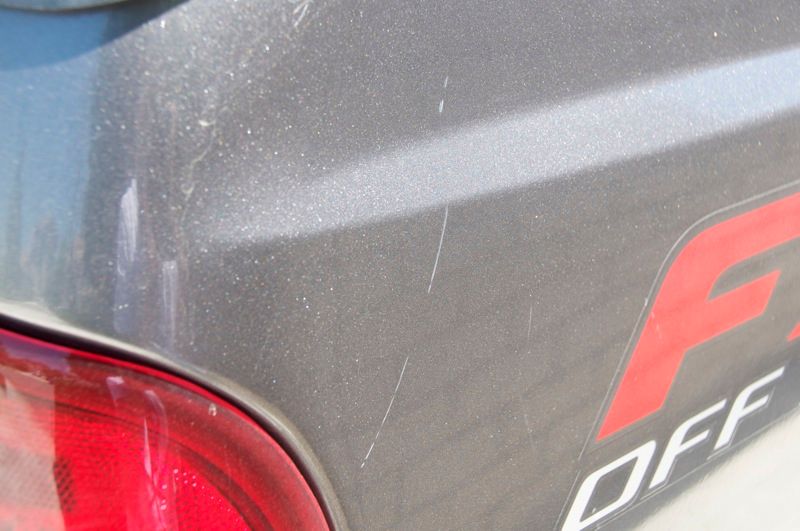
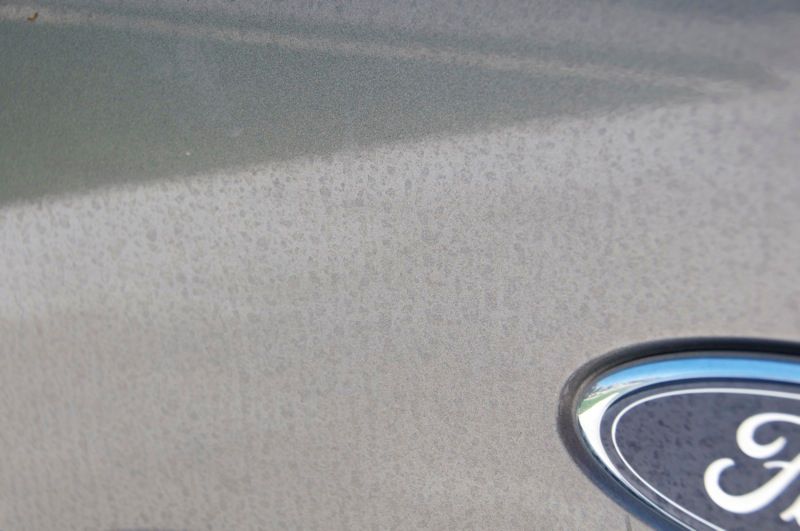
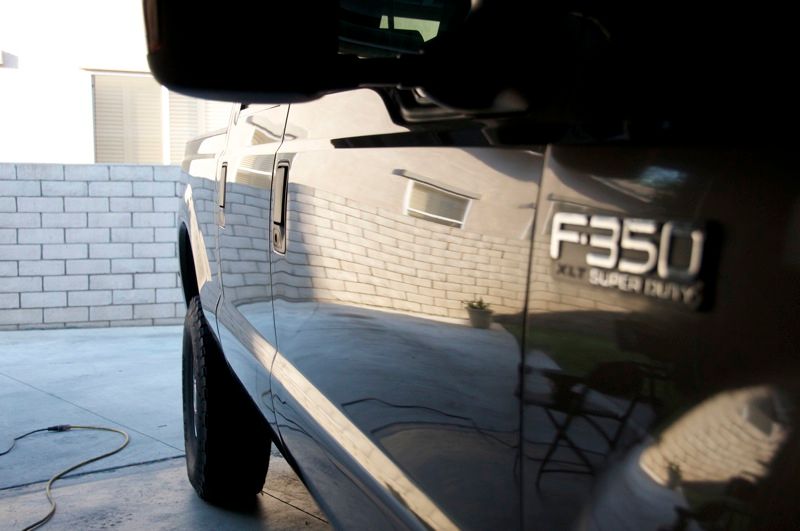
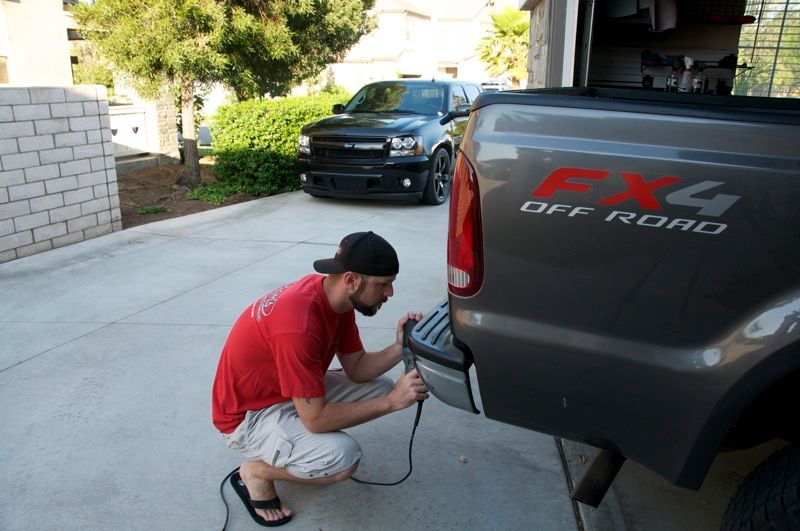
Almost every morning its treated to a spray from the sprinklers (note the SEVERE water spots on the rear bumper and lower panels.
Almost every morning its treated to a spray from the sprinklers (note the SEVERE water spots on the rear bumper and lower panels.
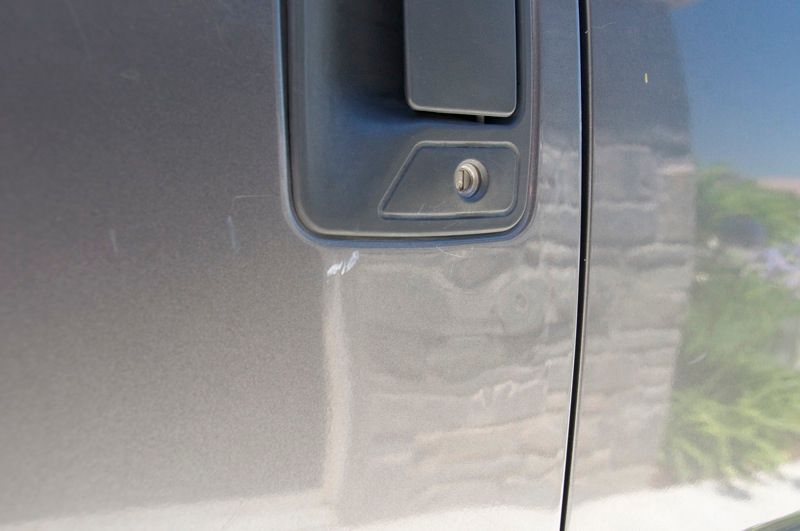
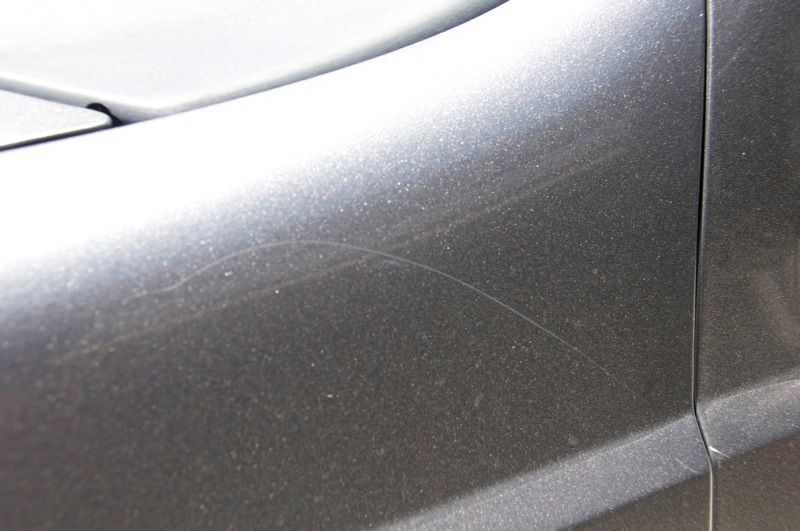
Exterior Diagnosis:
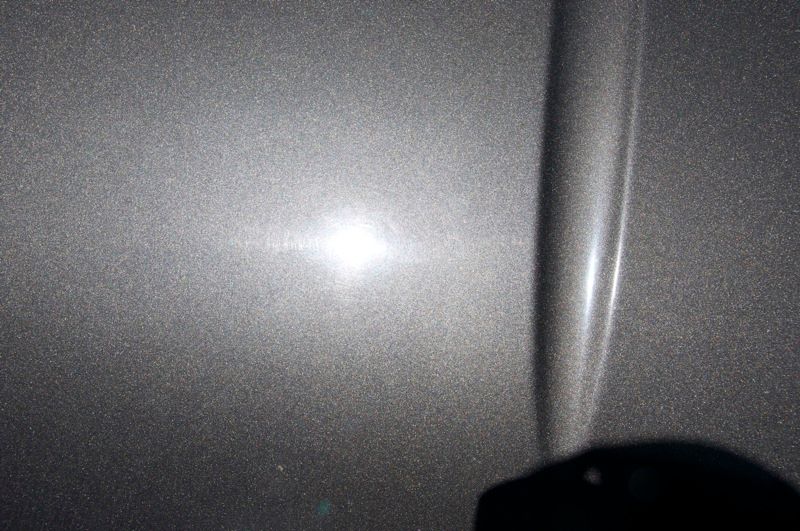
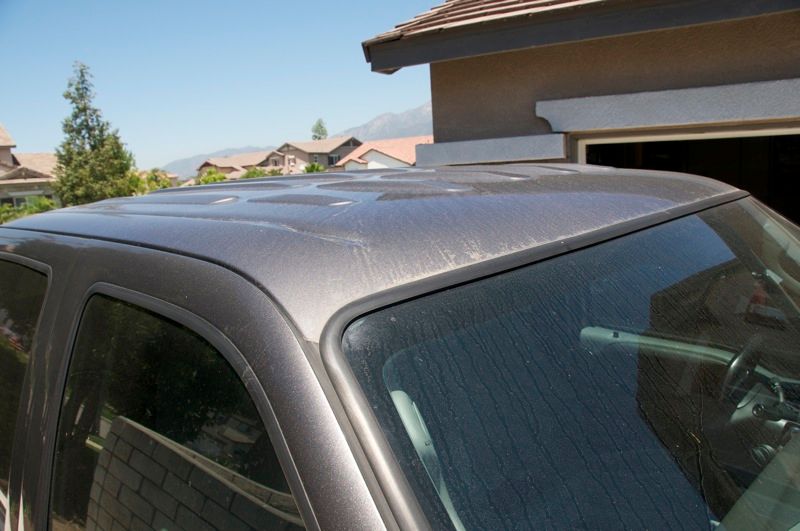
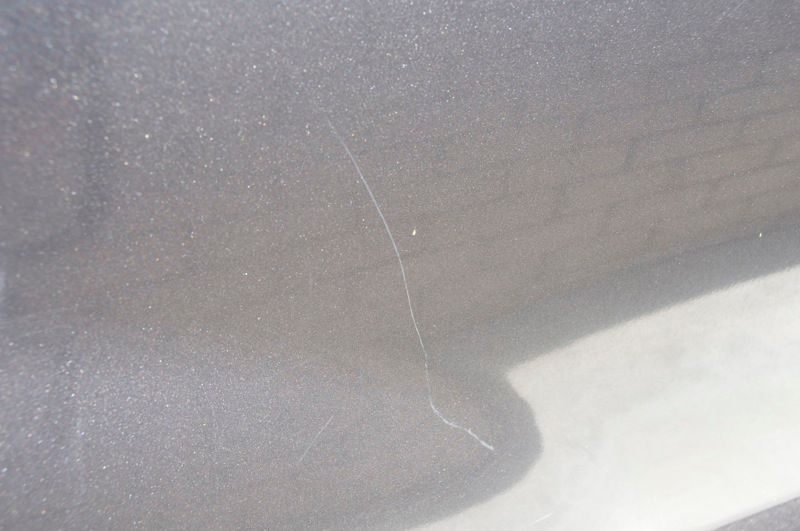
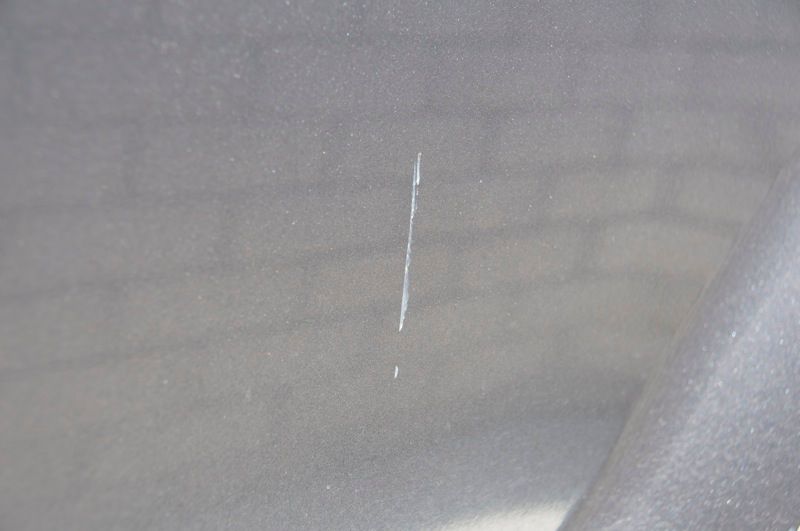
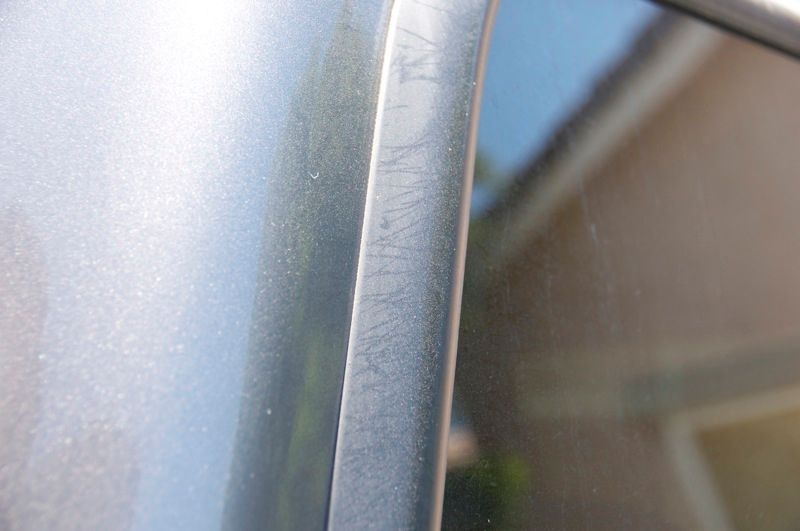
Even capturing the swirl marks on camera proved to be difficult as the paint is so dull and chalky most light looks more like a dull glow.
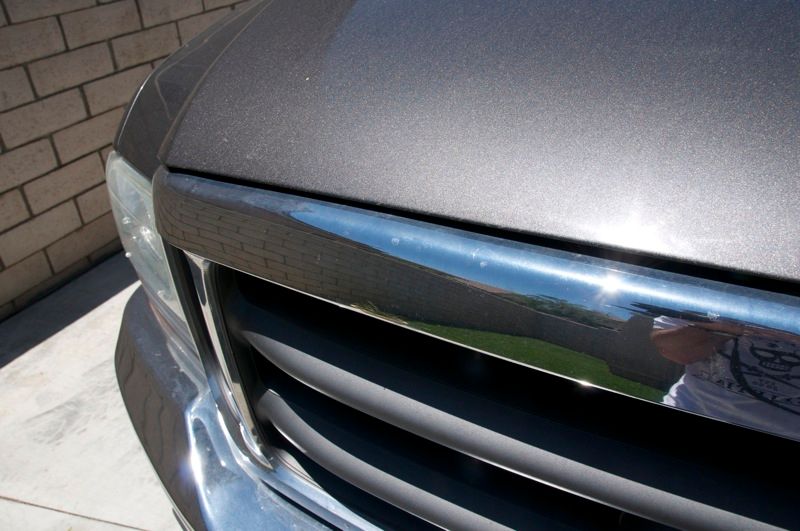
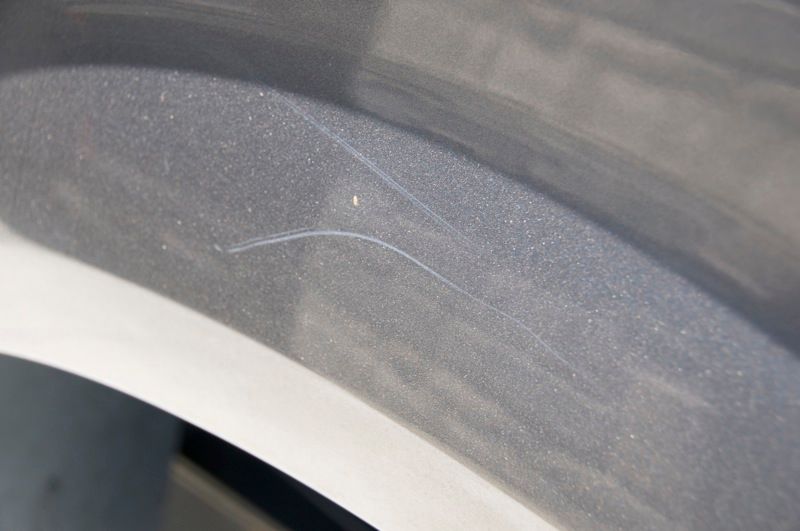
Numerous scuffs, scratches, and scrapes. If possible American PDR will be called in to address some of the smaller dents while I work (time permitting)
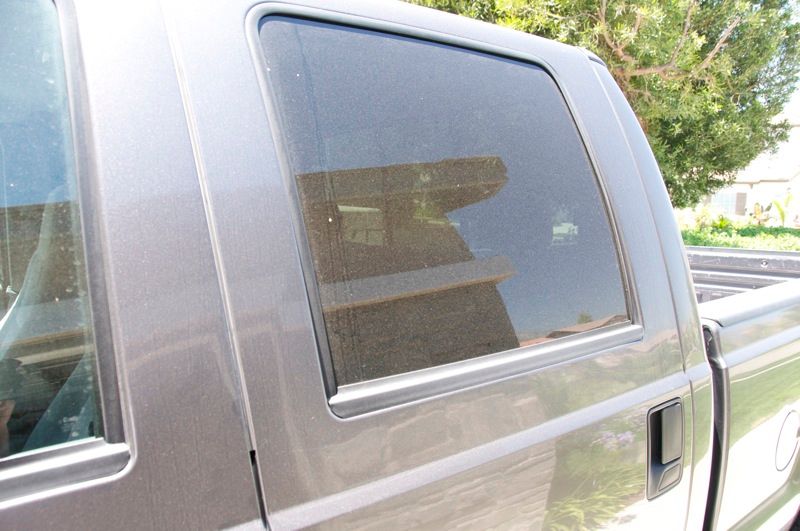
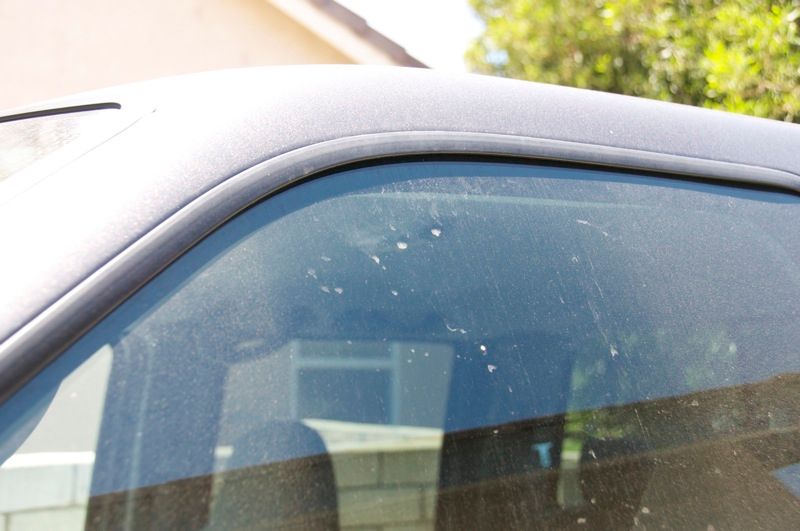
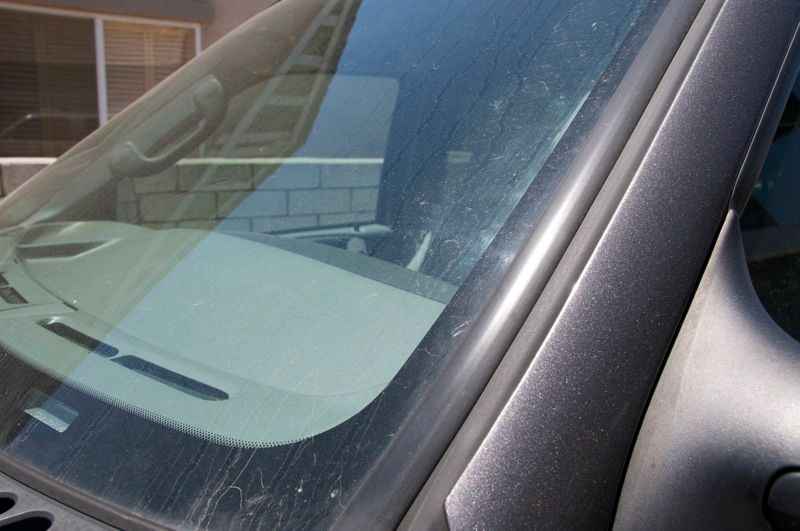
Glass all has very hard water spotting and potential etching.
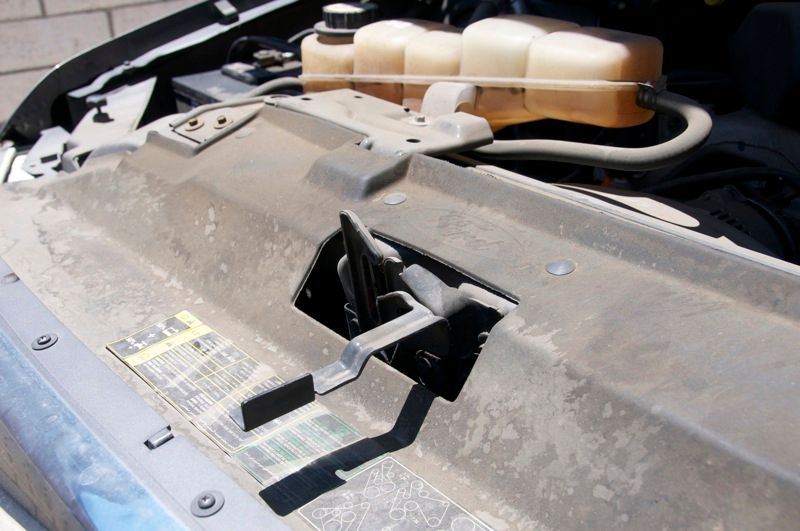
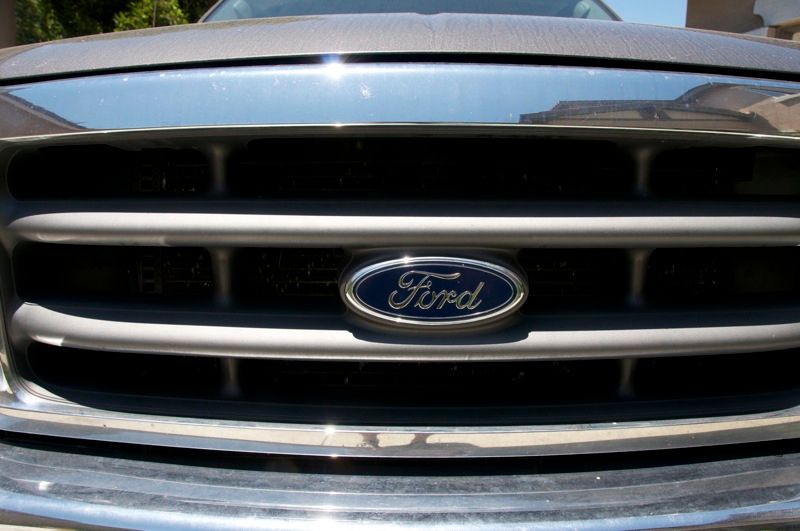
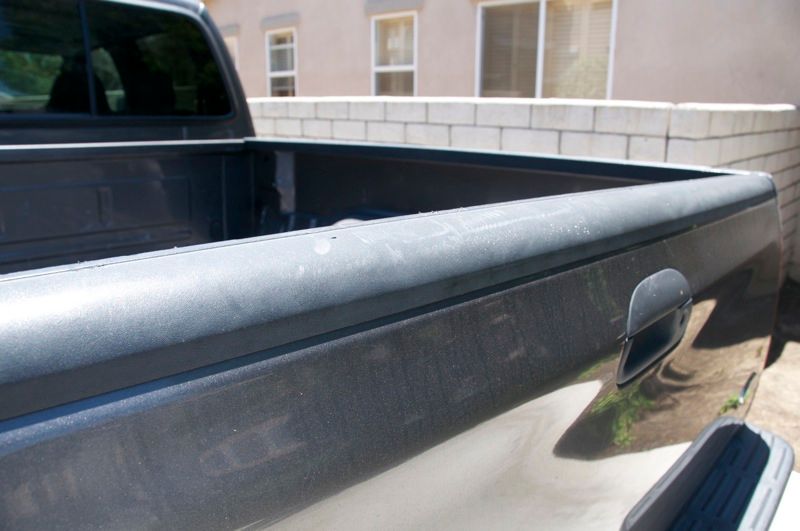
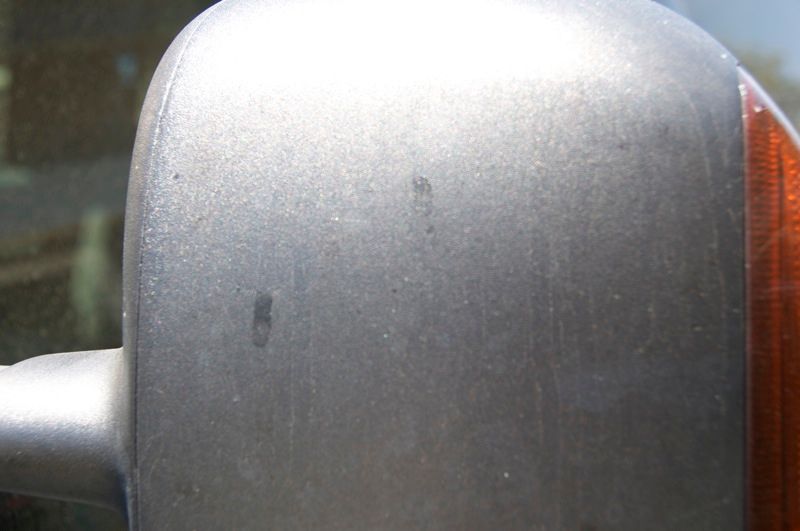
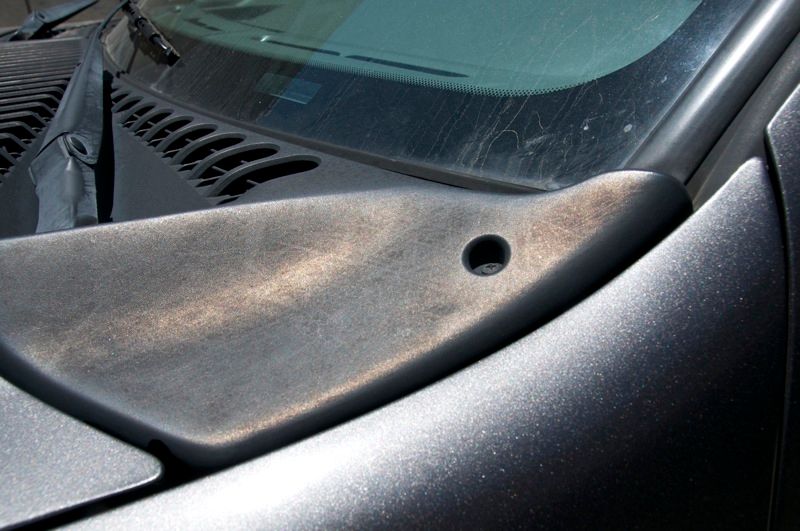
All exterior trim (door handles, mirrors, bed caps, grill, etc) are dry, faded, and chalky (as to be expected) and the engine bay is filthy.
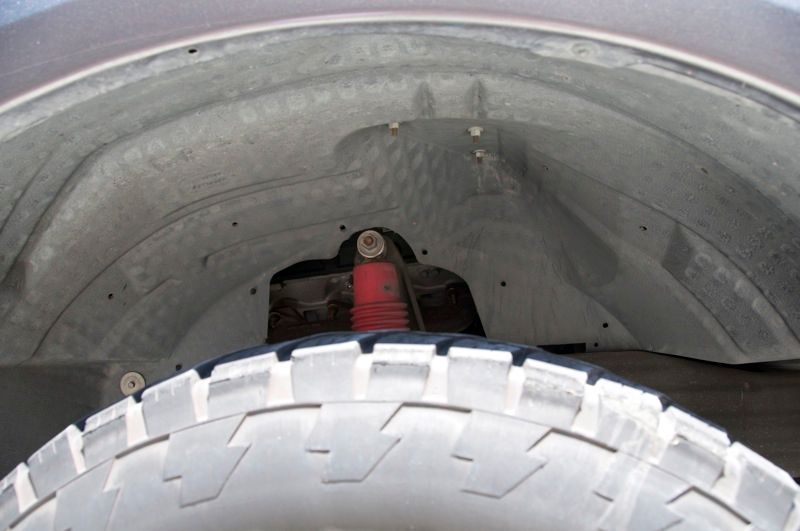
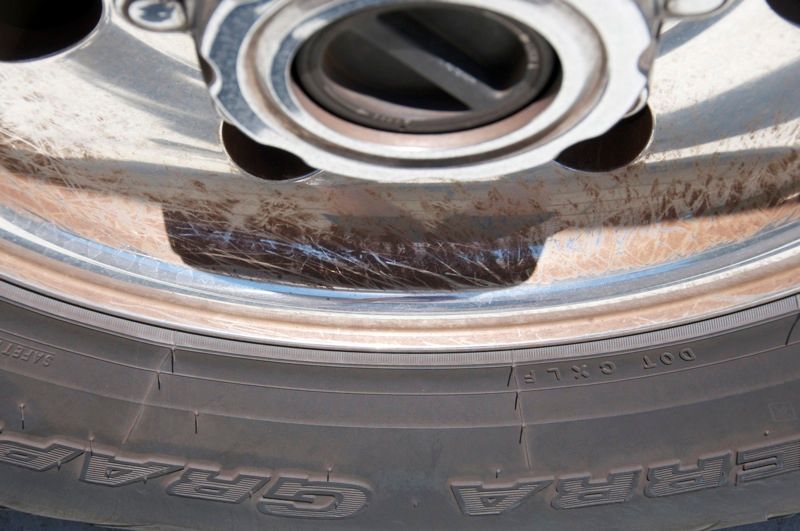
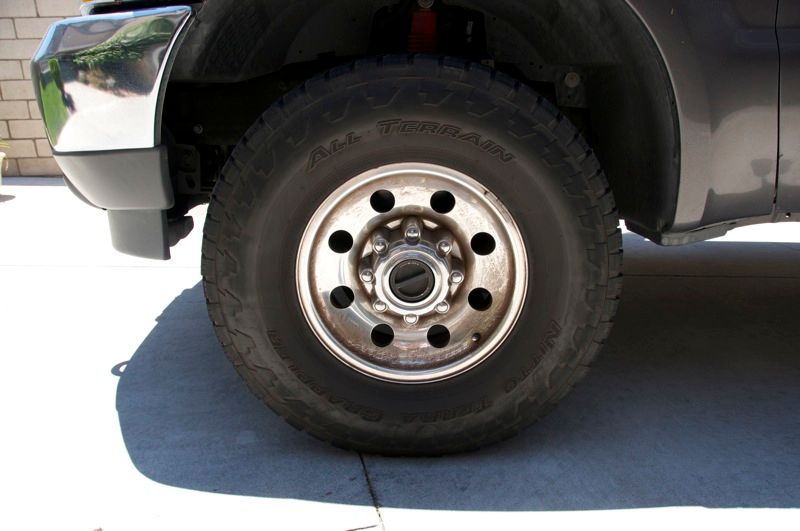
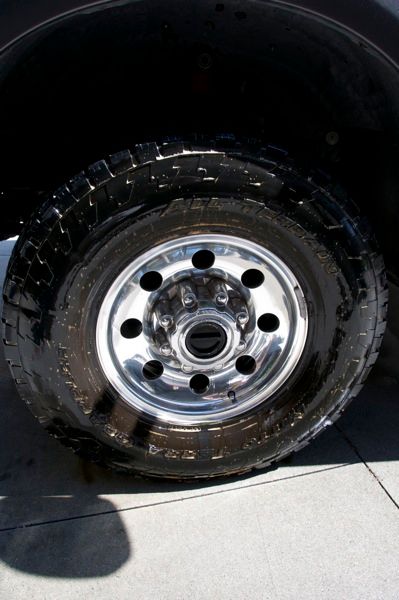
Wheels have brake dust that has actually begun to rust and appears to be fairly bonded to the aluminum. Undercarriage is dirty as to be expected.
Interior Diagnosis: Numerous scuffs, scratches, and scrapes. If possible American PDR will be called in to address some of the smaller dents while I work (time permitting)
Glass all has very hard water spotting and potential etching.
All exterior trim (door handles, mirrors, bed caps, grill, etc) are dry, faded, and chalky (as to be expected) and the engine bay is filthy.
Wheels have brake dust that has actually begun to rust and appears to be fairly bonded to the aluminum. Undercarriage is dirty as to be expected.
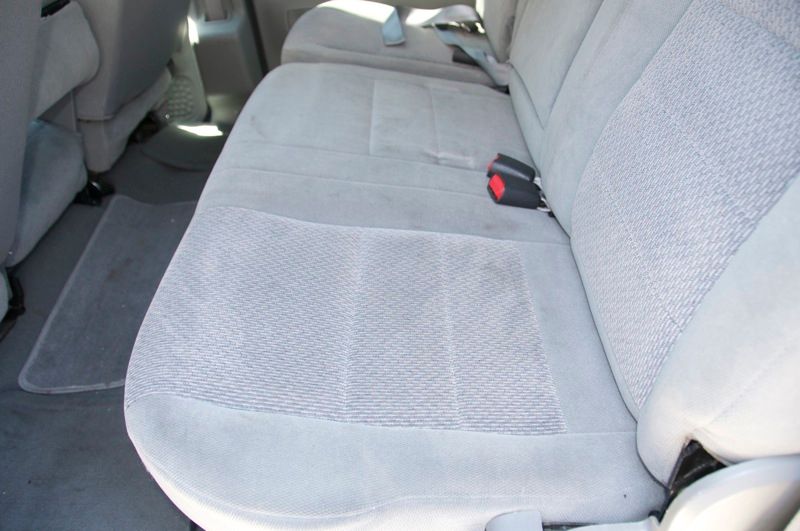
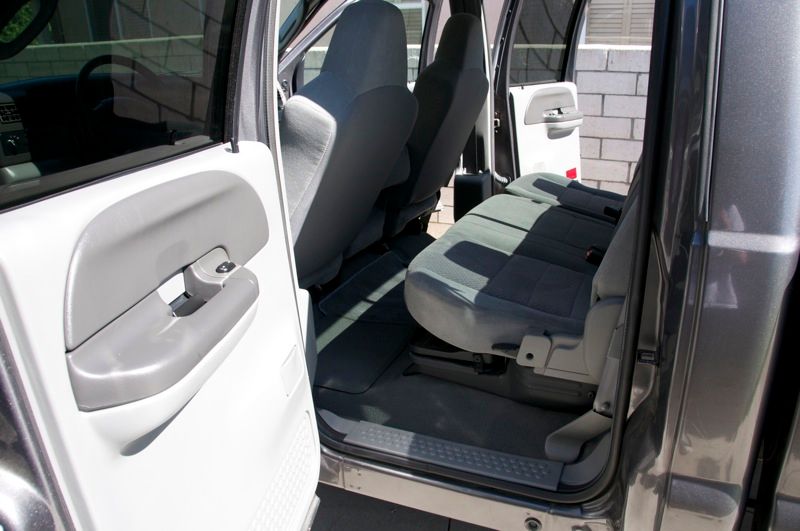
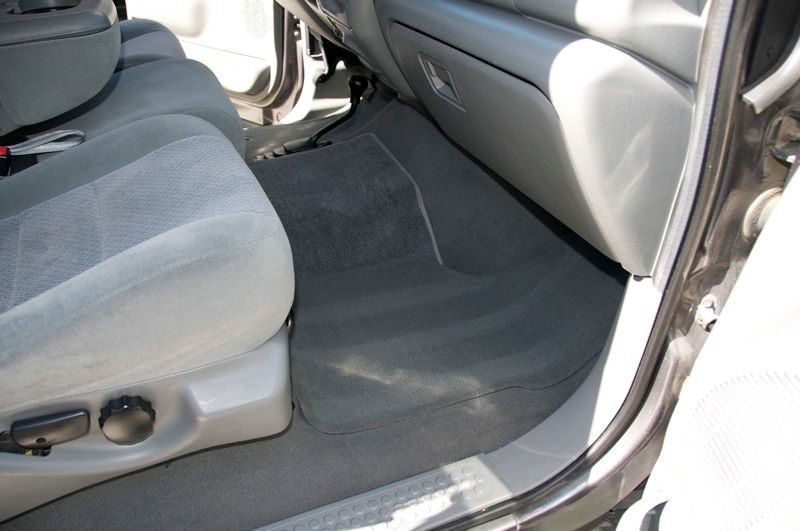
Not as bad as the exterior. Some uneven and blotchy sun faded panels, carpets are in overall good condition. Rear seat has what appears to be water stains.
The Pictures:
more coming.


 07-05-2011, 01:39 PM
#3
FormerVendor
Thread Starter


Interior will be tackled first then Friday thru Sunday will be spent on the exterior with the hopes of delivering the truck back to him when he joins us for the 4th of July.
Stay tuned... this is gonna be a good one!! :thumbsup:
DAY 1 - Thursday:
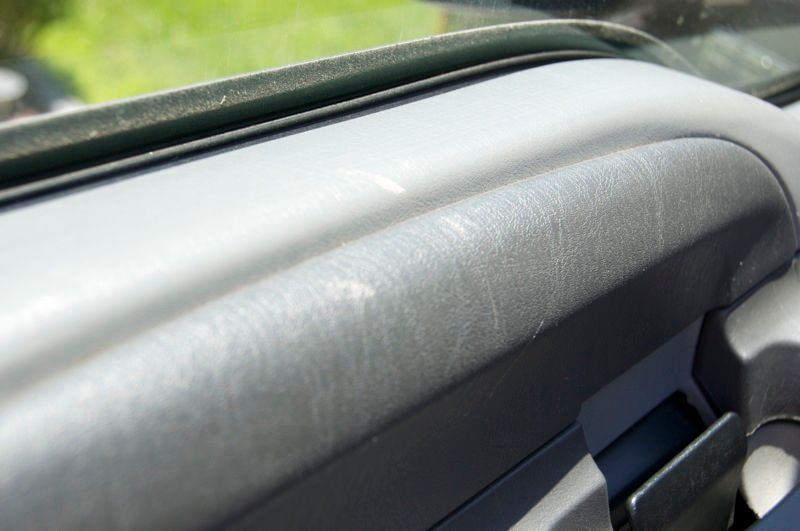
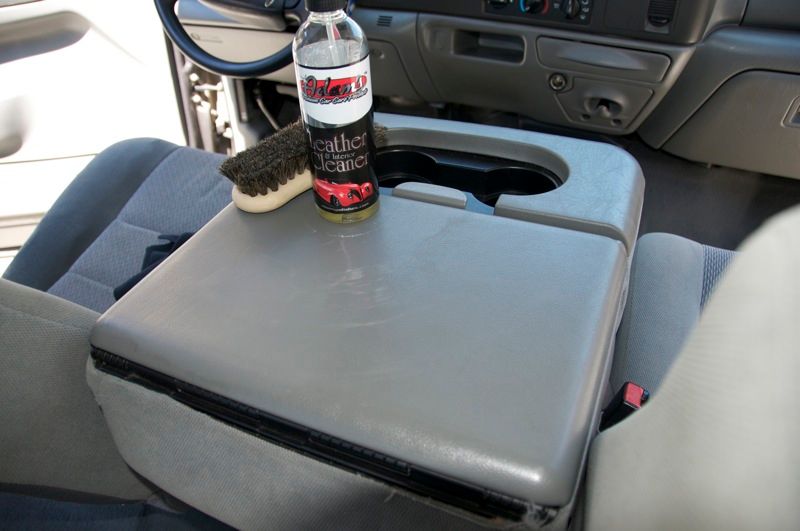
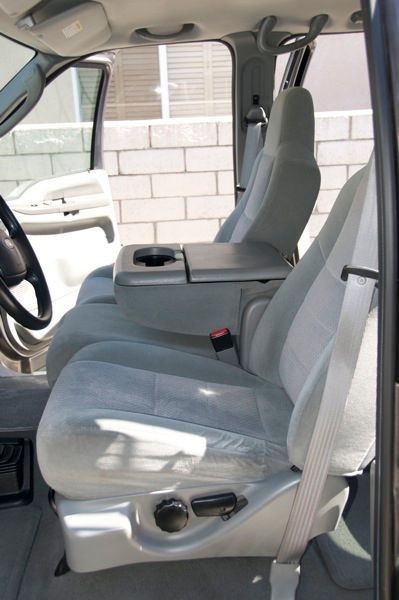
The interior wasn't bad, but due to the lack of care over the years the panels soaked up leather conditioner like nothing. They were just BONE dry, especially after cleaning. It took a couple liberal coats to get everything even.
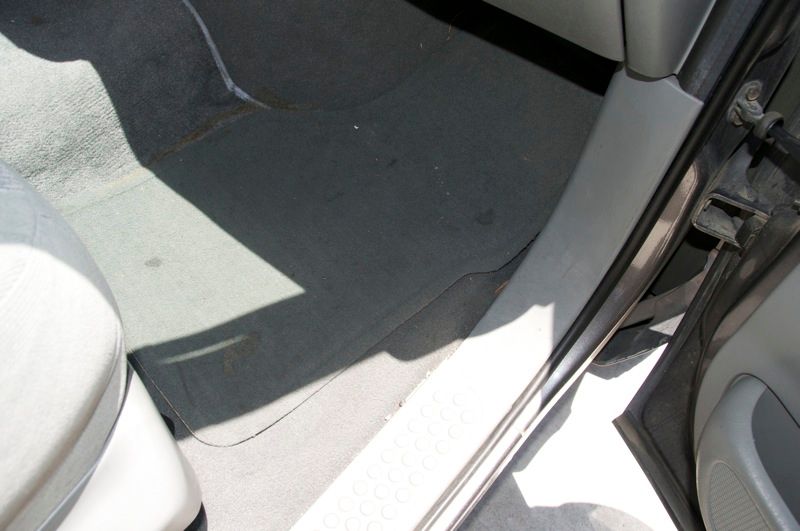
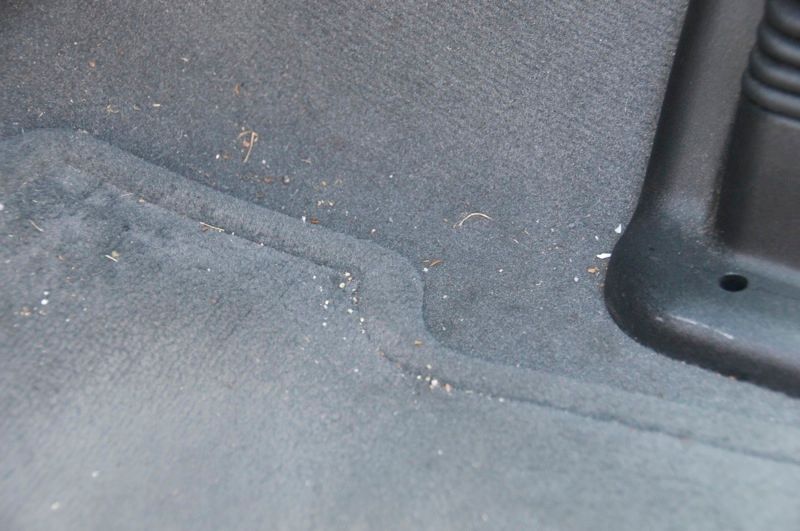
The carpets were worse than they looked... you'll see why below.
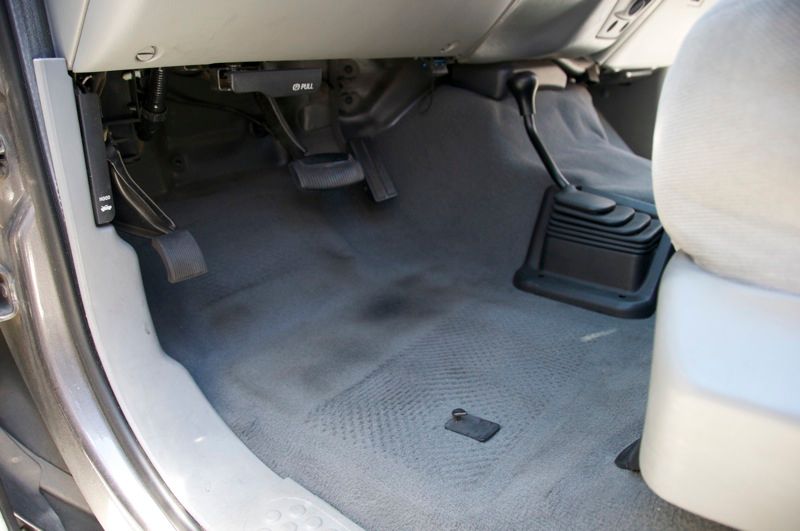
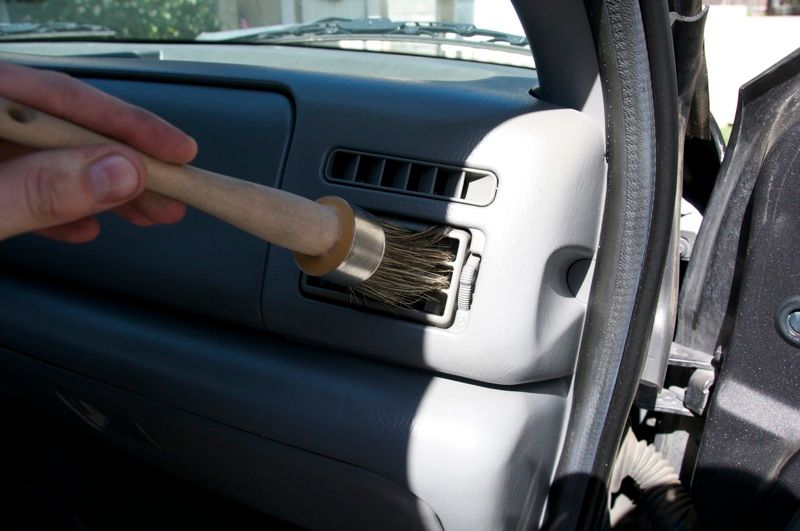
Started like I do with any detail, pulled the matts and got to work with the Metro Vac N' Blo 500. The brush attachment was used on all the vents, door switches, etc to get dust and buildup out of the cracks/crevices

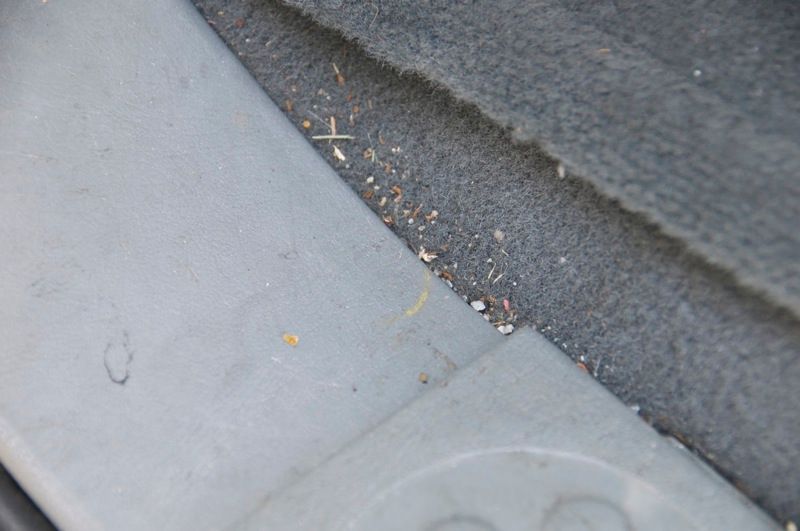
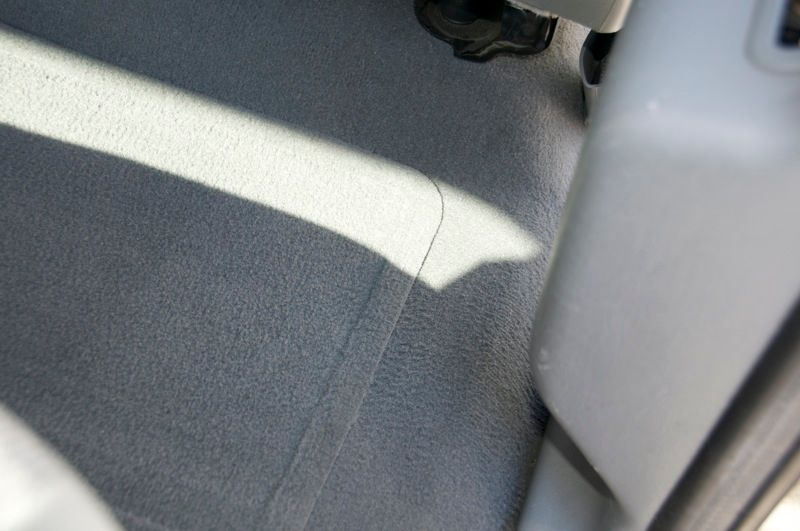
Under the matts wasn't much cleaner than the matts themselves
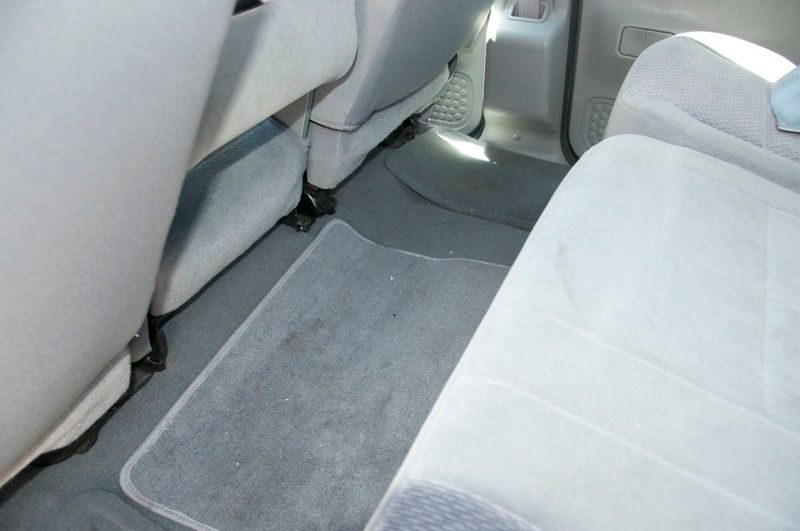
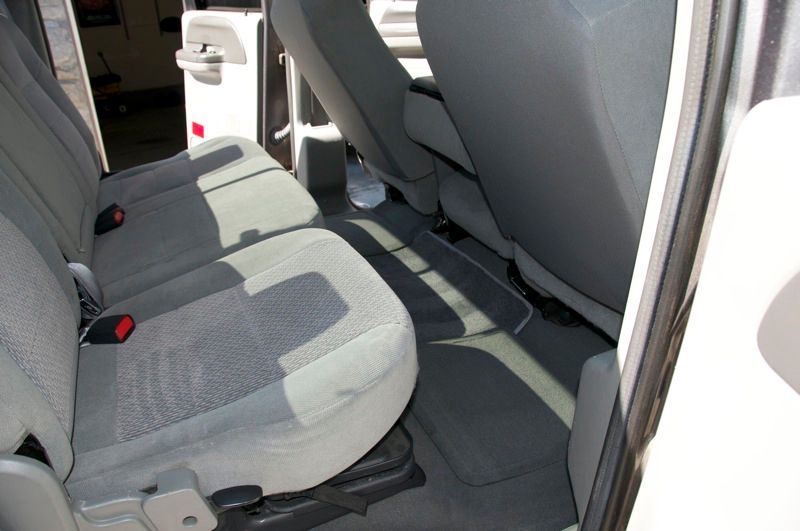
I soaked the stains with Carpet & Upholstery Cleaner, I also lightly misted the seats at this time too, then simply blotted them dry with a edgeless utility towel
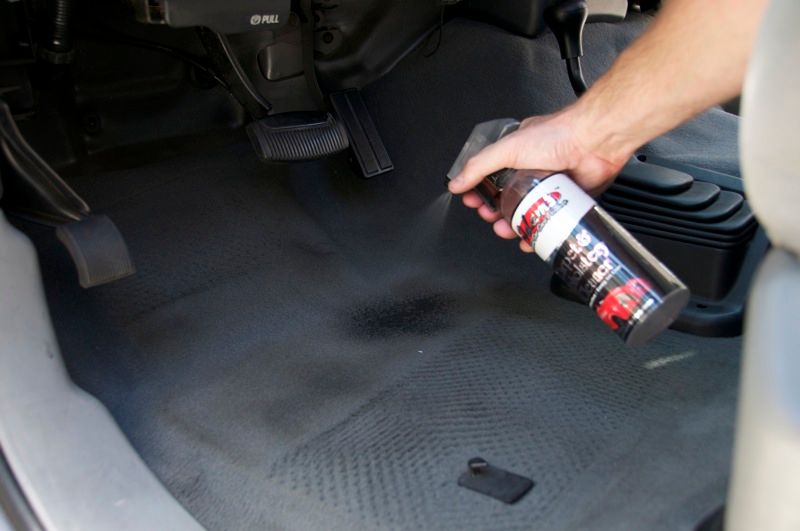
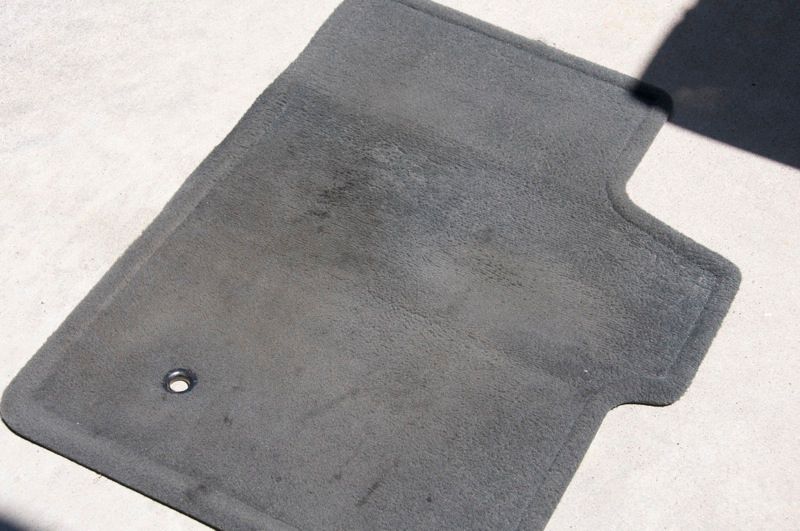
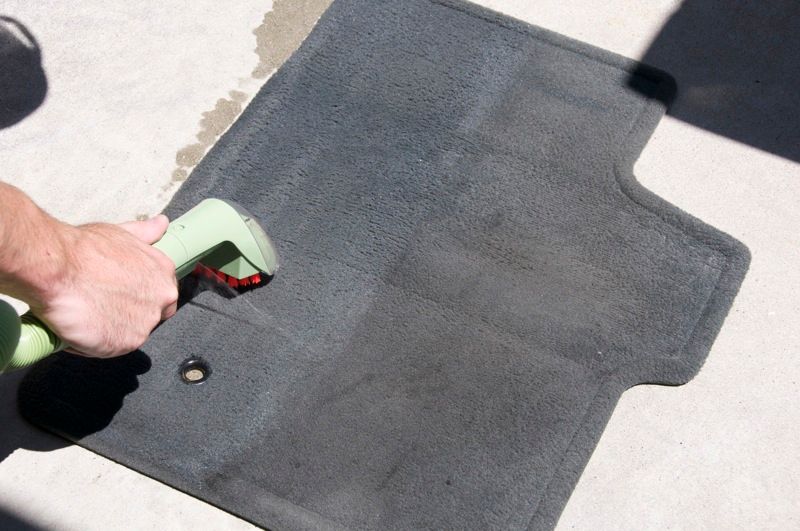
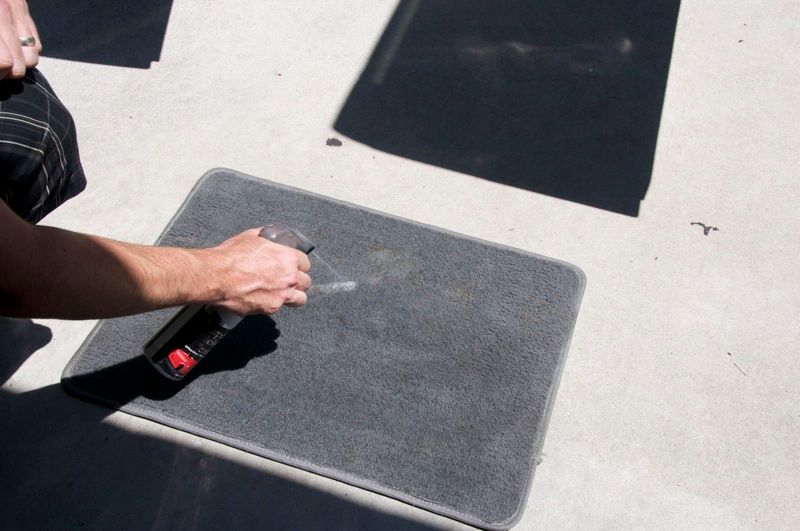
The real challenge was going to be the matts. In addition to just a lot of dirt it looks like something like coffee had been spilled and dried
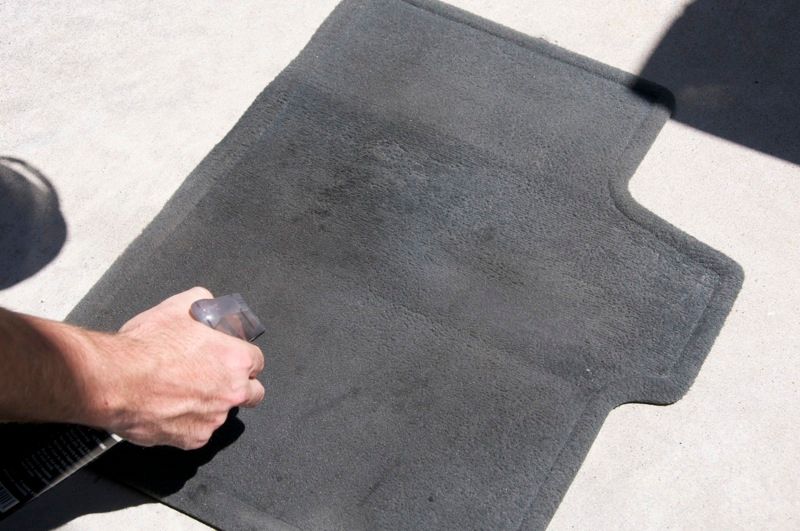
More Carpet & Upholstery Cleaner, but this time I called upon the Bissel Little Green Machine Pro Heat to lend a hand and cut the amount of scrubbing down. 6oz of Cleaner was added to the water tank and all spots were pre-treated with straight Carpet & Upholster Cleaner and an Adam's Carpet Brush
 07-05-2011, 01:39 PM
#4
FormerVendor
Thread Starter
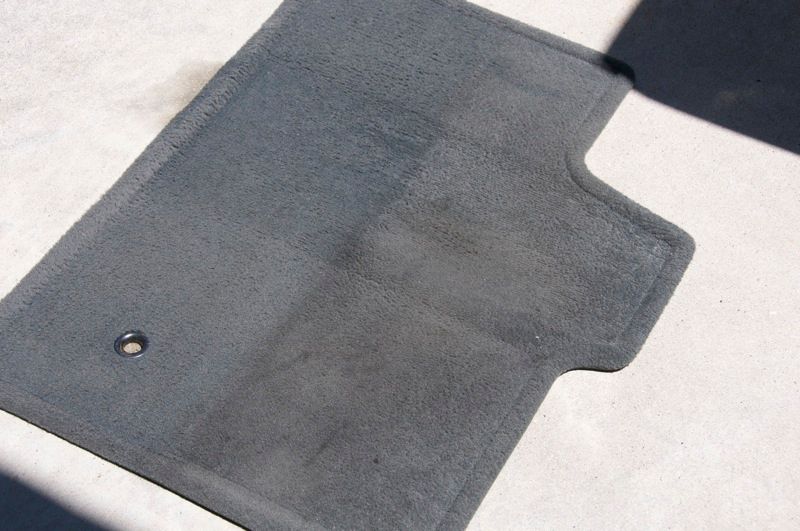
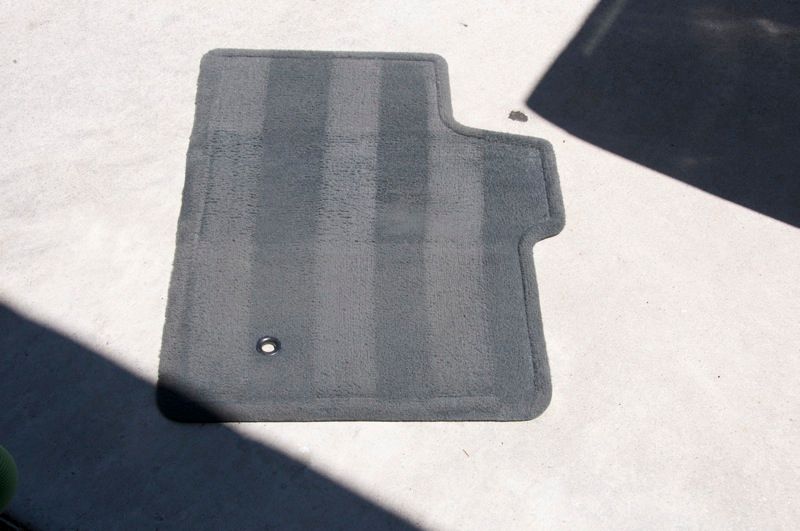
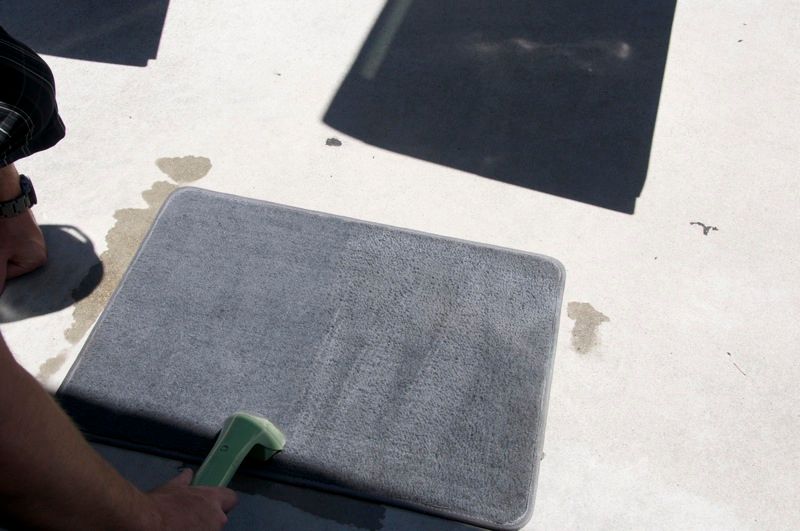
Repeated the process for each one
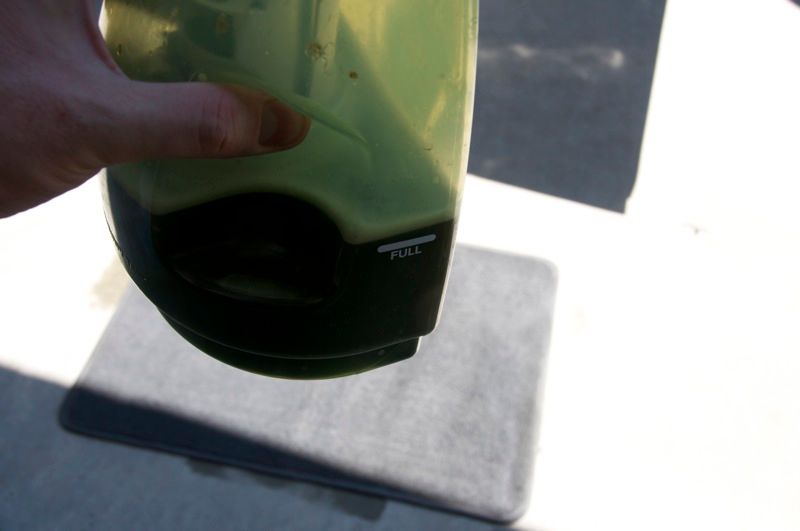
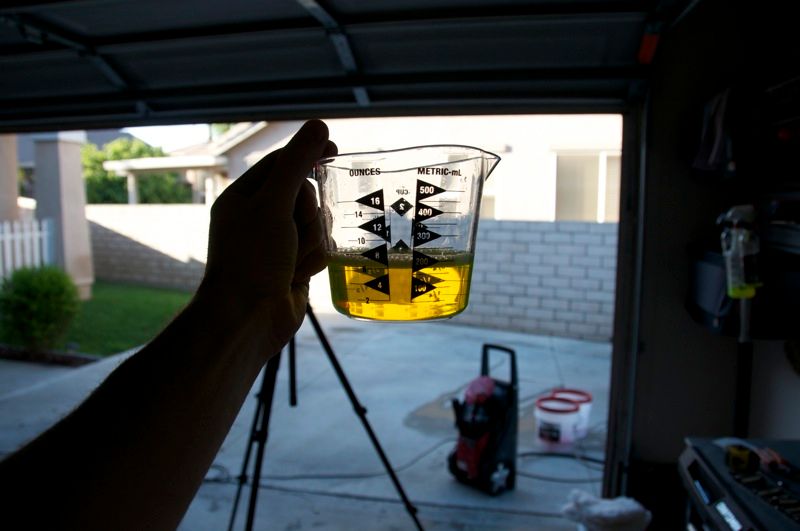
After just 2 carpets I was left with some pretty dark water... gross.
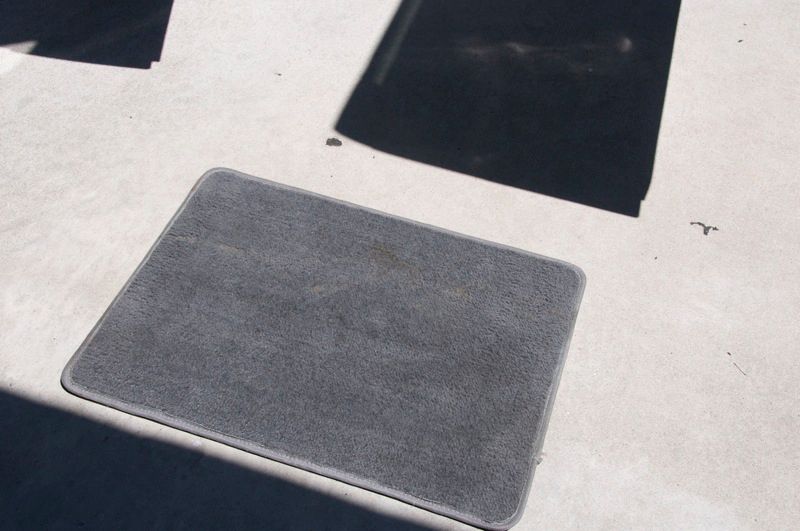
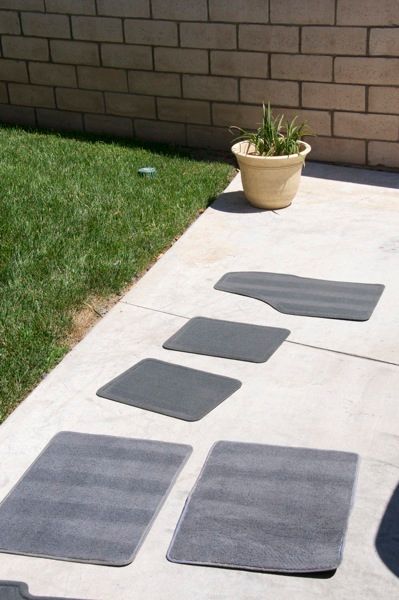
But the carpets came out fantastic! I set them out in the sun to dry up the last bit of moisture before putting them back in the truck

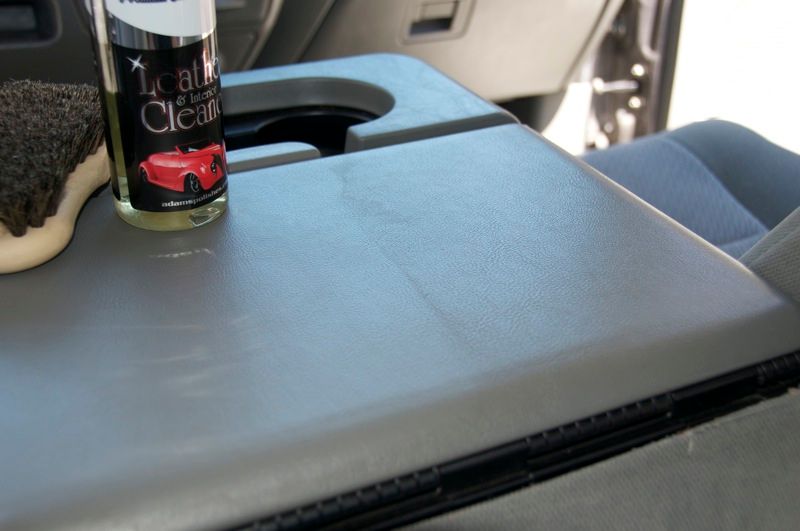
While the rugs are drying it was time to tackle the dirty residue that covered all the interior panels. It was definitely going to take full strength Leather & Interior Cleaner plus the Interior Brush to get the job done:
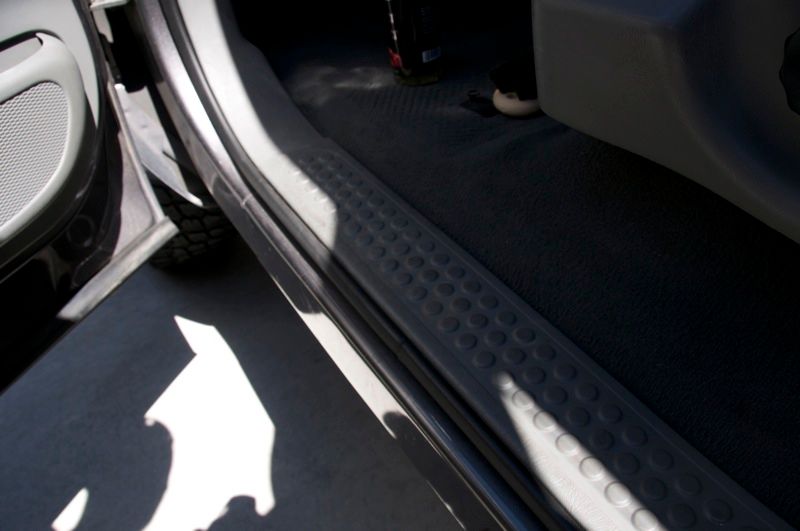
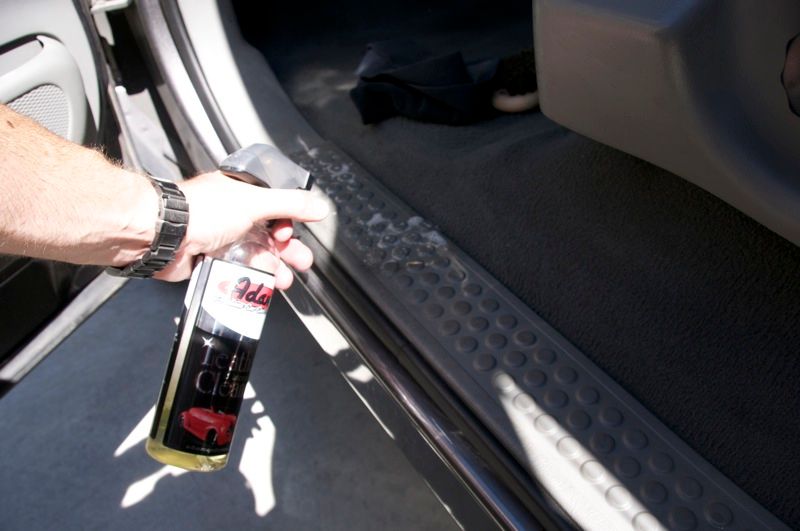
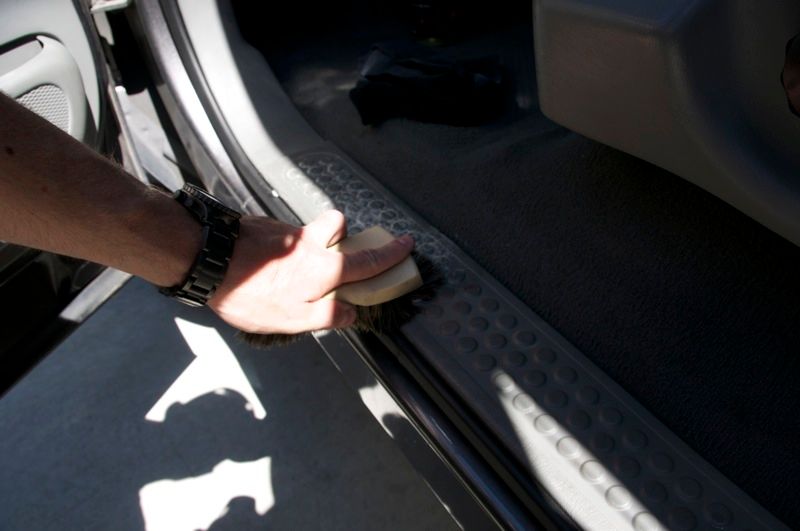
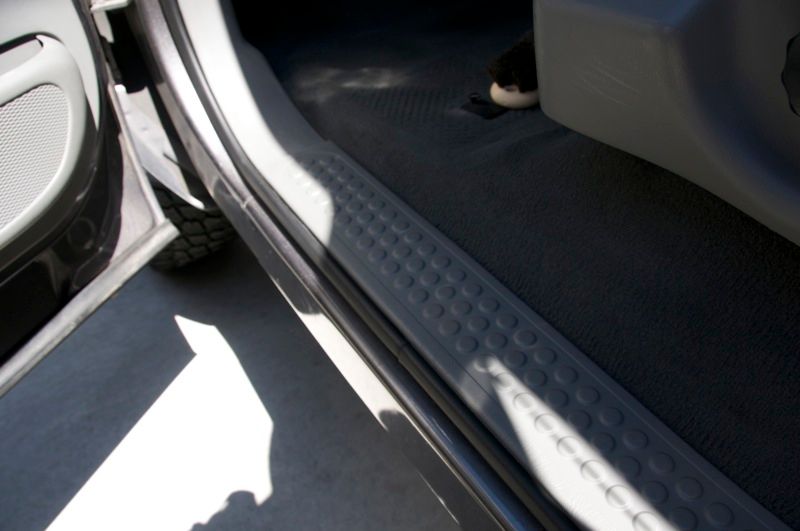
The door sills were nasty as well so I took care of these also using Leather & Interior Cleaner, an Interior Brush, and Edgeless Utility Towel

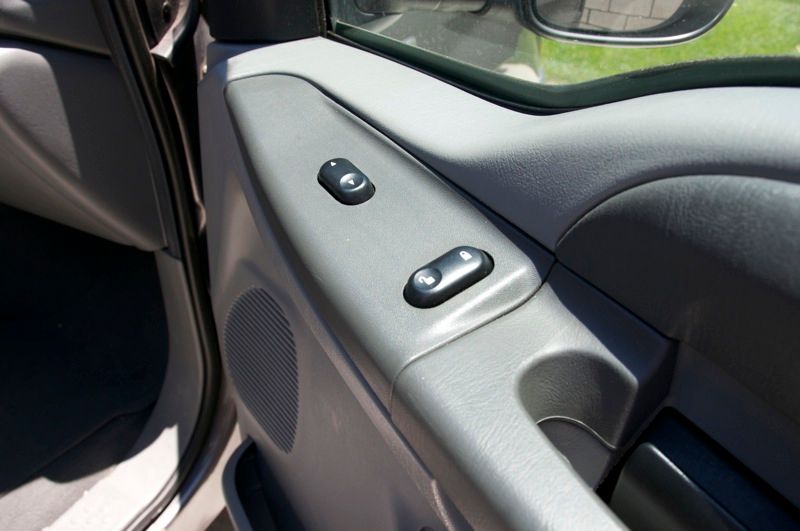
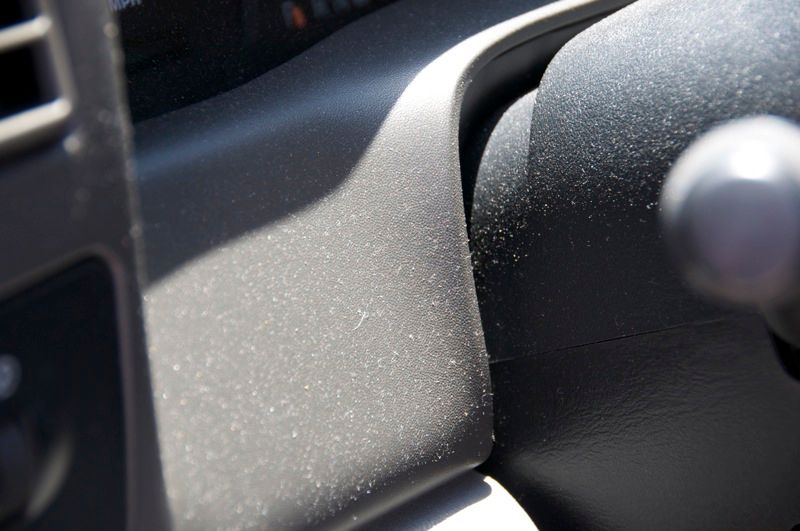
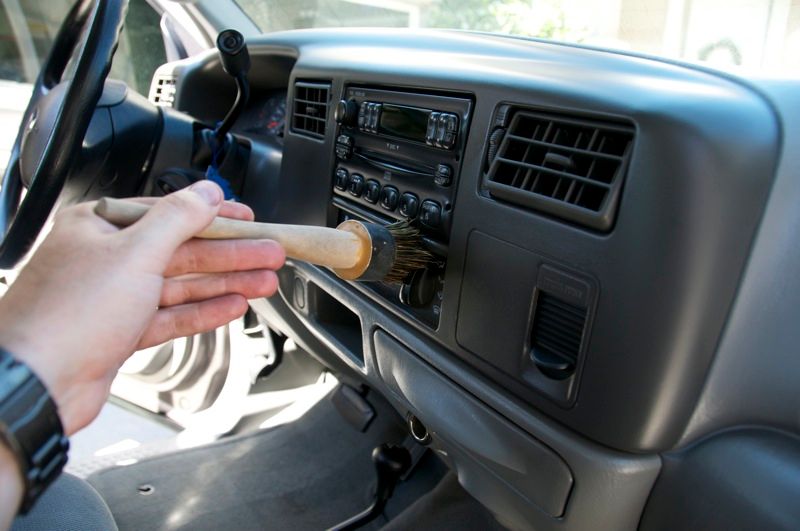
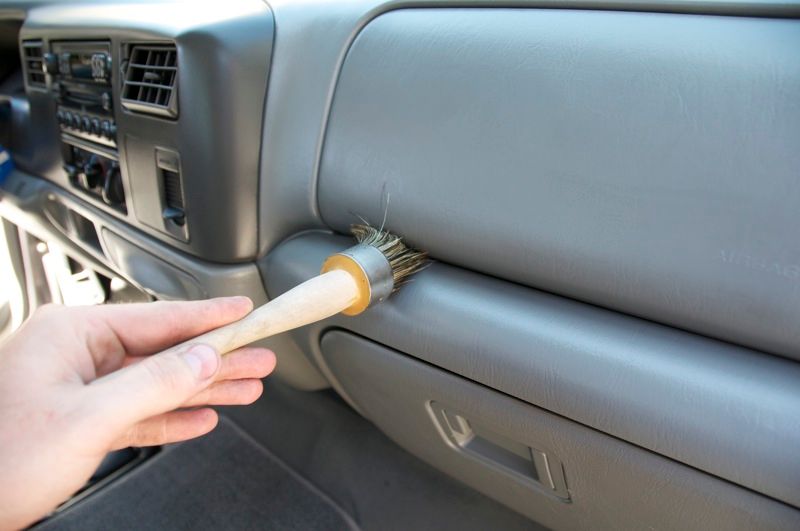
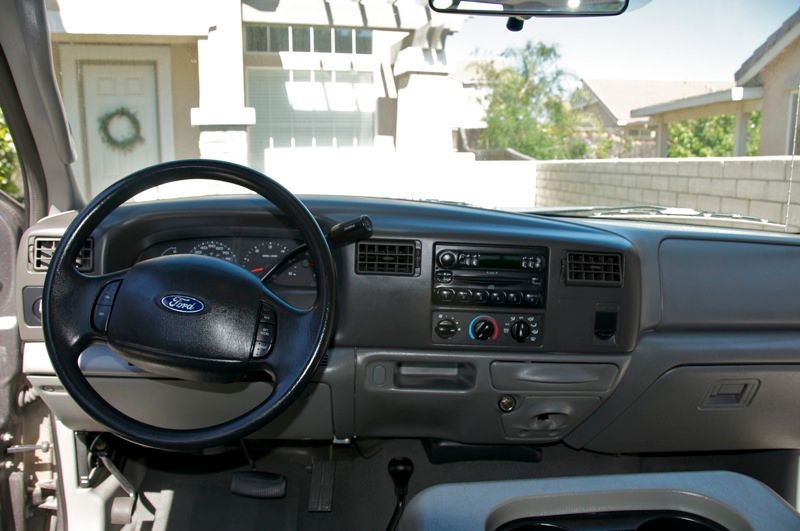
The dash and door panels were cleaned using the same combo, but in tighter spaces or spots where the dirt was more stubborn a trim & lug nut brush sprayed with a little leather & interior cleaner was used. It came in especially handy on the HVAC controls where a combination of skin oils and dust had caked themselves into the grooves
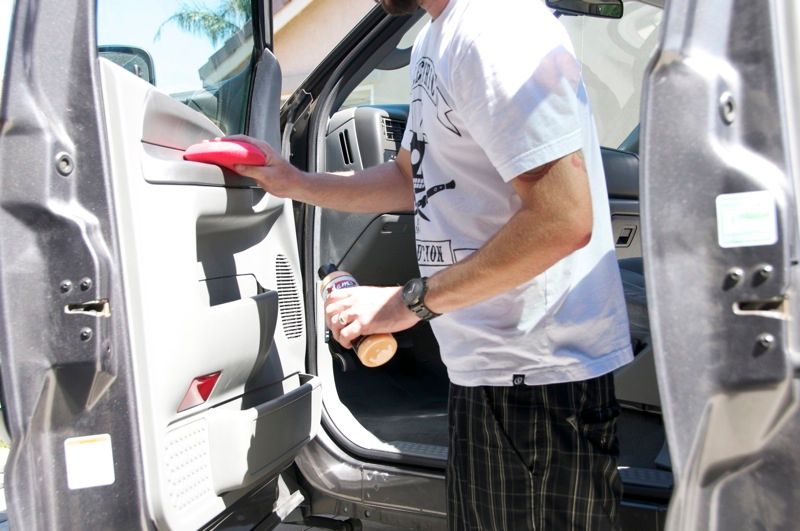
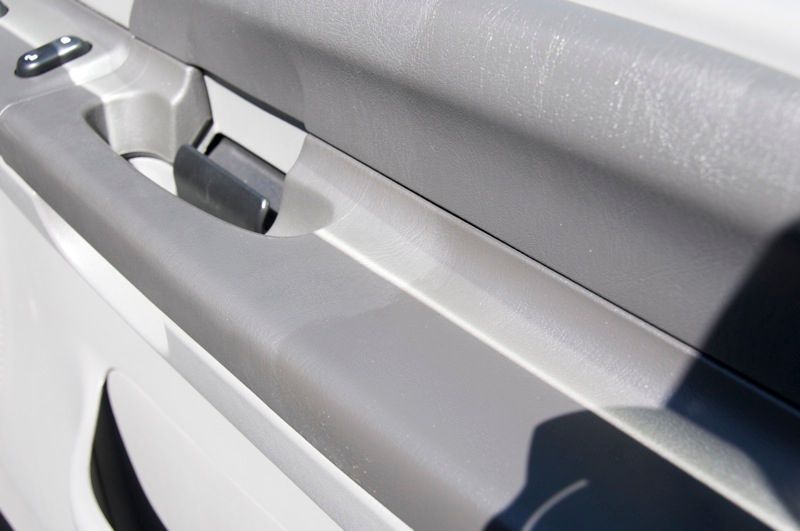
Once I was satisfied that everything was clean it was time to condition. All the hard surfaces were treated using Leather & Interior Conditioner on a red foam interior app. The upper sections of the door panels got 2-3 treatments each as did the dash. Other panels weren't as bad.
Tight spots were treated to shot of In & Out Spray
After just 2 carpets I was left with some pretty dark water... gross.
But the carpets came out fantastic! I set them out in the sun to dry up the last bit of moisture before putting them back in the truck
While the rugs are drying it was time to tackle the dirty residue that covered all the interior panels. It was definitely going to take full strength Leather & Interior Cleaner plus the Interior Brush to get the job done:
The door sills were nasty as well so I took care of these also using Leather & Interior Cleaner, an Interior Brush, and Edgeless Utility Towel
The dash and door panels were cleaned using the same combo, but in tighter spaces or spots where the dirt was more stubborn a trim & lug nut brush sprayed with a little leather & interior cleaner was used. It came in especially handy on the HVAC controls where a combination of skin oils and dust had caked themselves into the grooves
Once I was satisfied that everything was clean it was time to condition. All the hard surfaces were treated using Leather & Interior Conditioner on a red foam interior app. The upper sections of the door panels got 2-3 treatments each as did the dash. Other panels weren't as bad.
Tight spots were treated to shot of In & Out Spray
07-05-2011, 01:40 PM
#5
FormerVendor
Thread Starter
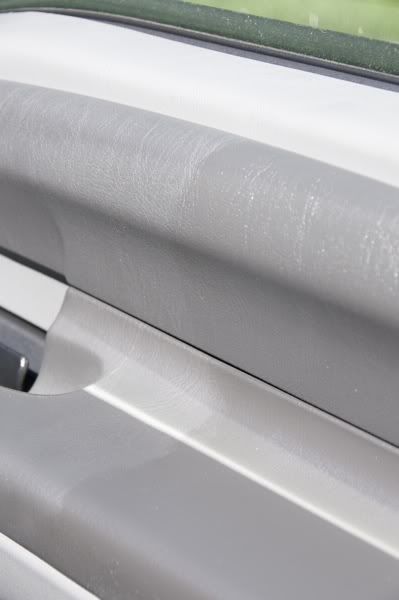
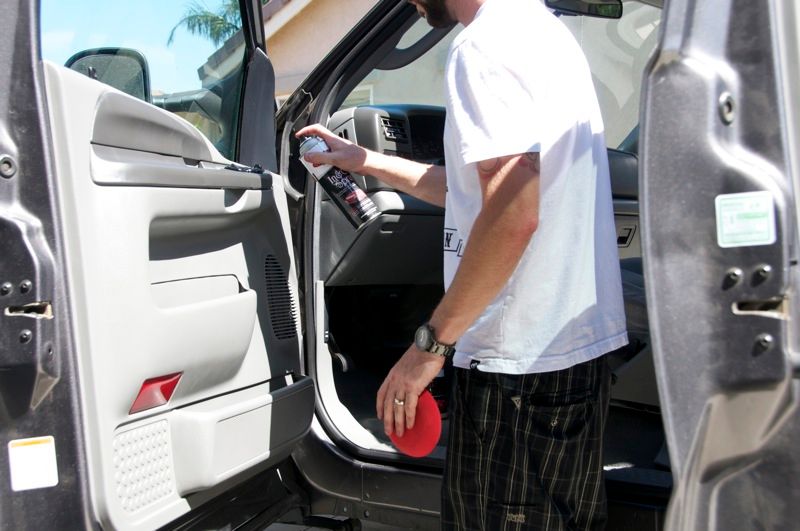
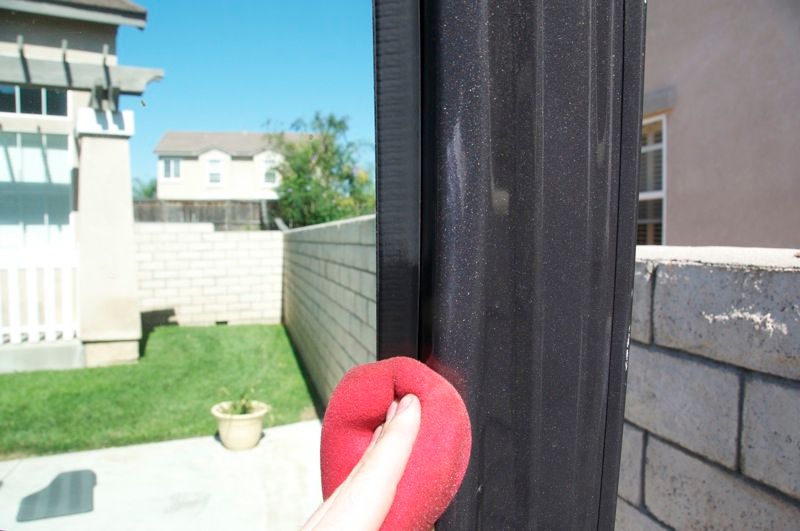
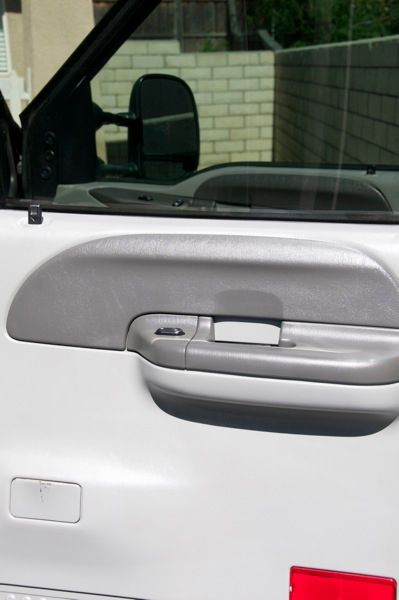
While conditioning the door panels I hit the inner window seals... they were gray and chalky
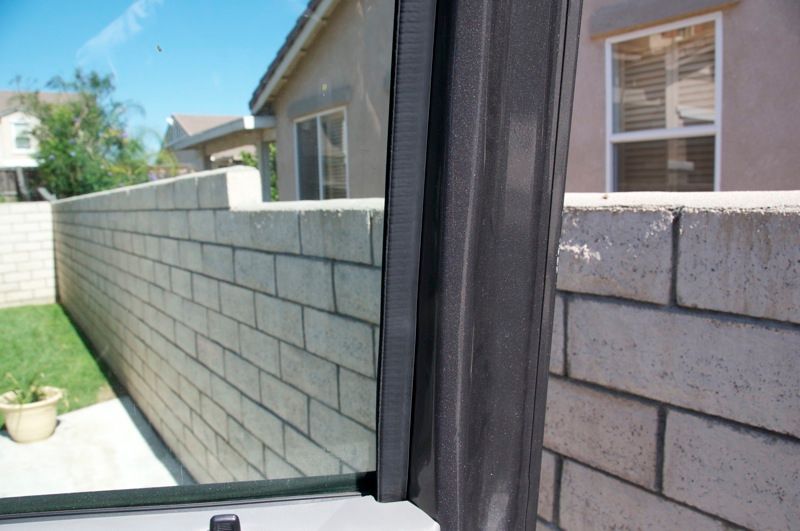
A quick application of Leather & Interior Conditioner on the red foam interior app made them nice, dark, and moisturized
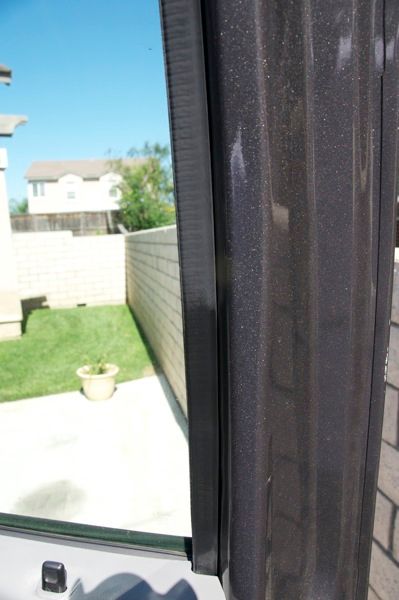
By this time the carpets were dry, and ready to go back in, I placed an open box of Arm & Hammer in the rear to absorb any excess moisture while the truck is parked. It should also help with the slight musty odor of the interior
Everything was put back in place, and tomorrow I'll tackle the undercarriage/engine bay, then move to paint cleaning and correction.
Forgive me for not updating sooner... after being out in the heat I've been less than motivate to upload pics and continue the writeup. Anyways... heres more to bring you up to speed:
DAY 2 - Friday:
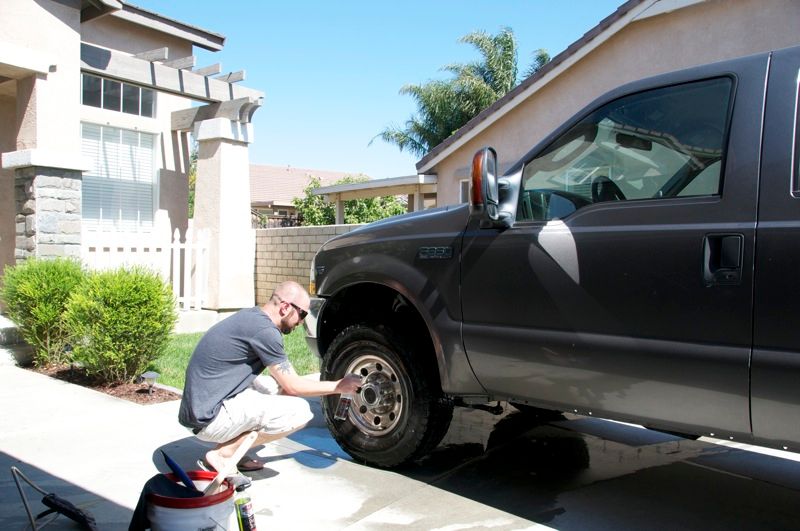
I was only going to invest a few hours getting the wheels, tires, engine bay, undercarriage cleaned up so it would save me time on Saturday morning.
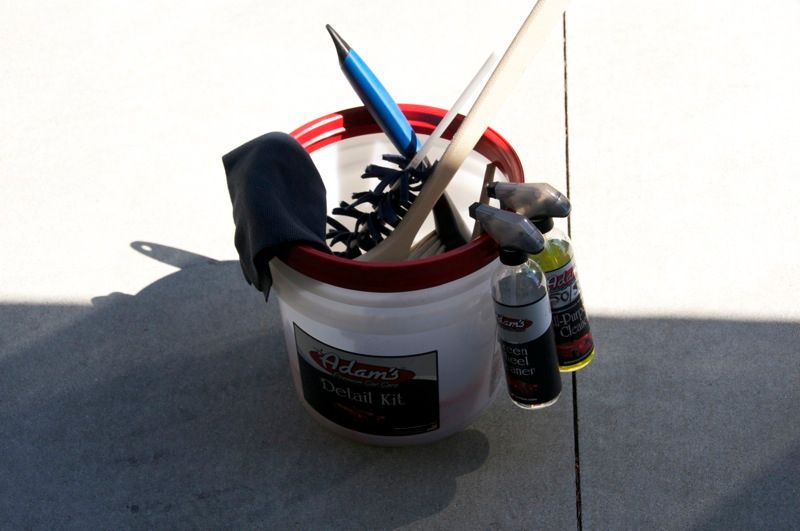
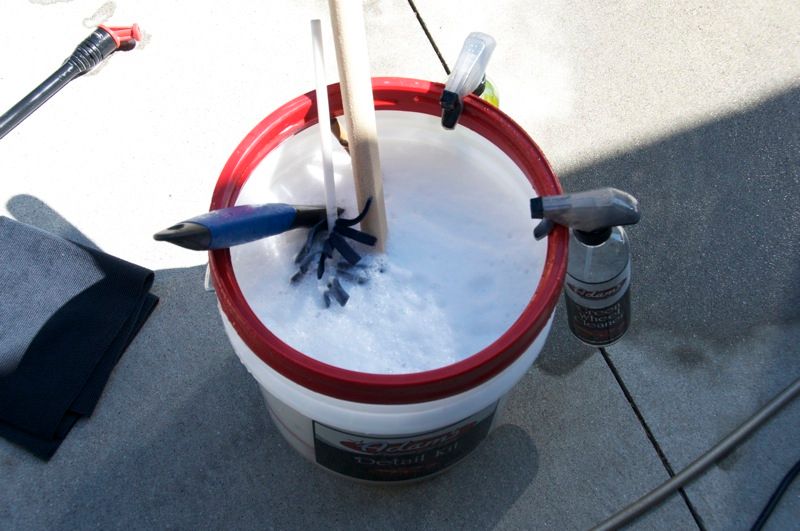
Got my supplies ready:
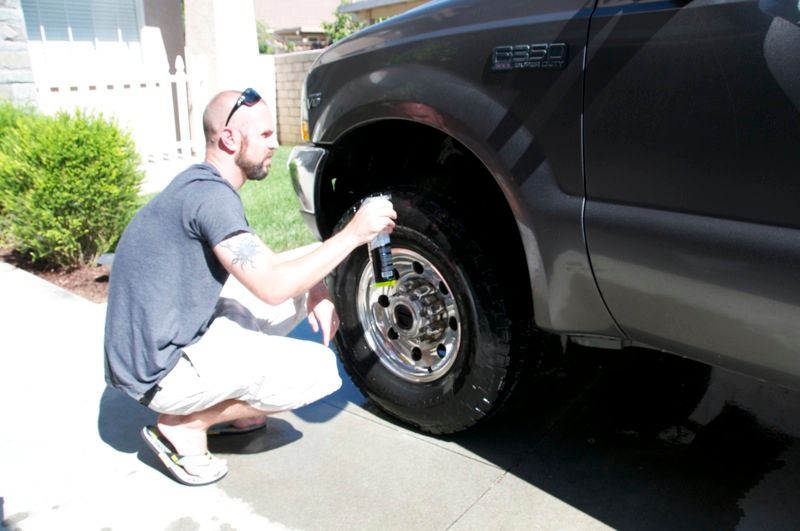
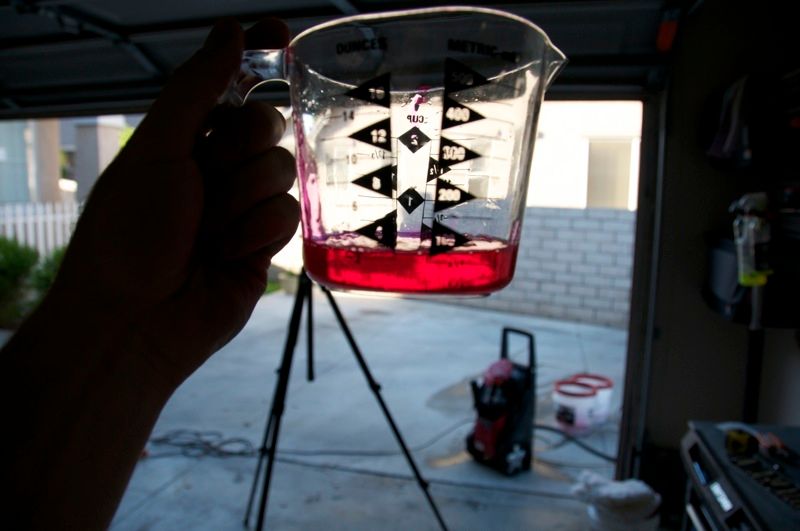
I added about 3oz of Green Wheel cleaner & 3oz of APC to the bucket and filled the rest with water. Given the level of contamination on the wheels I wanted a little extra something. The combination foamed up nicely and seemed to aid in cleaning.
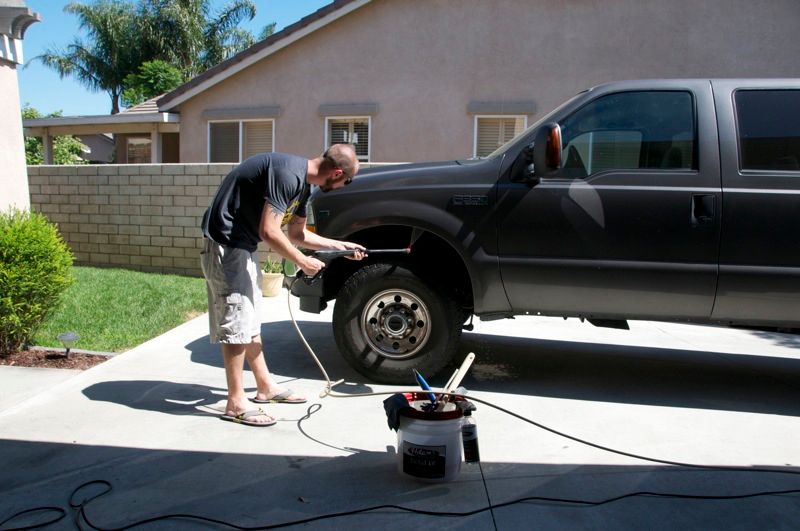
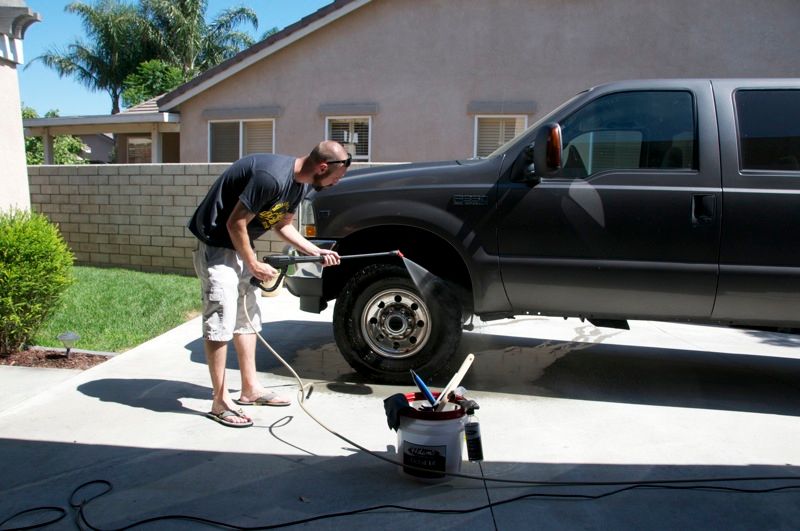
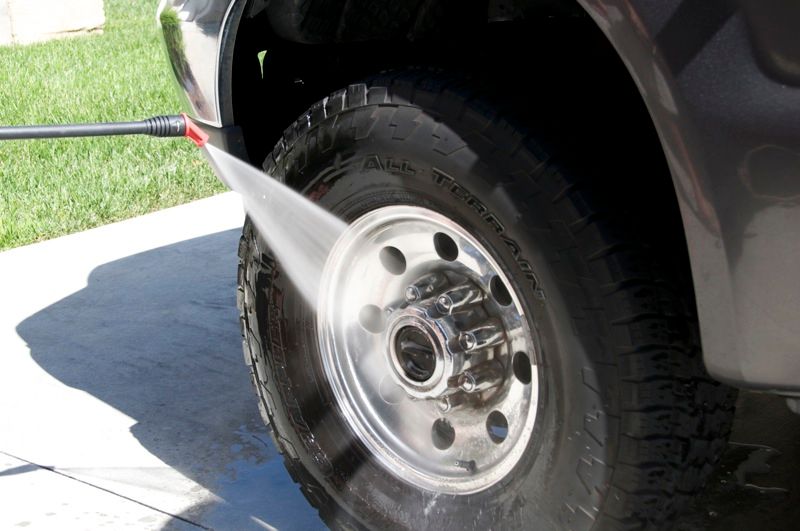
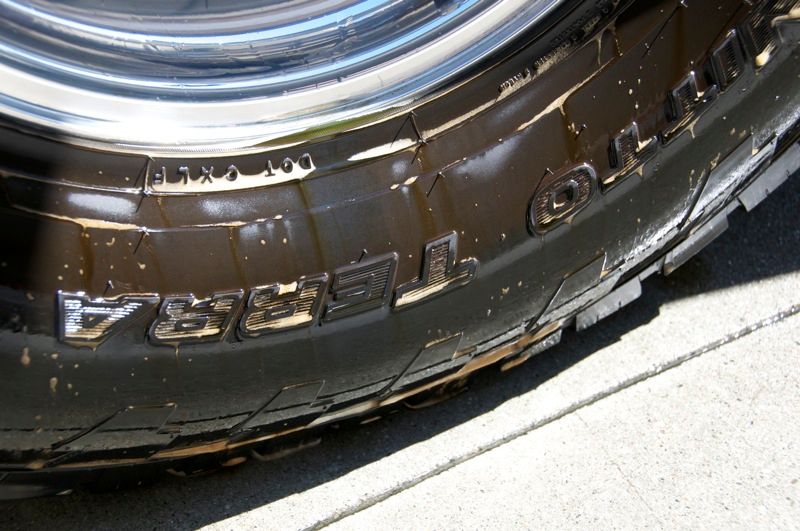
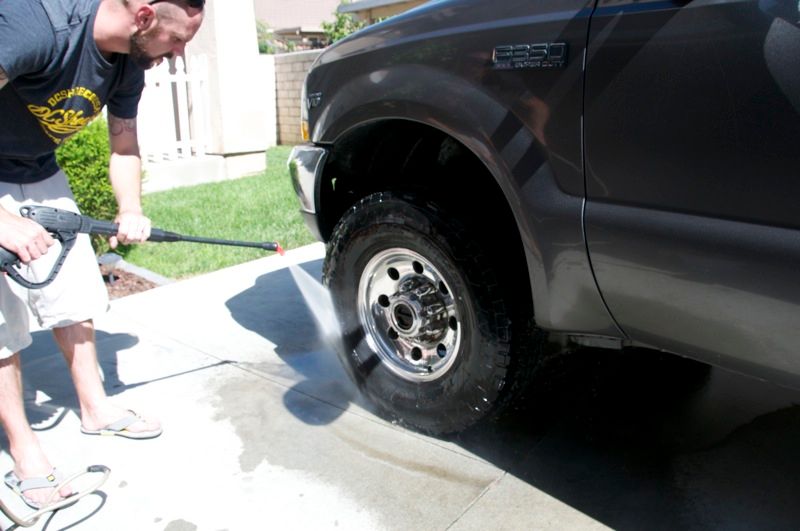
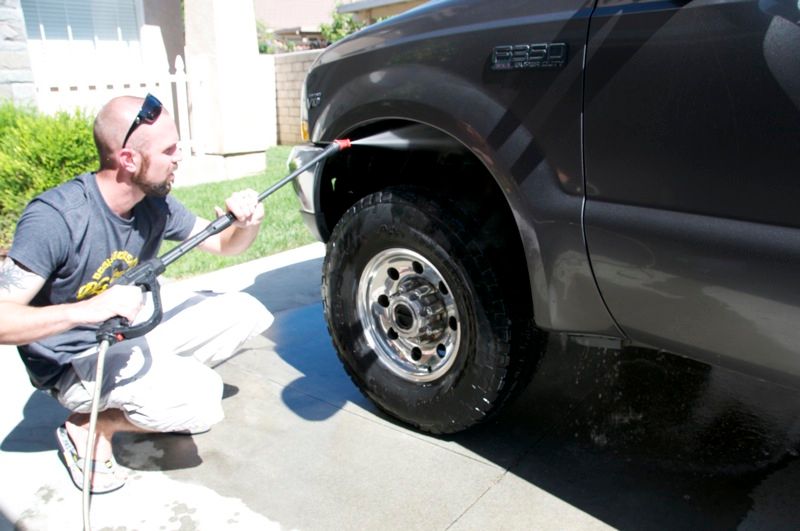
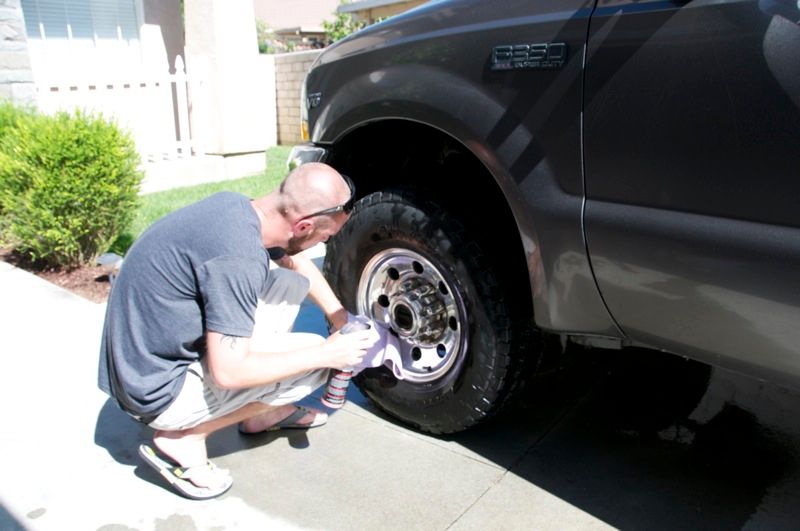
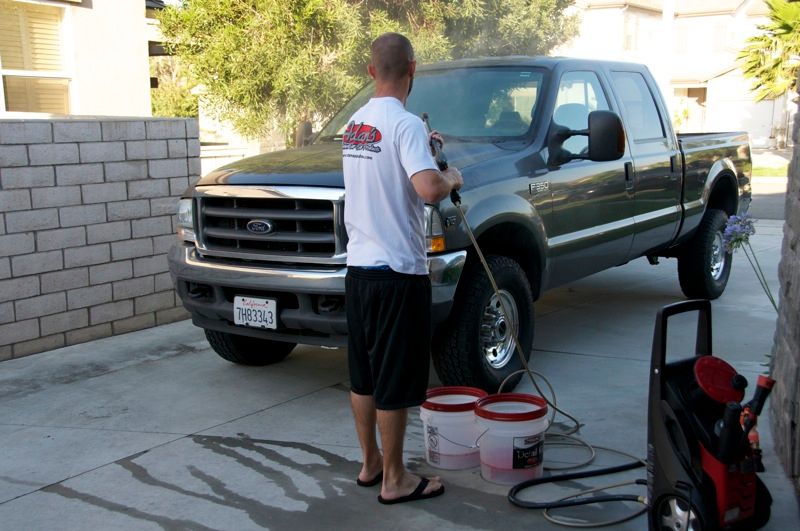
Given the buildup on the wheels and inner fenders I chose to drag out the pressure washer. Started with a thorough blasting to break everything up. The wide angle tip really helped get the 'gunk' out of the lettering and sidewall detail of the tires.
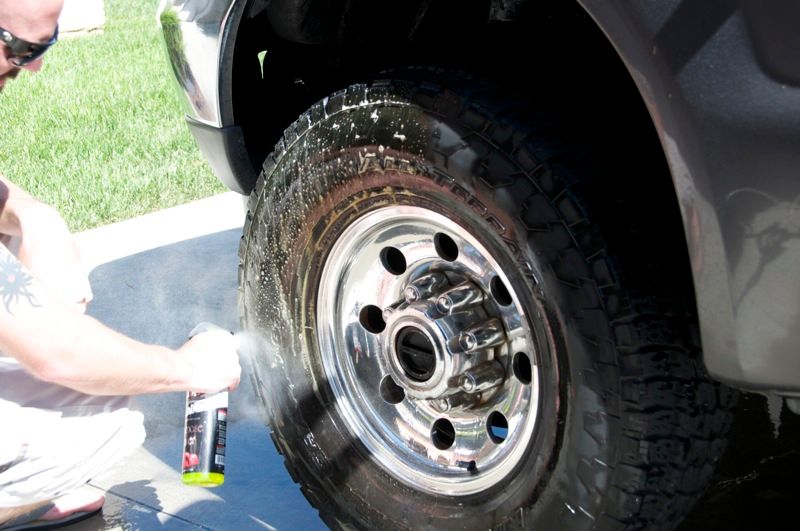
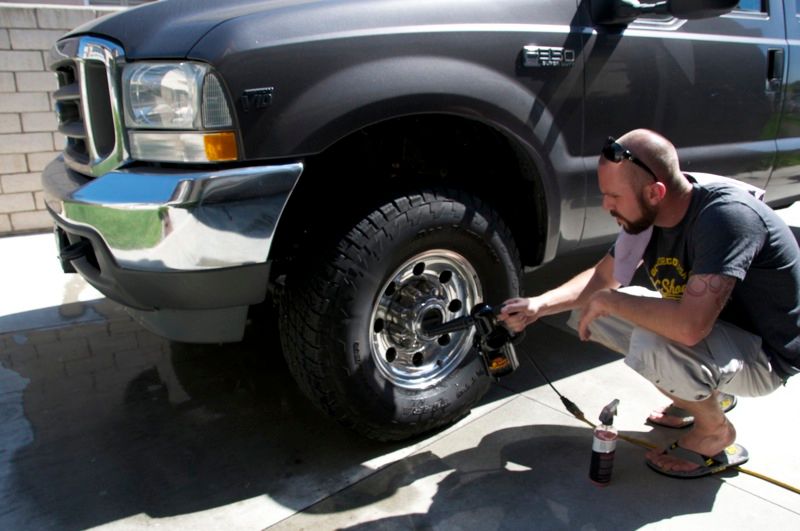
The wheels were saturated with Green Wheel Cleaner, then scrubbed with the wheel brush, tighter areas were addressed with the lug nut brush
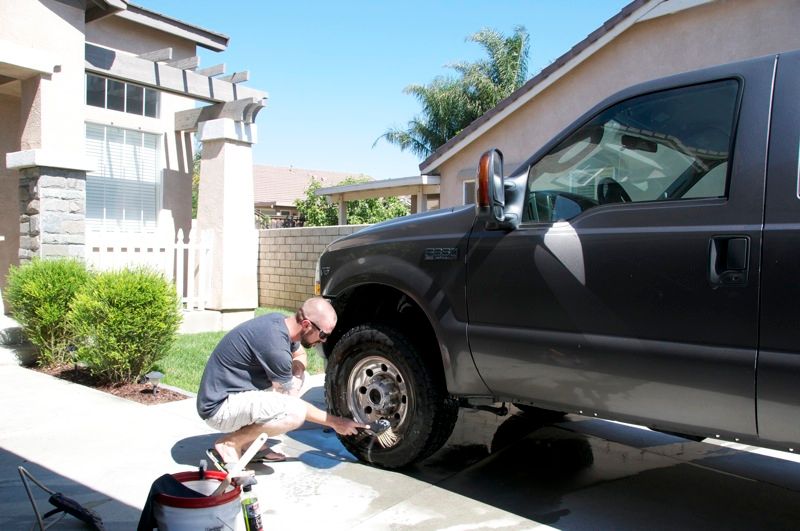
After scrubbing away the rust and brake dust buildup the wheels were rinsed
A quick application of Leather & Interior Conditioner on the red foam interior app made them nice, dark, and moisturized
By this time the carpets were dry, and ready to go back in, I placed an open box of Arm & Hammer in the rear to absorb any excess moisture while the truck is parked. It should also help with the slight musty odor of the interior
Everything was put back in place, and tomorrow I'll tackle the undercarriage/engine bay, then move to paint cleaning and correction.
Forgive me for not updating sooner... after being out in the heat I've been less than motivate to upload pics and continue the writeup. Anyways... heres more to bring you up to speed:
DAY 2 - Friday:
I was only going to invest a few hours getting the wheels, tires, engine bay, undercarriage cleaned up so it would save me time on Saturday morning.
Got my supplies ready:
- Bucket w/ Grit Guard Insert
- Green Wheel Cleaner
- All Purpose Cleaner
- Fender Brush
- Wheel Brush
- Trim & Lug Nut Brush
- Turbo Stick
- Edgeless Utility Towel
I added about 3oz of Green Wheel cleaner & 3oz of APC to the bucket and filled the rest with water. Given the level of contamination on the wheels I wanted a little extra something. The combination foamed up nicely and seemed to aid in cleaning.
Given the buildup on the wheels and inner fenders I chose to drag out the pressure washer. Started with a thorough blasting to break everything up. The wide angle tip really helped get the 'gunk' out of the lettering and sidewall detail of the tires.
The wheels were saturated with Green Wheel Cleaner, then scrubbed with the wheel brush, tighter areas were addressed with the lug nut brush
After scrubbing away the rust and brake dust buildup the wheels were rinsed
07-05-2011, 01:41 PM
#6
FormerVendor
Thread Starter
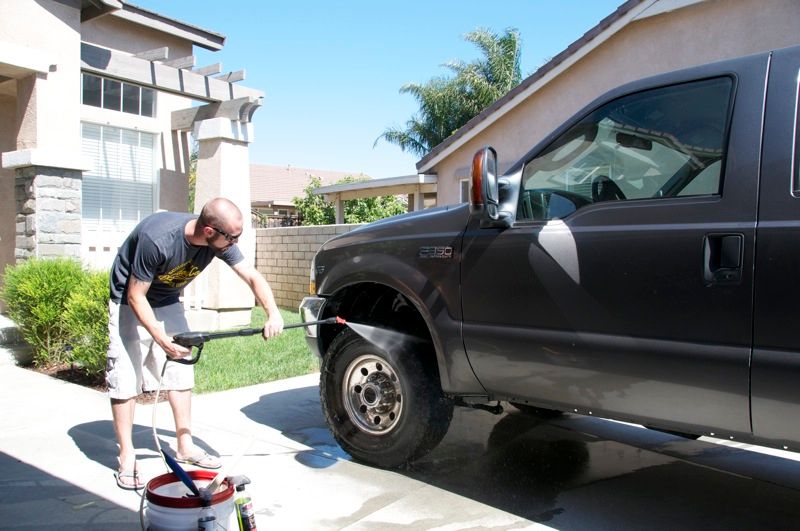
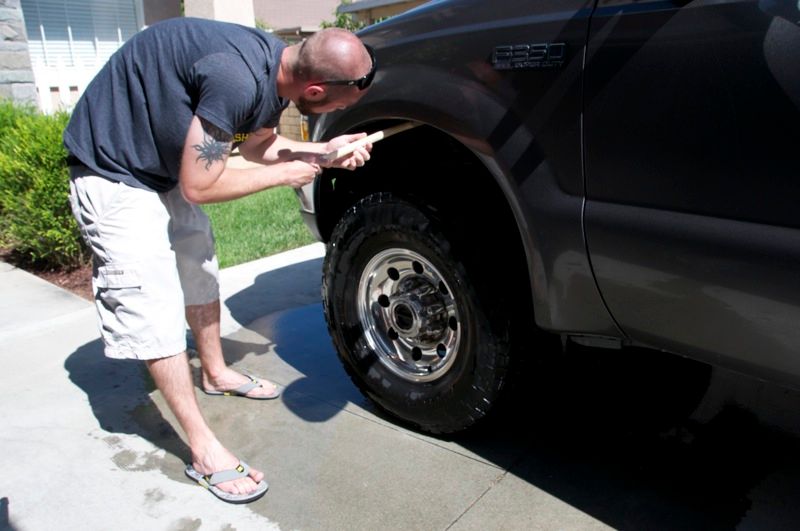
Then the tires were soaked with full strength APC which was allowed to dwell, as you can see the cleaner was working, and removed some pretty nasty buildup even before I began scrubbing. After scrubbing with the fender brush they were blasted again with the pressure washer
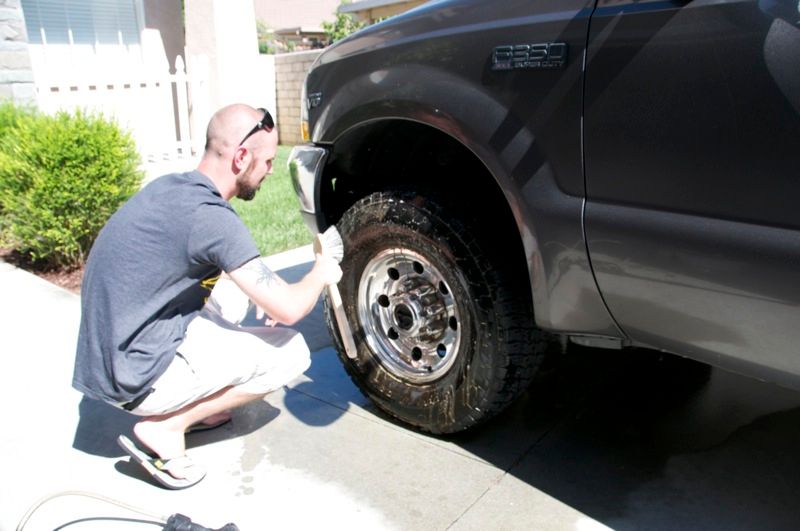
Lastly I turned my attention to the fender linings following the same procedure with APC, Fender Brush, and pressure washer.
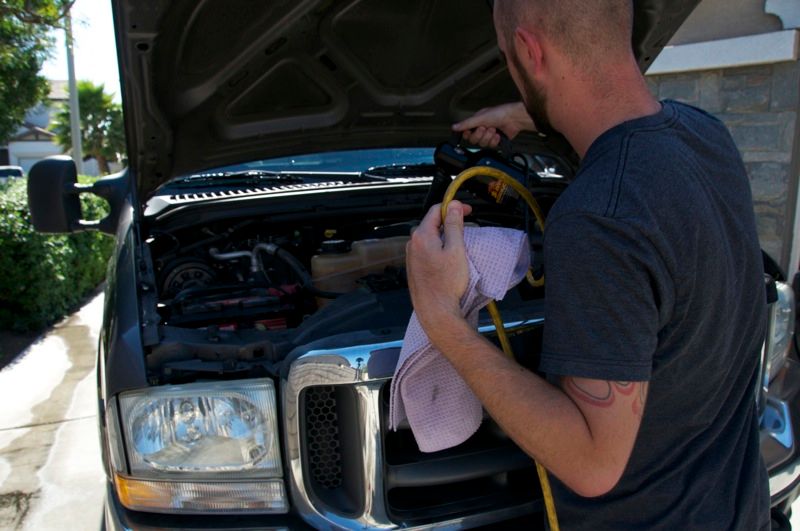
Since I wasn't intending on cleaning the rest of the truck at the same time, I used the metro blaster sidekick to knock all the water off, then towel dried the remainder with a little detail spray and a waterless wash towel
The process was repeated on all 4 wheels/fenders before starting on the engine bay.
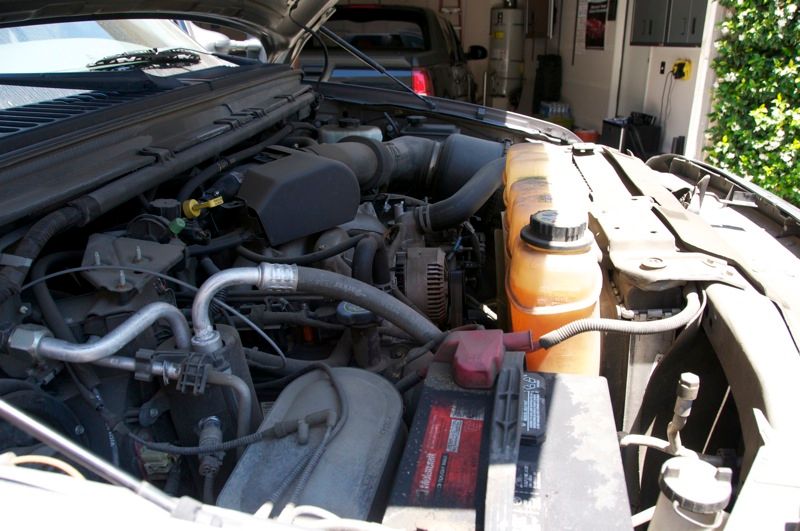
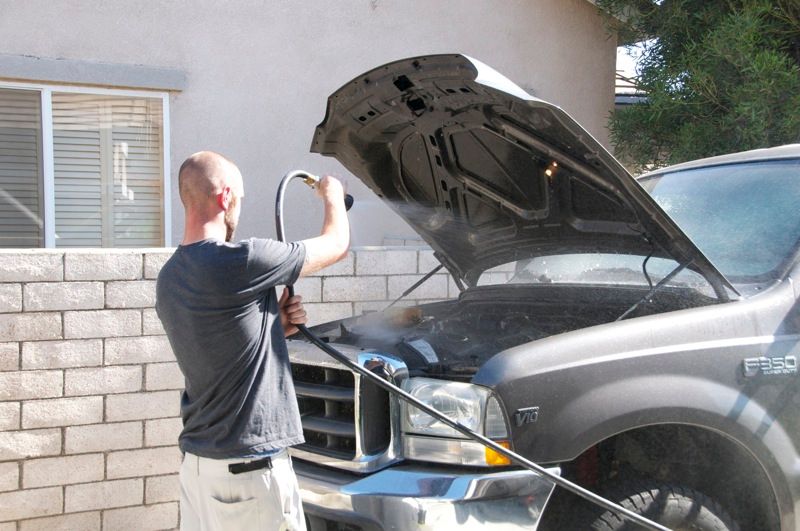
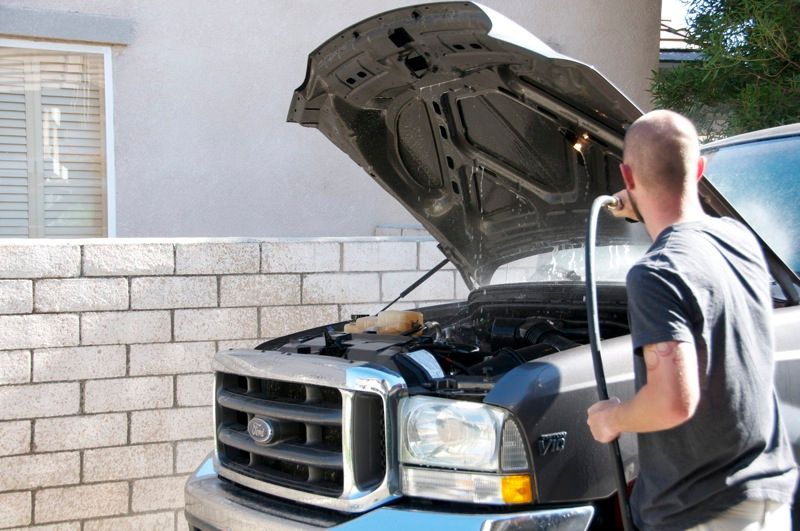
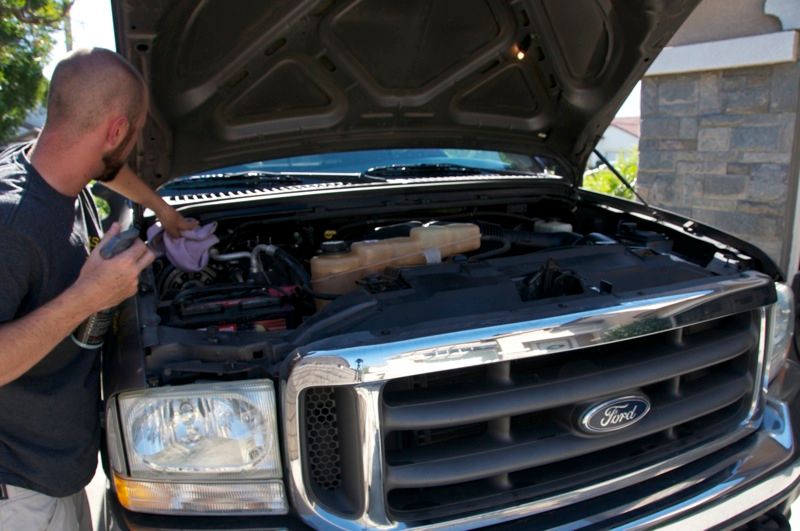
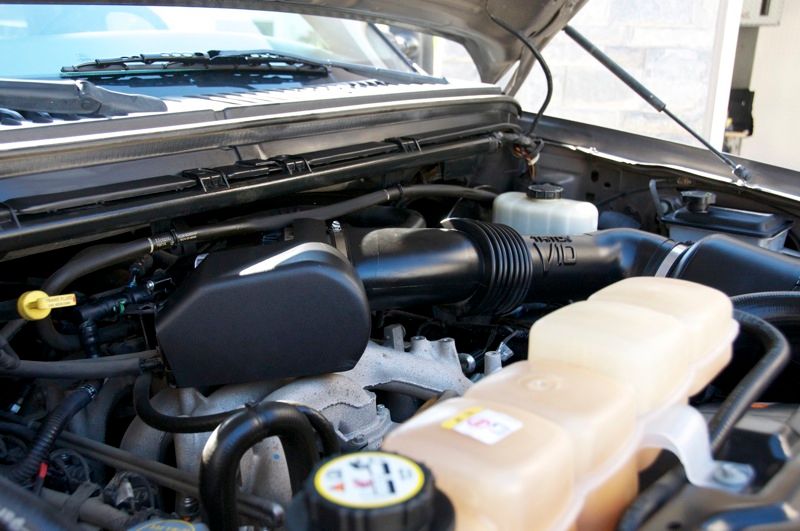
I began by hosing everything off using the broadest fan setting on the ultimate fire hose nozzle
Everything was then soaked with full strength APC
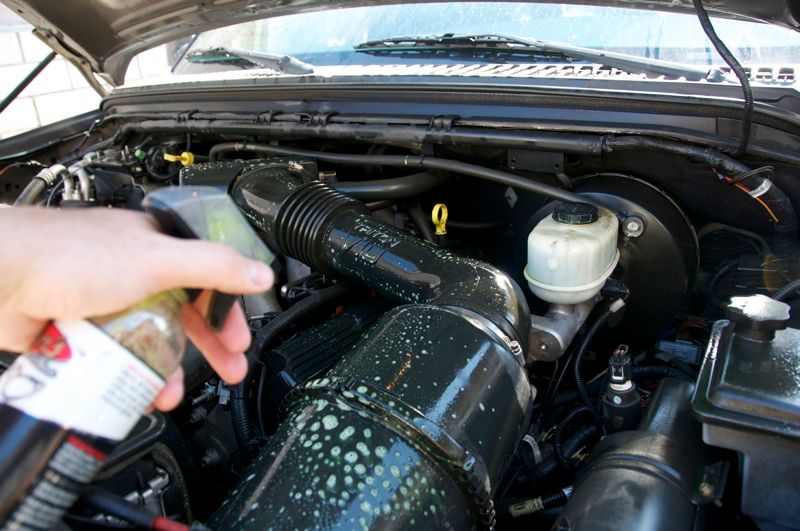
Things like the radiator hose and other heavily soiled parts were given a second treatment
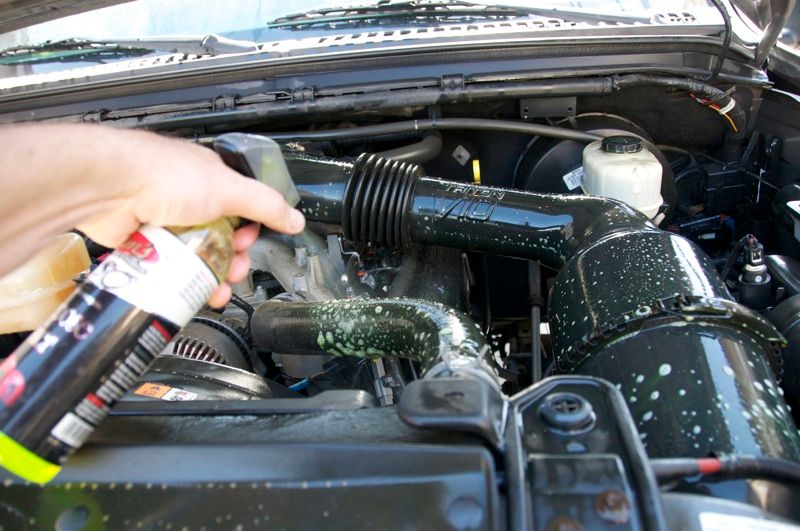

Then everything was scrubbed using the wheel brush and tighter spaces were addressed with the trim & lug nut brush
Lastly the engine bay was rinsed with the broad fan setting on the ultimate fire hose nozzle, again being sure not to spray directly into any sensitive areas and never using high pressure.
Lastly I turned my attention to the fender linings following the same procedure with APC, Fender Brush, and pressure washer.
Since I wasn't intending on cleaning the rest of the truck at the same time, I used the metro blaster sidekick to knock all the water off, then towel dried the remainder with a little detail spray and a waterless wash towel
The process was repeated on all 4 wheels/fenders before starting on the engine bay.
I began by hosing everything off using the broadest fan setting on the ultimate fire hose nozzle
Everything was then soaked with full strength APC
Things like the radiator hose and other heavily soiled parts were given a second treatment
Then everything was scrubbed using the wheel brush and tighter spaces were addressed with the trim & lug nut brush
Lastly the engine bay was rinsed with the broad fan setting on the ultimate fire hose nozzle, again being sure not to spray directly into any sensitive areas and never using high pressure.
07-05-2011, 01:42 PM
#7
FormerVendor
Thread Starter
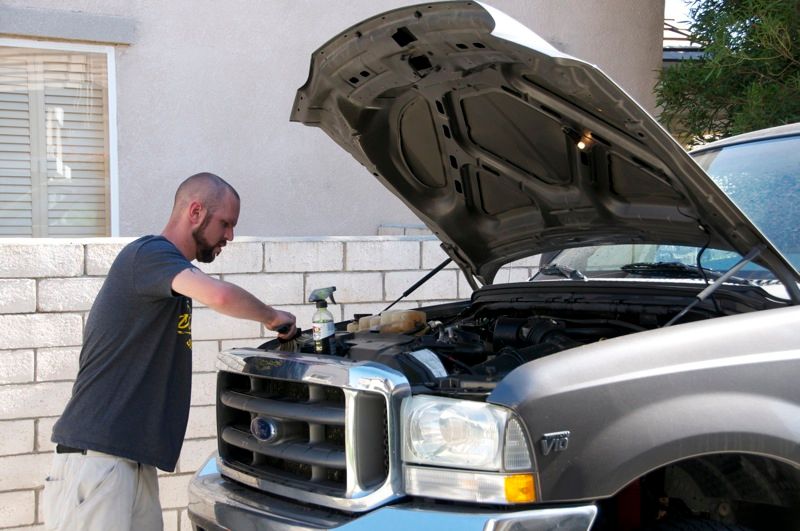
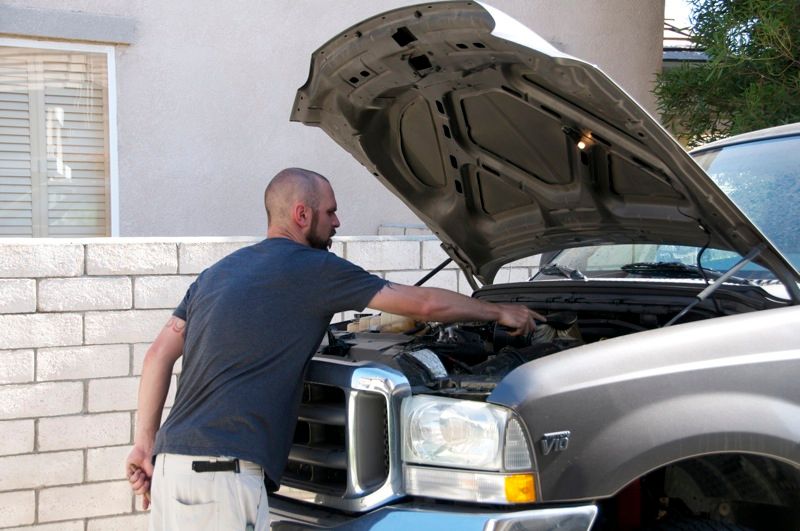
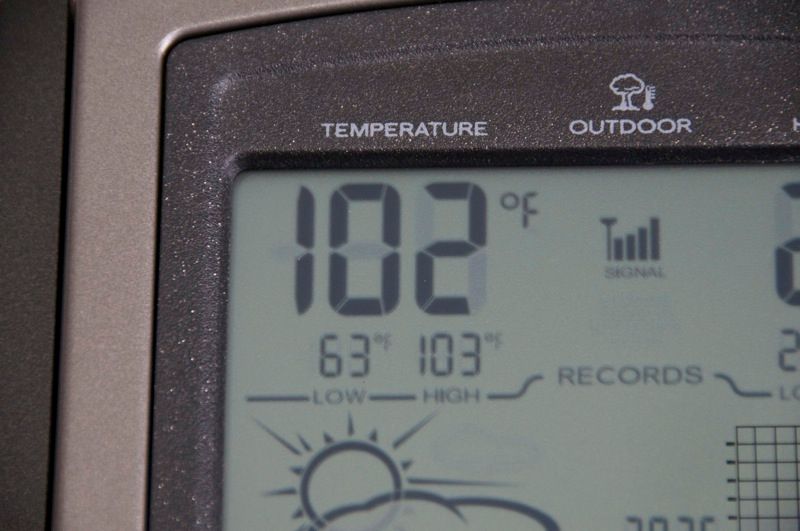
The hood was then closed and the truck was allowed to idle in order to help dry everything out before dressing. At this point it was a tad uncomfortable outside
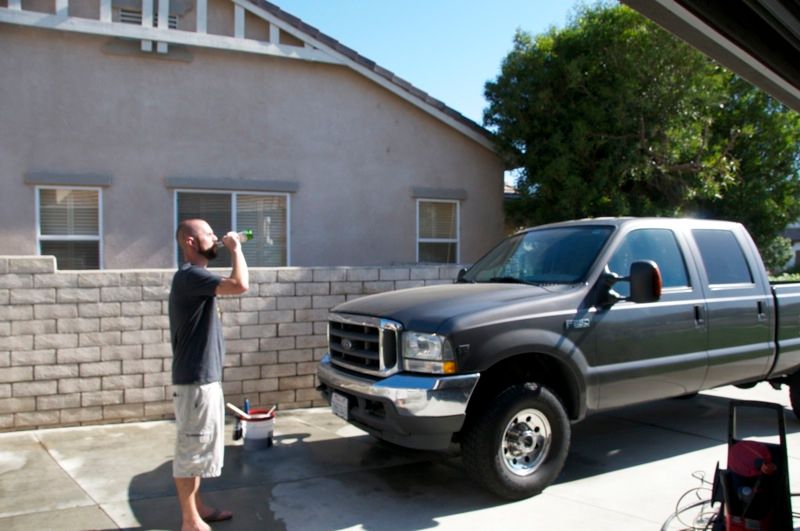
Water break was nice, but it didn't feel right detailing without a brew
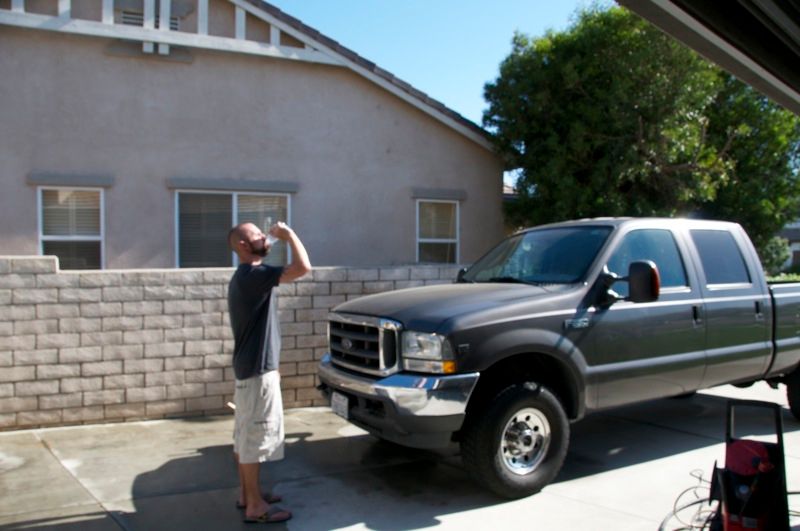
AHHHHHH! Thats better!
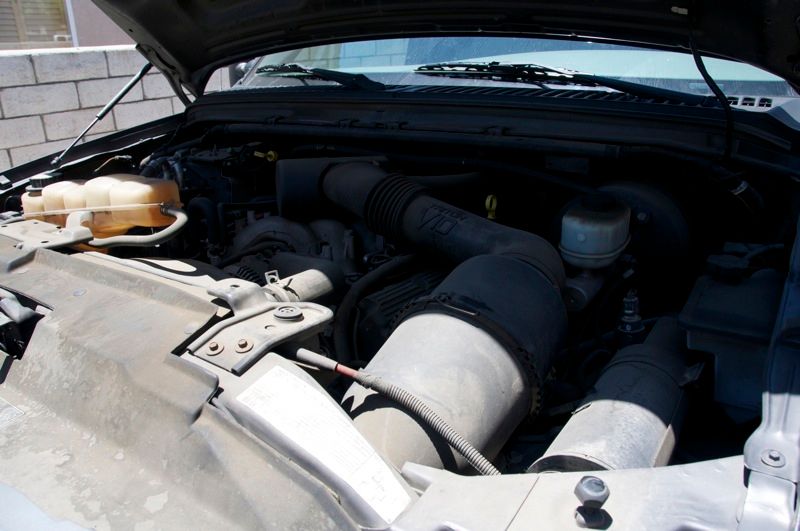
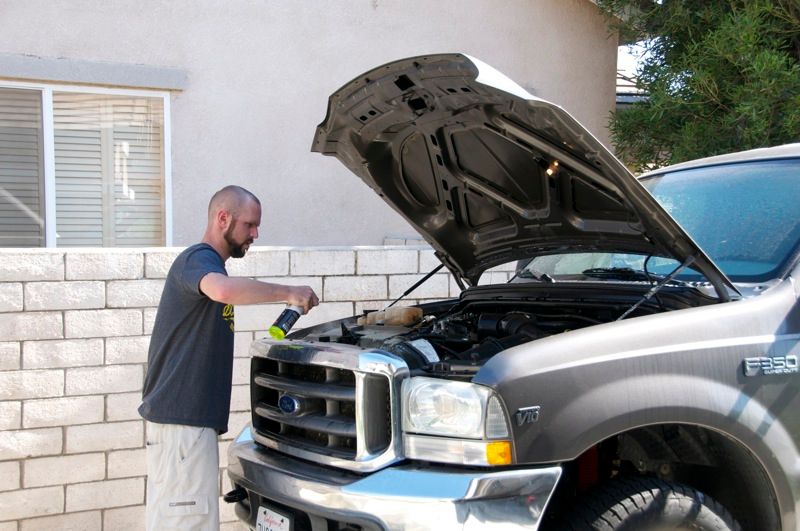
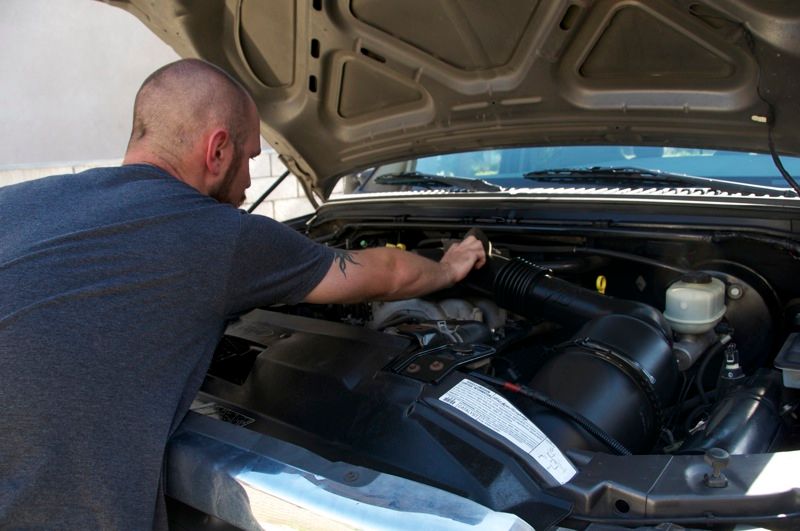
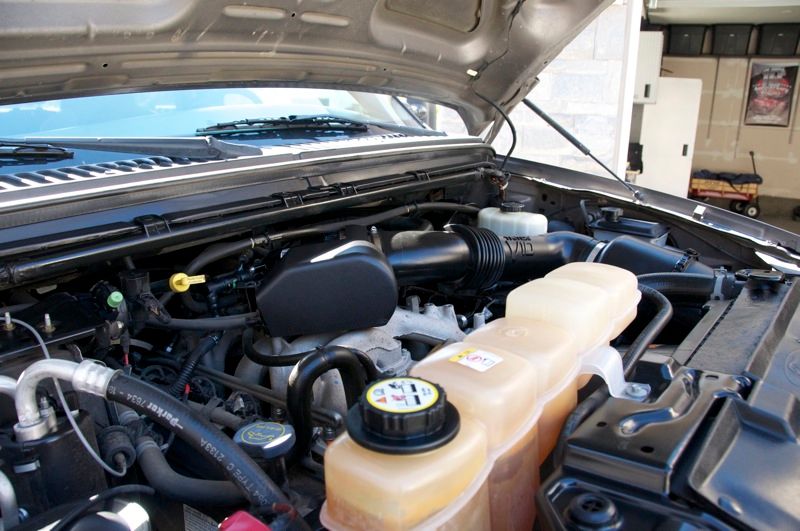
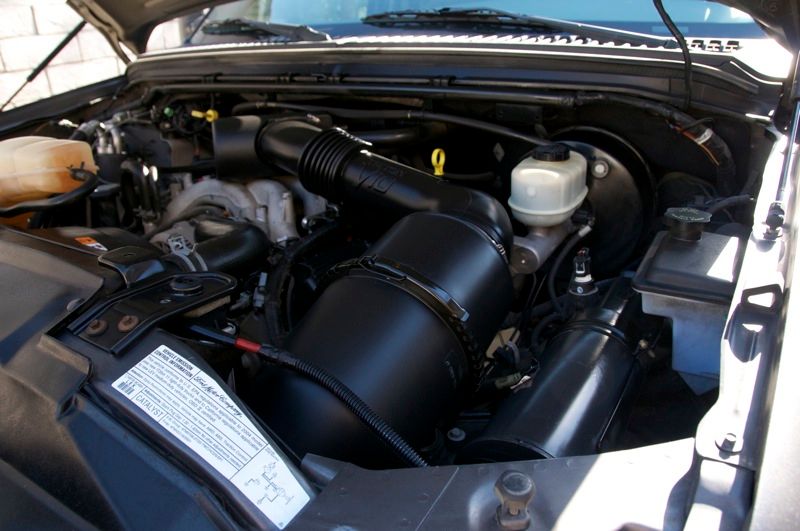
Popped the hood and the heat from the engine did a good job of drying almost everything up, what remained was addressed with the blaster sidekick, waterless wash, and waterless wash towels.
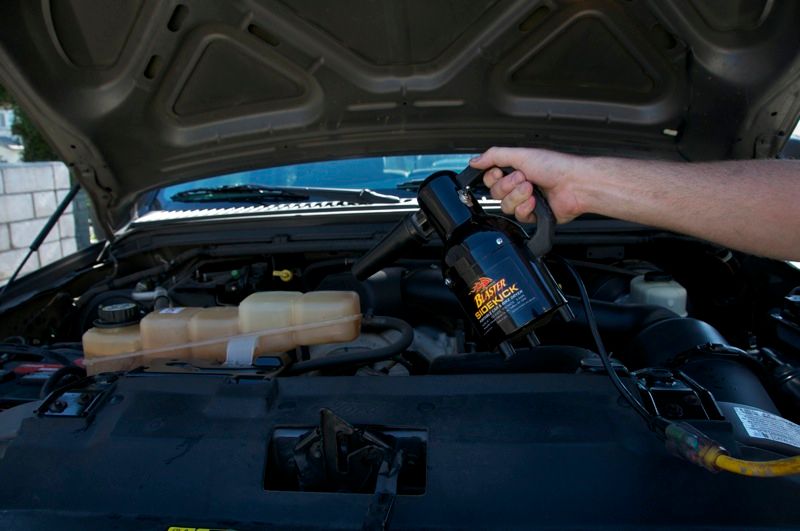
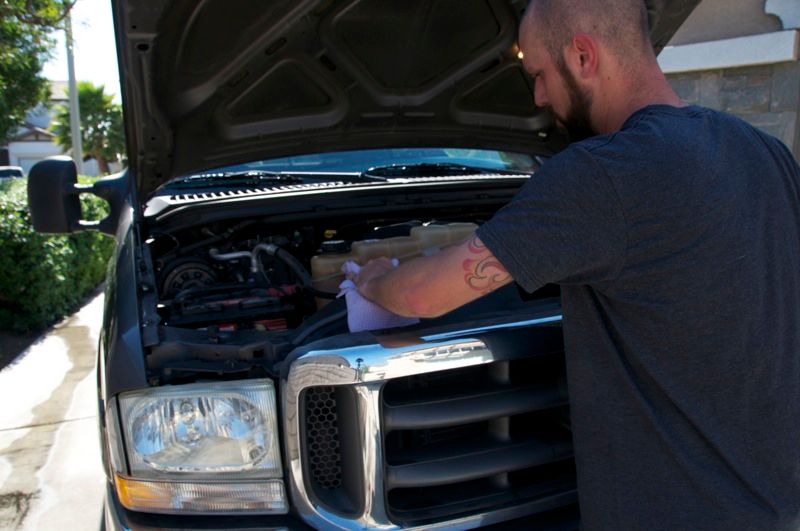
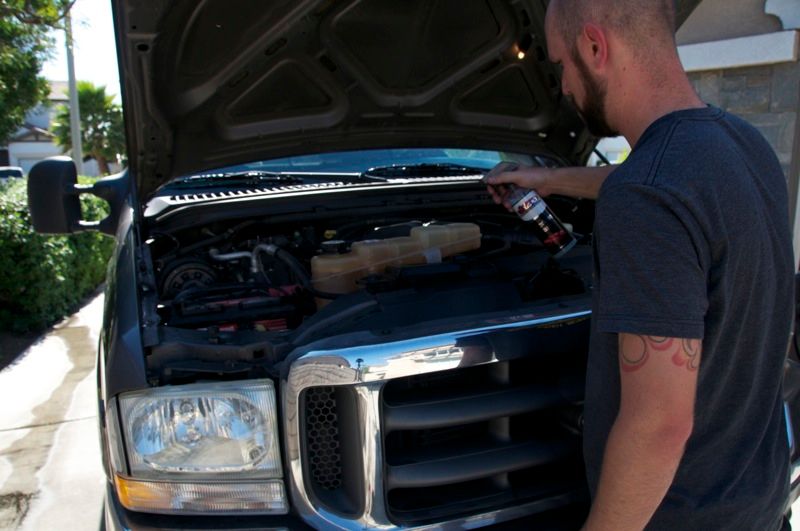
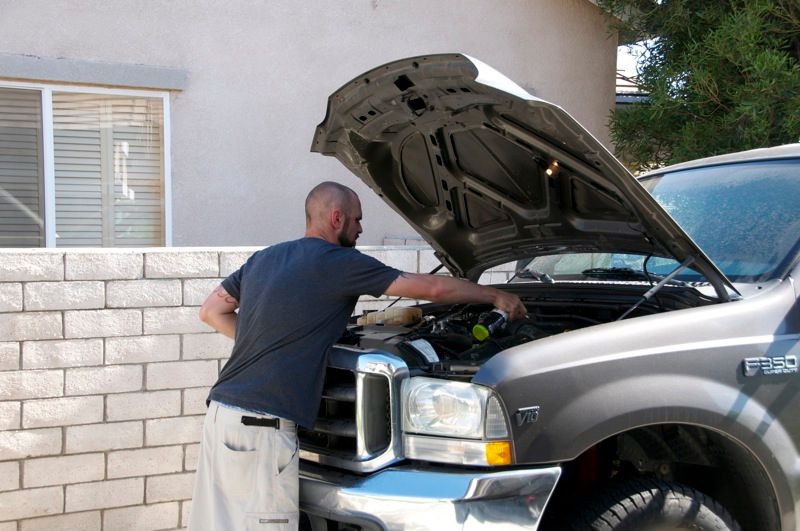
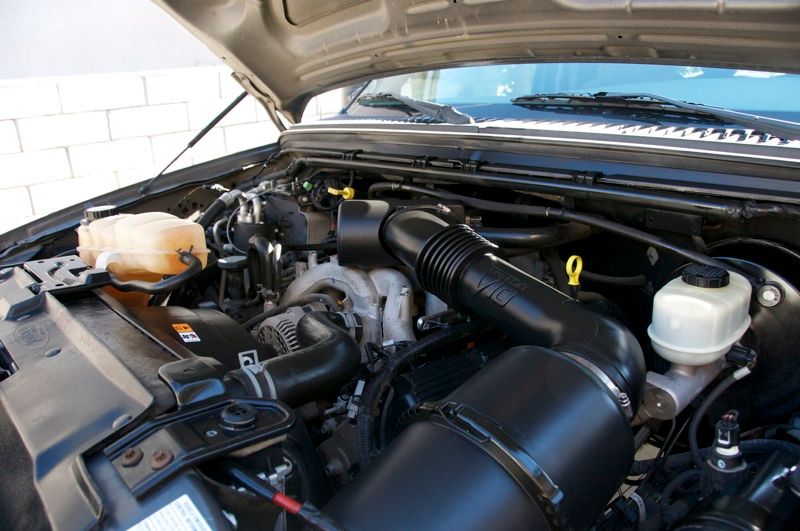
Time to make it shine... the engine bay was treated with a combination of In & Out Spray, Super VRT, and block sponges

The finished results were awesome! Not bad for a truck sporting 6 digits on the odometer!! Not everything came back good as new, but I was more than happy with the turn around.
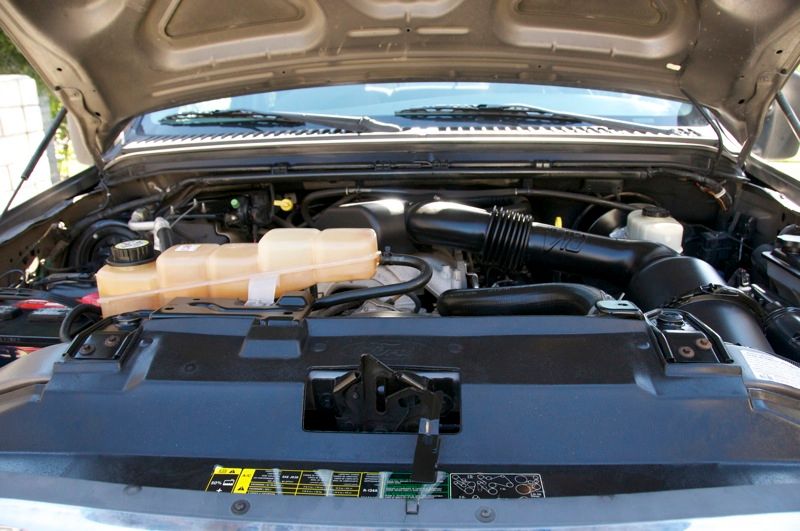
I called it a day at this point, lots of rest needed for an early Saturday morning with lots of paint correction!!
Water break was nice, but it didn't feel right detailing without a brew
AHHHHHH! Thats better!
Popped the hood and the heat from the engine did a good job of drying almost everything up, what remained was addressed with the blaster sidekick, waterless wash, and waterless wash towels.
Time to make it shine... the engine bay was treated with a combination of In & Out Spray, Super VRT, and block sponges
The finished results were awesome! Not bad for a truck sporting 6 digits on the odometer!! Not everything came back good as new, but I was more than happy with the turn around.
I called it a day at this point, lots of rest needed for an early Saturday morning with lots of paint correction!!
Trending Topics
07-05-2011, 01:43 PM
#8
FormerVendor
Thread Starter
DAY 3 - Saturday:
The day starts with a decision to use a mixture of APC and Car Wash for the first round of decontamination. After inspecting the paint closely there are all manner of issues, including what appears to be tar or sap dried in various areas. Also wanting to strip the trim and plastics of any oily dressings it seemed like a good choice.
In my Foam gun I went with a mixture that included about 6oz of All Purpose Cleaner, combined with 2oz of Car Wash to give the foam some lubricity. The mixture was very effective at stripping and foamed extremely well.
Taking the pH level out of balance with the APC ensured it would completely strip everything in one shot. Just needed to be sure not to allow the mix to dry on the paint or risk damage.
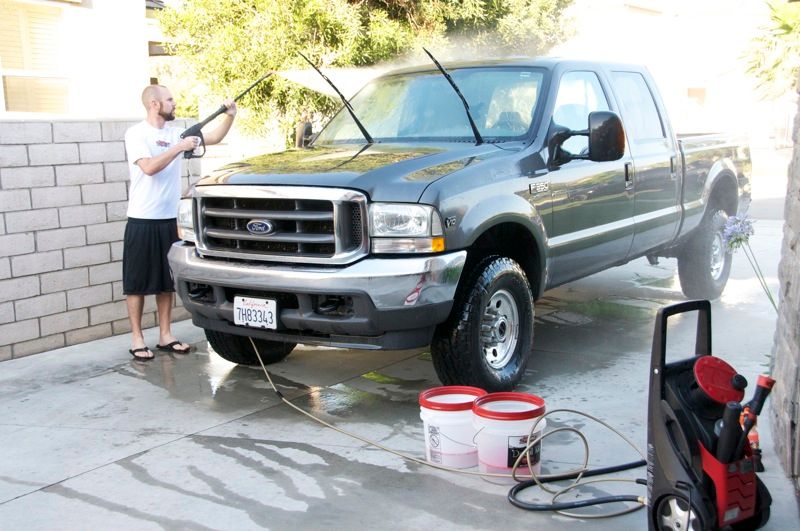
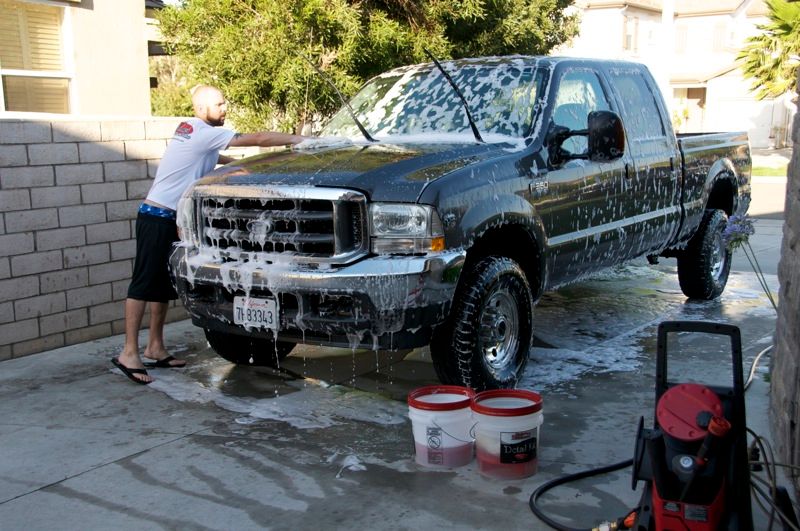
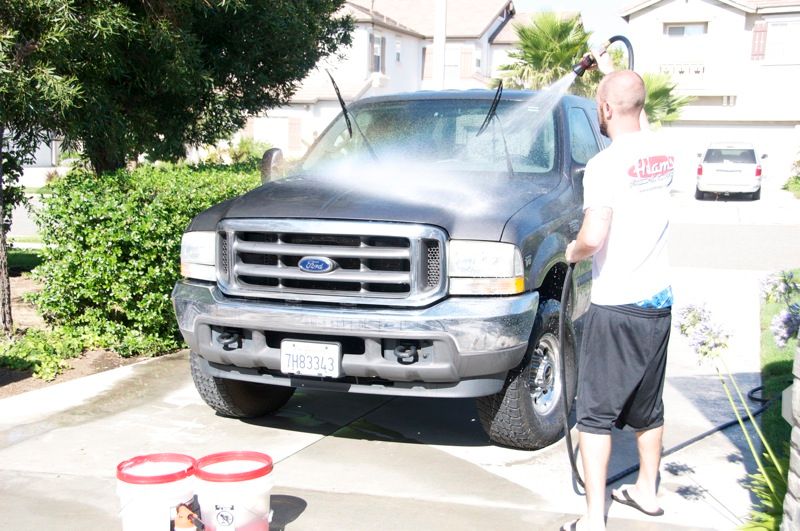
Opting for the pressure washer again I started by rinsing everything very well.
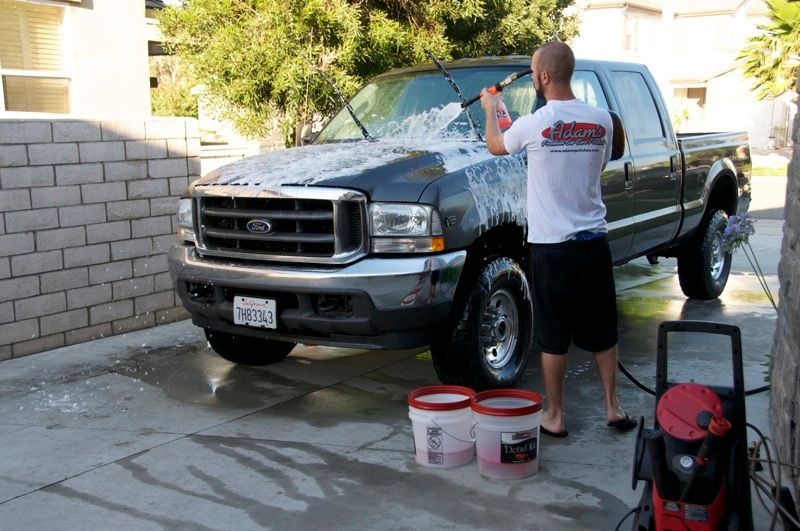
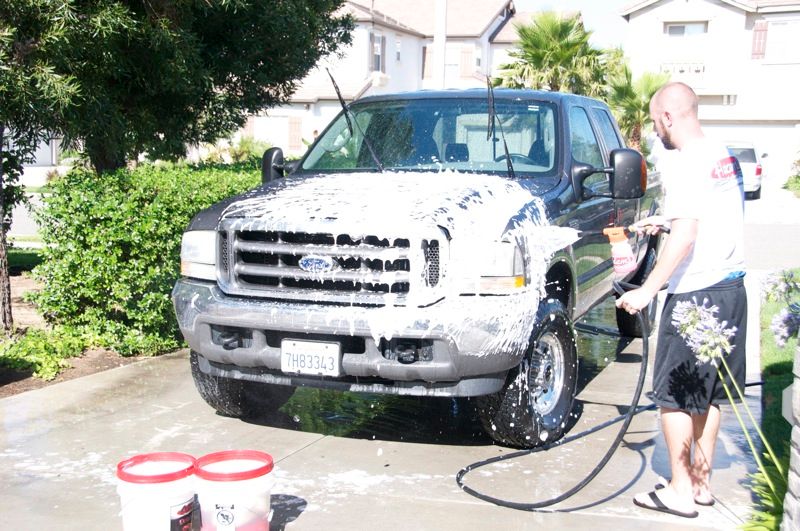
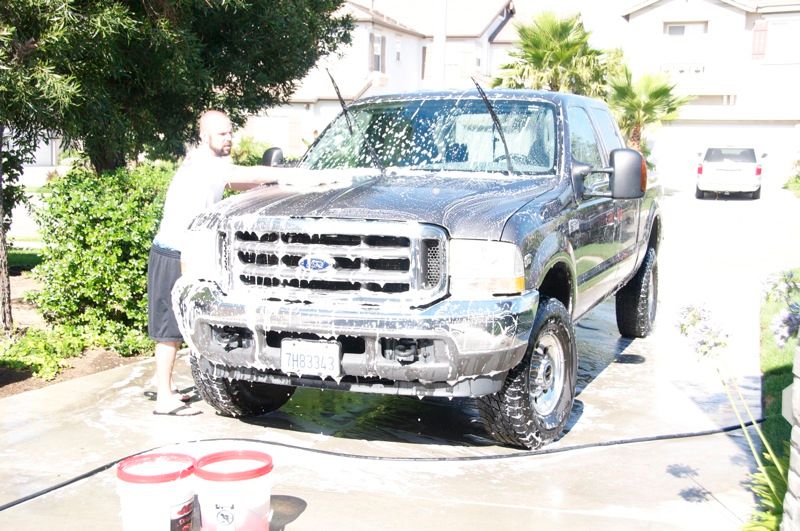
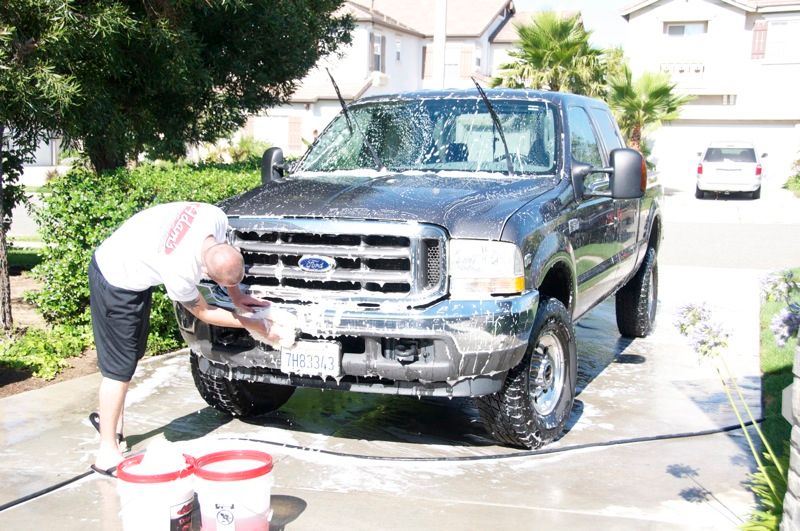
Next the truck was foamed using my APC/Car Wash mixture
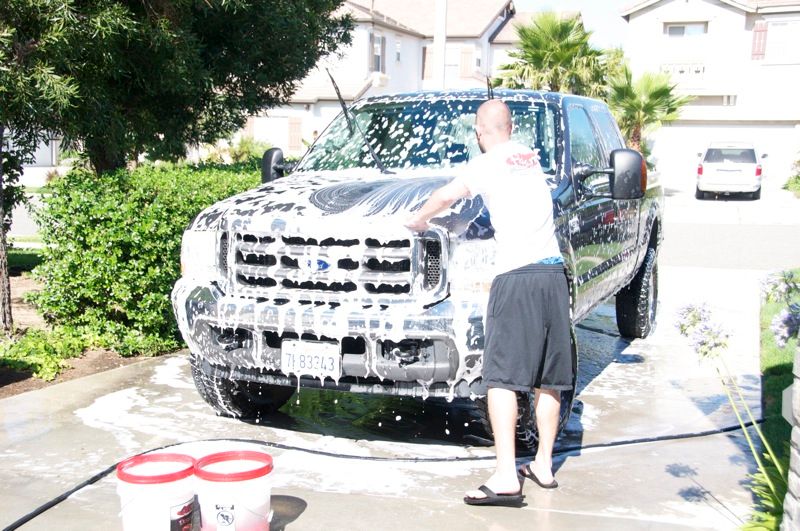
2 bucket wash method was followed, and 3 wash pads were used. 1 Jumbo for the upper 2/3rds, a standard for the lower 1/3rd, and a separate mit for the front end/grill which was heavily contaminated with bugs
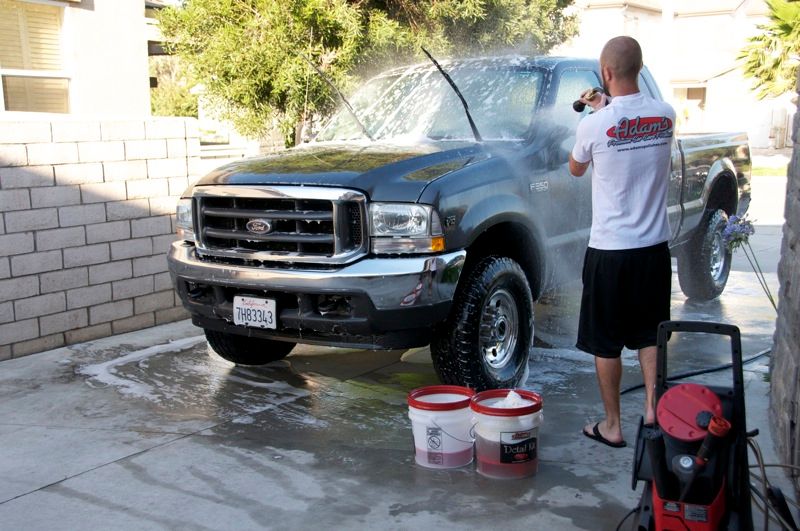
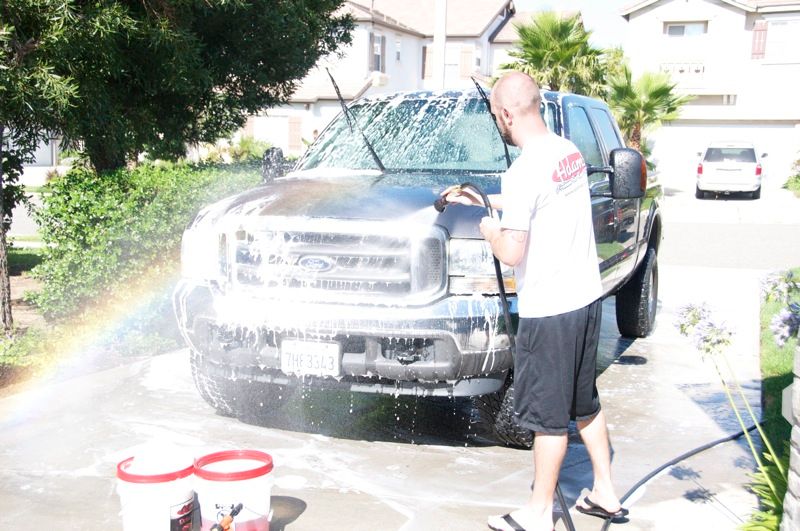
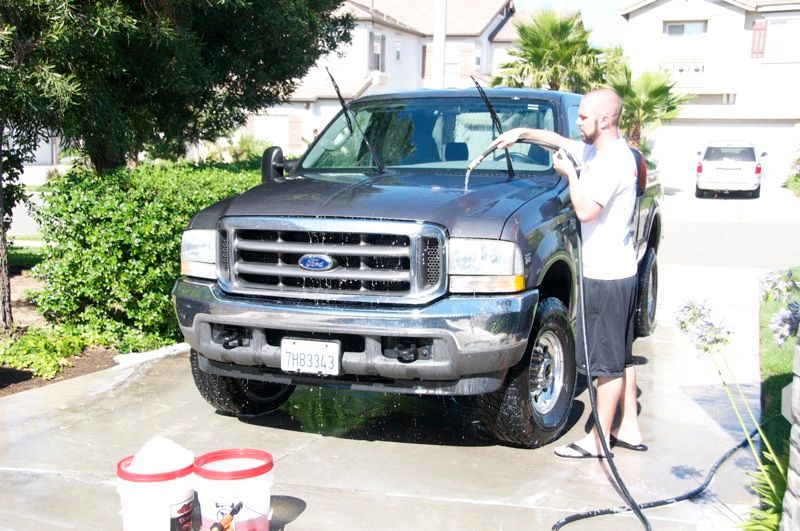
Switching over to the ultimate fire hose nozzle everything was rinsed
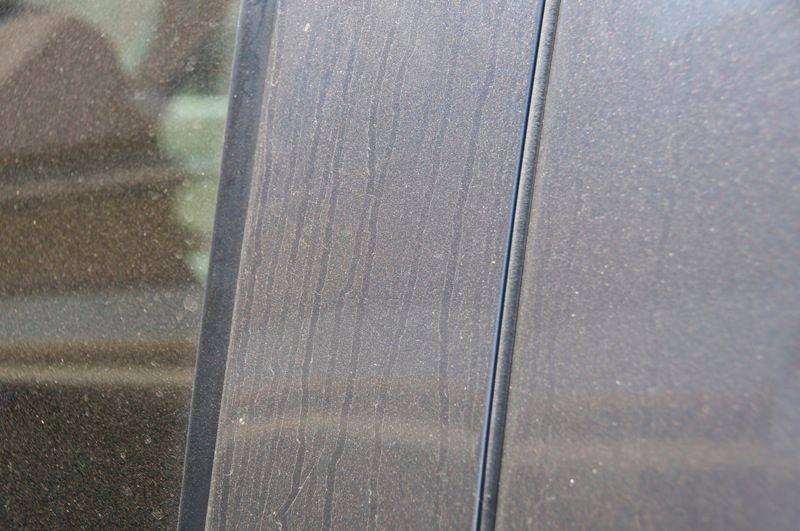
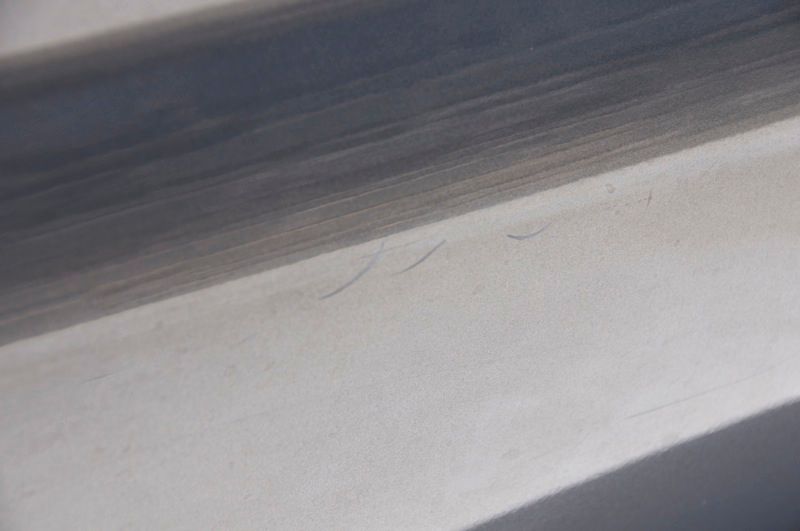
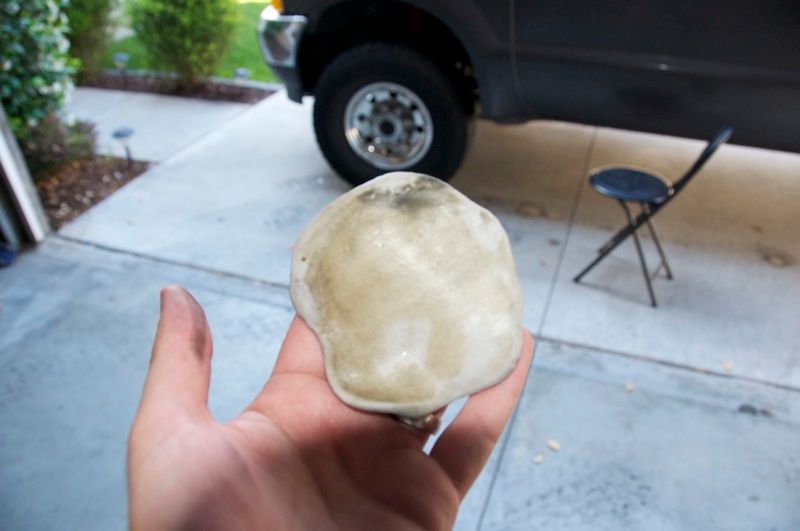
I quickly towel and Detail Spray dried the truck and got to work with the clay. The shade was shrinking quickly and the temps were climbing.
From just one test spot you can see this paint was NASTY!!
Back to the hose and 2 bucket wash to get the clay residue off of the paint. So much junk was pulled off that I was not going to risk going over the top of the residue. 2 new wash pads were used for this wash to avoid cross contamination from the APC mixture in the strip wash.
Started with a good rinsing
Then foamed using a mixture of 4oz Adam's Car Wash Shampoo
Separate mit was used for the lower sections again
One last good rinsing with the ultimate fire hose nozzle, then the truck was sheet rinsed to eliminated standing water
With shade rapidly disappearing the E-Z up was deployed while I got the water out of all the trim, cracks and crevices with the Blaster Sidekick
The remaining water was towel dried with a great white drying towel and waterless wash as a drying agent.
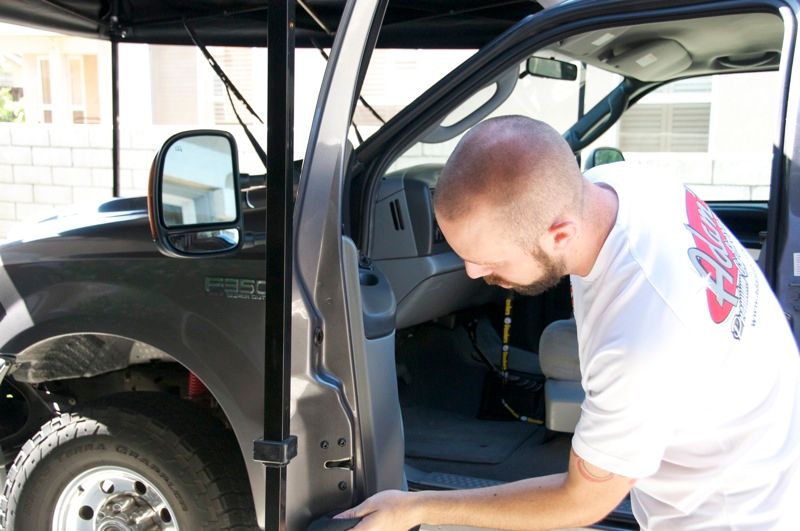
The door jambs were wiped down using waterless wash and a edgeless utility towel
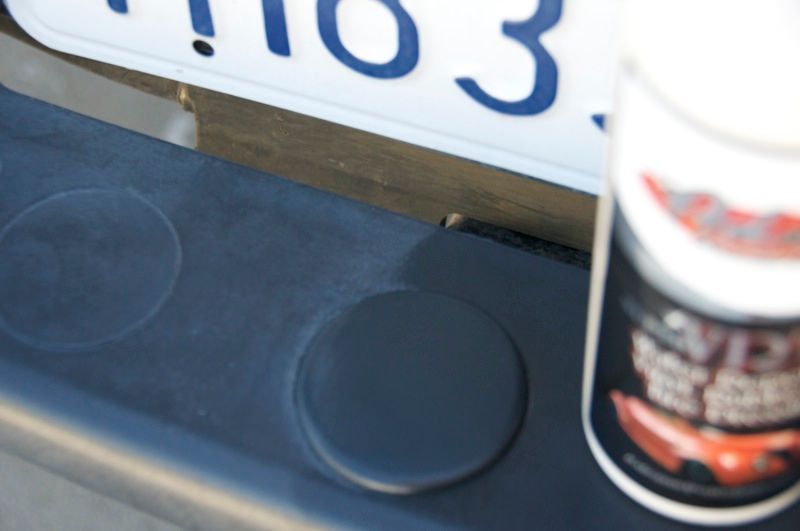
Knowing the trim was already going to take multiple applications of Super VRT to restore I opted to apply the first coat before beginning paint correction. This step also helps save me time later as I wont need to tape off.
The day starts with a decision to use a mixture of APC and Car Wash for the first round of decontamination. After inspecting the paint closely there are all manner of issues, including what appears to be tar or sap dried in various areas. Also wanting to strip the trim and plastics of any oily dressings it seemed like a good choice.
In my Foam gun I went with a mixture that included about 6oz of All Purpose Cleaner, combined with 2oz of Car Wash to give the foam some lubricity. The mixture was very effective at stripping and foamed extremely well.
Taking the pH level out of balance with the APC ensured it would completely strip everything in one shot. Just needed to be sure not to allow the mix to dry on the paint or risk damage.
Opting for the pressure washer again I started by rinsing everything very well.
Next the truck was foamed using my APC/Car Wash mixture
2 bucket wash method was followed, and 3 wash pads were used. 1 Jumbo for the upper 2/3rds, a standard for the lower 1/3rd, and a separate mit for the front end/grill which was heavily contaminated with bugs
Switching over to the ultimate fire hose nozzle everything was rinsed
I quickly towel and Detail Spray dried the truck and got to work with the clay. The shade was shrinking quickly and the temps were climbing.
From just one test spot you can see this paint was NASTY!!
Back to the hose and 2 bucket wash to get the clay residue off of the paint. So much junk was pulled off that I was not going to risk going over the top of the residue. 2 new wash pads were used for this wash to avoid cross contamination from the APC mixture in the strip wash.
Started with a good rinsing
Then foamed using a mixture of 4oz Adam's Car Wash Shampoo
Separate mit was used for the lower sections again
One last good rinsing with the ultimate fire hose nozzle, then the truck was sheet rinsed to eliminated standing water
With shade rapidly disappearing the E-Z up was deployed while I got the water out of all the trim, cracks and crevices with the Blaster Sidekick
The remaining water was towel dried with a great white drying towel and waterless wash as a drying agent.
The door jambs were wiped down using waterless wash and a edgeless utility towel
Knowing the trim was already going to take multiple applications of Super VRT to restore I opted to apply the first coat before beginning paint correction. This step also helps save me time later as I wont need to tape off.
07-05-2011, 01:43 PM
#9
FormerVendor
Thread Starter
Treating trim BEFORE polishing or waxing creates a sort of barrier that wax/polish residue won't stick to, making it easier to wipe away. Also I could get sloppy with the application. If any Super VRT residue was left on the paint or glass it would be removed during the polishing stages.
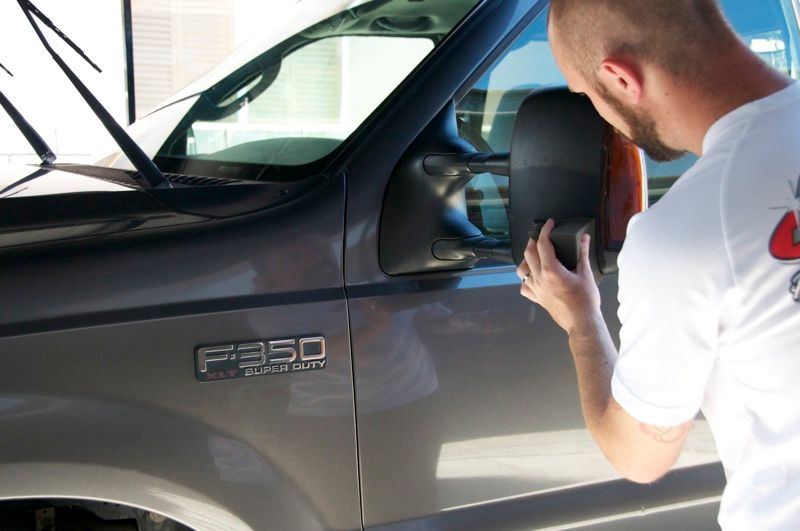

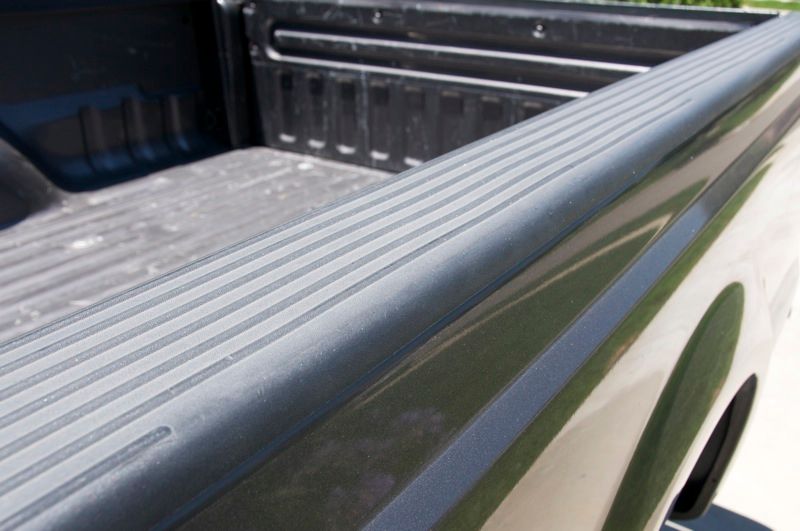
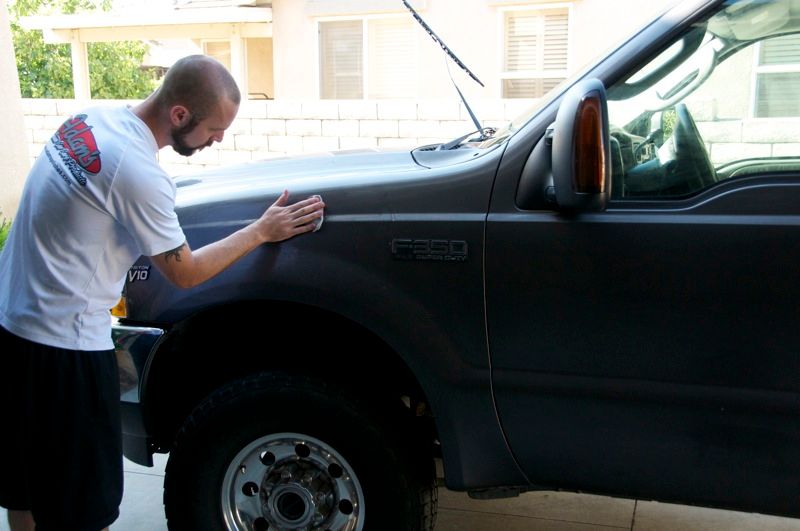
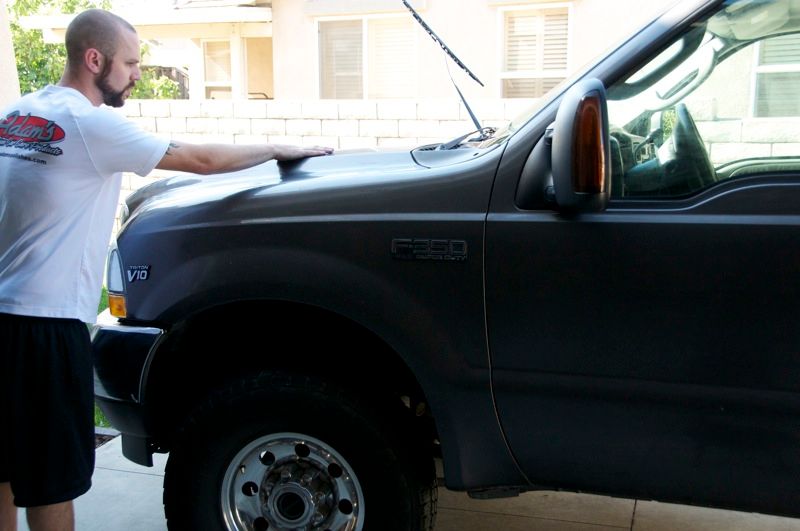
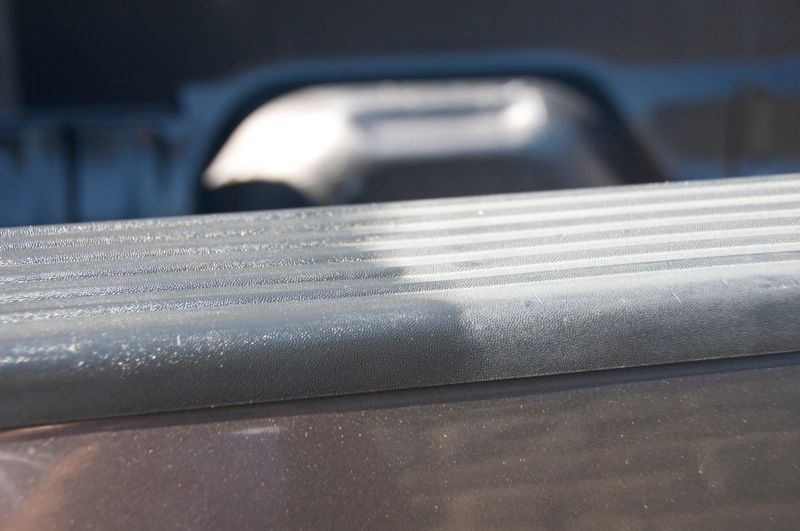
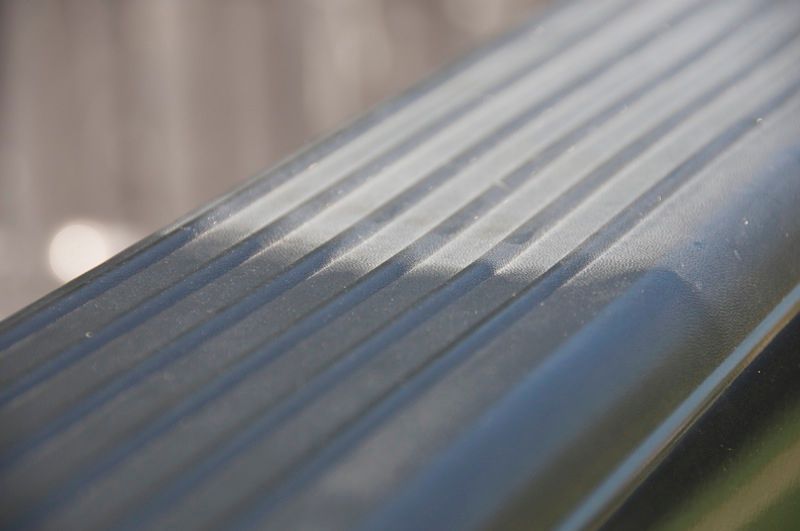
The tops of the bed rails were especially dry and chalky... Super VRT restored them to a nice sheen
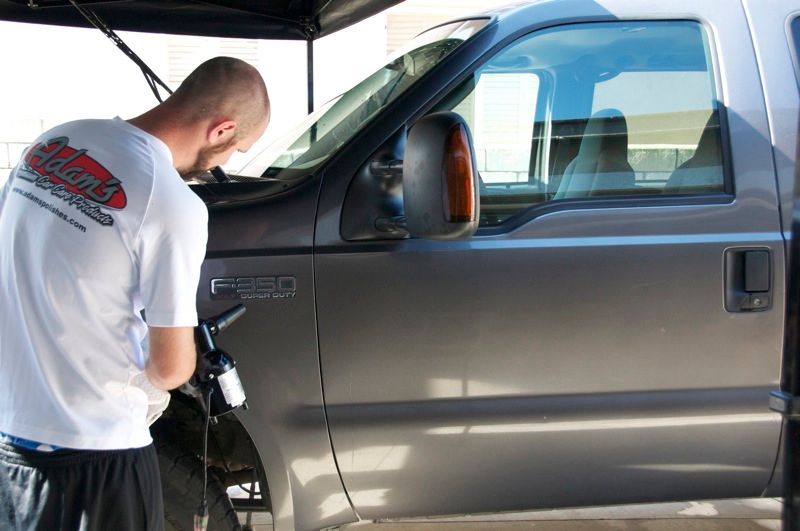
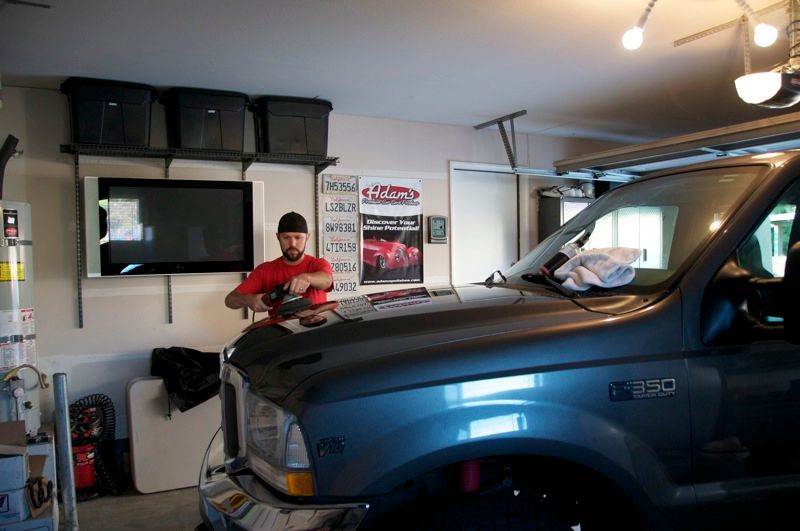
With the trim dressed it was time to start on the paint. Being that there were so many areas in need of focus pad work I started there first, going around the truck and attacking each of the deeper scratches and scuffs with the green 4" pad and Severe Swirl Remover on my cordless drill. Each area was then hit with the orange 4" pad and Swirl & Haze Remover.
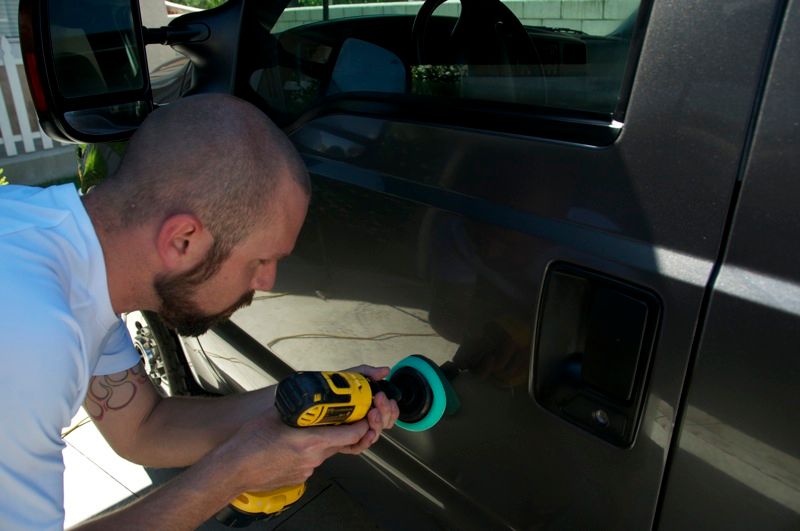
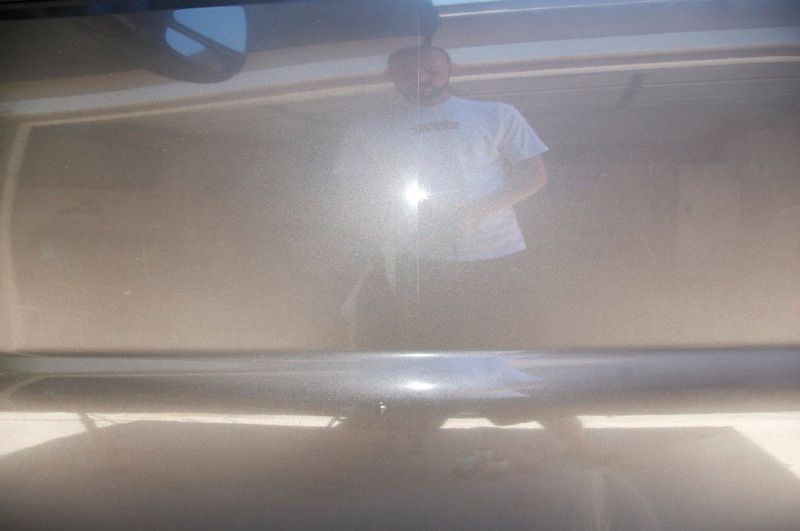
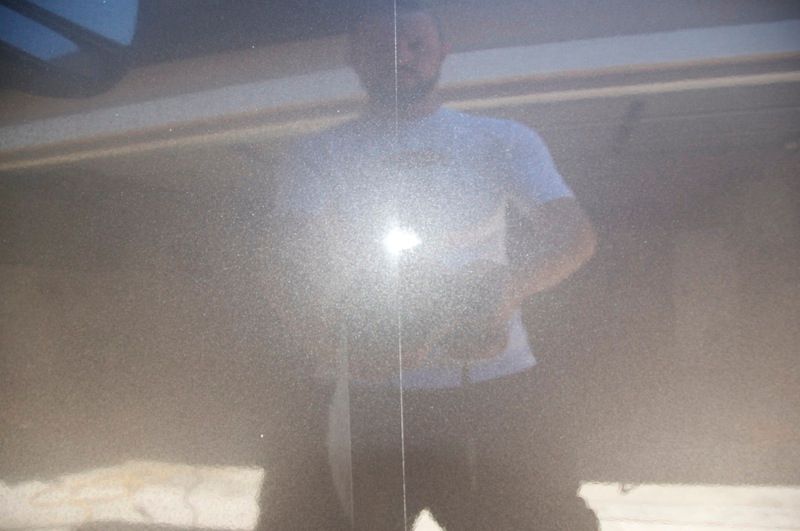
Once I was satisfied that I had reduced the major defects to a point that the flex could handle the remainder or a scratch was too deep to be completely corrected I designated the drivers door as my test panel. This part of the truck seemed to have the worst of the water etching and swirl marks.
I began by taping off a section so I could monitor my progress
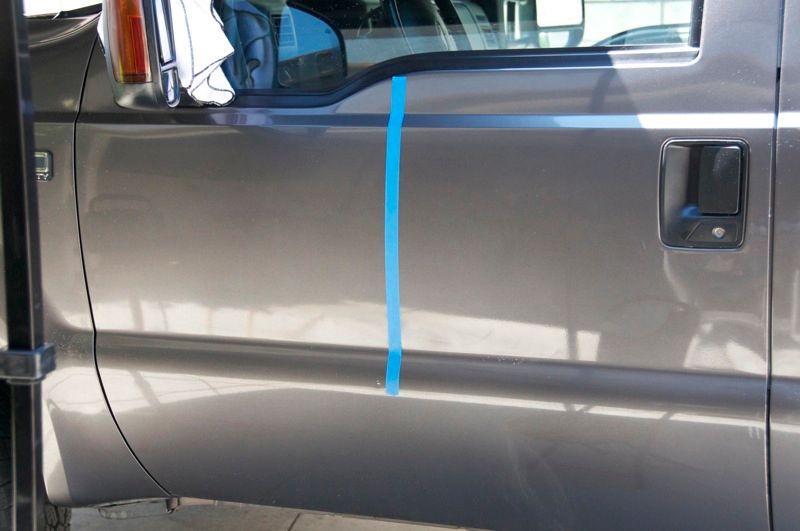
The section was then hit with the Green Flex Pad + Severe Swirl Remover, followed by 2 passes of Orange Flex Pad + Swirl & Haze Remover, and finished with the White Flex Pad and Fine Machine Polish:
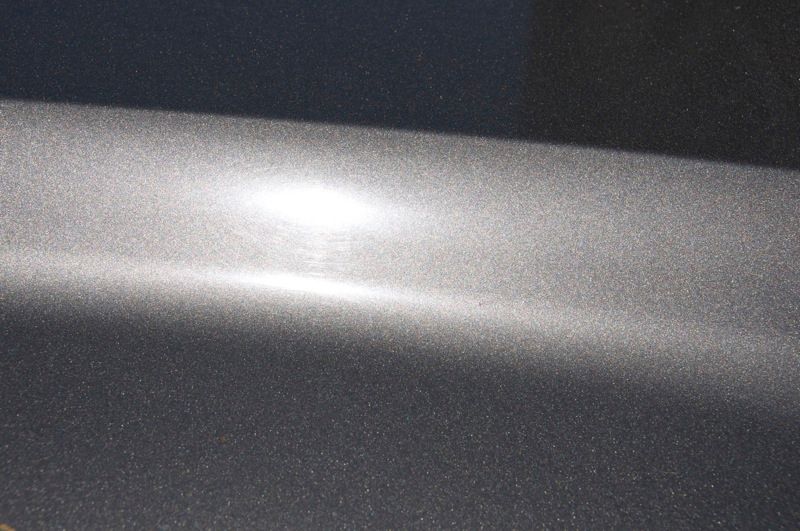
The metallics made it difficult to capture all the defects, but the diffusion of the flash alone shows what a difference the process made in clarifying the paint.
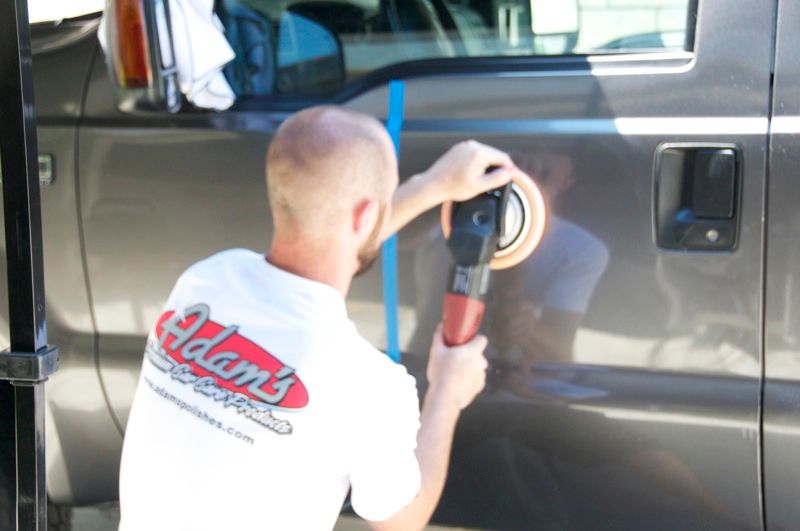
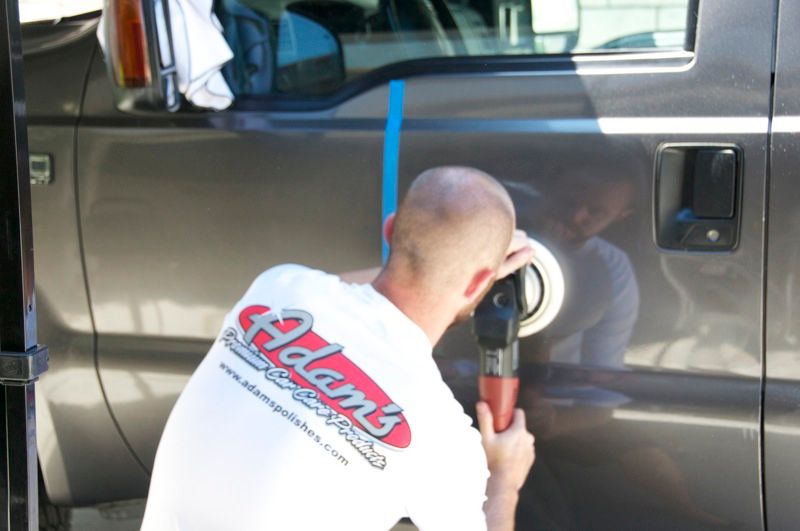
Satisfied I had identified my process I proceeded to polish the entire truck, panel by panel using the same method.
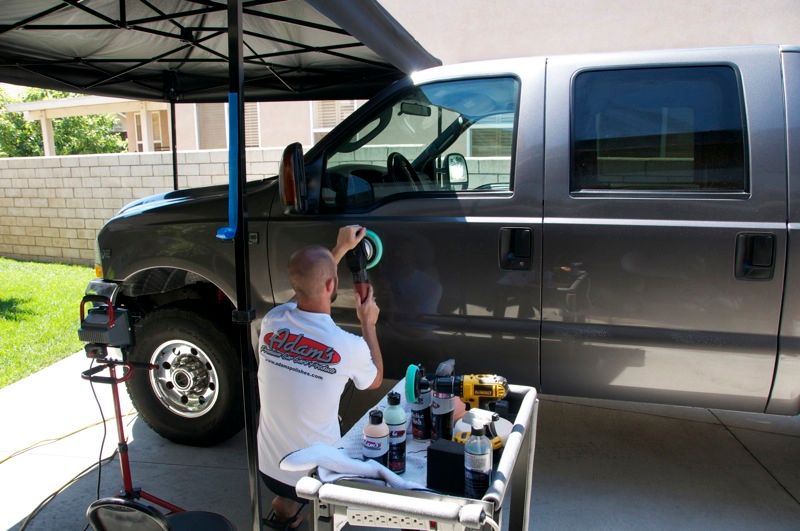
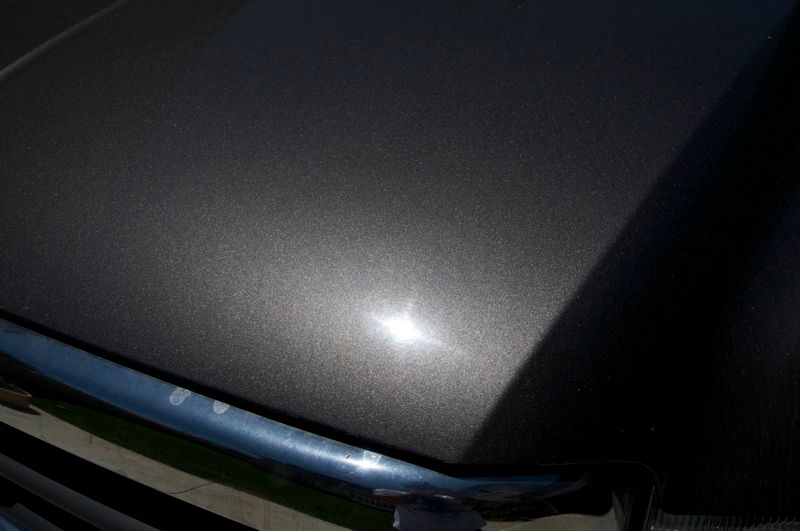
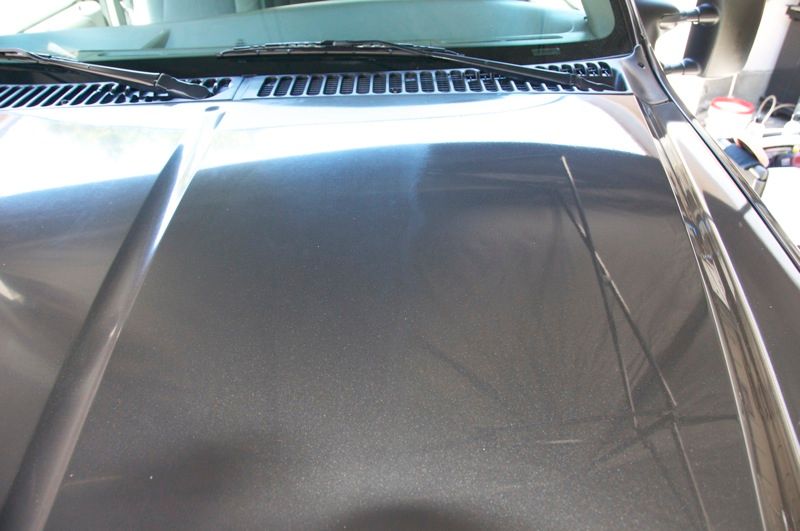
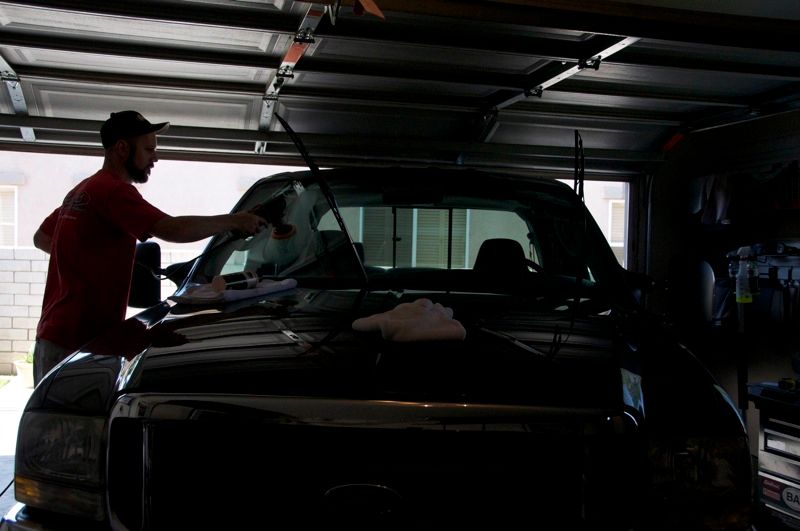
The difference in paint clarity was very obvious once I completed a section of the hood
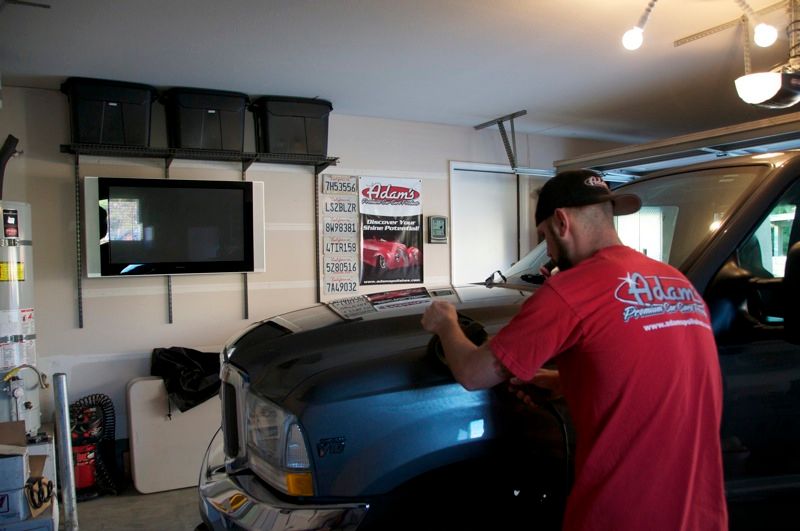
Temps rapidly climbing to triple digits I moved the truck fully into the garage and continued working. To counteract the heat of the panels and the machine I sprayed each panel with distilled ice water and wiped with a clean single soft towel before polishing. This slowed the speed at which the polish dried out and allowed me to work with less dusting.
Knowing I was asking a lot of the flex to work so hard, for so long, in these temps I had an icechest nearby with cold packs inside. When the machine began to get too hot and transfer that heat to the pads I would shut it off and allow it to sit closed in the icechest for a few minutes to reduce the temps.
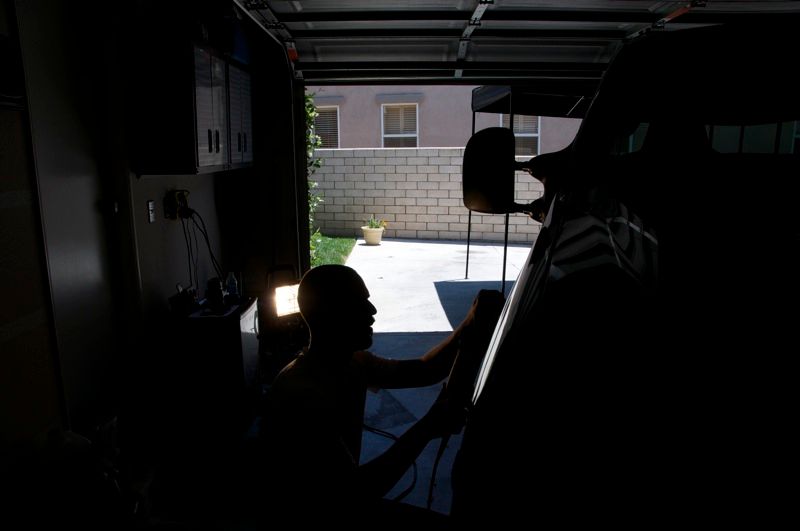
Also working under my 500w halogen made it easier to monitor progress as I worked.
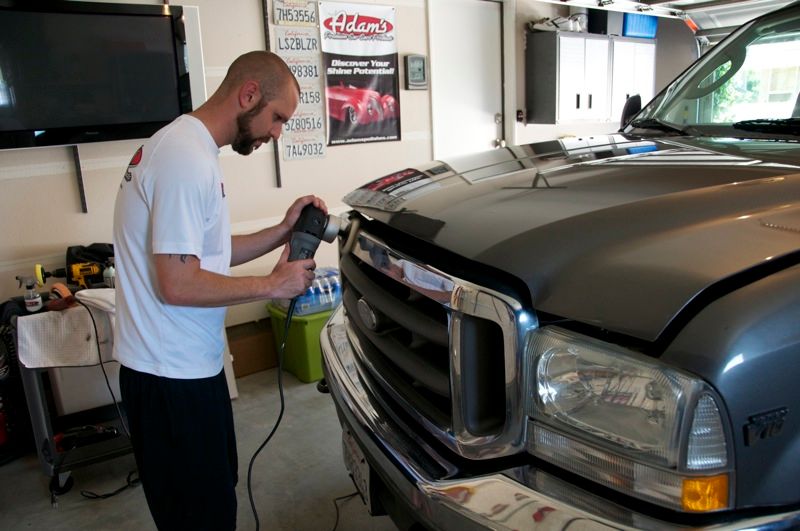
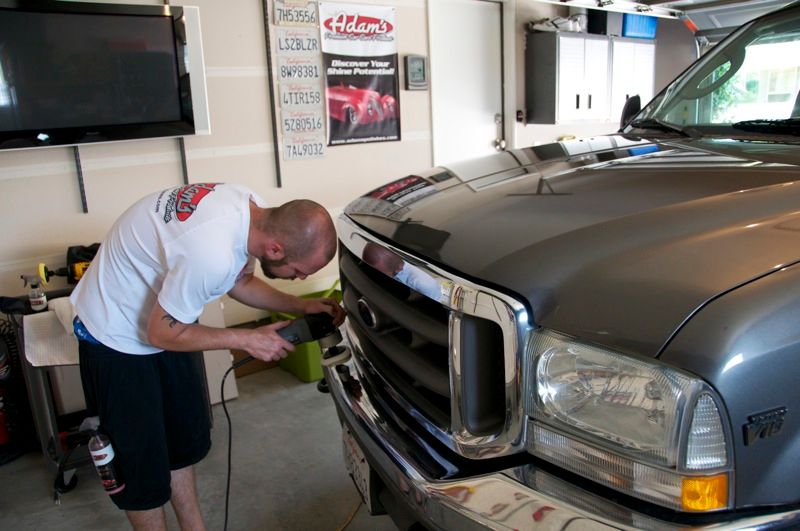
Smaller sections like the pillars, around badges, and the front grill were polished using the 4" pads on the porter cable
The tops of the bed rails were especially dry and chalky... Super VRT restored them to a nice sheen
With the trim dressed it was time to start on the paint. Being that there were so many areas in need of focus pad work I started there first, going around the truck and attacking each of the deeper scratches and scuffs with the green 4" pad and Severe Swirl Remover on my cordless drill. Each area was then hit with the orange 4" pad and Swirl & Haze Remover.
Once I was satisfied that I had reduced the major defects to a point that the flex could handle the remainder or a scratch was too deep to be completely corrected I designated the drivers door as my test panel. This part of the truck seemed to have the worst of the water etching and swirl marks.
I began by taping off a section so I could monitor my progress
The section was then hit with the Green Flex Pad + Severe Swirl Remover, followed by 2 passes of Orange Flex Pad + Swirl & Haze Remover, and finished with the White Flex Pad and Fine Machine Polish:
The metallics made it difficult to capture all the defects, but the diffusion of the flash alone shows what a difference the process made in clarifying the paint.
Satisfied I had identified my process I proceeded to polish the entire truck, panel by panel using the same method.
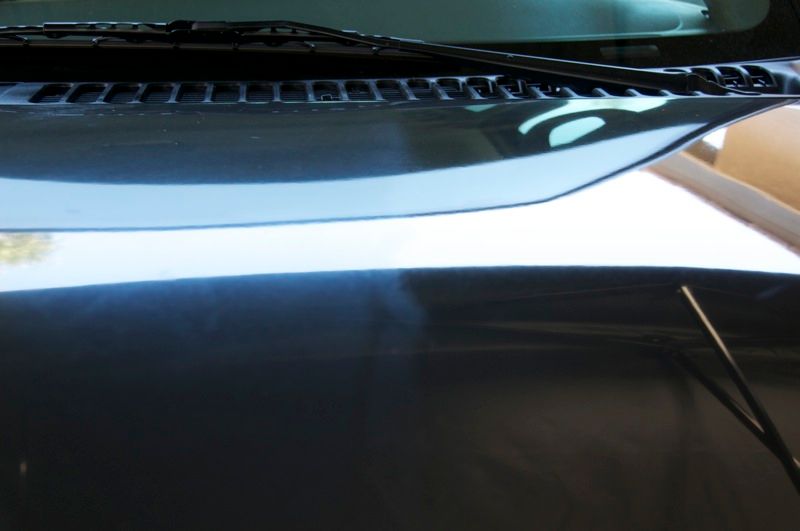
The difference in paint clarity was very obvious once I completed a section of the hood
Temps rapidly climbing to triple digits I moved the truck fully into the garage and continued working. To counteract the heat of the panels and the machine I sprayed each panel with distilled ice water and wiped with a clean single soft towel before polishing. This slowed the speed at which the polish dried out and allowed me to work with less dusting.
Knowing I was asking a lot of the flex to work so hard, for so long, in these temps I had an icechest nearby with cold packs inside. When the machine began to get too hot and transfer that heat to the pads I would shut it off and allow it to sit closed in the icechest for a few minutes to reduce the temps.
Also working under my 500w halogen made it easier to monitor progress as I worked.
Smaller sections like the pillars, around badges, and the front grill were polished using the 4" pads on the porter cable
07-05-2011, 01:44 PM
#10
FormerVendor
Thread Starter
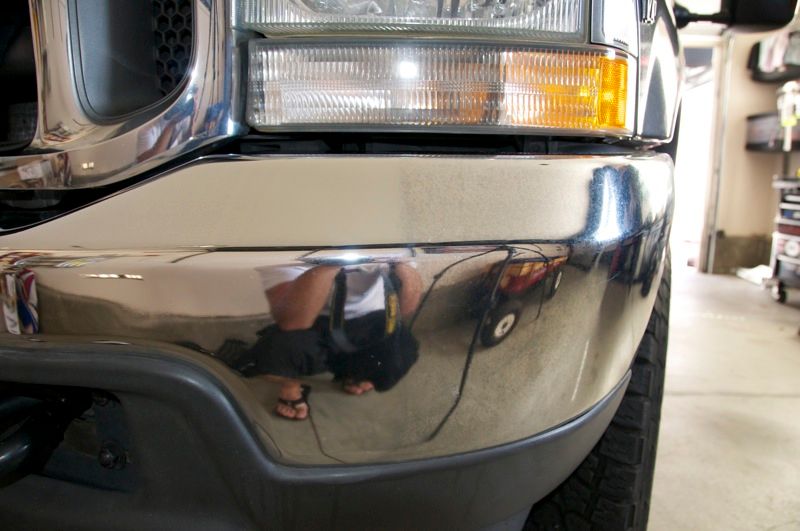
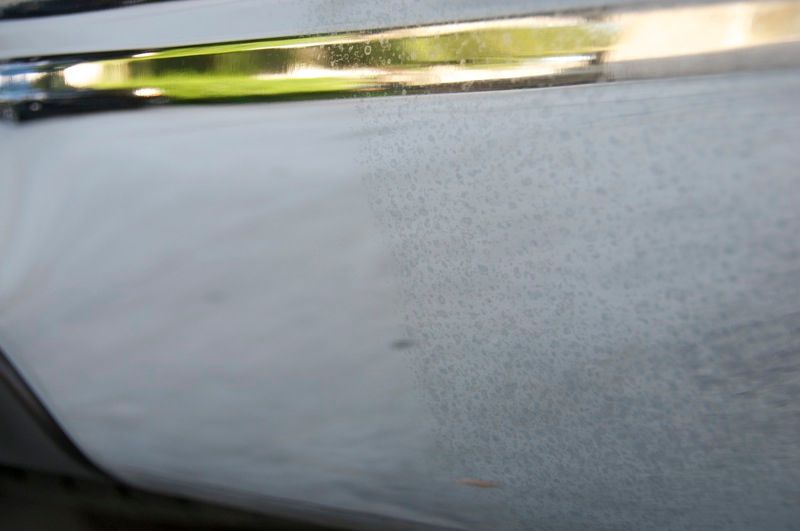
Once the paint was completed it was time to turn my attention to the chrome bumpers. Both had SEVERELY bad water staining that the claybar didn't help much. A mixture of vinegar was tried as well with little result.
Using a couple of old 4" white pads on the PC I used Metal Polish #1 followed by Metal Polish #2 and the bumpers came out perfect
A clear 50/50 shot of the before and after
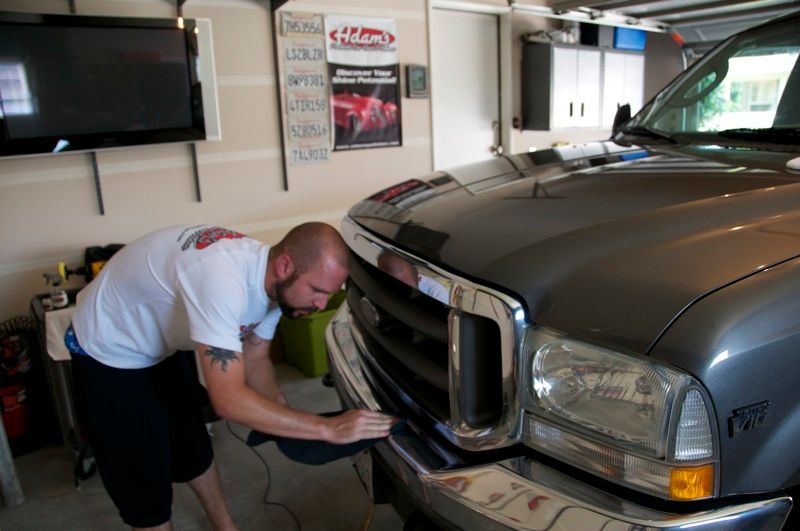
After polishing with both steps I removed the residue with a fresh edgeless utility towel
At this point I had been working on the truck for 11 hours... time to call it a night, and enjoy some time with my wife and son. Another early start awaits me on Sunday if I'm gonna finish this thing!!
DAY 4 - Sunday:
When my alarm went off at 5:45 I had a "what have I started?" moment. A cup of coffee and I was ready to get going.
Since the truck had been inside overnight it was still clean, but to be sure I started with a Waterless Wash/Waterless Towel wipe down to get any dust that may have settled off of the surface
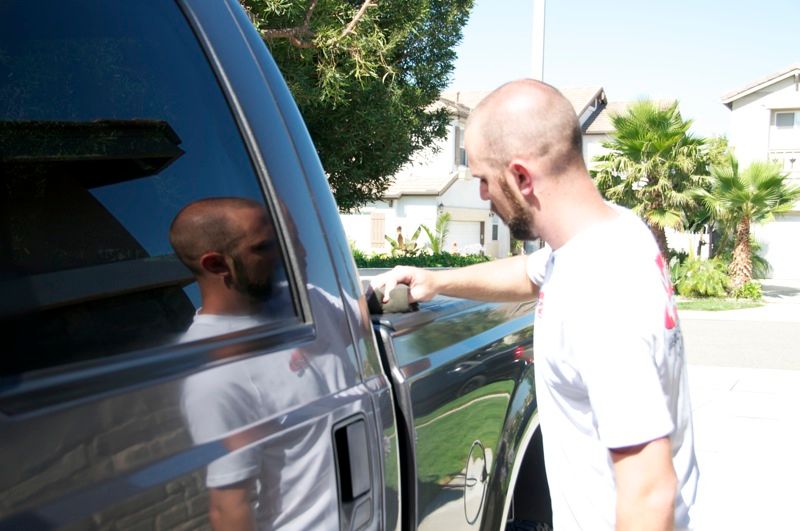
While doing the waterless wipe down I noticed some areas where the Fine Machine Polish had not come off cleanly. I've experienced this in the past when trying to correct paint in high heat. My solution is to use a Grey Porter Cable Waxing pad with Revive Polish. The paint cleaning properties of Revive clean up any leftover Fine Machine Polish and everything removes from the paint easily with a single soft towel
Now I'm starting to see that reflection I'm after!!

Paint as I wanted it (again) I picked up where I left off the day before - the bumpers. Again with a pair of spare 4" white pads and the porter cable I put Metal Polish #1 and Metal Polish #2 thru their paces... I was even more blown away by the results on the rear bumper. Keep in mind this is an area that had been washed, clayed, and wiped with vinegar to remove the water spots prior to this, but MP 1 & 2 got the job done!
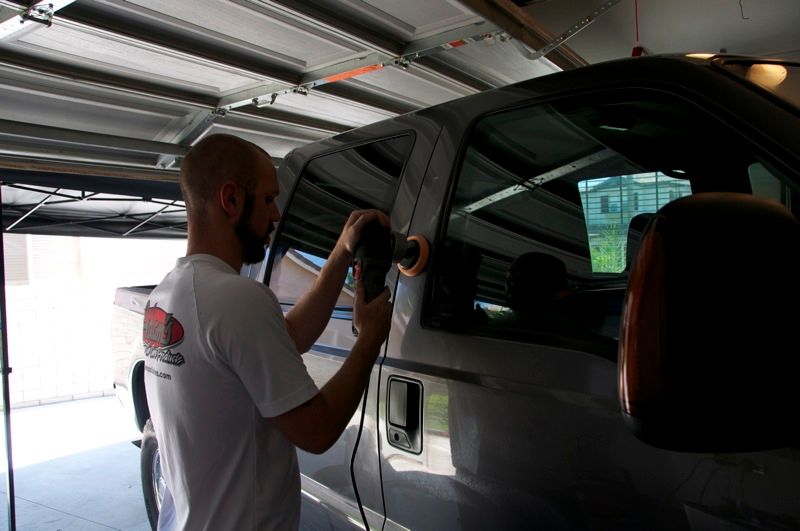
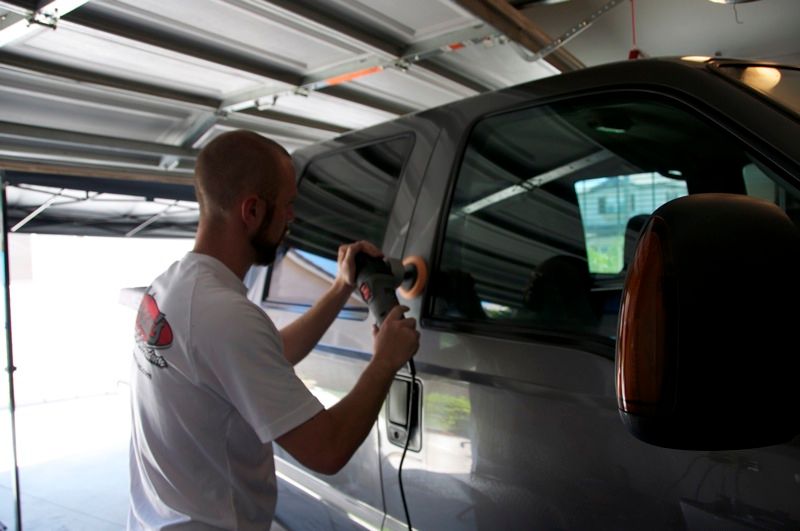
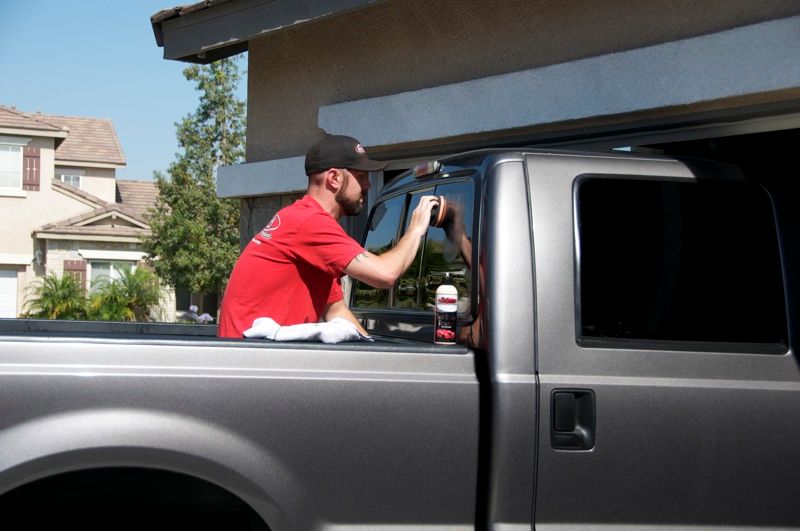
Next was the glass... the water spots (like the on the bumpers) were unaffected by clay and vinegar... so the 4" orange pad went onto the porter cable and the windows were all buffed with Swirl & Haze Remover which worked perfectly.
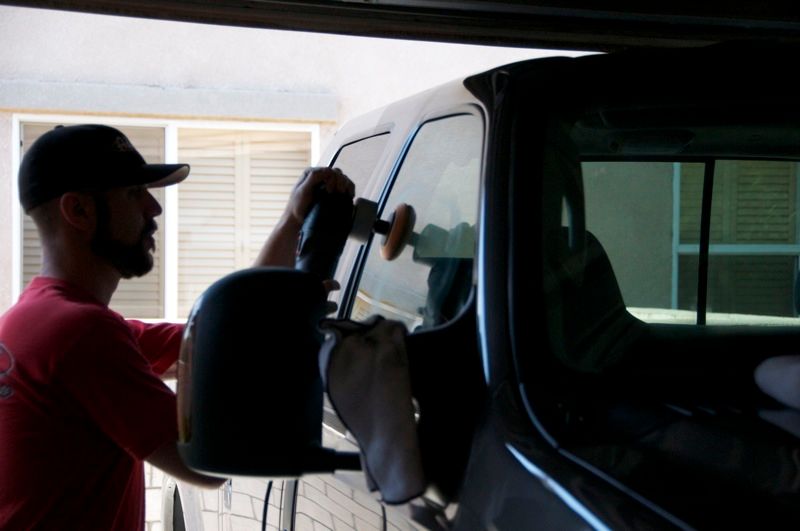

The rear window only had some hazing and small spots, the orange hex grip applicator with Swirl & Haze Remover did the job there
Interior and exterior windows got a wipe down with Adam's Glass Cleaner and a microfiber glass towel
All the polishing had left some polish dust in various areas, I used the blaster sidekick to blow the dust from the finish and out of the crevices.
Using a couple of old 4" white pads on the PC I used Metal Polish #1 followed by Metal Polish #2 and the bumpers came out perfect
A clear 50/50 shot of the before and after
After polishing with both steps I removed the residue with a fresh edgeless utility towel
At this point I had been working on the truck for 11 hours... time to call it a night, and enjoy some time with my wife and son. Another early start awaits me on Sunday if I'm gonna finish this thing!!
DAY 4 - Sunday:
When my alarm went off at 5:45 I had a "what have I started?" moment. A cup of coffee and I was ready to get going.
Since the truck had been inside overnight it was still clean, but to be sure I started with a Waterless Wash/Waterless Towel wipe down to get any dust that may have settled off of the surface
While doing the waterless wipe down I noticed some areas where the Fine Machine Polish had not come off cleanly. I've experienced this in the past when trying to correct paint in high heat. My solution is to use a Grey Porter Cable Waxing pad with Revive Polish. The paint cleaning properties of Revive clean up any leftover Fine Machine Polish and everything removes from the paint easily with a single soft towel
Now I'm starting to see that reflection I'm after!!
Paint as I wanted it (again) I picked up where I left off the day before - the bumpers. Again with a pair of spare 4" white pads and the porter cable I put Metal Polish #1 and Metal Polish #2 thru their paces... I was even more blown away by the results on the rear bumper. Keep in mind this is an area that had been washed, clayed, and wiped with vinegar to remove the water spots prior to this, but MP 1 & 2 got the job done!
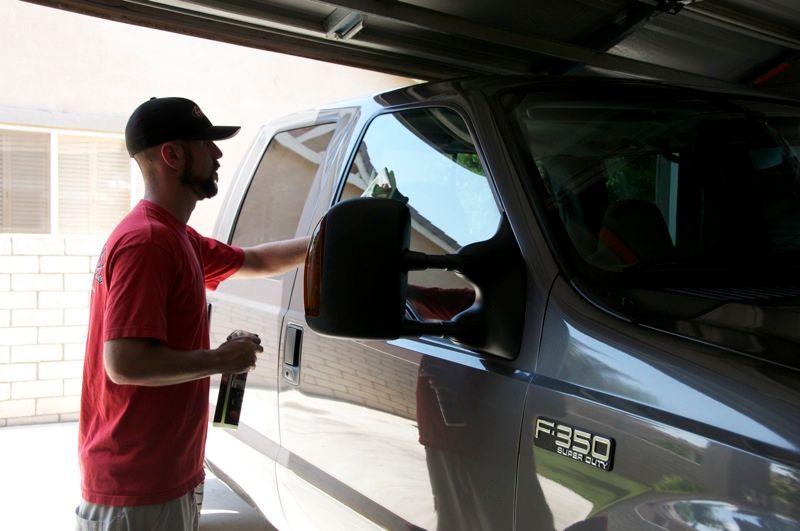
Next was the glass... the water spots (like the on the bumpers) were unaffected by clay and vinegar... so the 4" orange pad went onto the porter cable and the windows were all buffed with Swirl & Haze Remover which worked perfectly.
The rear window only had some hazing and small spots, the orange hex grip applicator with Swirl & Haze Remover did the job there
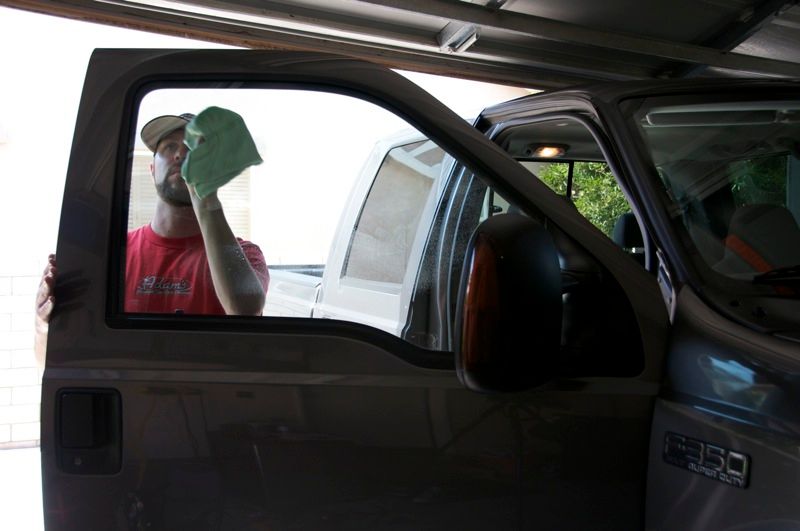
Interior and exterior windows got a wipe down with Adam's Glass Cleaner and a microfiber glass towel
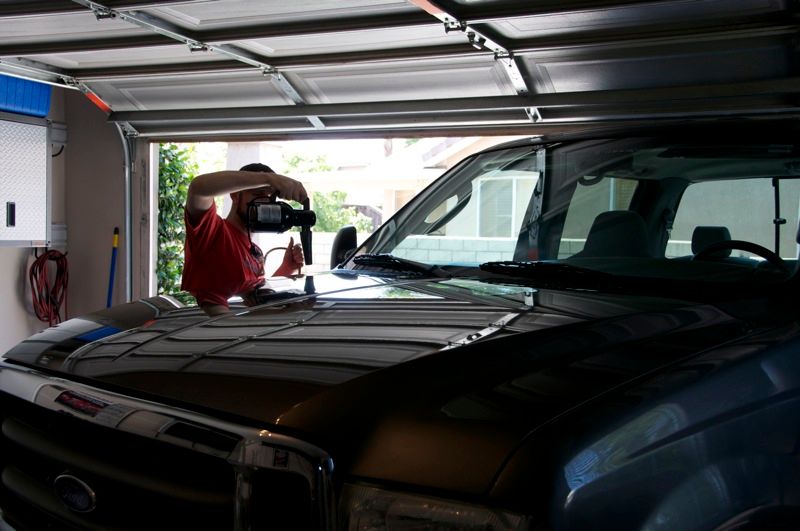
All the polishing had left some polish dust in various areas, I used the blaster sidekick to blow the dust from the finish and out of the crevices.