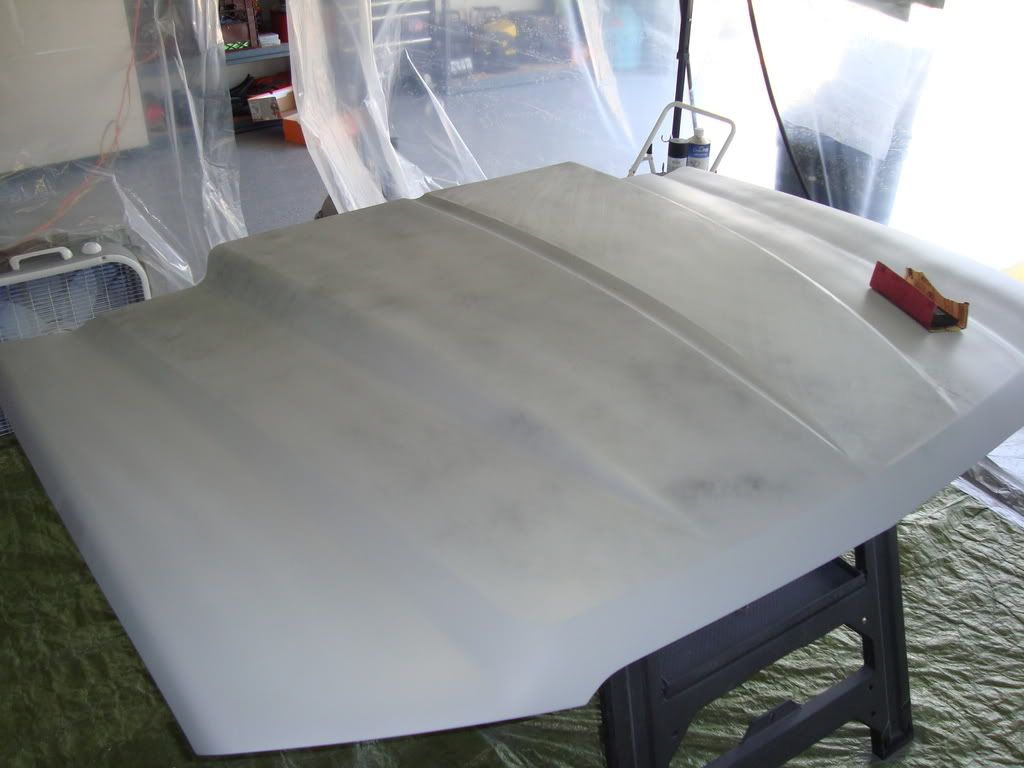
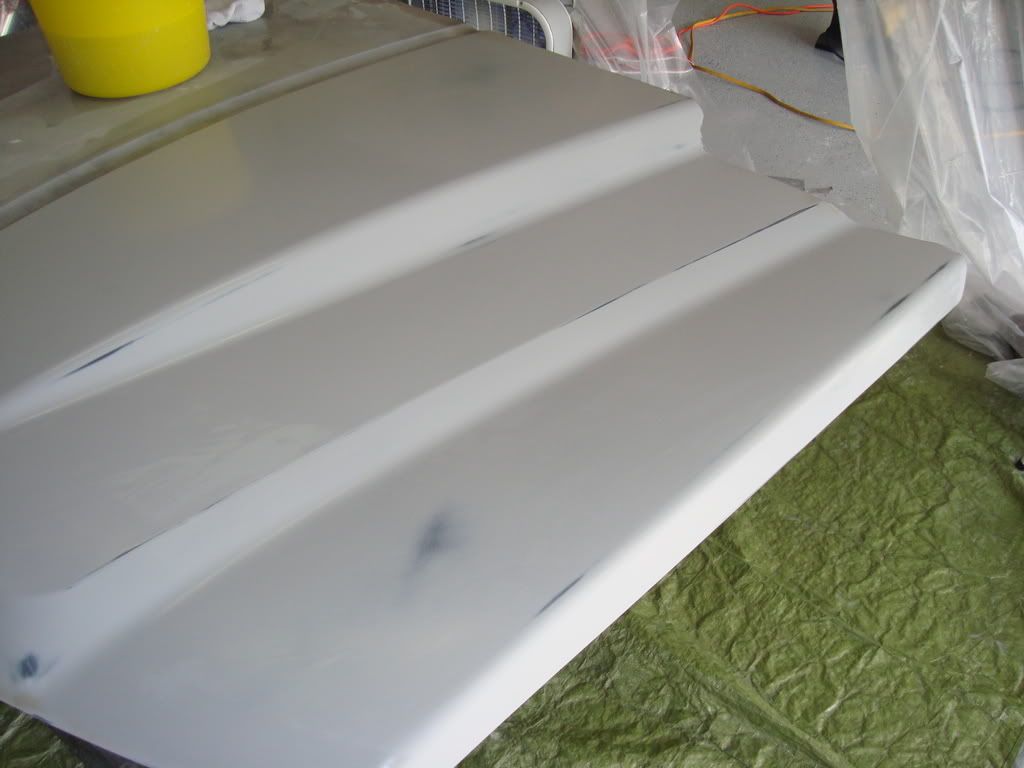
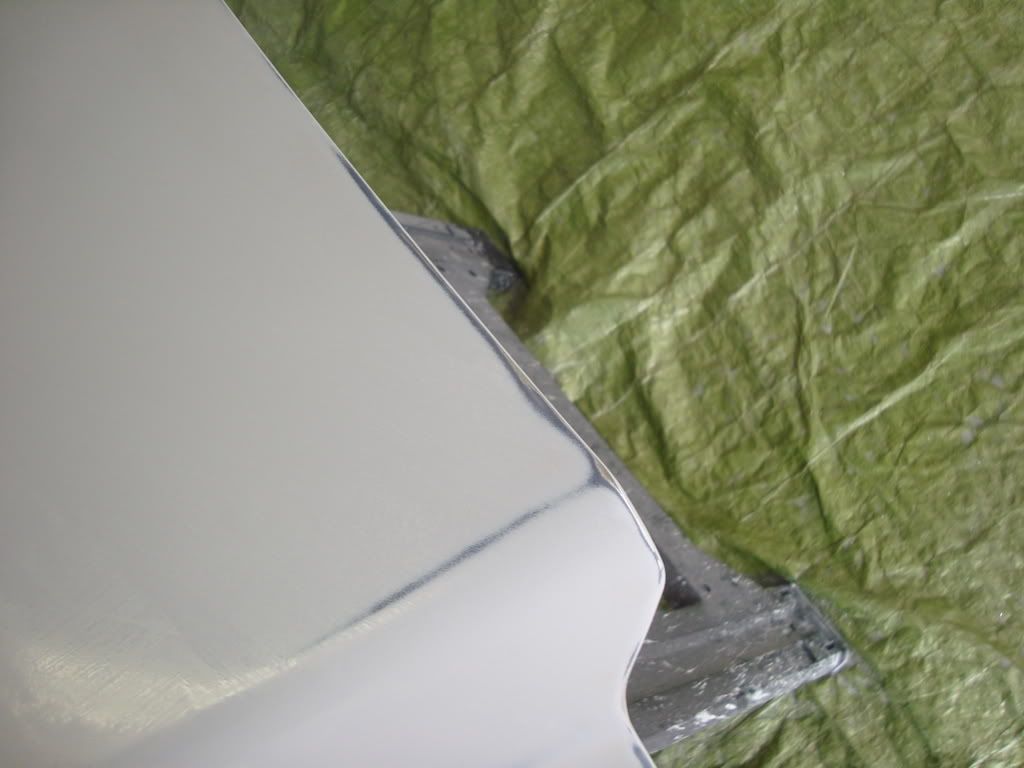
Getting closer to painting the hood
#63
Thread Starter
TECH Senior Member
iTrader: (7)
Joined: Jun 2004
Posts: 5,446
Likes: 7
From: Central Kentucky

Sure hope so Bryan. Thanks.
#64
Looking good thus far!
The paint on my cowl hood is severely flawed as well. But I'm living with it. It is a daily driver, and every day I find more rock chips. Perhaps one day in the future I'll paint the entire truck.
Cheers ~Mykk
The paint on my cowl hood is severely flawed as well. But I'm living with it. It is a daily driver, and every day I find more rock chips. Perhaps one day in the future I'll paint the entire truck.
Cheers ~Mykk
#65
Thread Starter
TECH Senior Member
iTrader: (7)
Joined: Jun 2004
Posts: 5,446
Likes: 7
From: Central Kentucky
If I don't get burnt out with mine I'm going to do a complete repaint someday. Just to be different.
#66
Thread Starter
TECH Senior Member
iTrader: (7)
Joined: Jun 2004
Posts: 5,446
Likes: 7
From: Central Kentucky
Block/wet sanding today. I wound up using spray can flat black as a guide coat. You can see it here... barely. Went over the first time dry with some 320 grit.

Laid down another guide coat and went to wet sand with 600 grit. I've run through the primer in places to the sealer. An along the edges I've actually gotten to metal. :sad: I noticed this when I was sanding the color. Really low along the edges... guess its the manufacturing process rolling around the top skin to the frame.
Anyway... I'm going to have to shoot some more primer. Do I just hit the spots?


I'm probably not going to get it sprayed in color and clear today I think. I would be really easy to get in a hurry from here and screw this all up

Laid down another guide coat and went to wet sand with 600 grit. I've run through the primer in places to the sealer. An along the edges I've actually gotten to metal. :sad: I noticed this when I was sanding the color. Really low along the edges... guess its the manufacturing process rolling around the top skin to the frame.
Anyway... I'm going to have to shoot some more primer. Do I just hit the spots?


I'm probably not going to get it sprayed in color and clear today I think. I would be really easy to get in a hurry from here and screw this all up

#67
Looking good, but I would not sand it with 600... Personally the lowest I would go is 320 or 400... I like to use it cause it gives the base coat a good surface to stick too... 600 IMO is just too smooth and wont provide good adhension...
Another thing I like to do when wet sanding primer is fill a bucket with water and put a couple of drops of soap in it... It helps lubricate the paper and keeps your paper cleaner and helps it last longer...
Another thing I like to do when wet sanding primer is fill a bucket with water and put a couple of drops of soap in it... It helps lubricate the paper and keeps your paper cleaner and helps it last longer...
Last edited by BlackGMC; 07-06-2008 at 12:39 PM.
#68
Thread Starter
TECH Senior Member
iTrader: (7)
Joined: Jun 2004
Posts: 5,446
Likes: 7
From: Central Kentucky
2 part Urethane Primer This is catalyzed so don't let it sit in the gun too long. Clean your paint gun immediately to prevent damage. Sand with 600 sandpaper. This product has the best adhesion. Recommended tip size is 2.0 All solvent is added, but a small amount of primer catalyst (hardener) has been provided. Mix this together in a separate plastic cup. Use 3 coats waiting 10 minutes between coats. It is best to wait over night to wet sand.
#69
#70
Thread Starter
TECH Senior Member
iTrader: (7)
Joined: Jun 2004
Posts: 5,446
Likes: 7
From: Central Kentucky
I added the quote from the place I got the primer. I believe its Dupont Nason.... Anyway I'm somewhat with you. I want the base to stick well obviously. My source for my painting tips is the forum on Autobodystore.com. They recommend 400-600. I also sanded some of my plastic pieces with 400 and the base didn't cover it... you can see some fine scratches in them. The mirror caps I did last I sanded with 800 and so far so good with them.


