Porsche detail from this weekend... pic heavy.
#1
Not a truck, but fast, and a fun car to work on for sure.
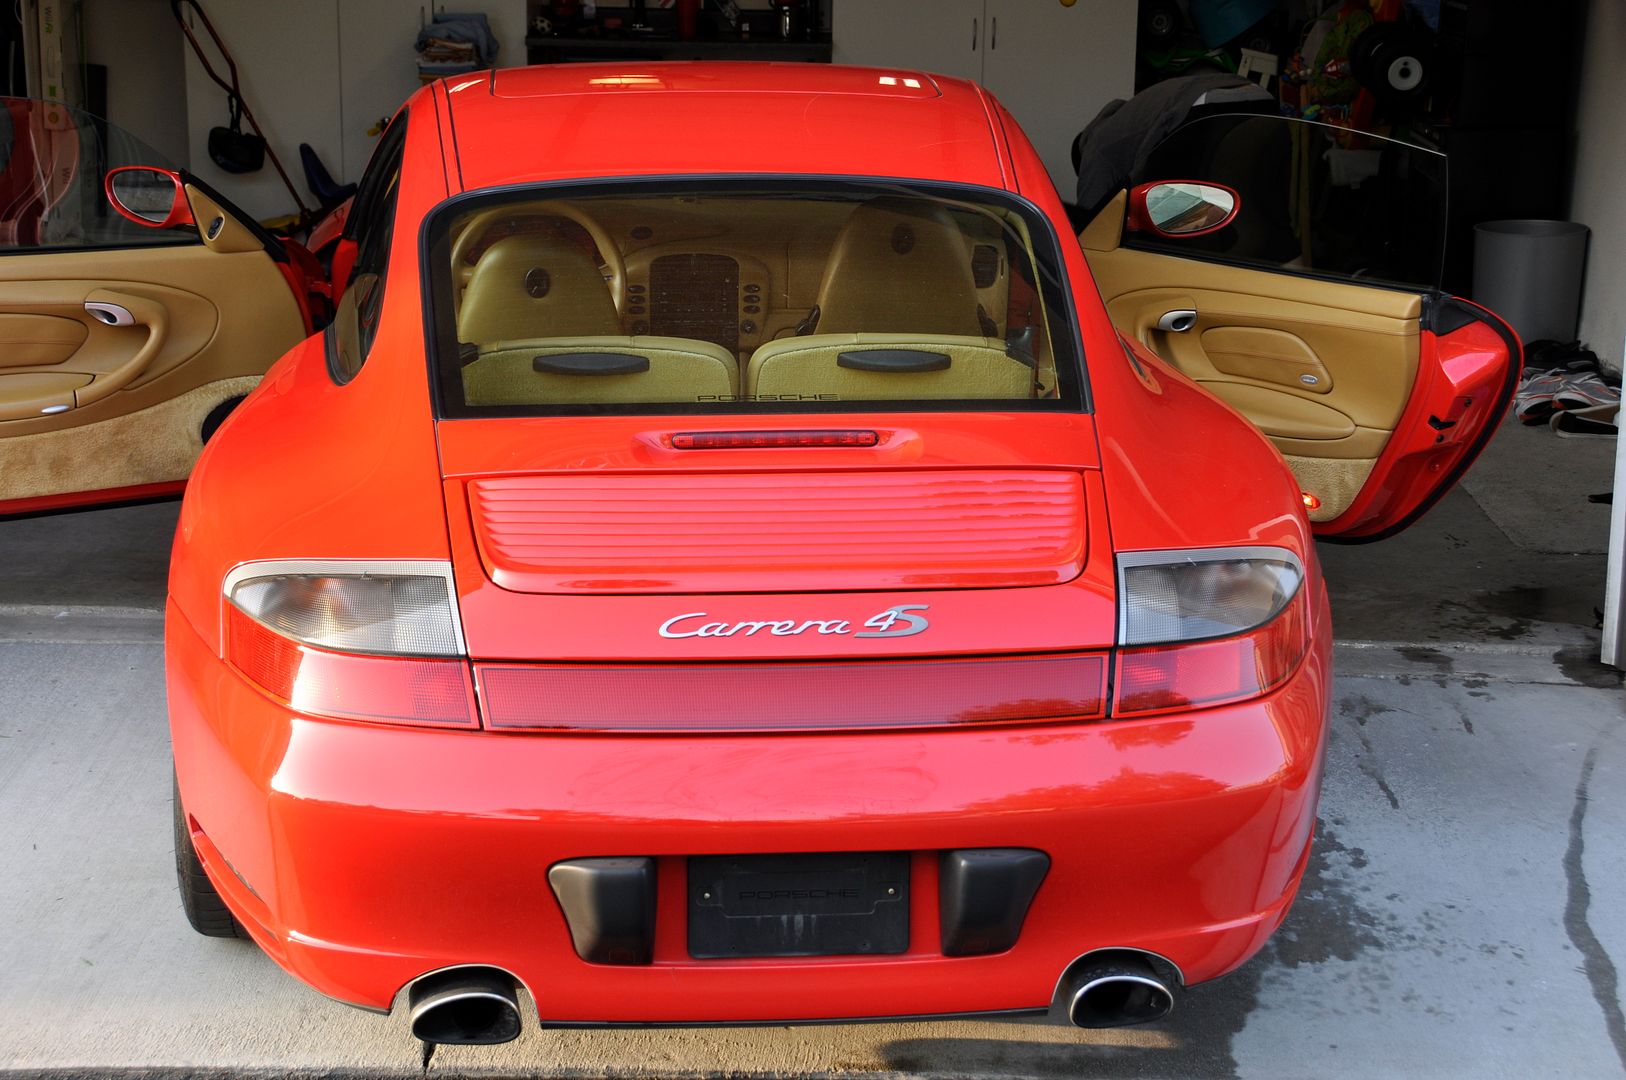
It was purchased used just a few days ago and it showed ever bit of its 66k mile odometer reading (including a history of VERY bad wash techniques) tackled this all day saturday with my good friend/neighbor.
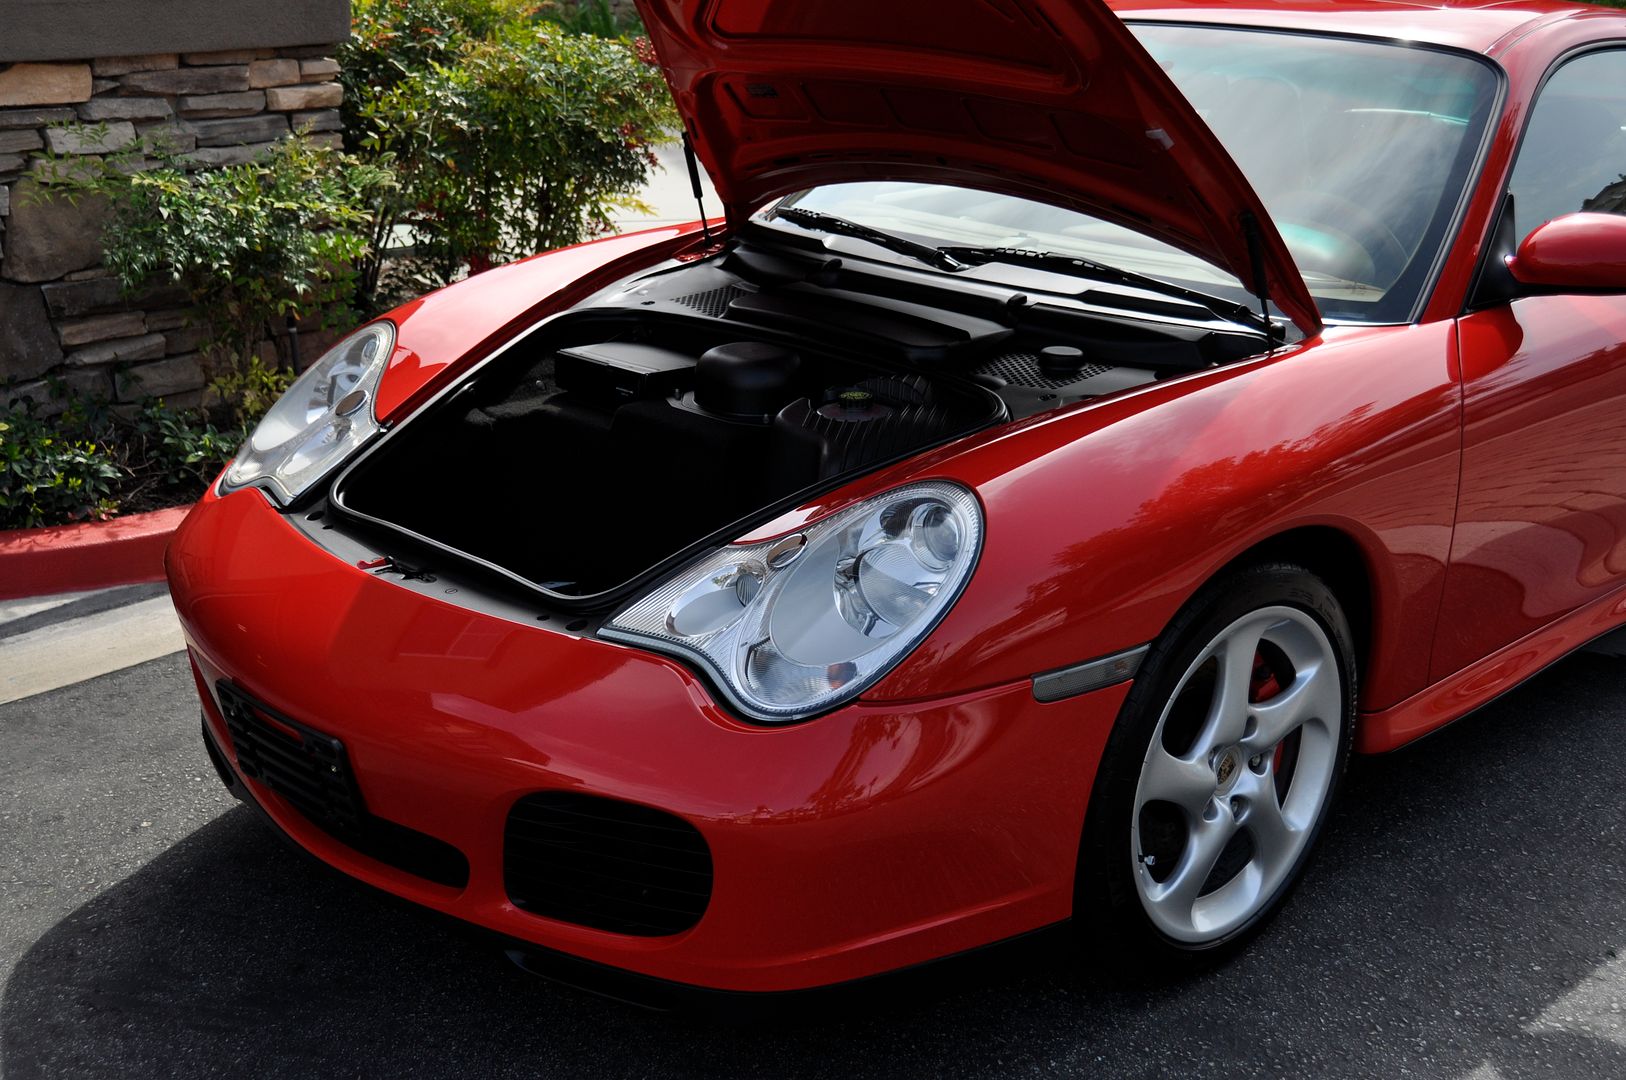
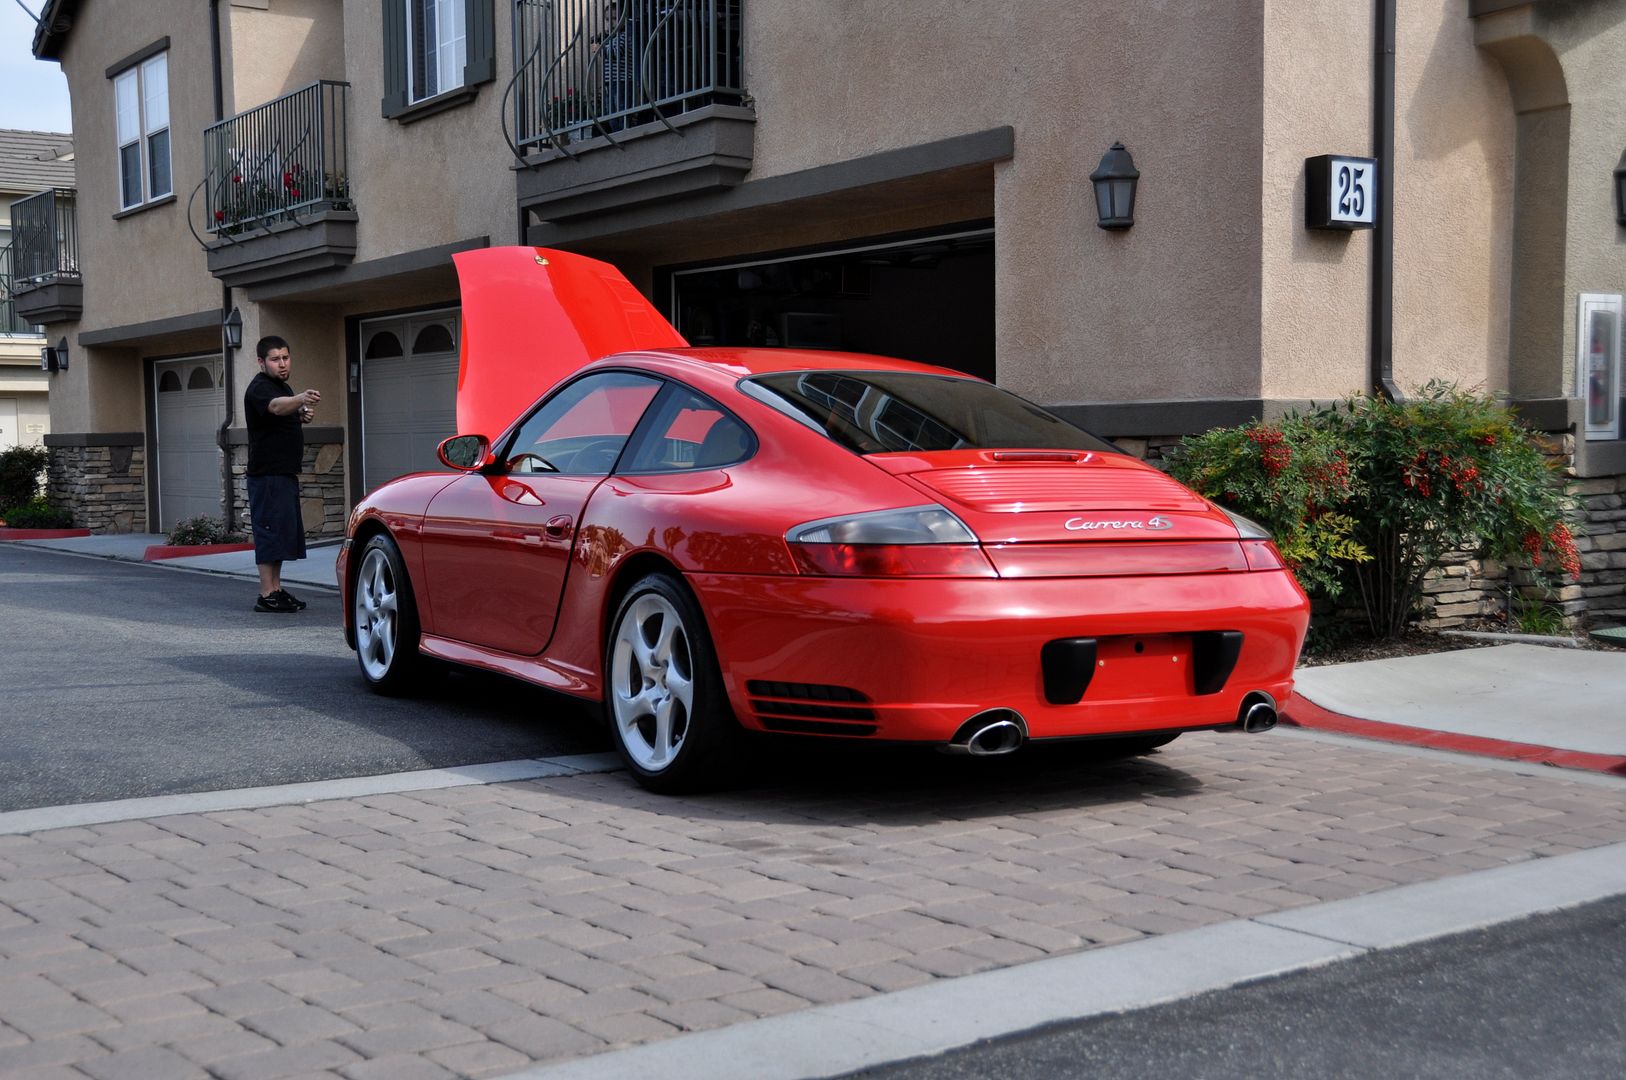
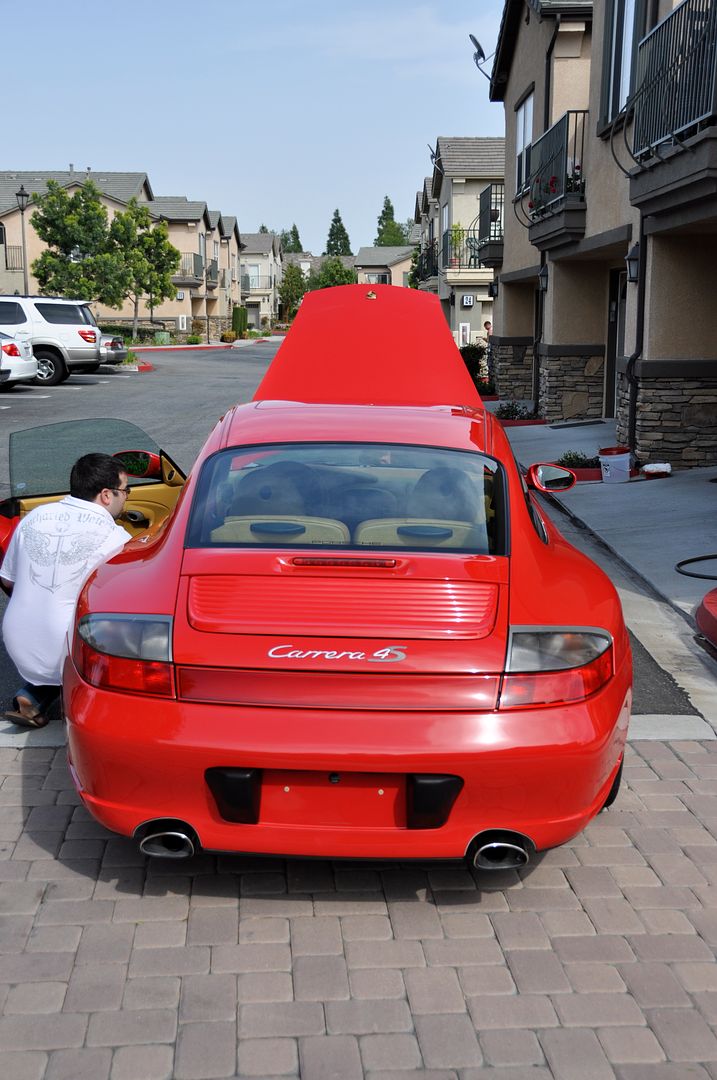
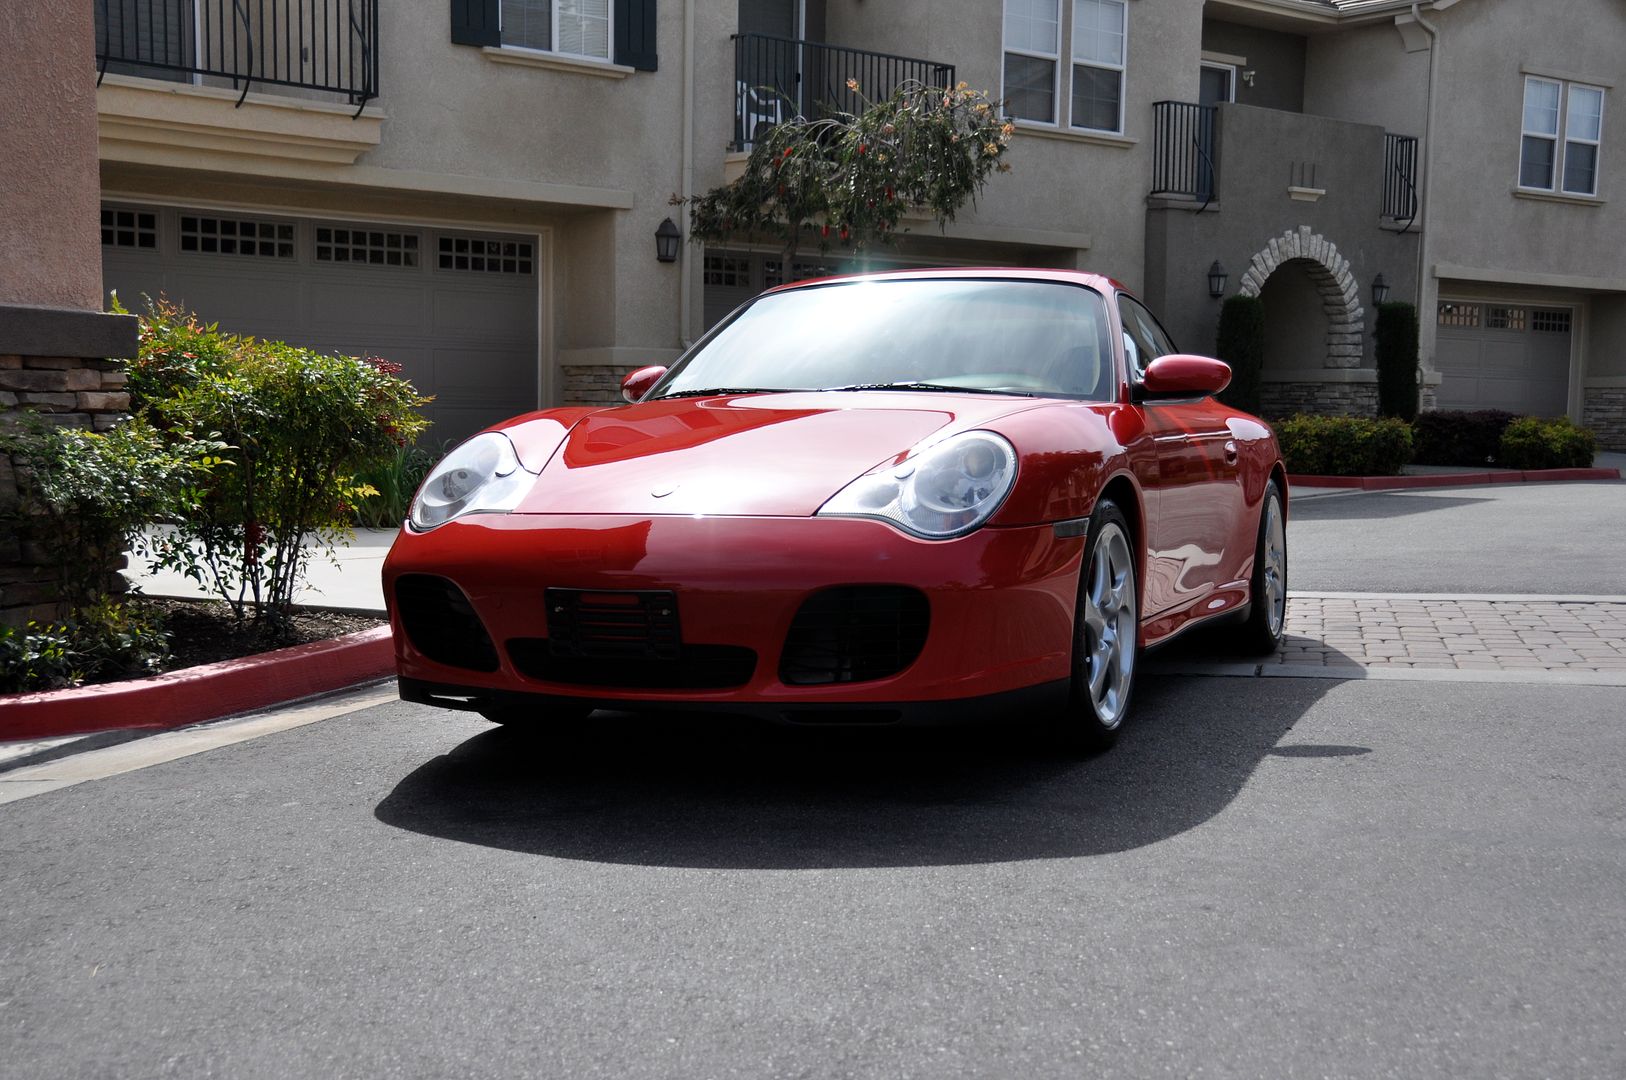
When we were done, outside of a few minor flaws that would require much more extensive work/repair, it came out stunning. From about 10ft it didn't look too bad, farther down you'll see the swirly horror that awaited us up close!!
Started with the interior:
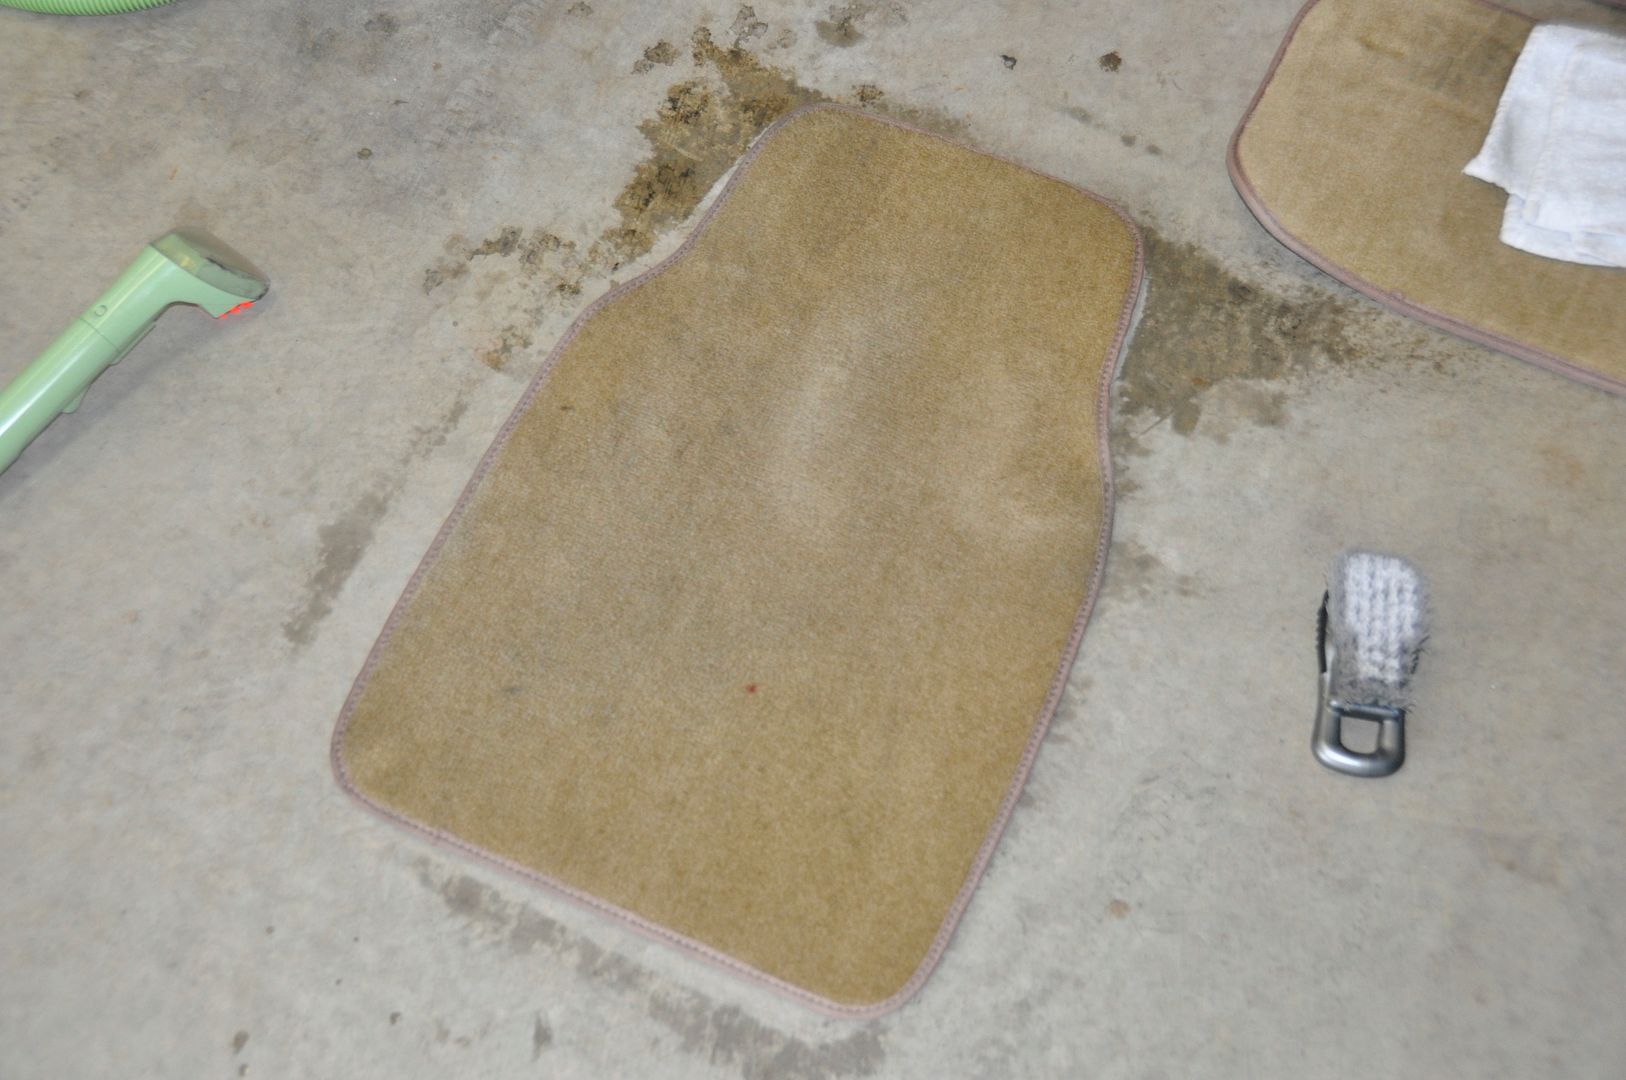
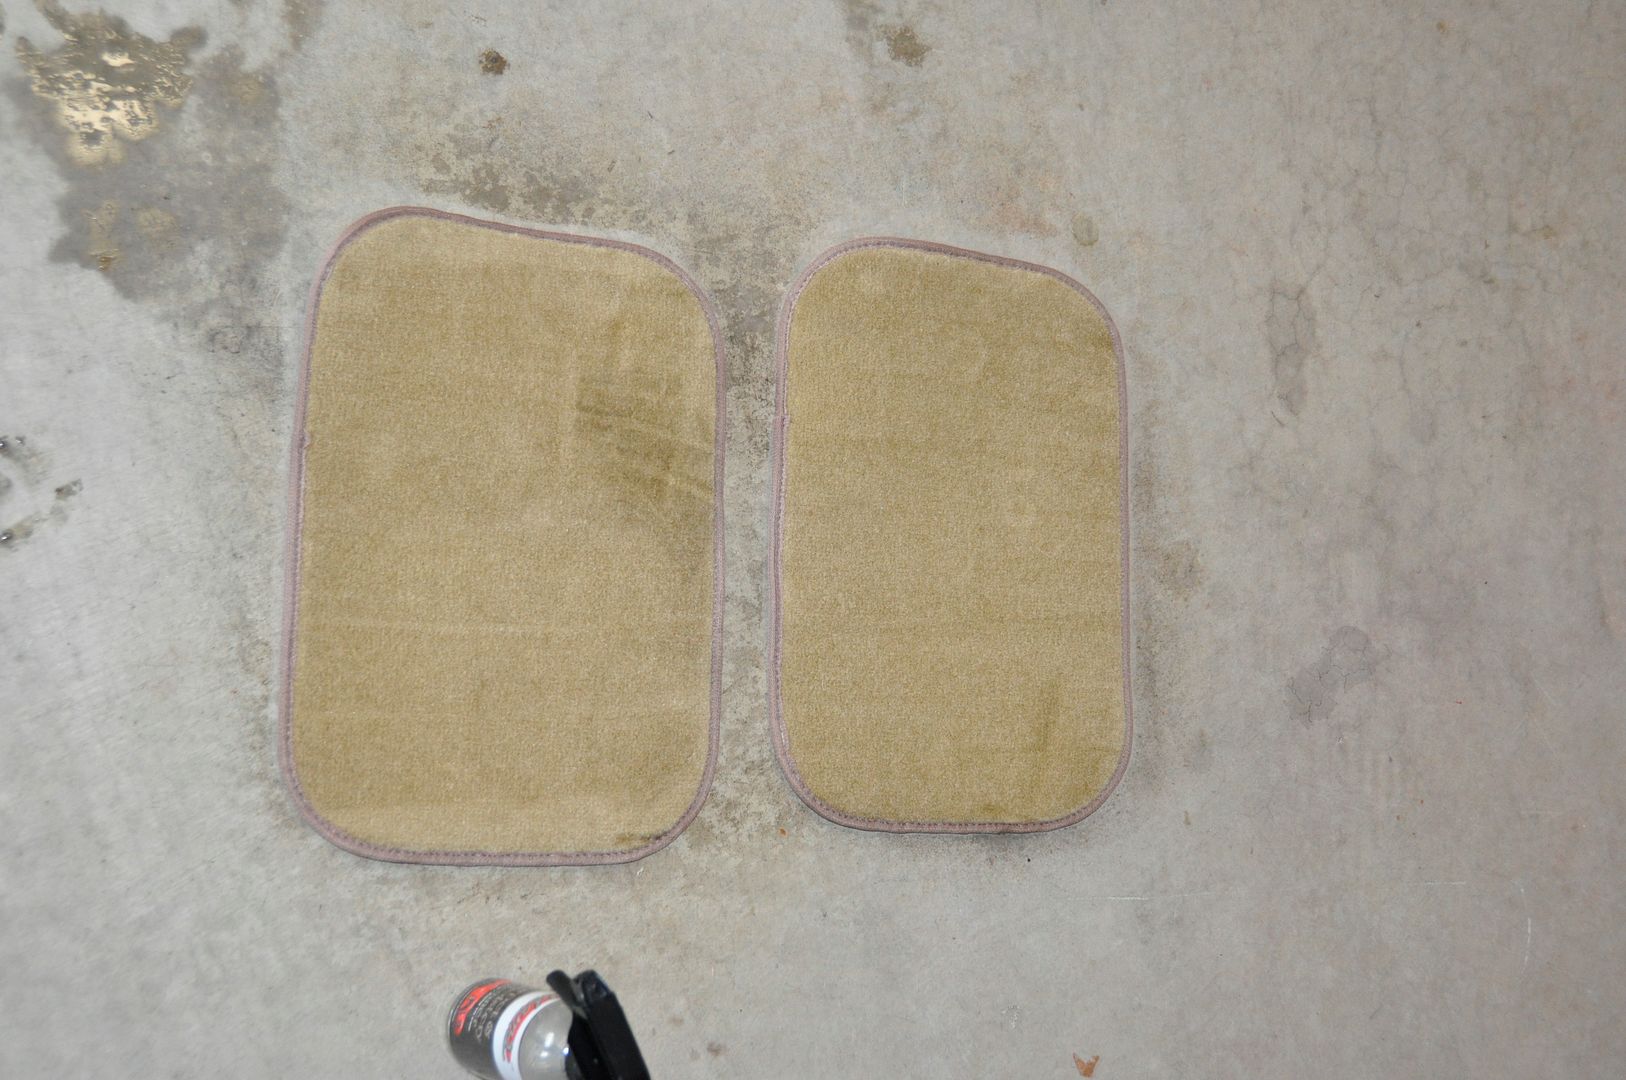
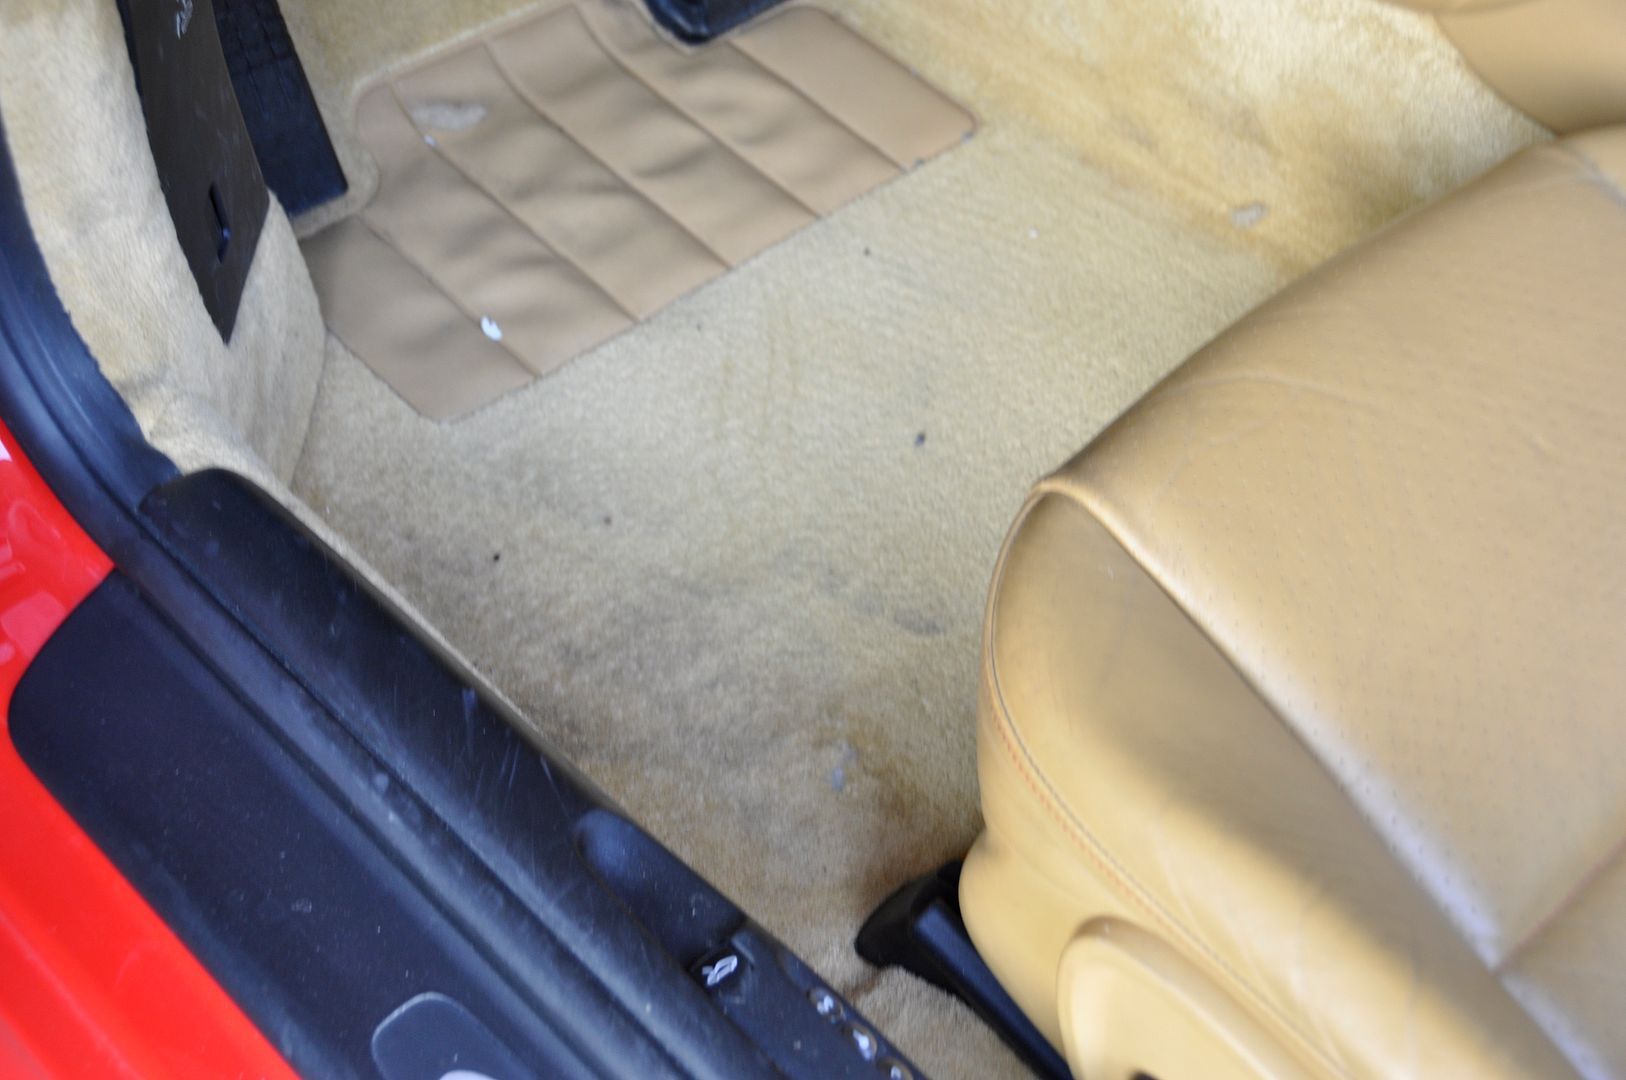
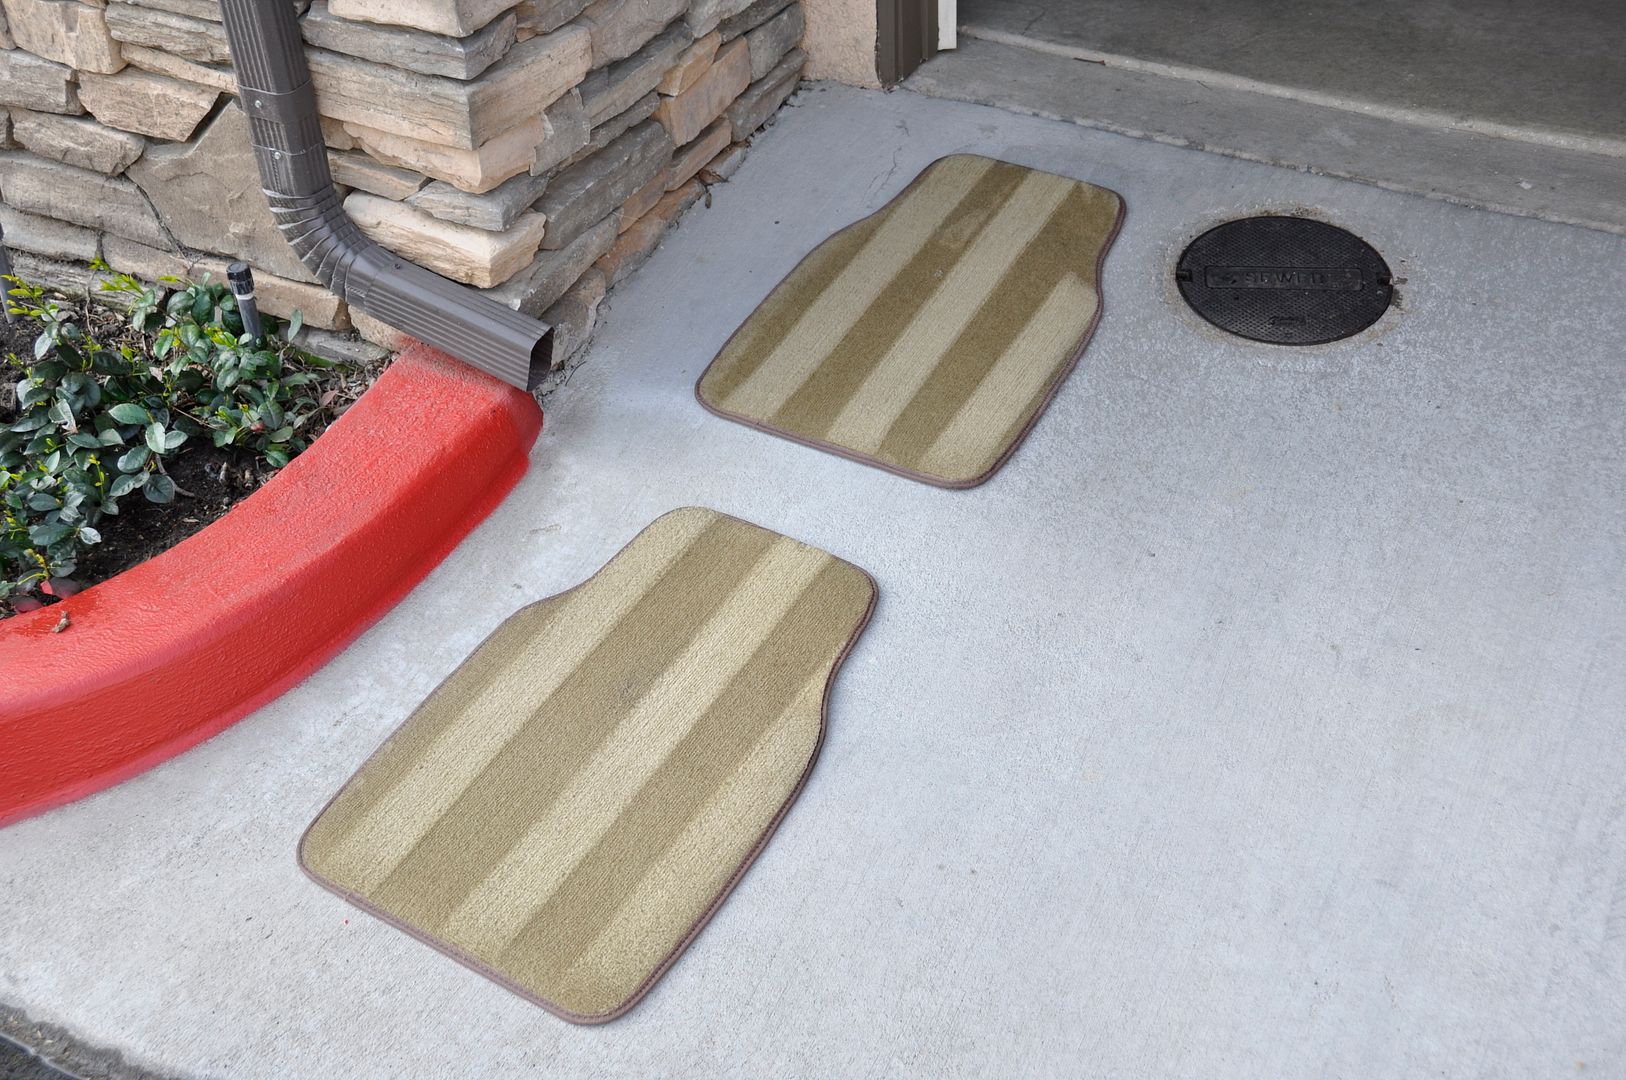
The carpets were pulled and scrubbed down with Adam's Carpet & Upholstery cleaner + a stiff carpet brush. They were then extracted using the LGM pro heat. We then sat them out in the sun for the rest of the day as they had become awkwardly shaped sitting in the car (the mats are not specific to the car, but are just filling the need for now)
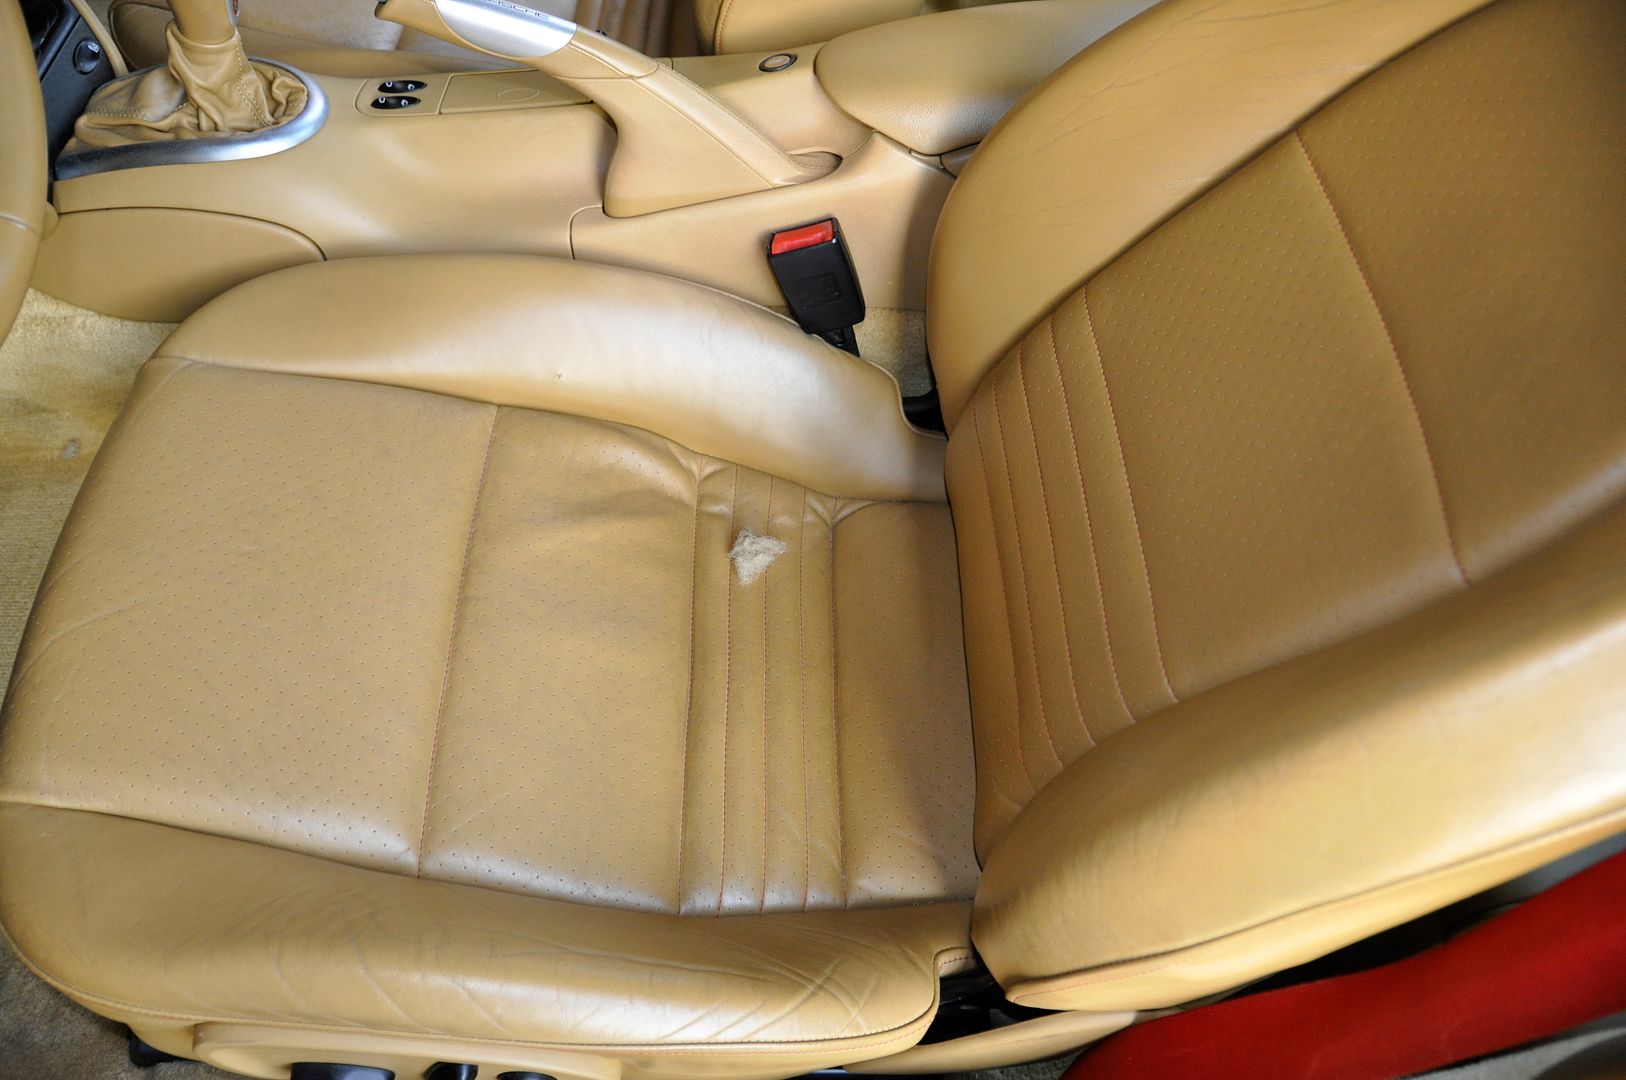
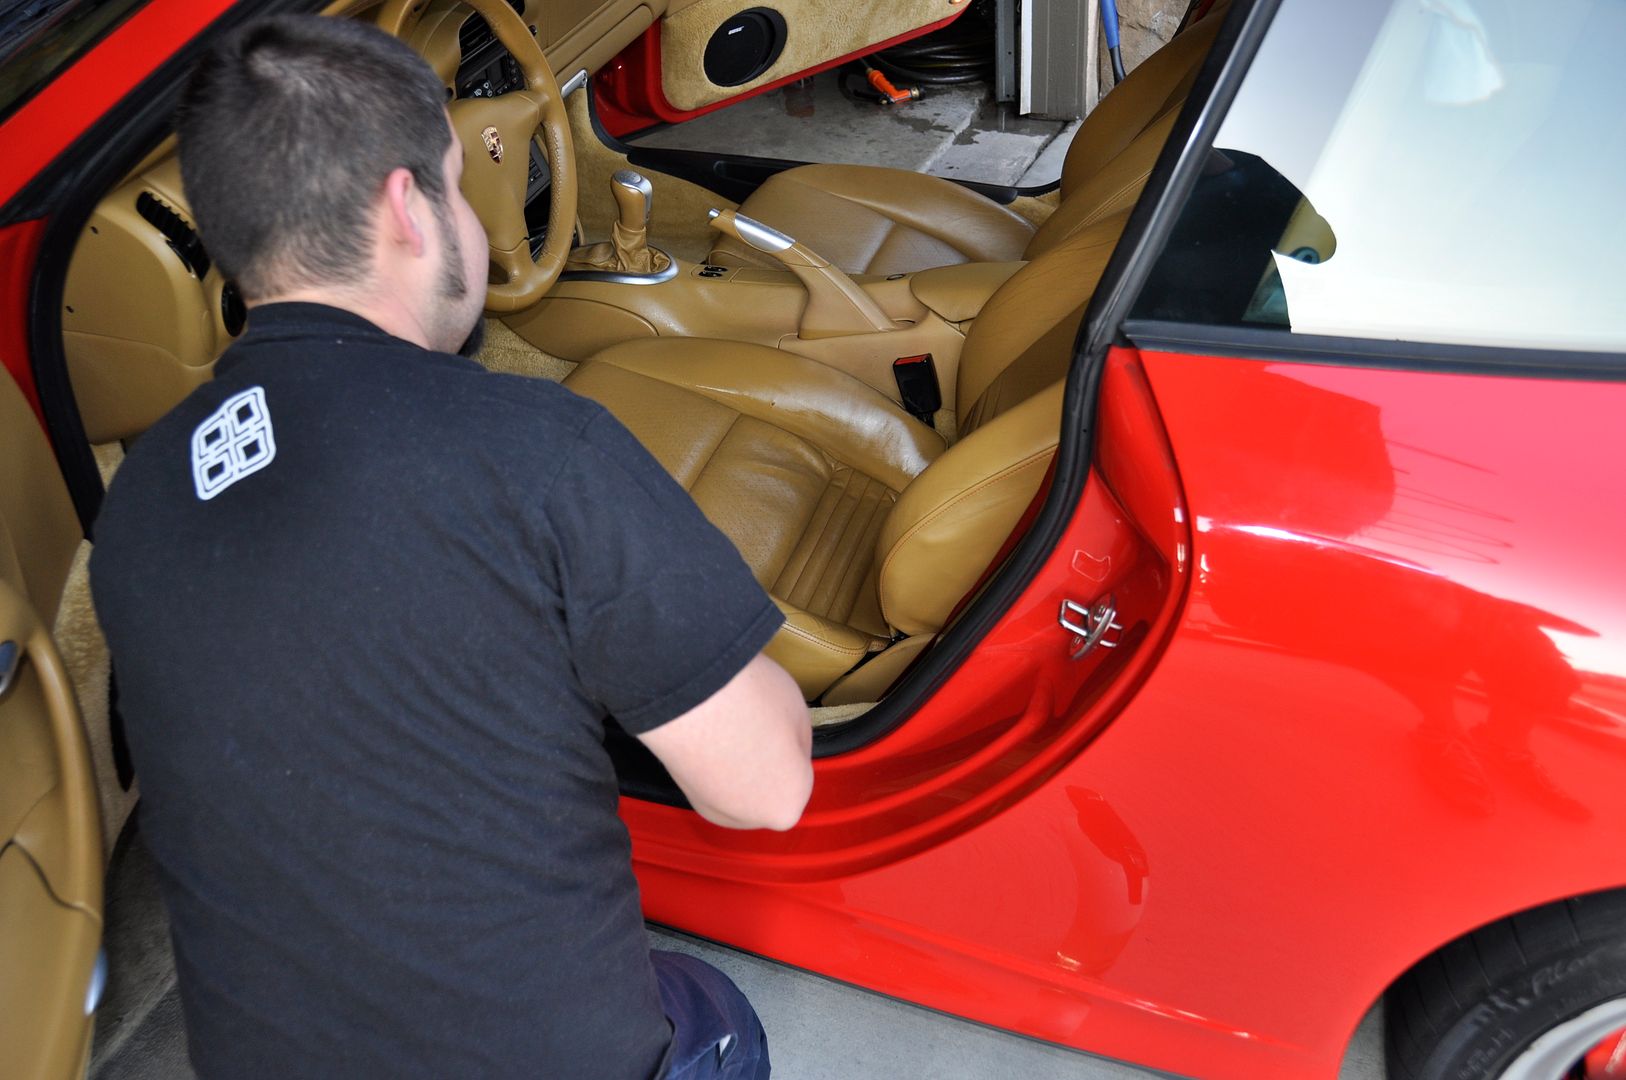
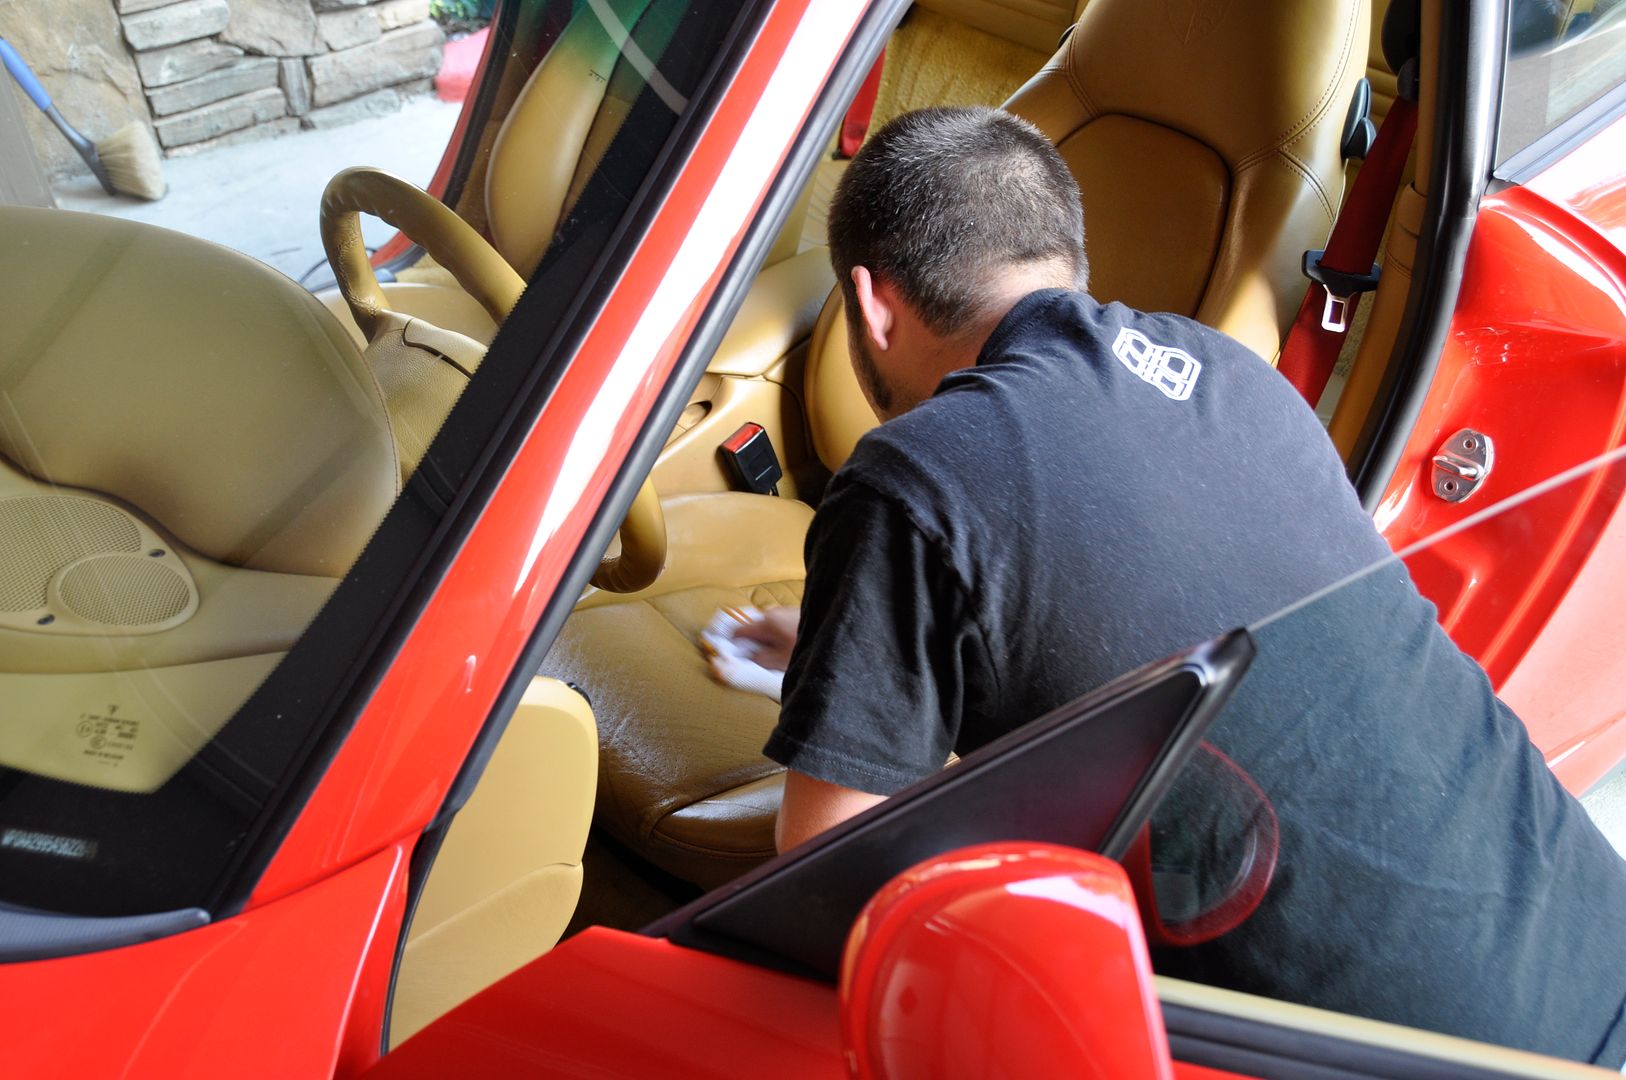
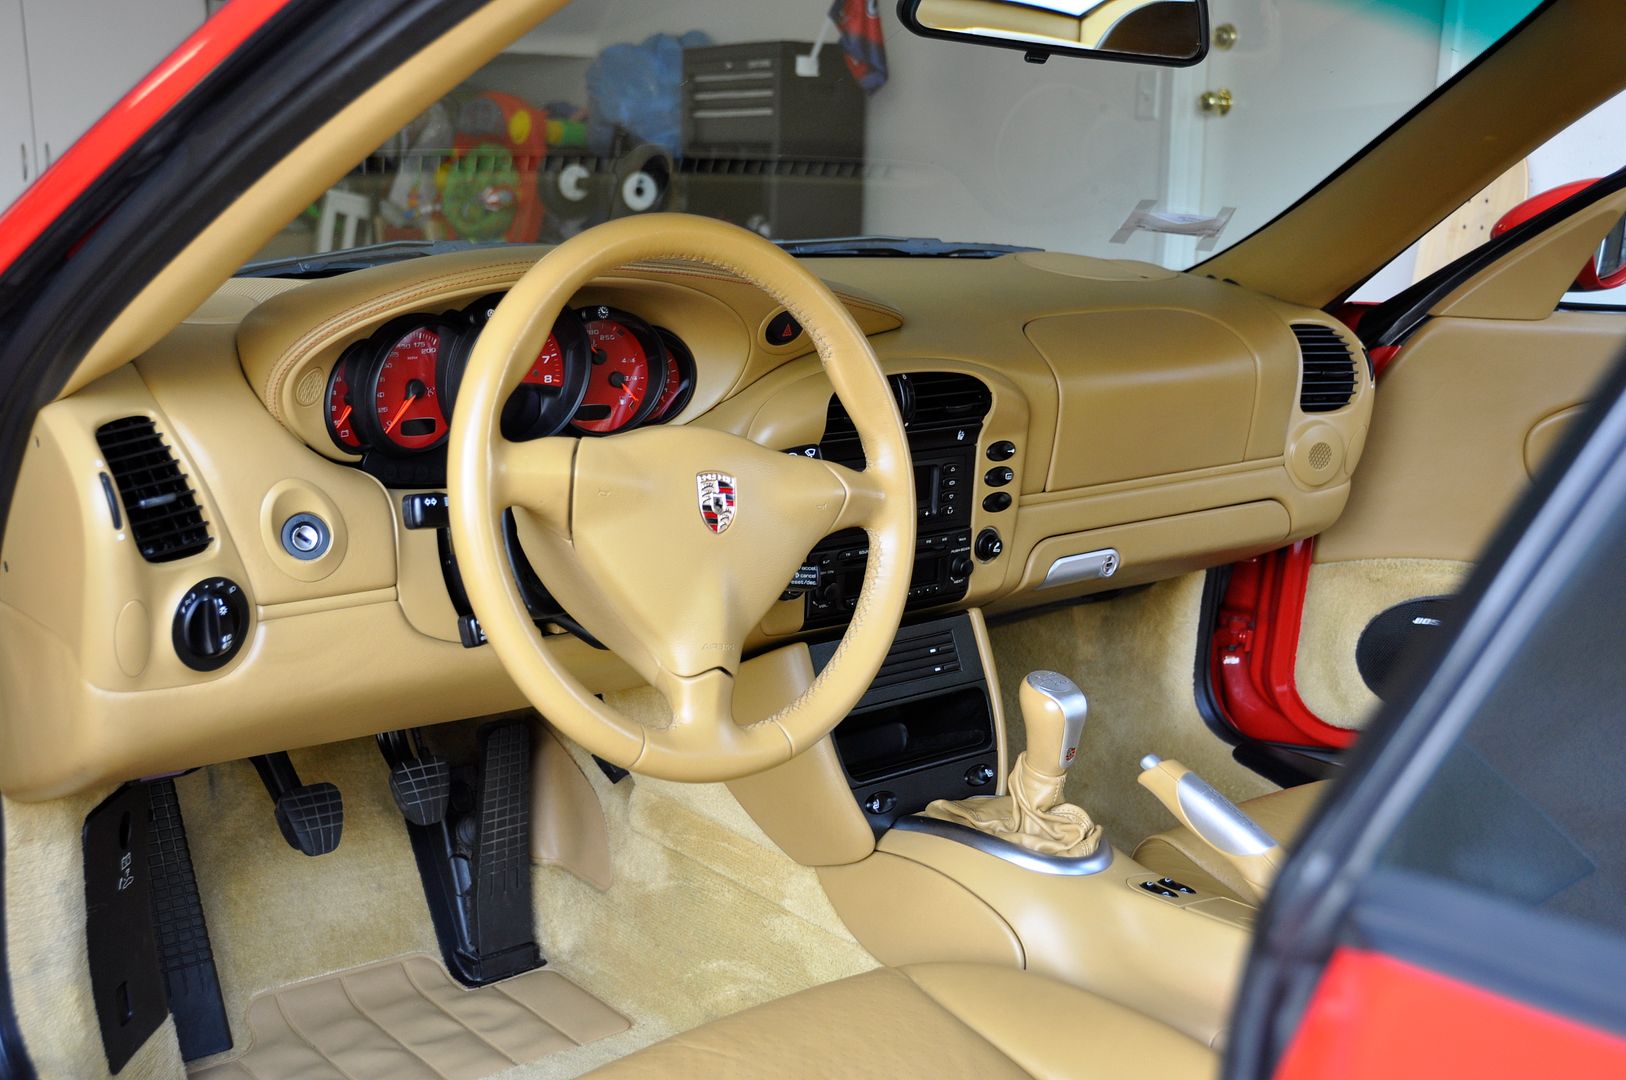
The seats and interior panels were treated using a combination of woolite/water and leather & interior cleaner/water 1:1. The reason we chose the diluted mixture and milder cleaner was due to the heavy sun fading and discoloration on some areas that was allowing color to come up from the surface. Rather than push the limits of what was left on the seats we chose to clean mildly and then condition very liberally.
All interior panels were conditioned with Adam's Leather & Interior Conditioner, a few scuff spots along the center console and door sills were cleaned using Mr. Clean Magic Eraser.
Radio controls, vents, gauges, etc were cleaned using MF + detail spray and assorted interior detail brushes. The vents were dressed with a 1:1 VRT mixture, all glass was cleaned with Adam's Glass Cleaner and Glass towel.
Moved to the wheels:
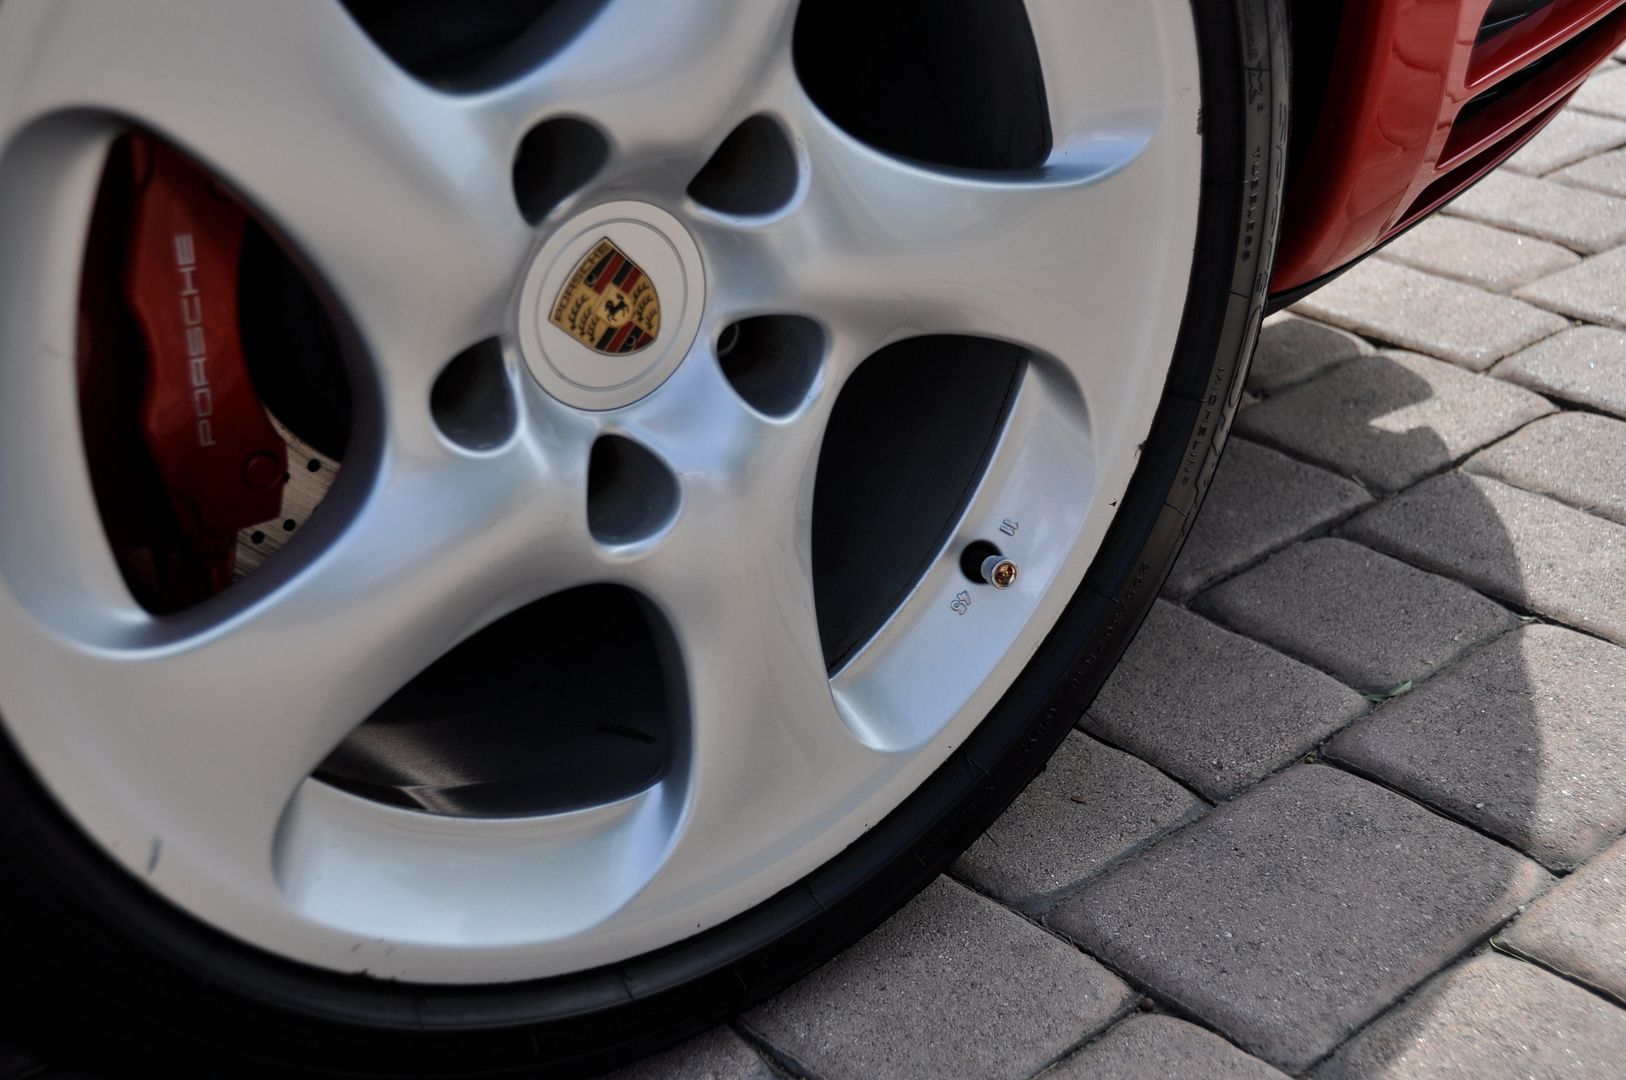
The wheels were cleaned with Adam's Green Wheel Cleaner and a boars hair brush. The inner wheel hoop was cleaned using the Powerstick and full strength APC. Tires were cleaned with full strength APC and a fender brush. Some road paint transfer on the passenger side was broken down using full strength APC and a little scrubbing.
At this time the exhaust tips were sprayed down with full strength APC and allowed to soak due to extremely heavy carbon buildup. The were later scrubbed with a boars hair brush and then polished with Adams metal Polish.
Let the decontamination BEGIN!!:
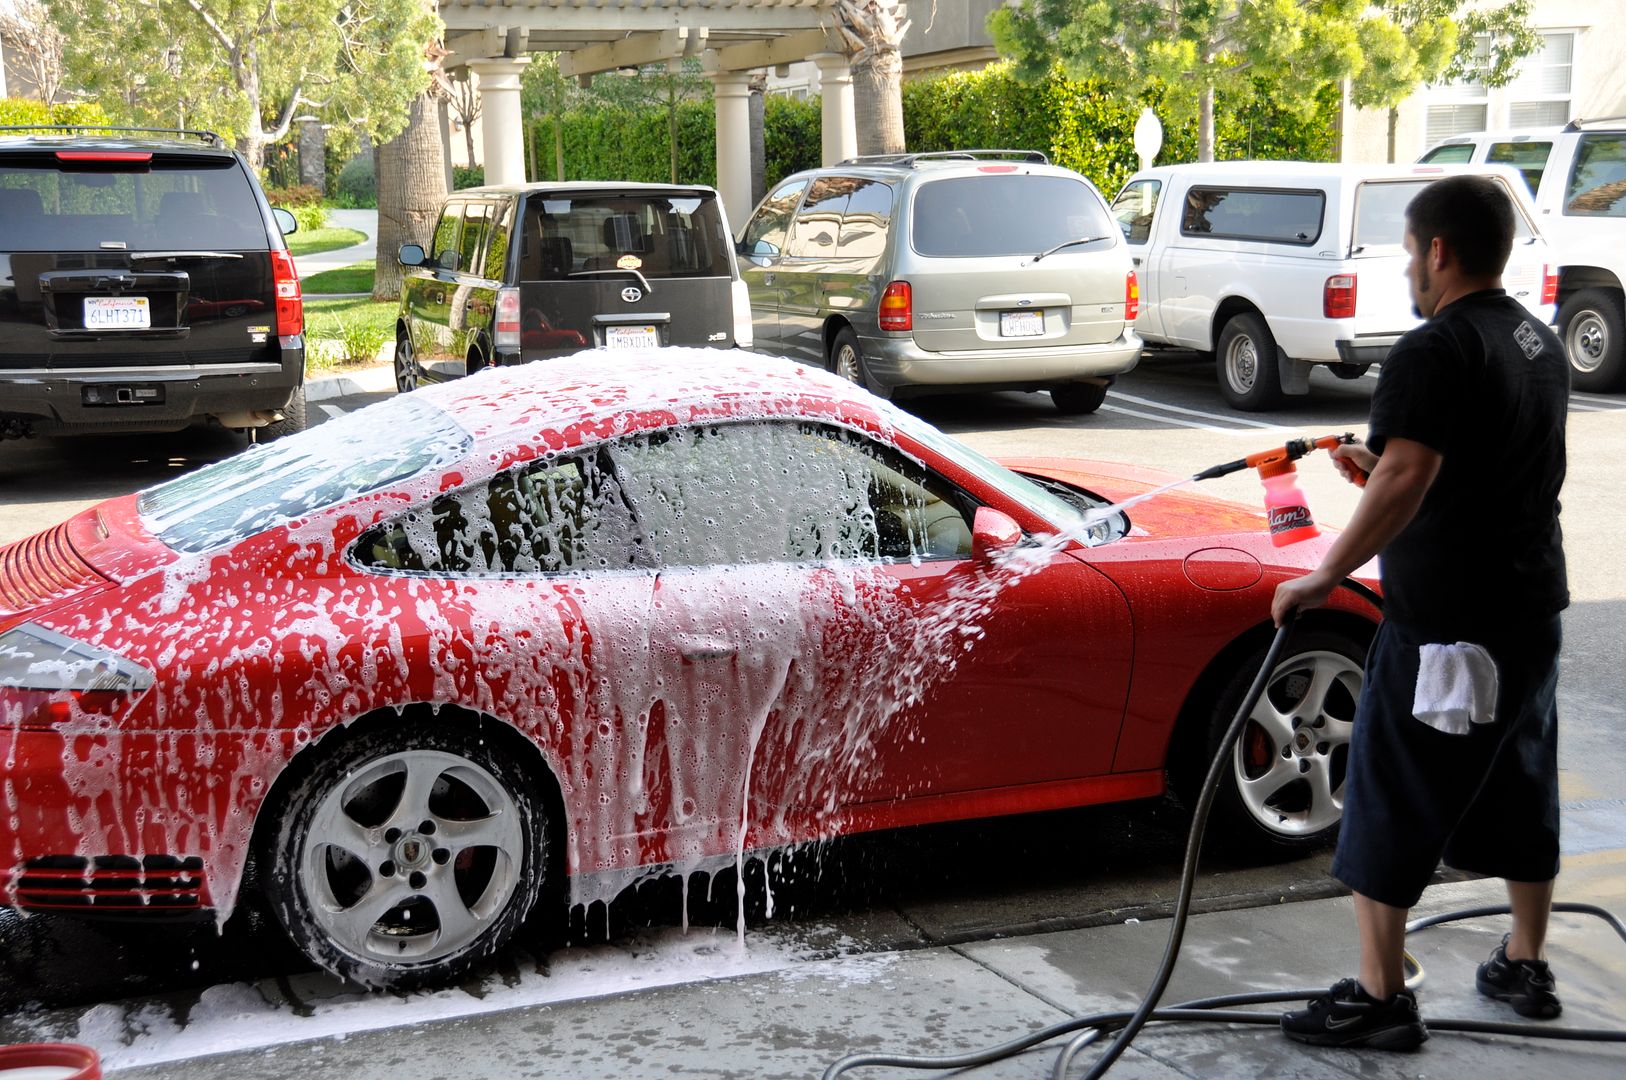
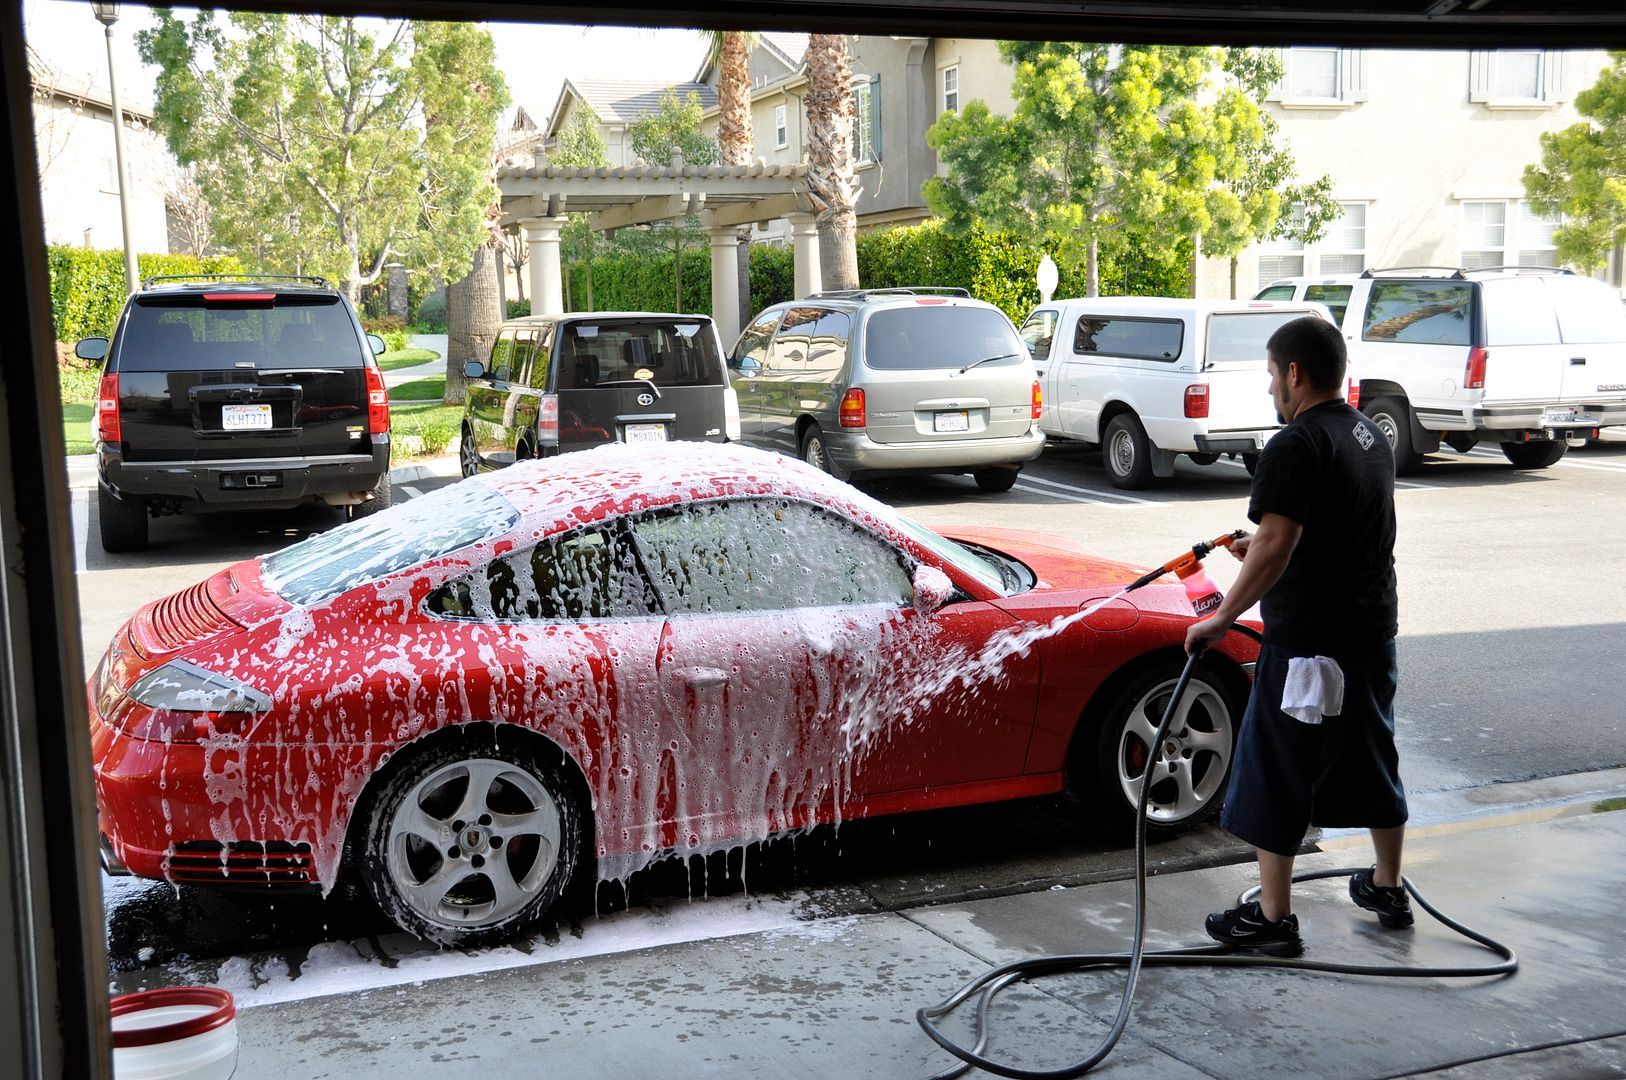
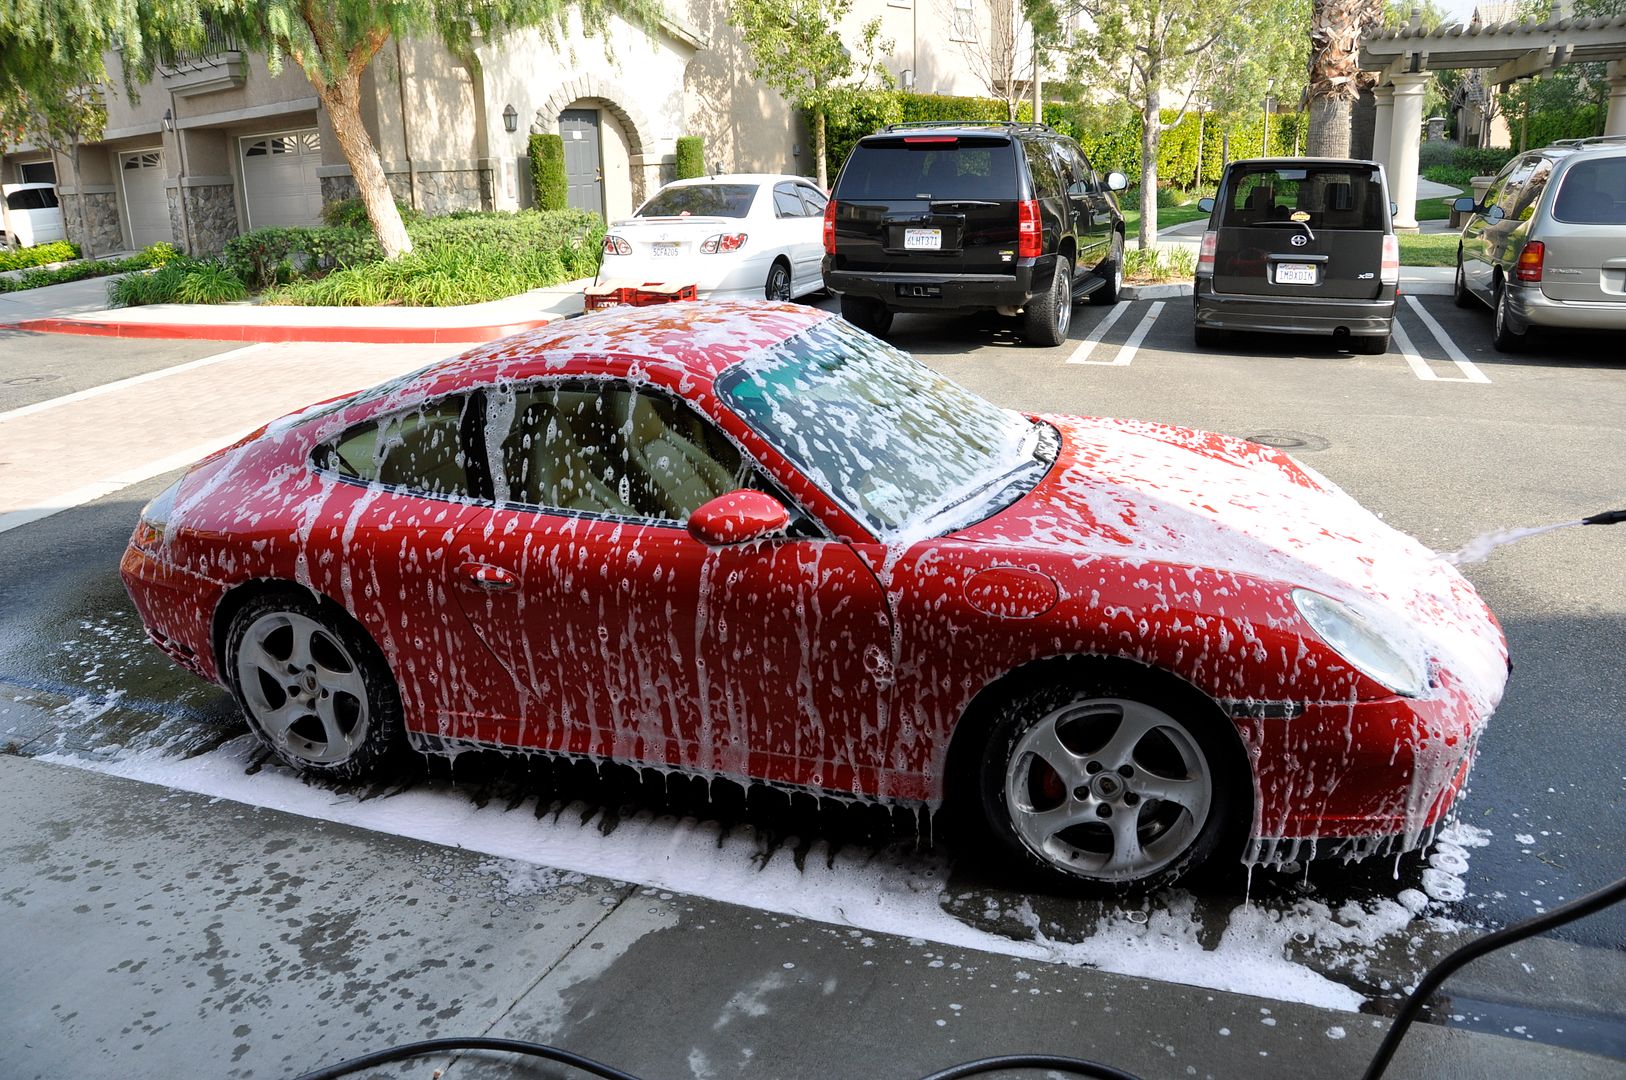
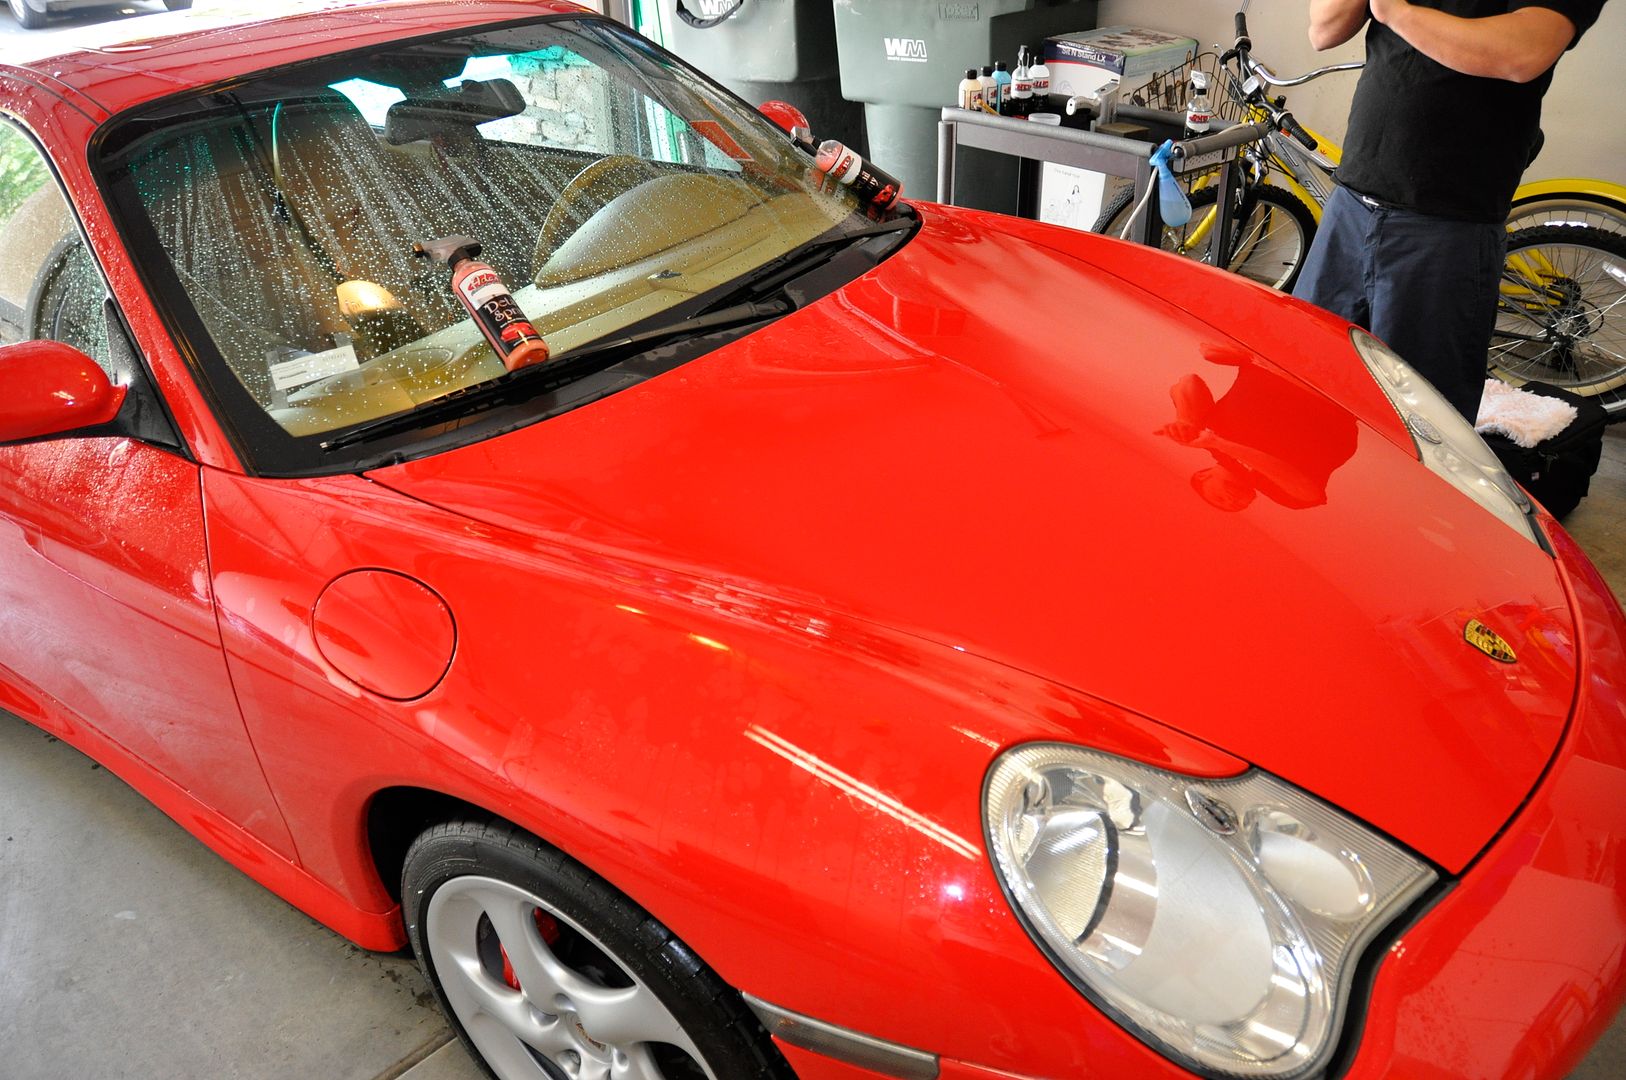
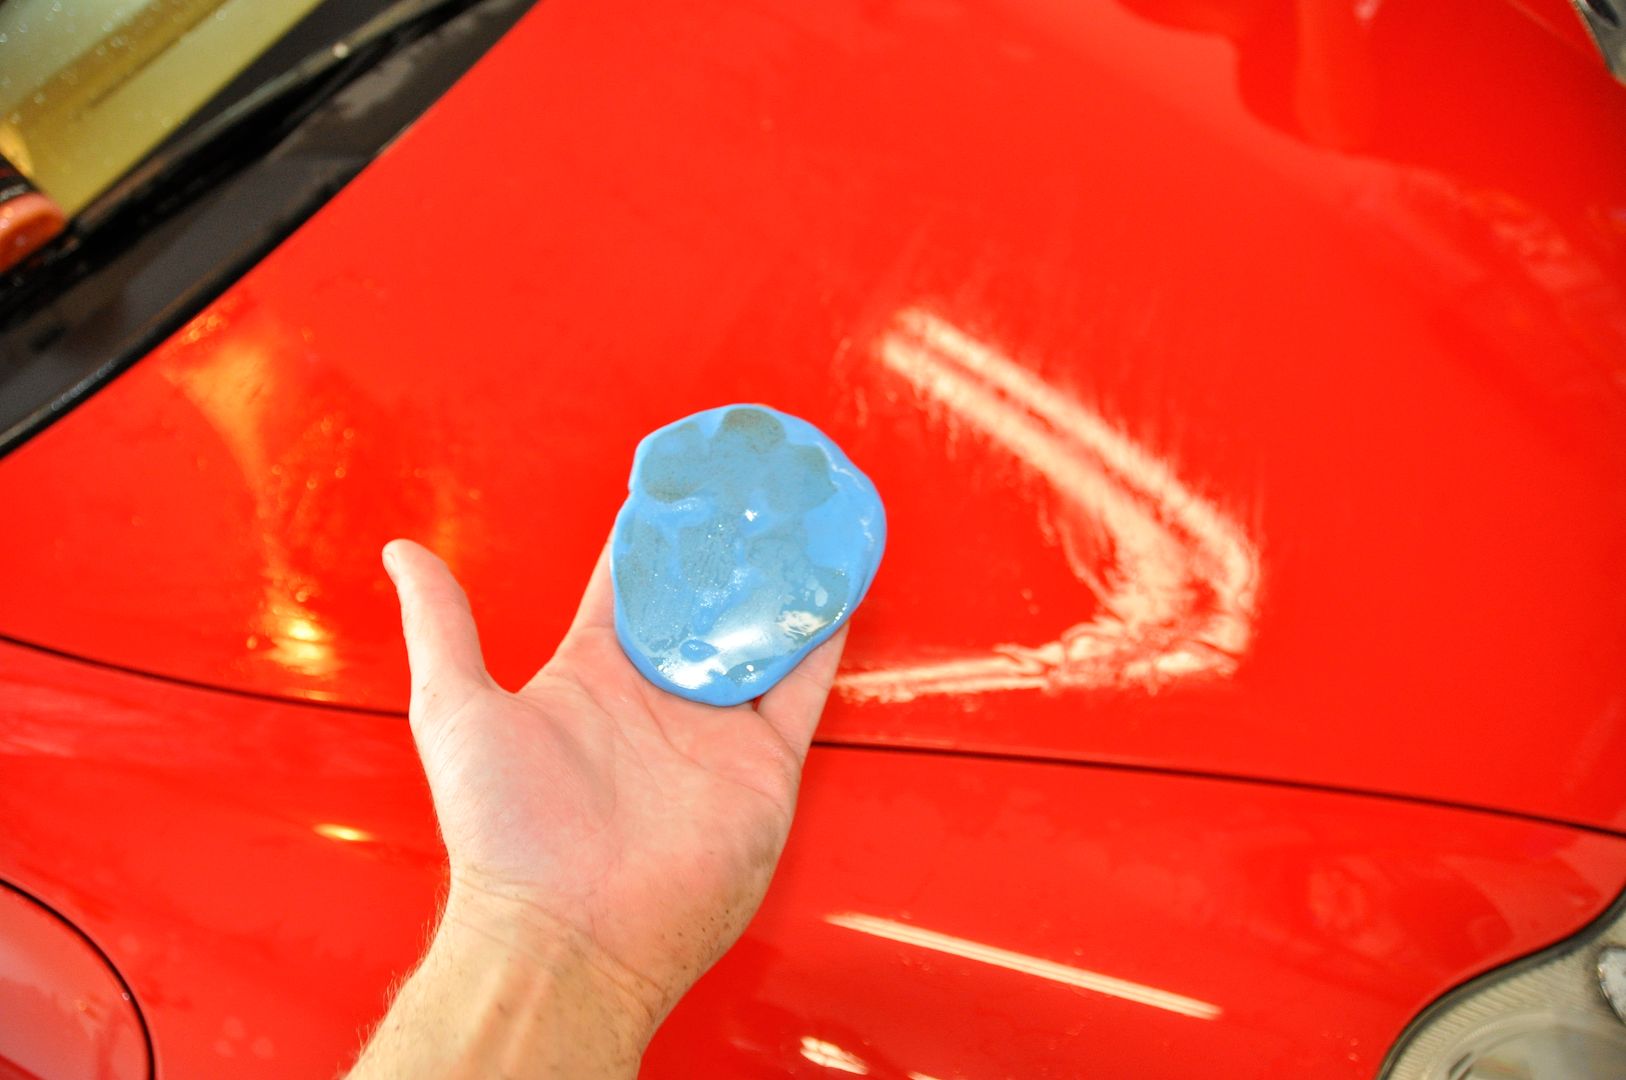
My boy Anthony went to work with the foam gun and an undiluted canister of Adam's Car Soap. The car was hosed off, foamed, and the mix was allowed to dwell and run down all the panels. The car was then blasted again and refoamed. We washed using the NEW & Improved Adams wash pad (separate thread coming soon) then pulled into the garage. Claybar... claybar... more claybar... this thing was rough. Spent some extra time working on the lower rocker panels where there was still some heavy road paint and tar contamination. All glass was clayed as well. The car was then pulled back out and treated to yet another heavy foaming and wash, pulled in and dried using Great White Drying Towels and Detail Spray.
Dressing:
The trim was disturbingly dry, so before beginning any other steps a liberal helping of VRT was applied to all rubber and plastic trim. While we were at it the trunk and engine bay were wiped down using detail spray and microfiber and also treated with VRT. Invisible Undercarrige Spray was then applied to all the wheel wells.
The wheels were treated to a coat of Machine Superwax to keep them protected and the tires were dressed with full strength VRT.
Correction:
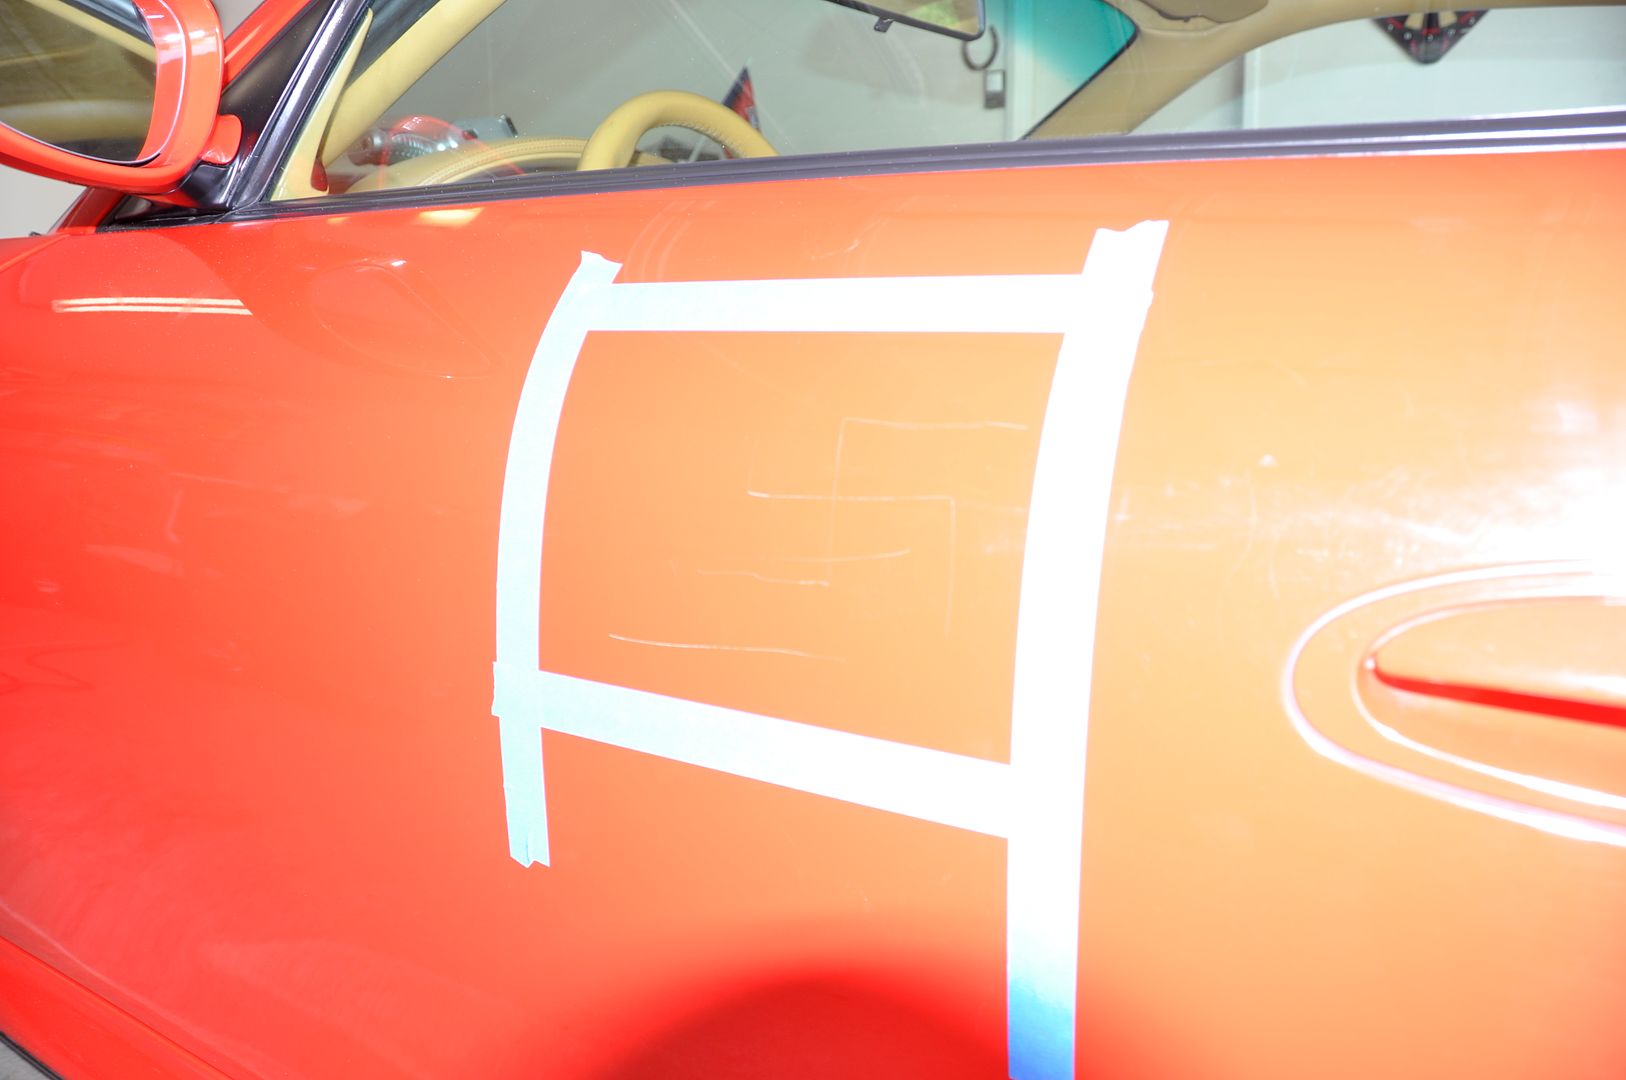
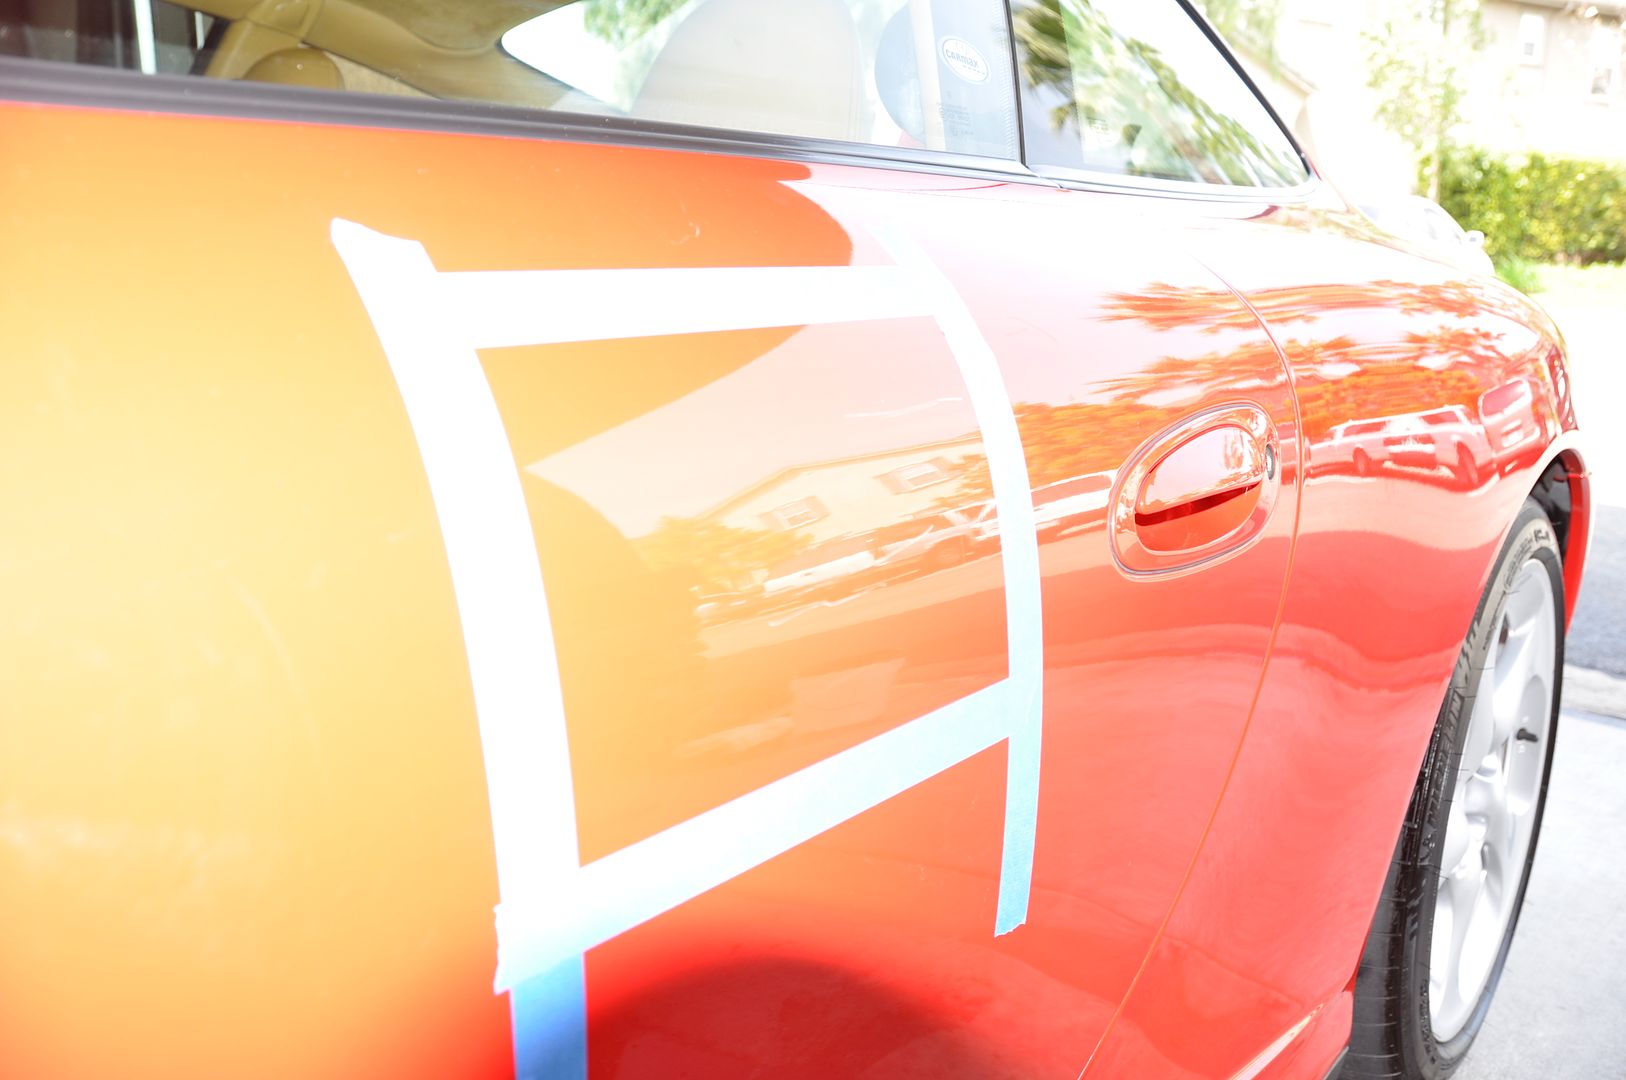
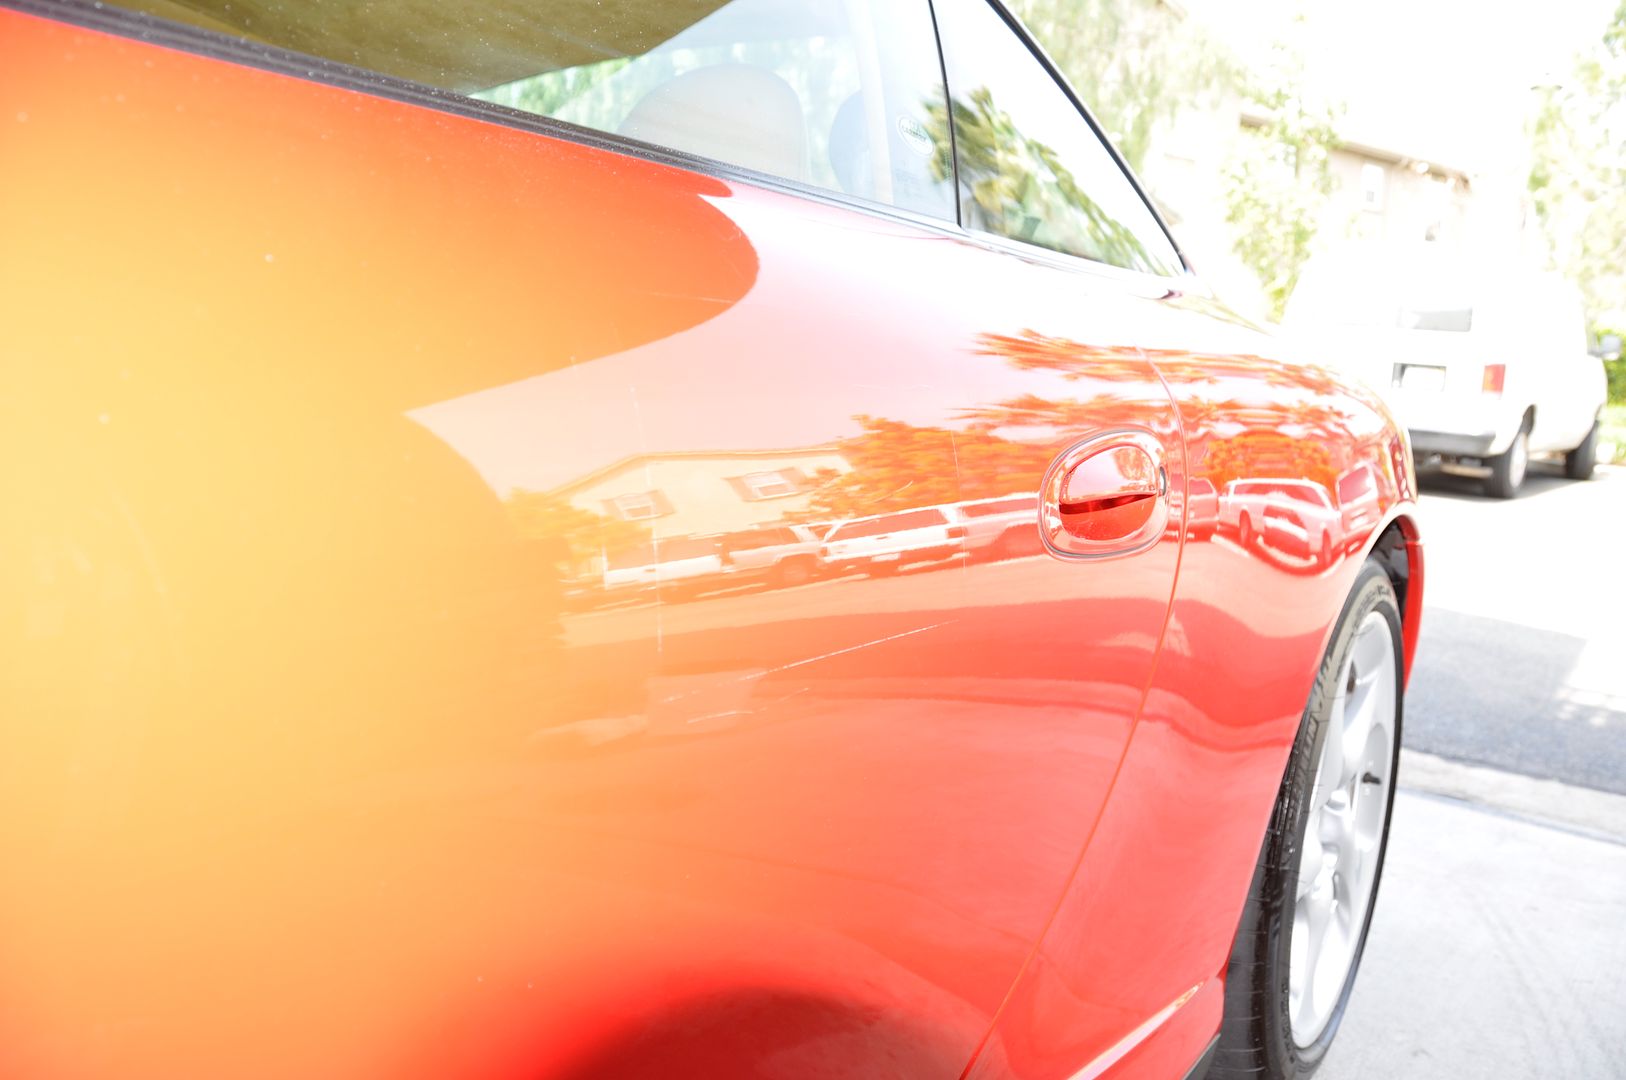
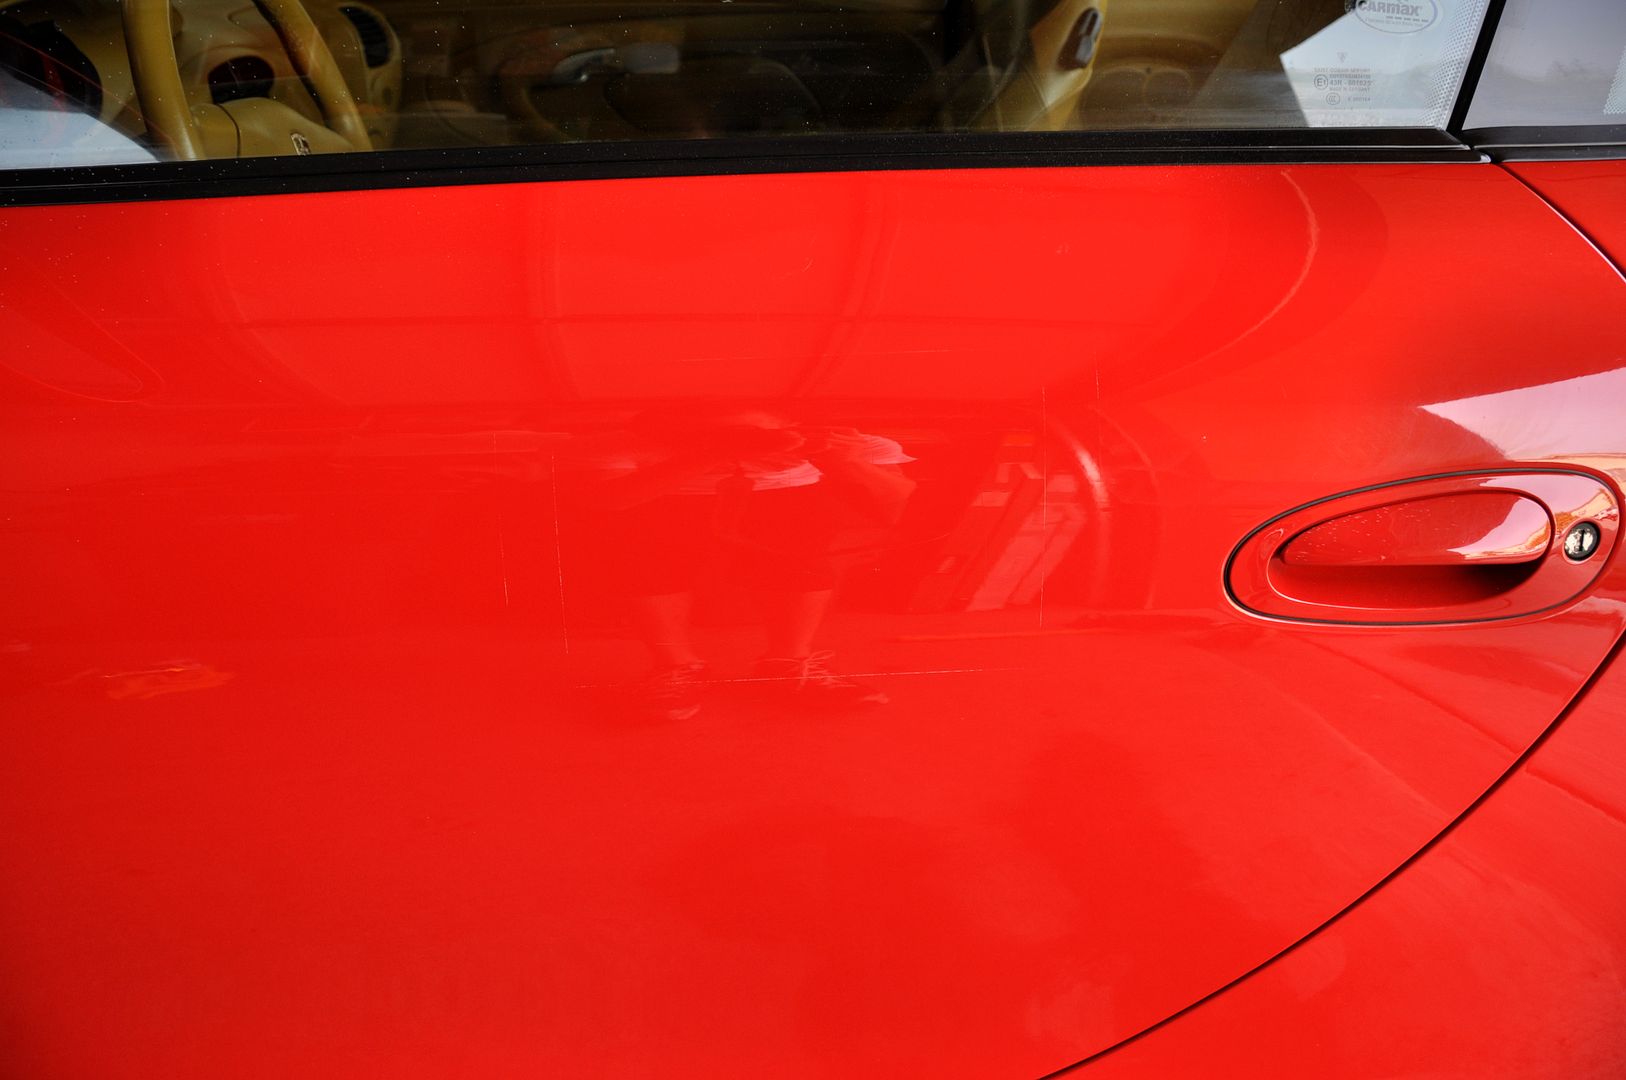
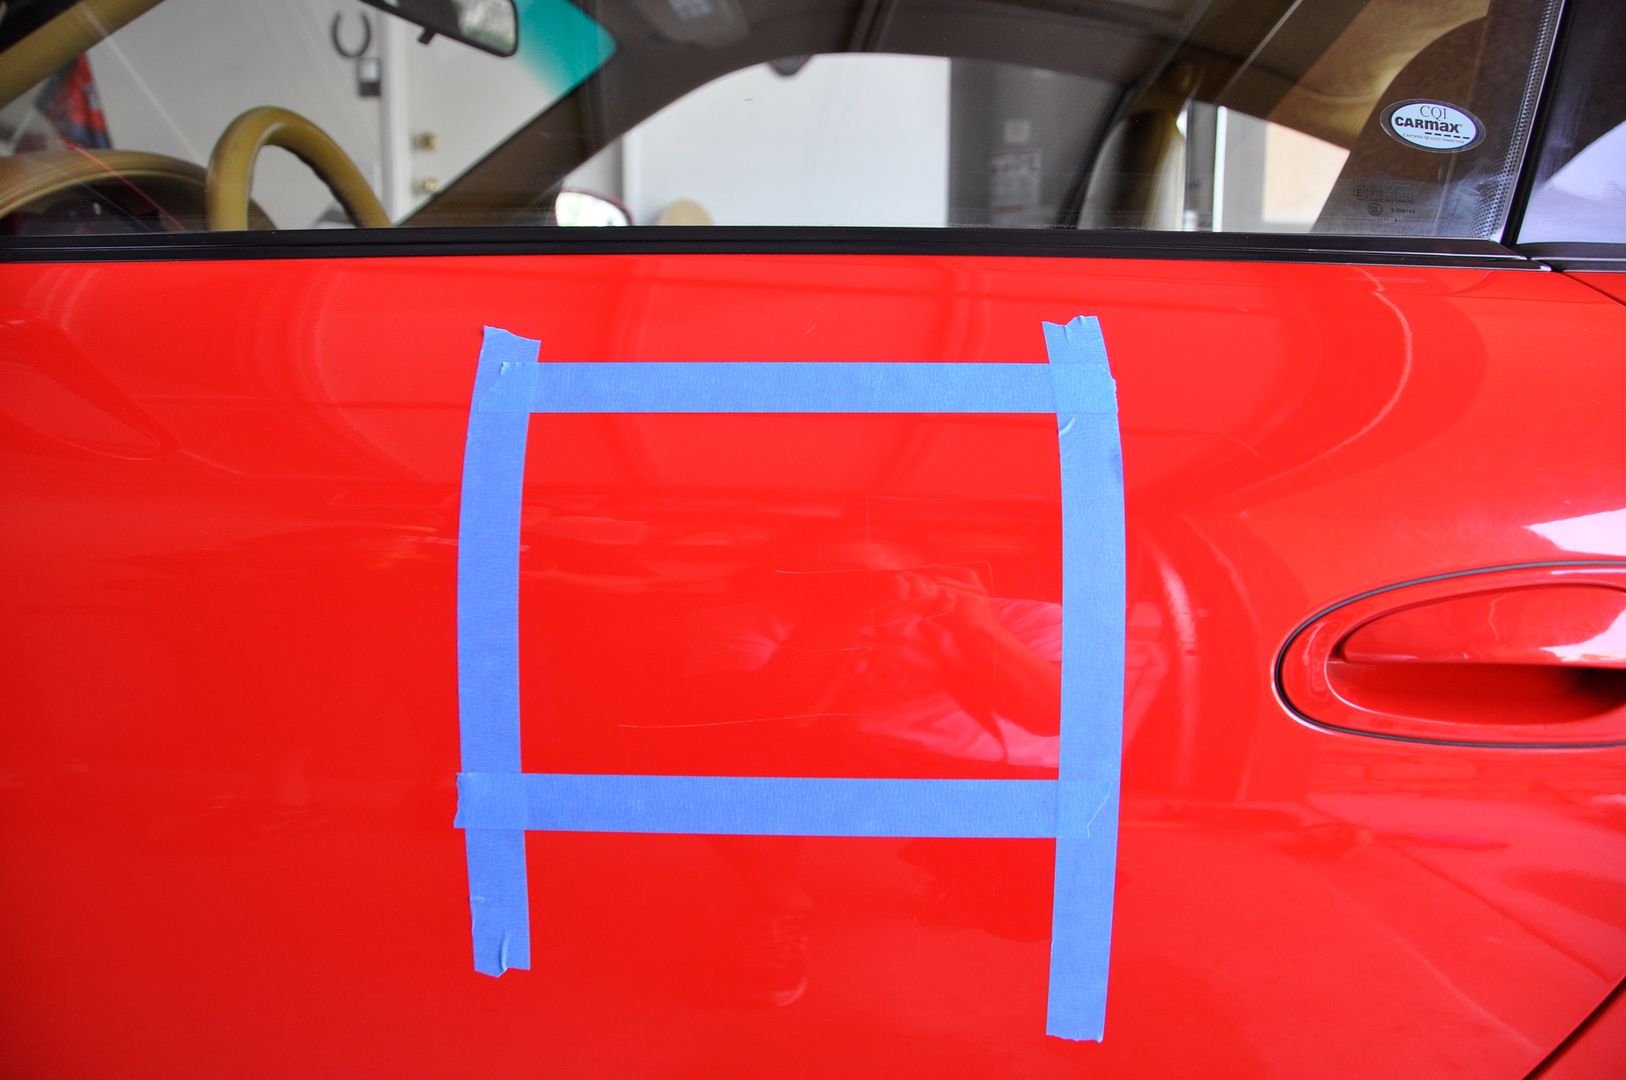
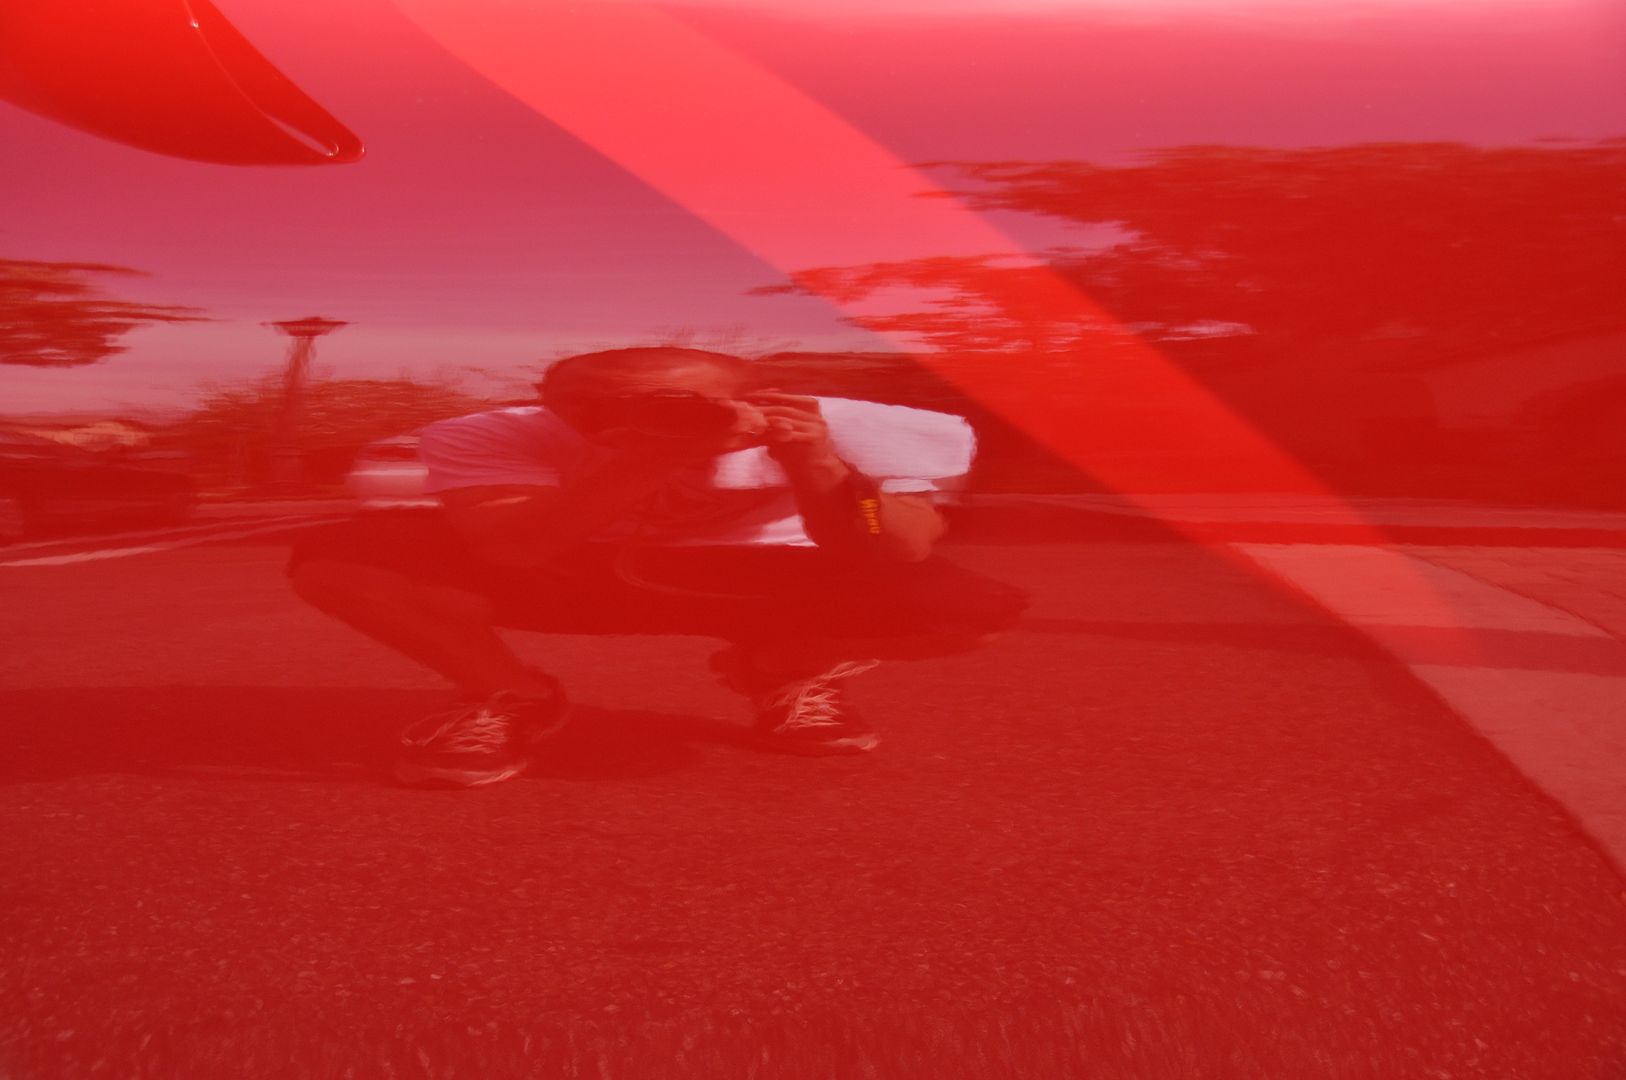
A few choice areas were marked off and spot buffed using the 4" pads and the drill attachment. One area in particular was really bad, someone had actually keyed a swastika into the door!! I spent a good amount of time on this, but it was too deep for buffing and will require wet sanding to correct. I blew the exposure out to capture it and after working it with the yellow pad + Swirl & Haze Remover it was reduced to barely noticeable.
Each panel took approximately 2 passes with the orange pad + swirl & haze remover (some areas required as many as 4 passes) at 5000opm. This was followed by 1-2 passes per panel of the white pad + Fine Machine Polish at 5000opm. Smaller areas around door handles were hand polished using the orange flip pad + swirl and haze remover.
Lastly we did a pass of Revive by hand with the blue flip applicator to add a little more clarity to the finish.
After Revive was removed we chose to do a wipe down with waterless wash, partially to remove the trace amounts of dusting left behind by the polish, but also to cut the static charge on the paint.
Lastly the glass was sealed by Anthony using the new Glass Sealant while I applied a coat of Americana over the entire car. It was buffed off using the new double soft microfiber and delivered to a very happy customer
Total time (minus a couple of food and beer breaks) was 8 hours. Enjoy the pics!
INTERIOR BEFORE:
DURING:
AFTER:
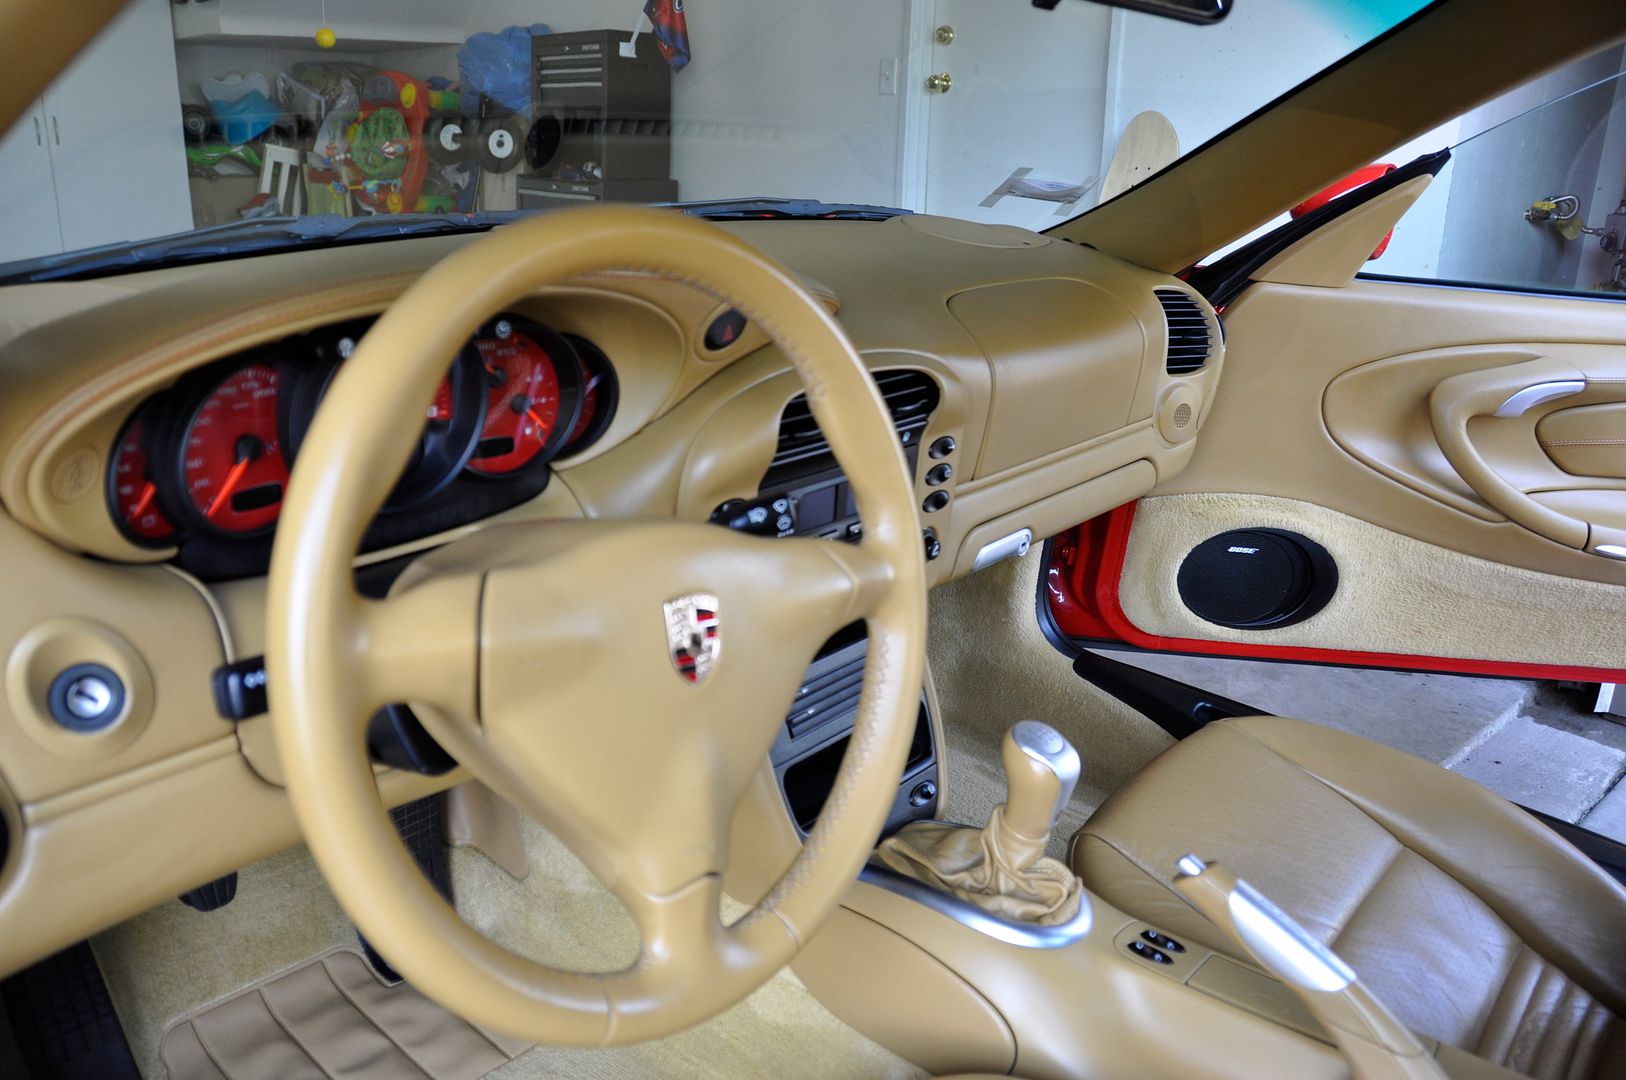
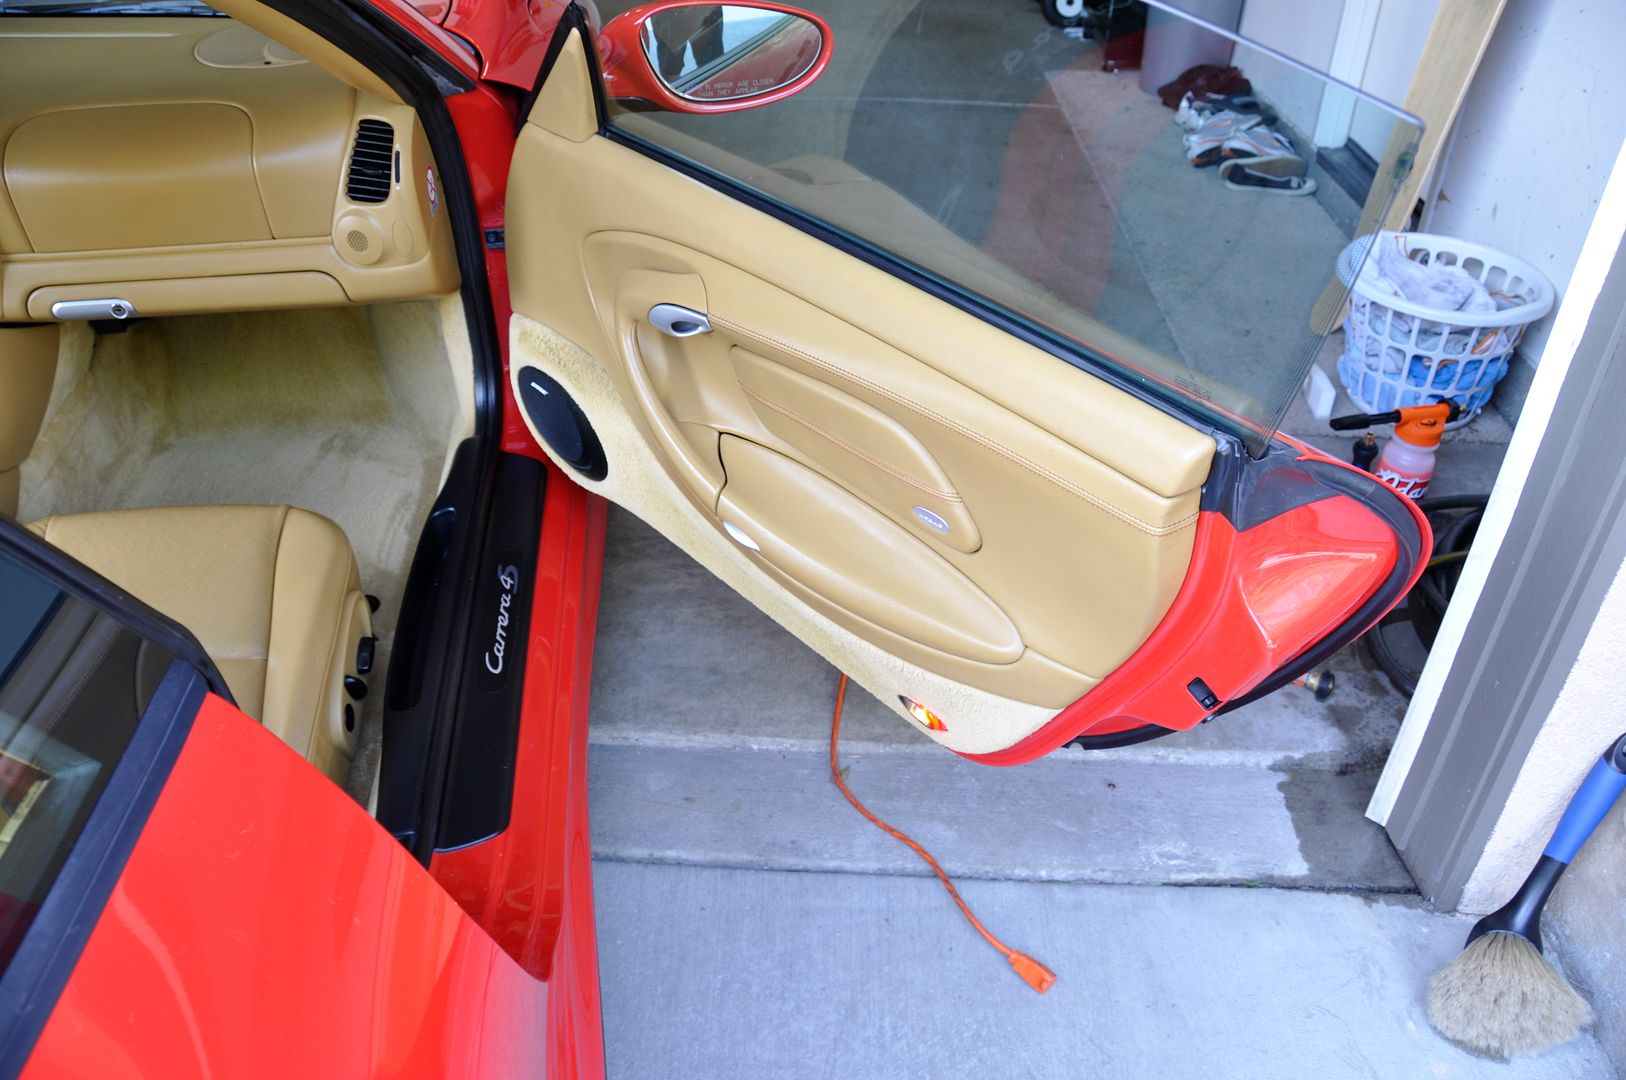
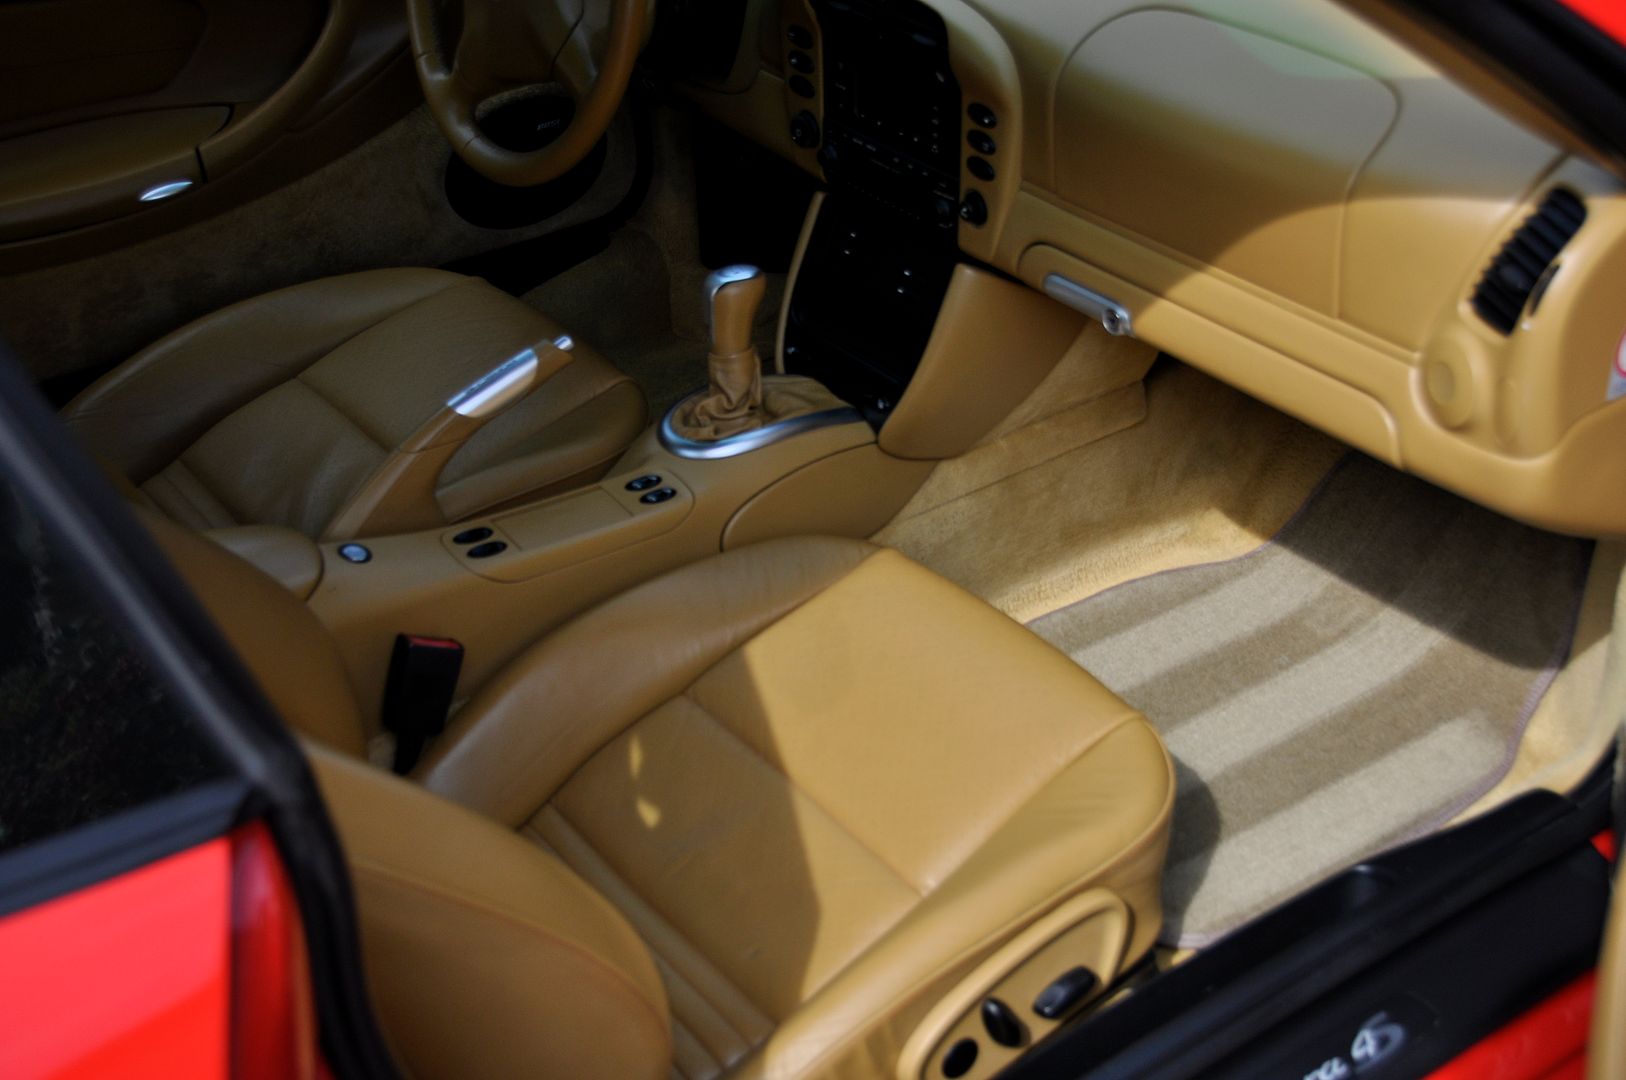
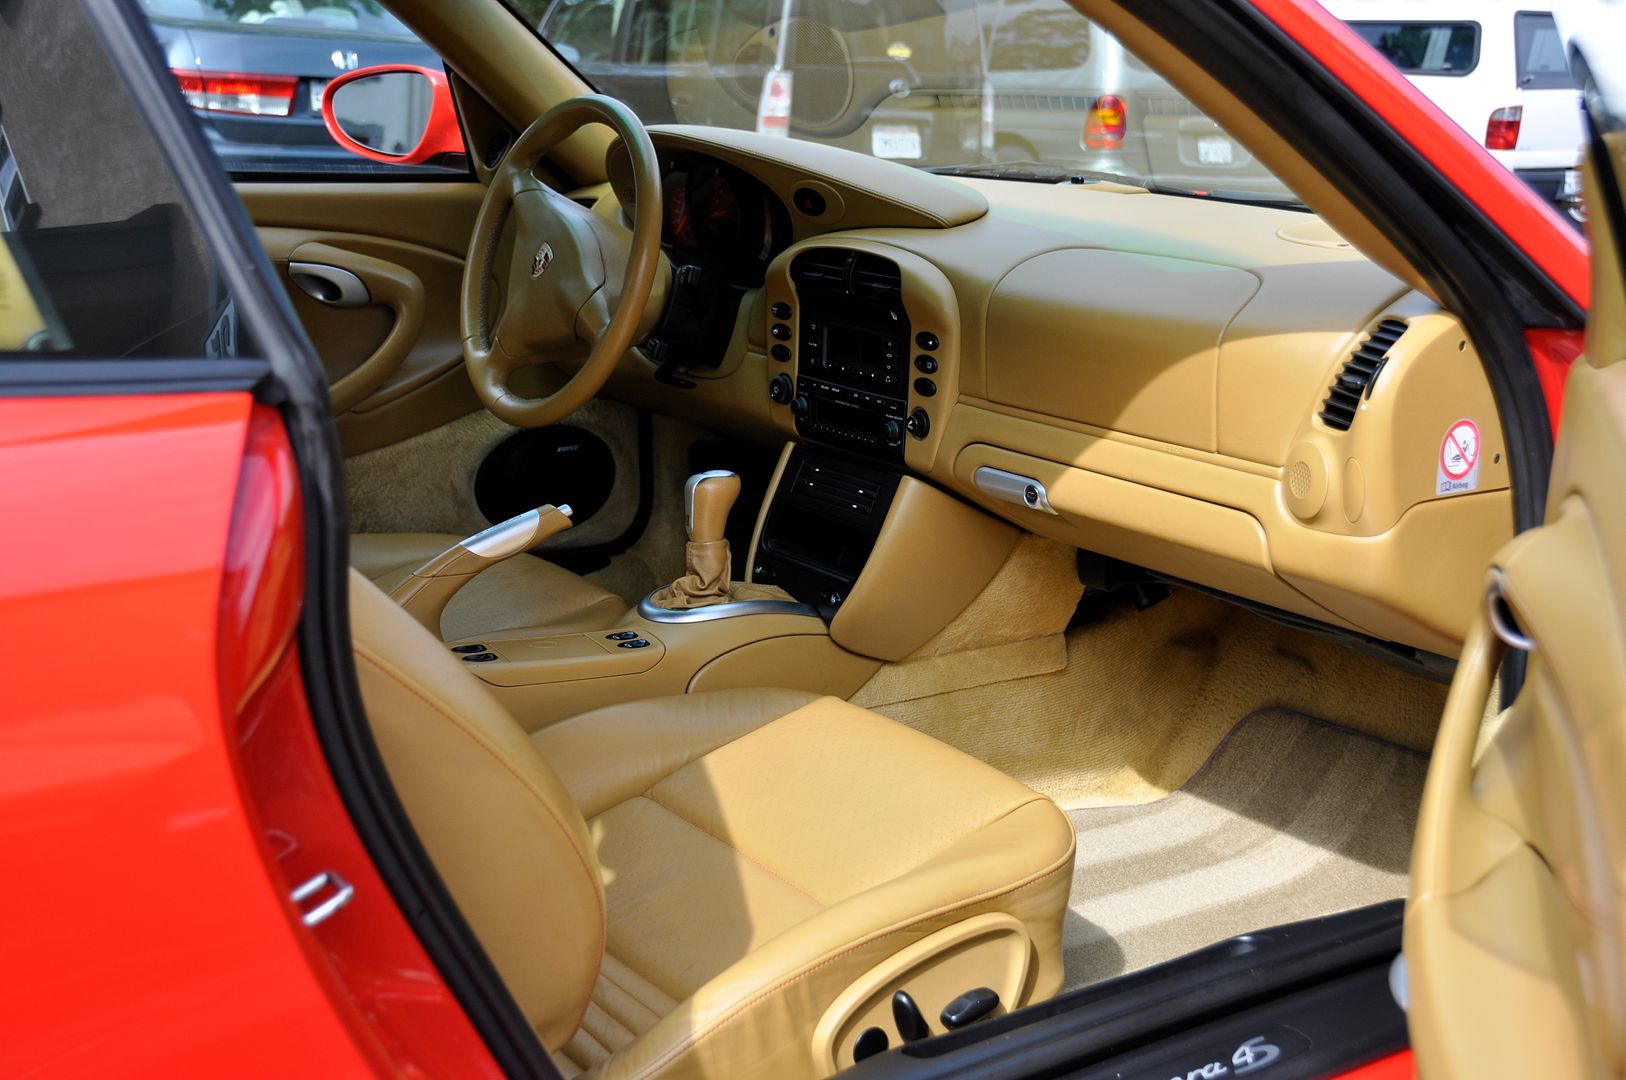
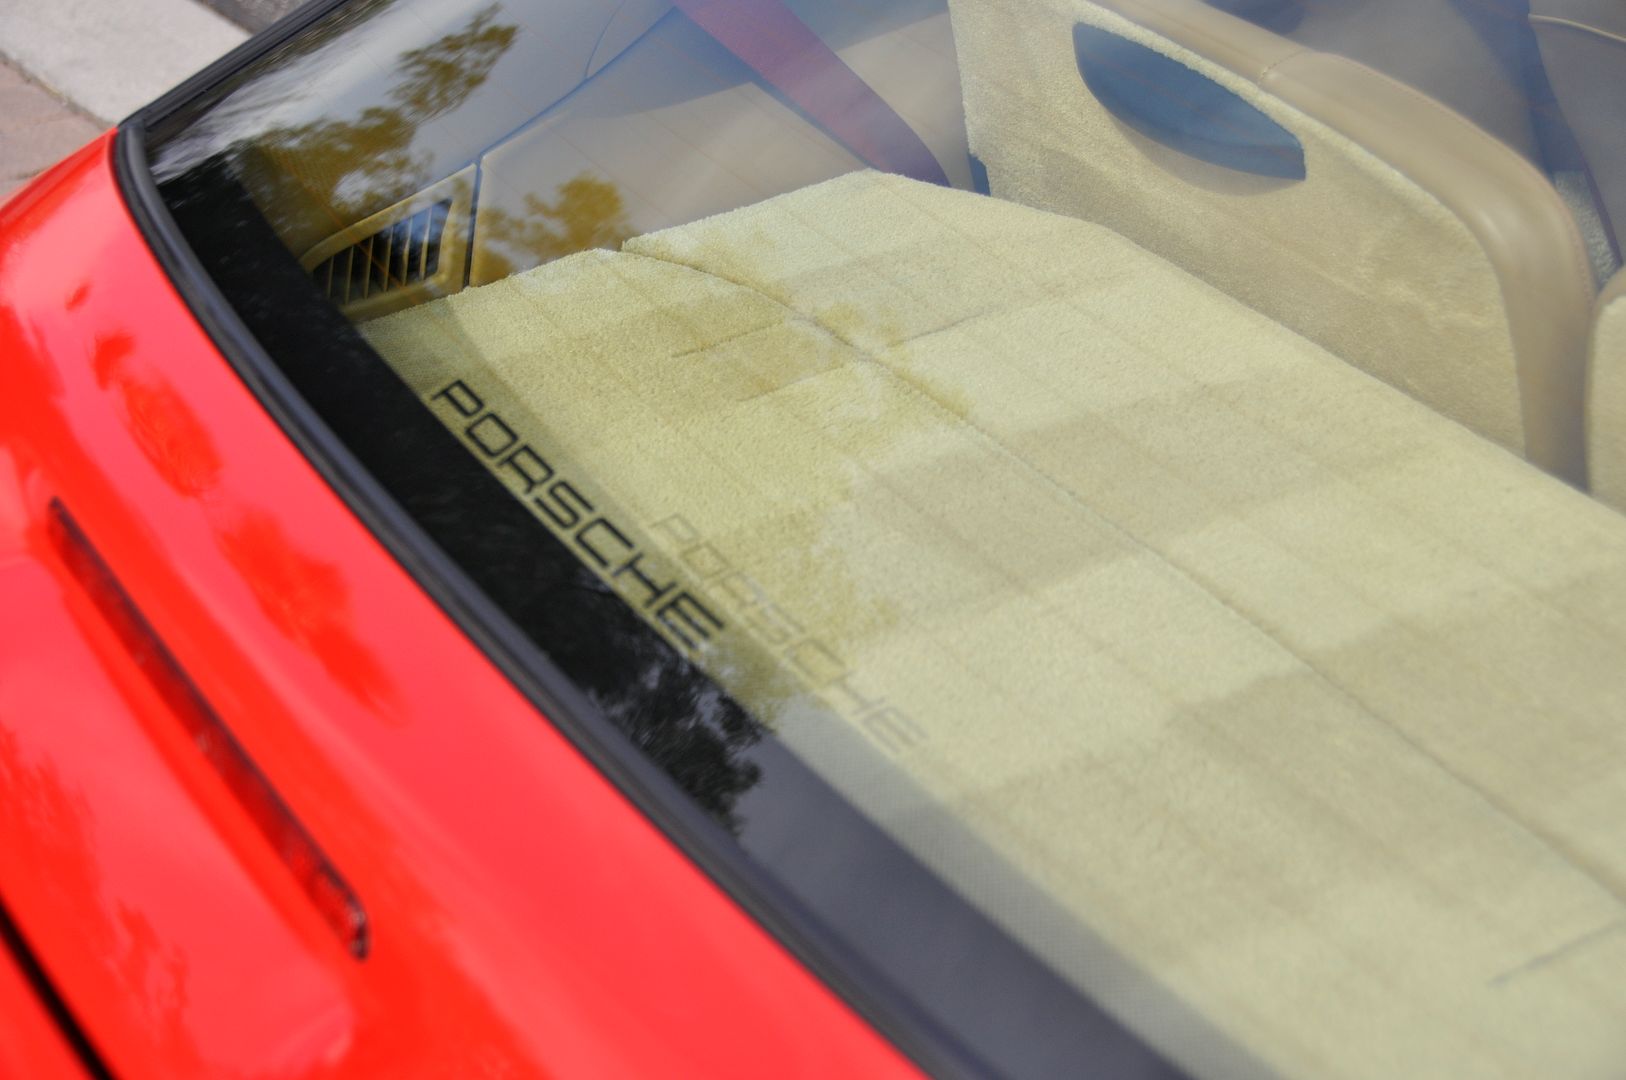
EXTERIOR BEFORE:
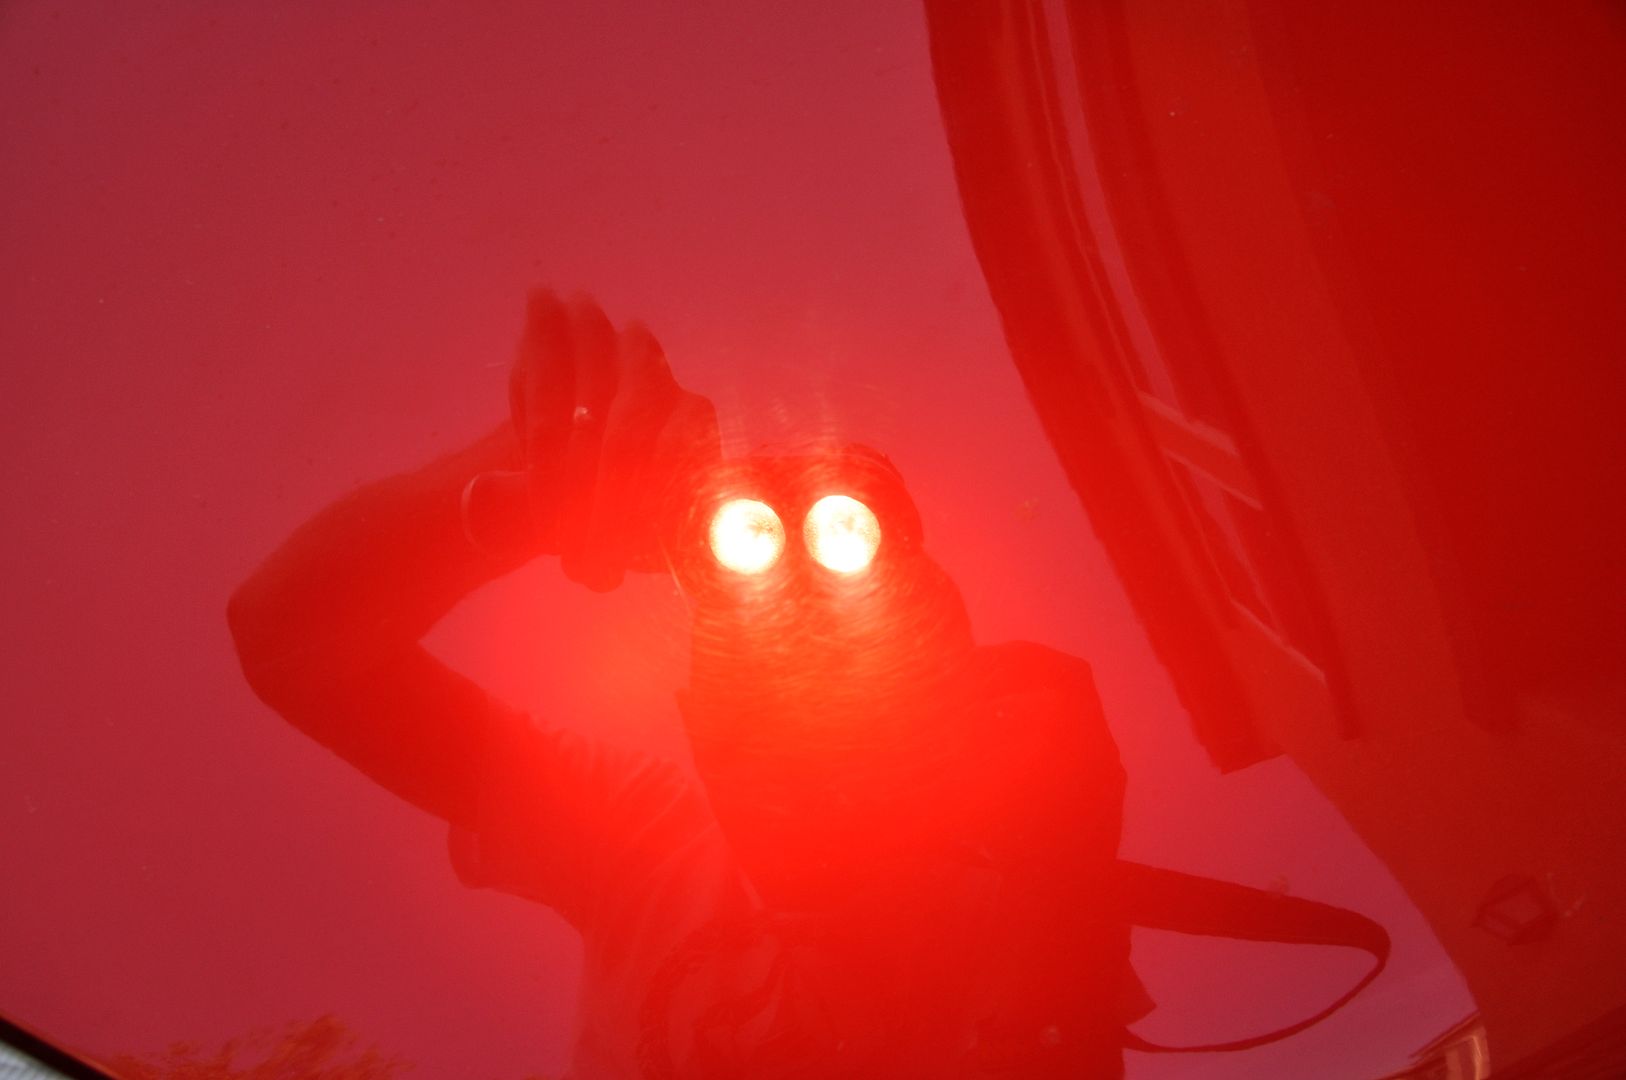
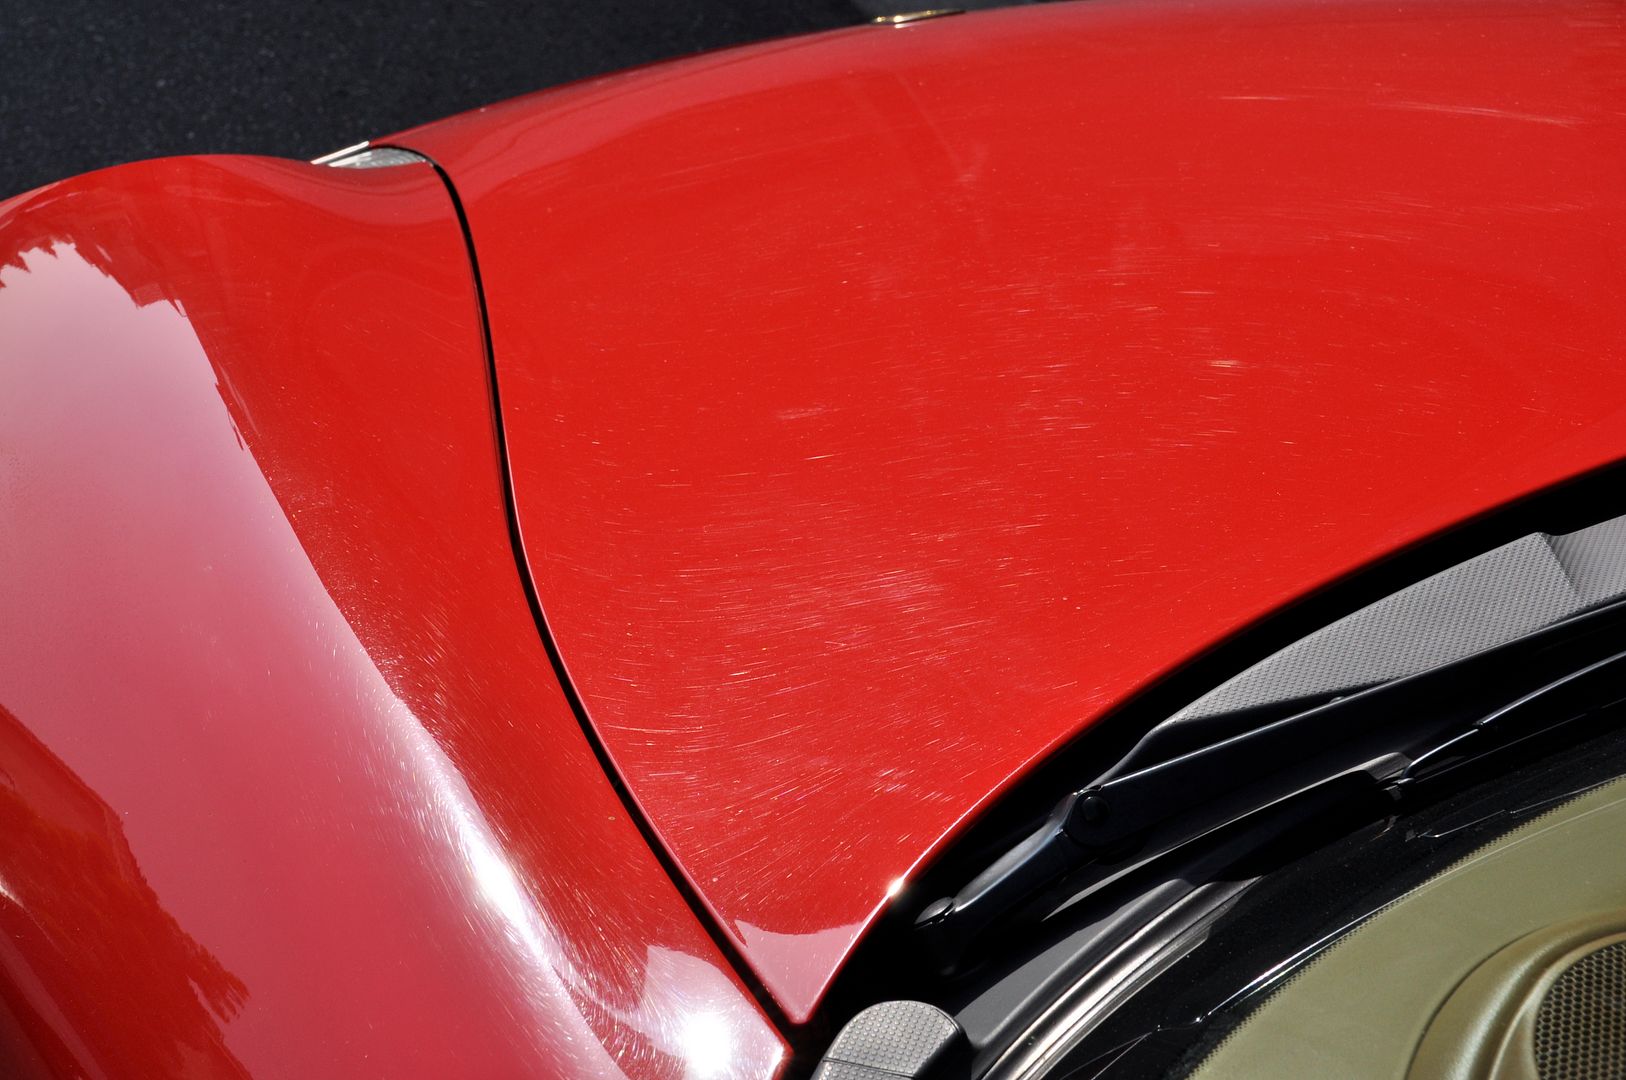
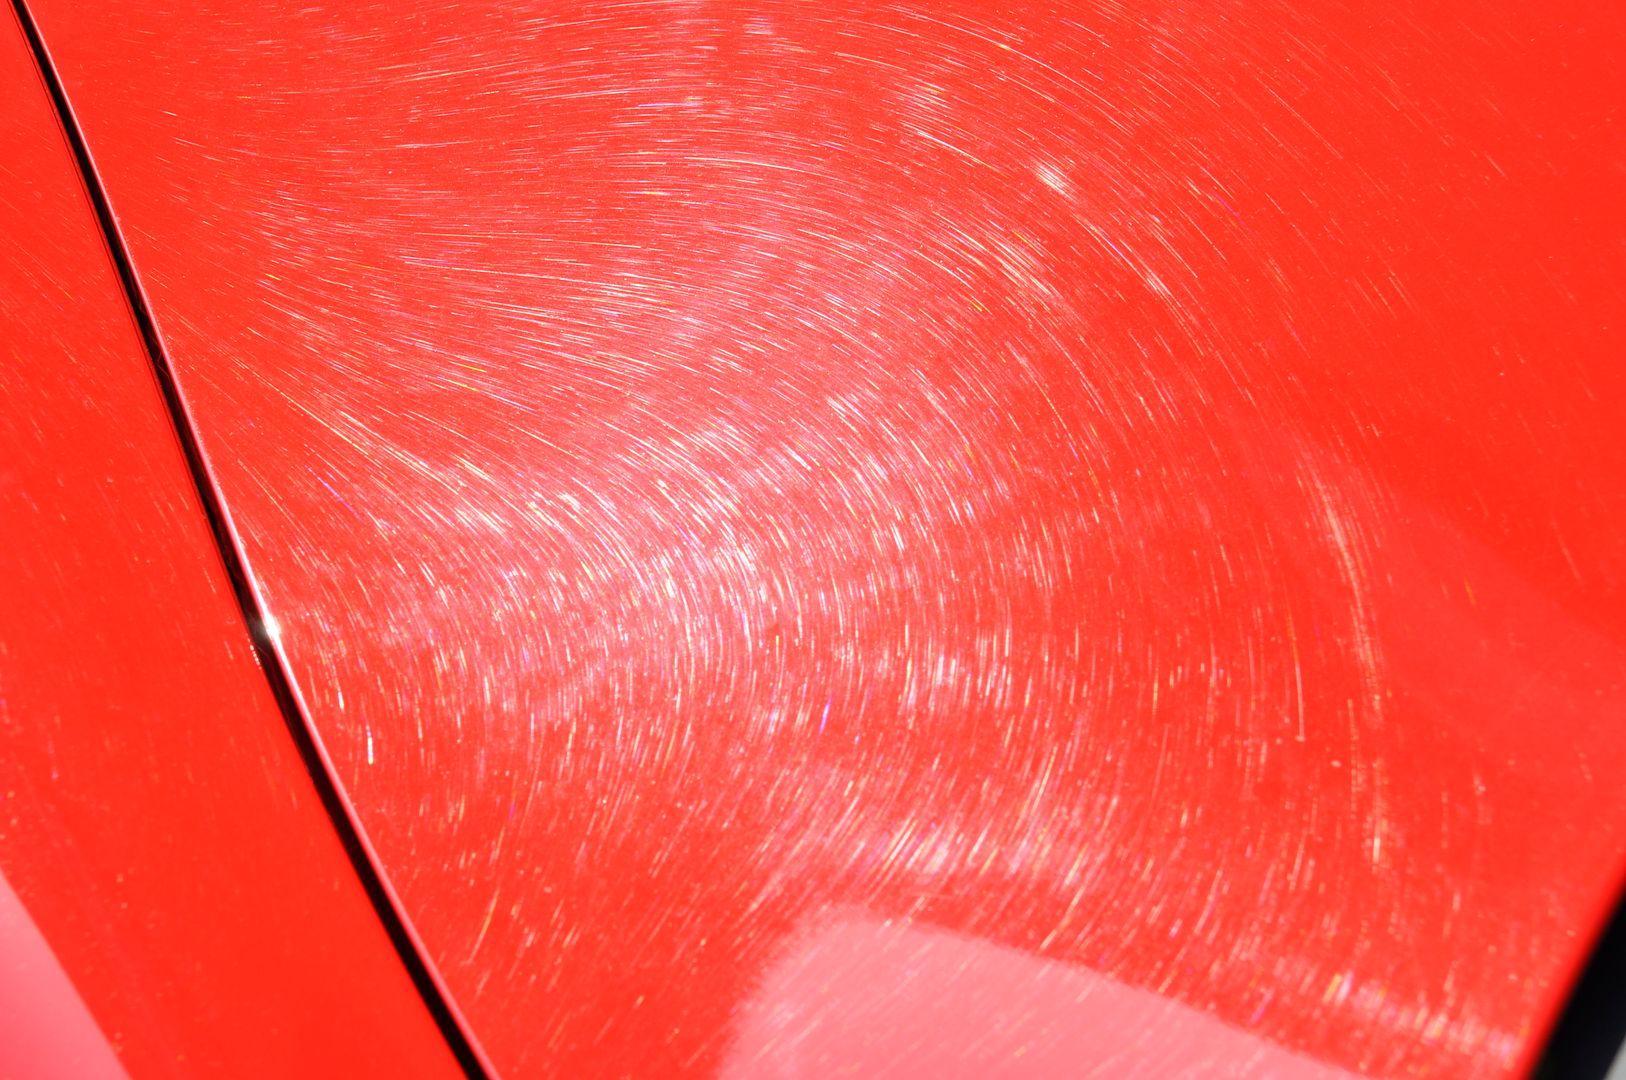
(the swastika)
More coming...
It was purchased used just a few days ago and it showed ever bit of its 66k mile odometer reading (including a history of VERY bad wash techniques) tackled this all day saturday with my good friend/neighbor.
When we were done, outside of a few minor flaws that would require much more extensive work/repair, it came out stunning. From about 10ft it didn't look too bad, farther down you'll see the swirly horror that awaited us up close!!
Started with the interior:
The carpets were pulled and scrubbed down with Adam's Carpet & Upholstery cleaner + a stiff carpet brush. They were then extracted using the LGM pro heat. We then sat them out in the sun for the rest of the day as they had become awkwardly shaped sitting in the car (the mats are not specific to the car, but are just filling the need for now)
The seats and interior panels were treated using a combination of woolite/water and leather & interior cleaner/water 1:1. The reason we chose the diluted mixture and milder cleaner was due to the heavy sun fading and discoloration on some areas that was allowing color to come up from the surface. Rather than push the limits of what was left on the seats we chose to clean mildly and then condition very liberally.
All interior panels were conditioned with Adam's Leather & Interior Conditioner, a few scuff spots along the center console and door sills were cleaned using Mr. Clean Magic Eraser.
Radio controls, vents, gauges, etc were cleaned using MF + detail spray and assorted interior detail brushes. The vents were dressed with a 1:1 VRT mixture, all glass was cleaned with Adam's Glass Cleaner and Glass towel.
Moved to the wheels:
The wheels were cleaned with Adam's Green Wheel Cleaner and a boars hair brush. The inner wheel hoop was cleaned using the Powerstick and full strength APC. Tires were cleaned with full strength APC and a fender brush. Some road paint transfer on the passenger side was broken down using full strength APC and a little scrubbing.
At this time the exhaust tips were sprayed down with full strength APC and allowed to soak due to extremely heavy carbon buildup. The were later scrubbed with a boars hair brush and then polished with Adams metal Polish.
Let the decontamination BEGIN!!:
My boy Anthony went to work with the foam gun and an undiluted canister of Adam's Car Soap. The car was hosed off, foamed, and the mix was allowed to dwell and run down all the panels. The car was then blasted again and refoamed. We washed using the NEW & Improved Adams wash pad (separate thread coming soon) then pulled into the garage. Claybar... claybar... more claybar... this thing was rough. Spent some extra time working on the lower rocker panels where there was still some heavy road paint and tar contamination. All glass was clayed as well. The car was then pulled back out and treated to yet another heavy foaming and wash, pulled in and dried using Great White Drying Towels and Detail Spray.
Dressing:
The trim was disturbingly dry, so before beginning any other steps a liberal helping of VRT was applied to all rubber and plastic trim. While we were at it the trunk and engine bay were wiped down using detail spray and microfiber and also treated with VRT. Invisible Undercarrige Spray was then applied to all the wheel wells.
The wheels were treated to a coat of Machine Superwax to keep them protected and the tires were dressed with full strength VRT.
Correction:
A few choice areas were marked off and spot buffed using the 4" pads and the drill attachment. One area in particular was really bad, someone had actually keyed a swastika into the door!!
 I spent a good amount of time on this, but it was too deep for buffing and will require wet sanding to correct. I blew the exposure out to capture it and after working it with the yellow pad + Swirl & Haze Remover it was reduced to barely noticeable.
 Each panel took approximately 2 passes with the orange pad + swirl & haze remover (some areas required as many as 4 passes) at 5000opm. This was followed by 1-2 passes per panel of the white pad + Fine Machine Polish at 5000opm. Smaller areas around door handles were hand polished using the orange flip pad + swirl and haze remover.
Lastly we did a pass of Revive by hand with the blue flip applicator to add a little more clarity to the finish.
After Revive was removed we chose to do a wipe down with waterless wash, partially to remove the trace amounts of dusting left behind by the polish, but also to cut the static charge on the paint.
Lastly the glass was sealed by Anthony using the new Glass Sealant while I applied a coat of Americana over the entire car. It was buffed off using the new double soft microfiber and delivered to a very happy customer

Total time (minus a couple of food and beer breaks) was 8 hours. Enjoy the pics!
INTERIOR BEFORE:


DURING:


AFTER:


EXTERIOR BEFORE:


(the swastika)

More coming...
#7
The gun is the Gilmour Foammaster II.... problem is they're ridiculously behind on production and everyone (including us) can't get any into inventory. Sometimes you can get lucky on Amazon and find someone selling them, but we've been waiting months now to get them back in stock.
You absolutely can use Adams soap in a foam gun... I recommend getting it by the gallon though b/c you'll burn thru soap VERY fast using a gun.
You absolutely can use Adams soap in a foam gun... I recommend getting it by the gallon though b/c you'll burn thru soap VERY fast using a gun.
Trending Topics
#9
wow awesome job on that. My boss has a carrera. It's definitely fun to drive. I need to clay bar and wax my truck this week. Looking at this gives me a kick in the you know what to go out and do it. Keep the pics coming.


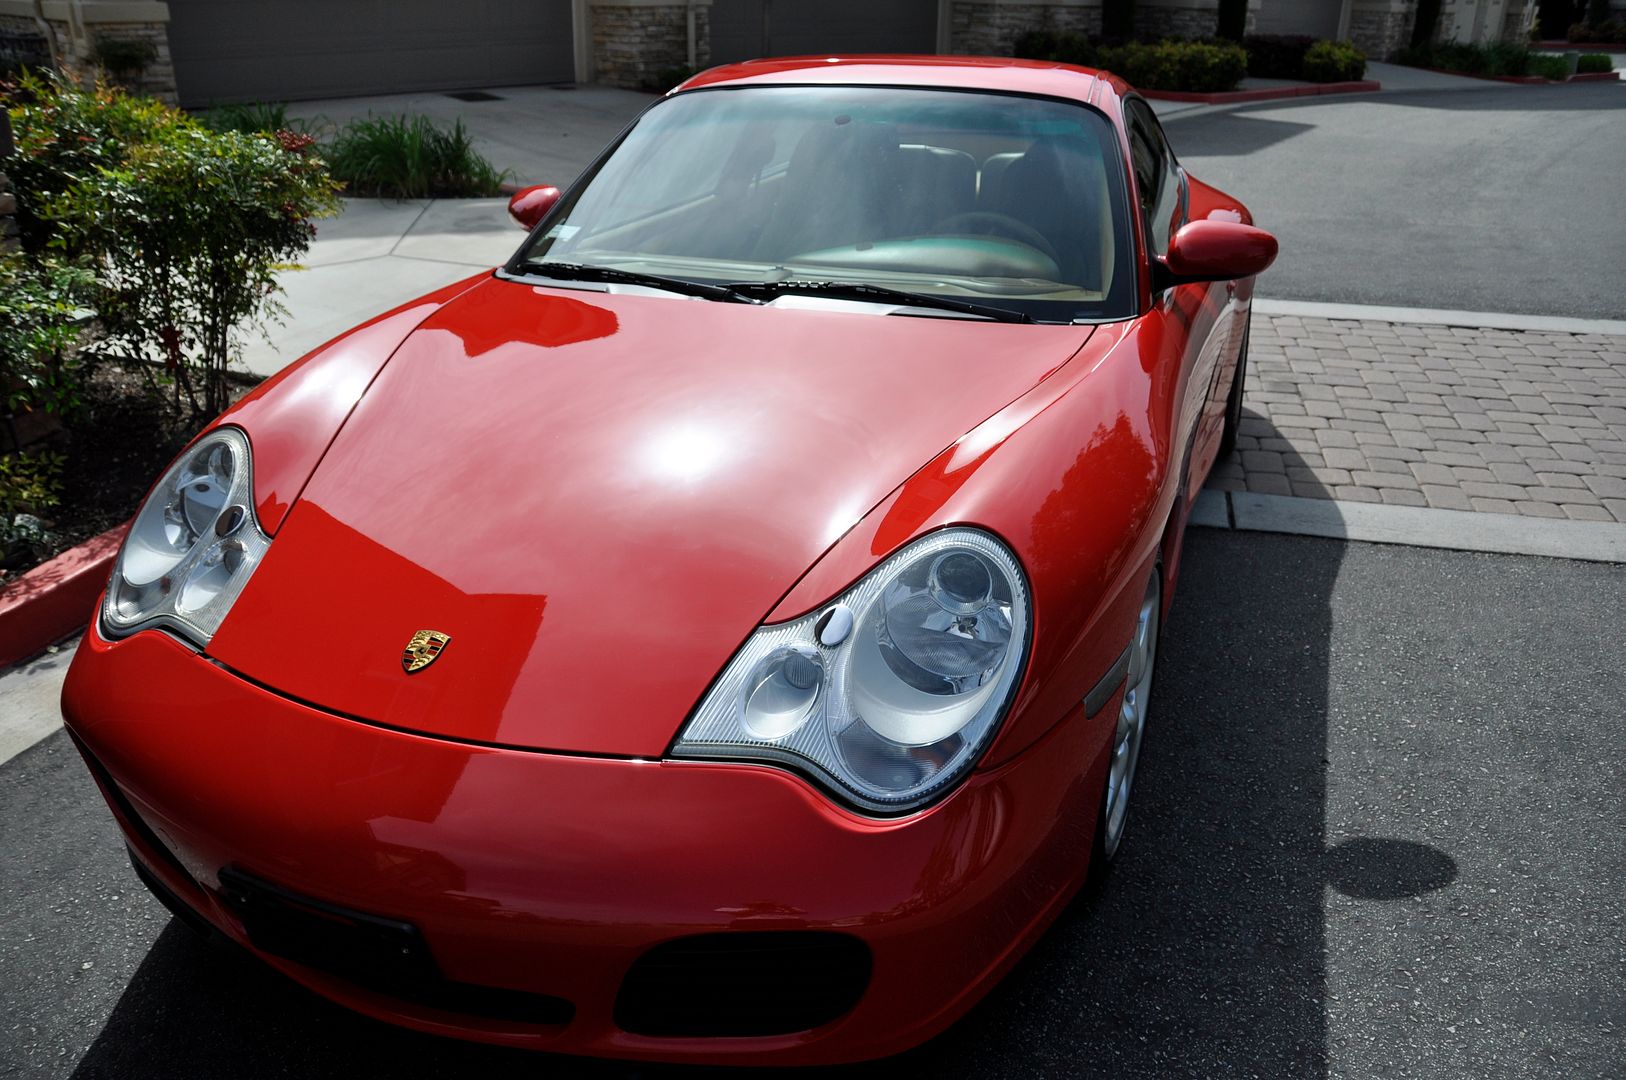
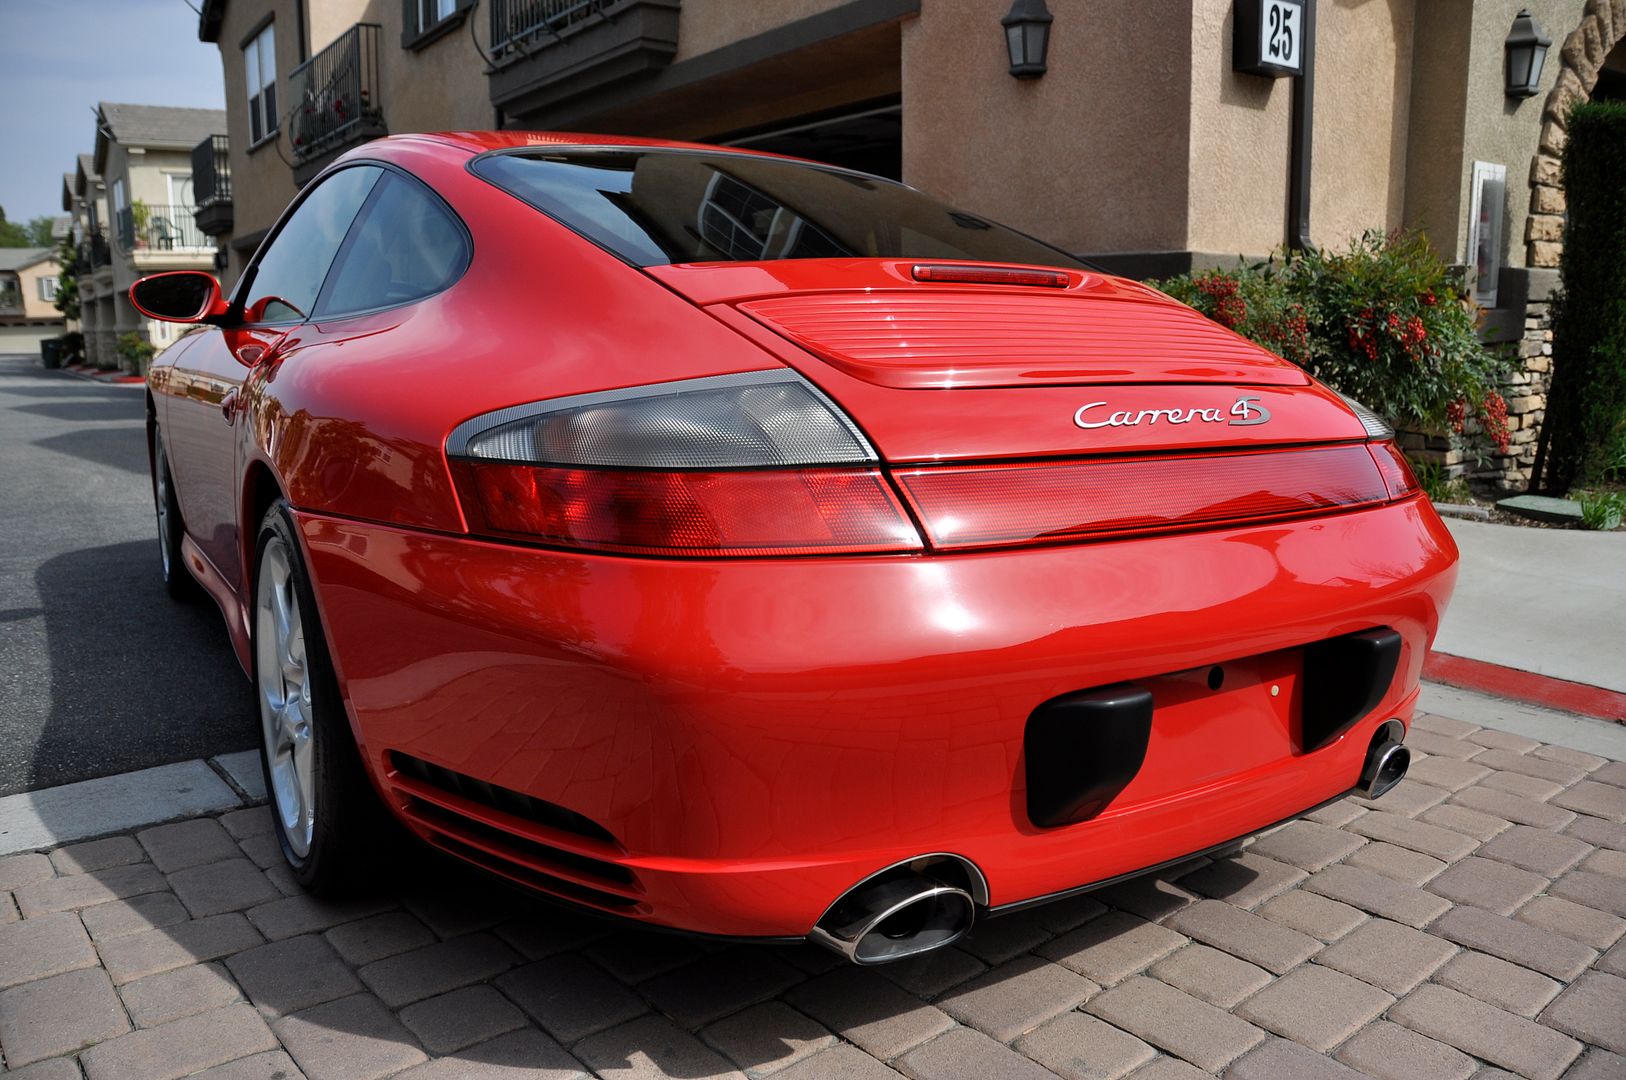
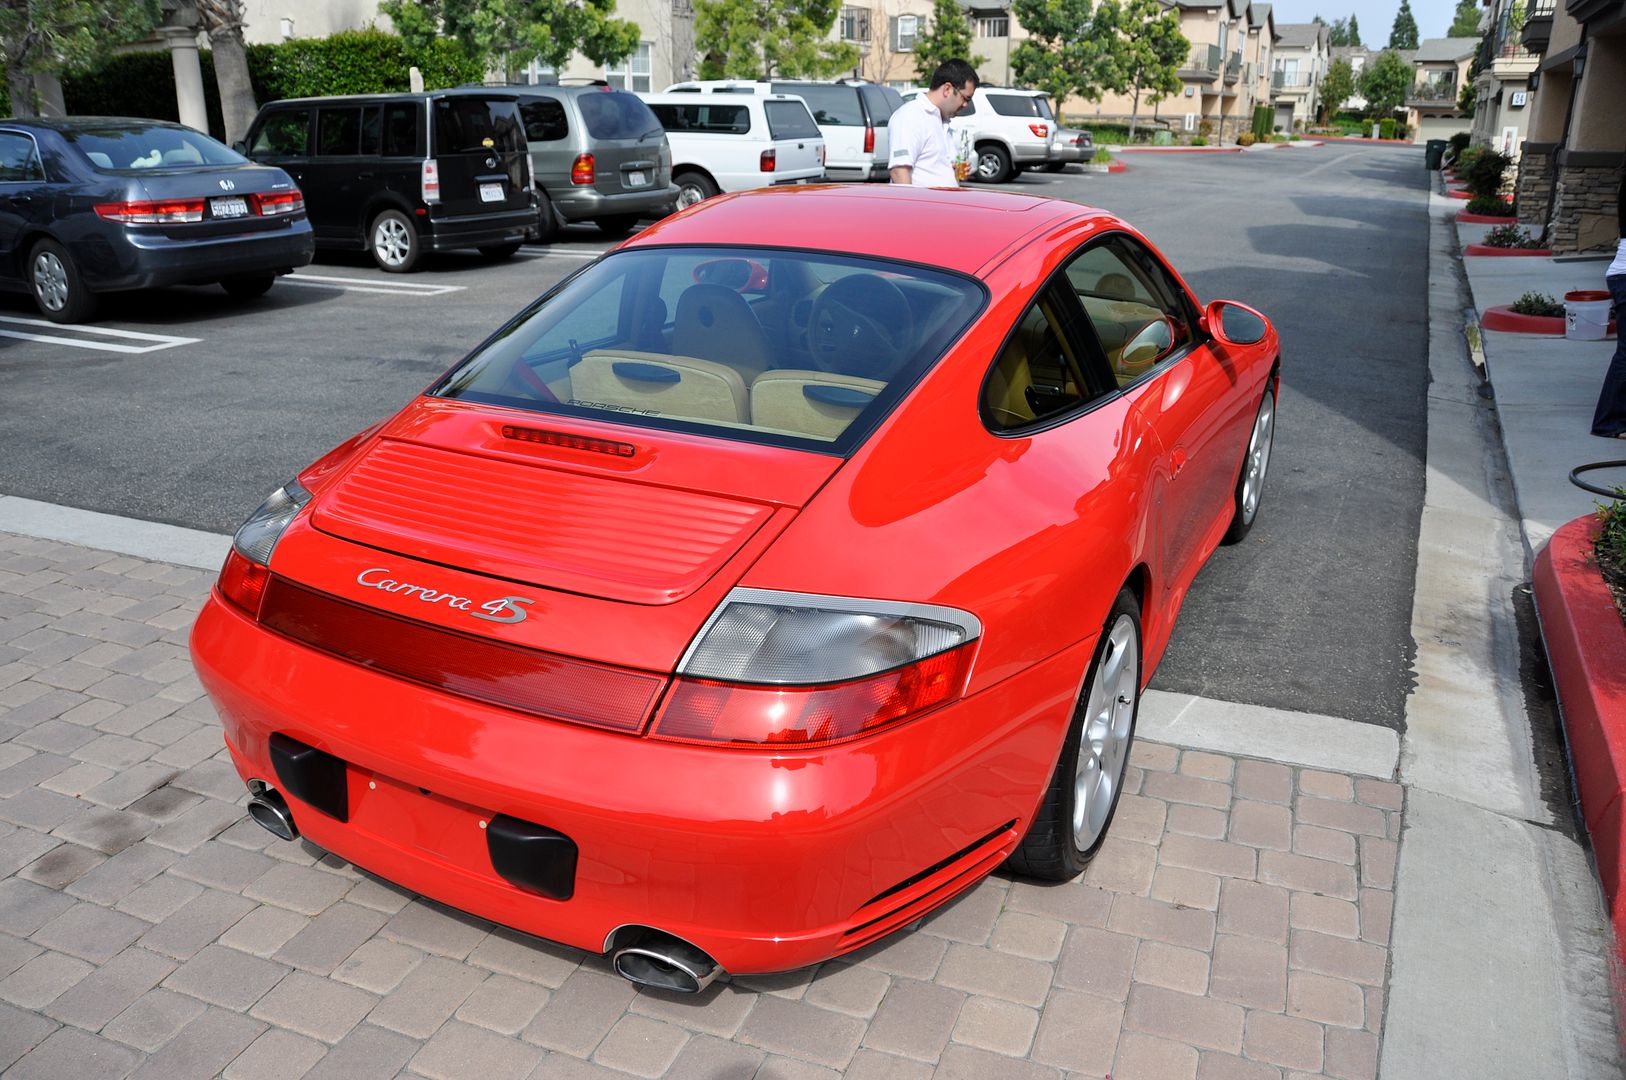
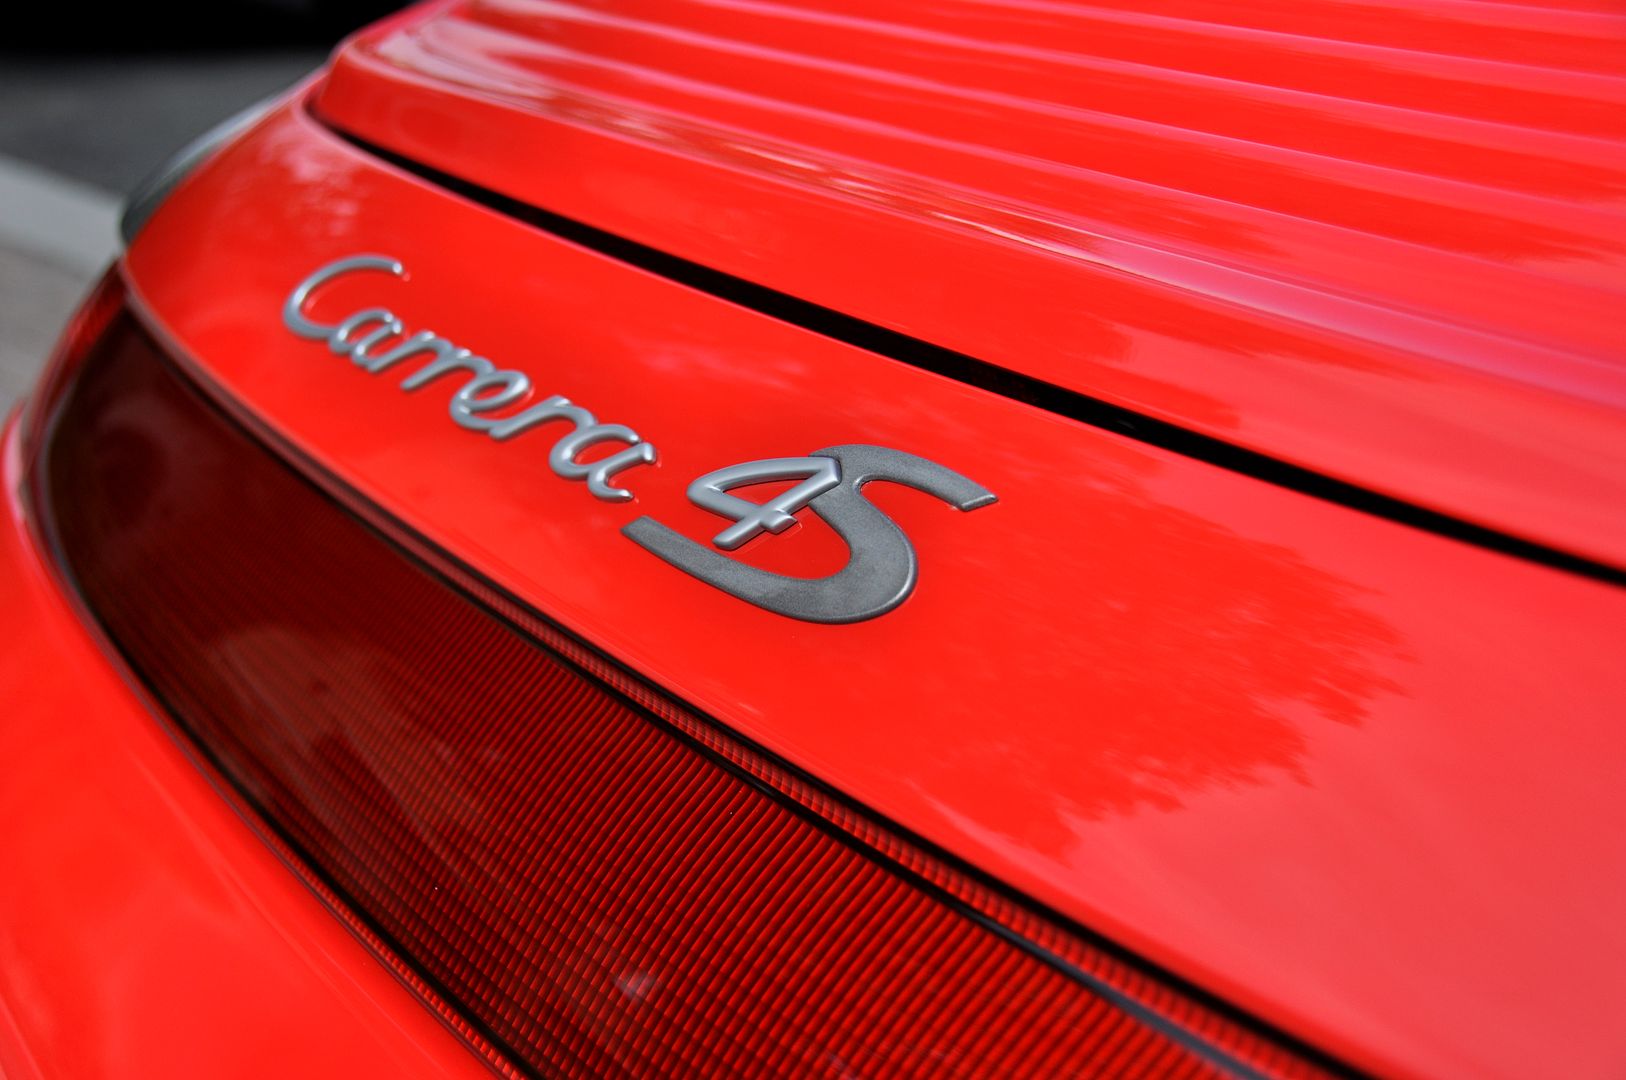
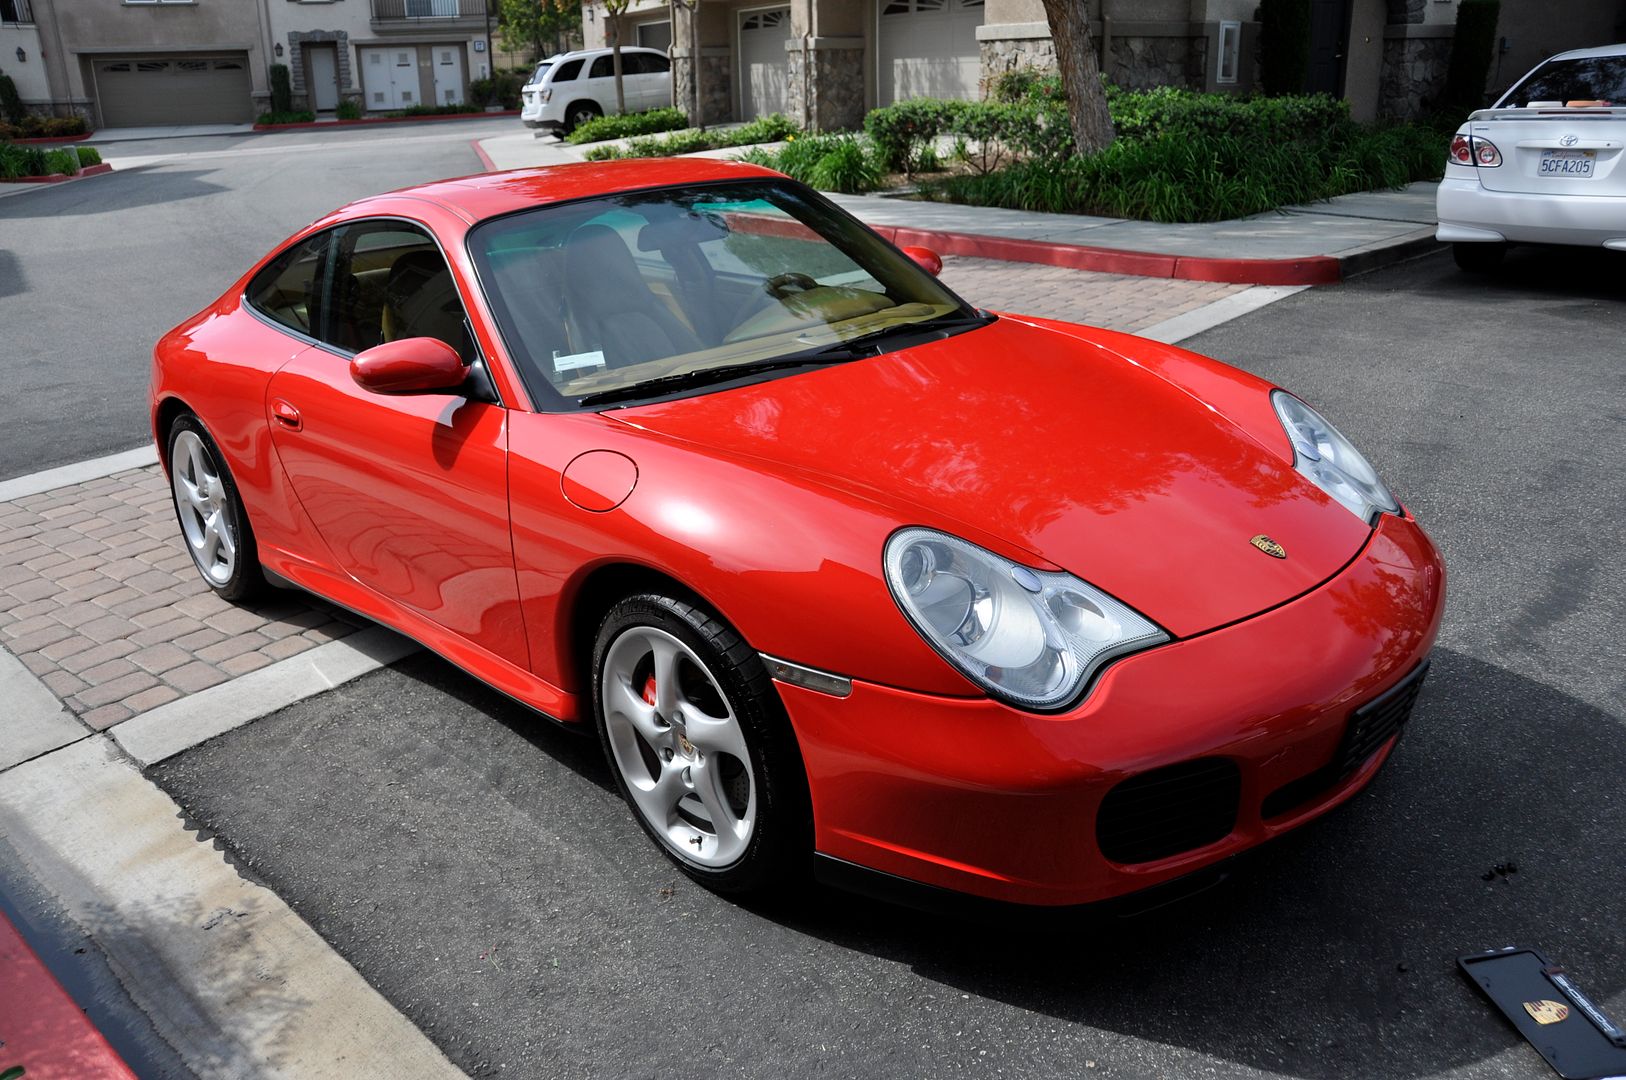
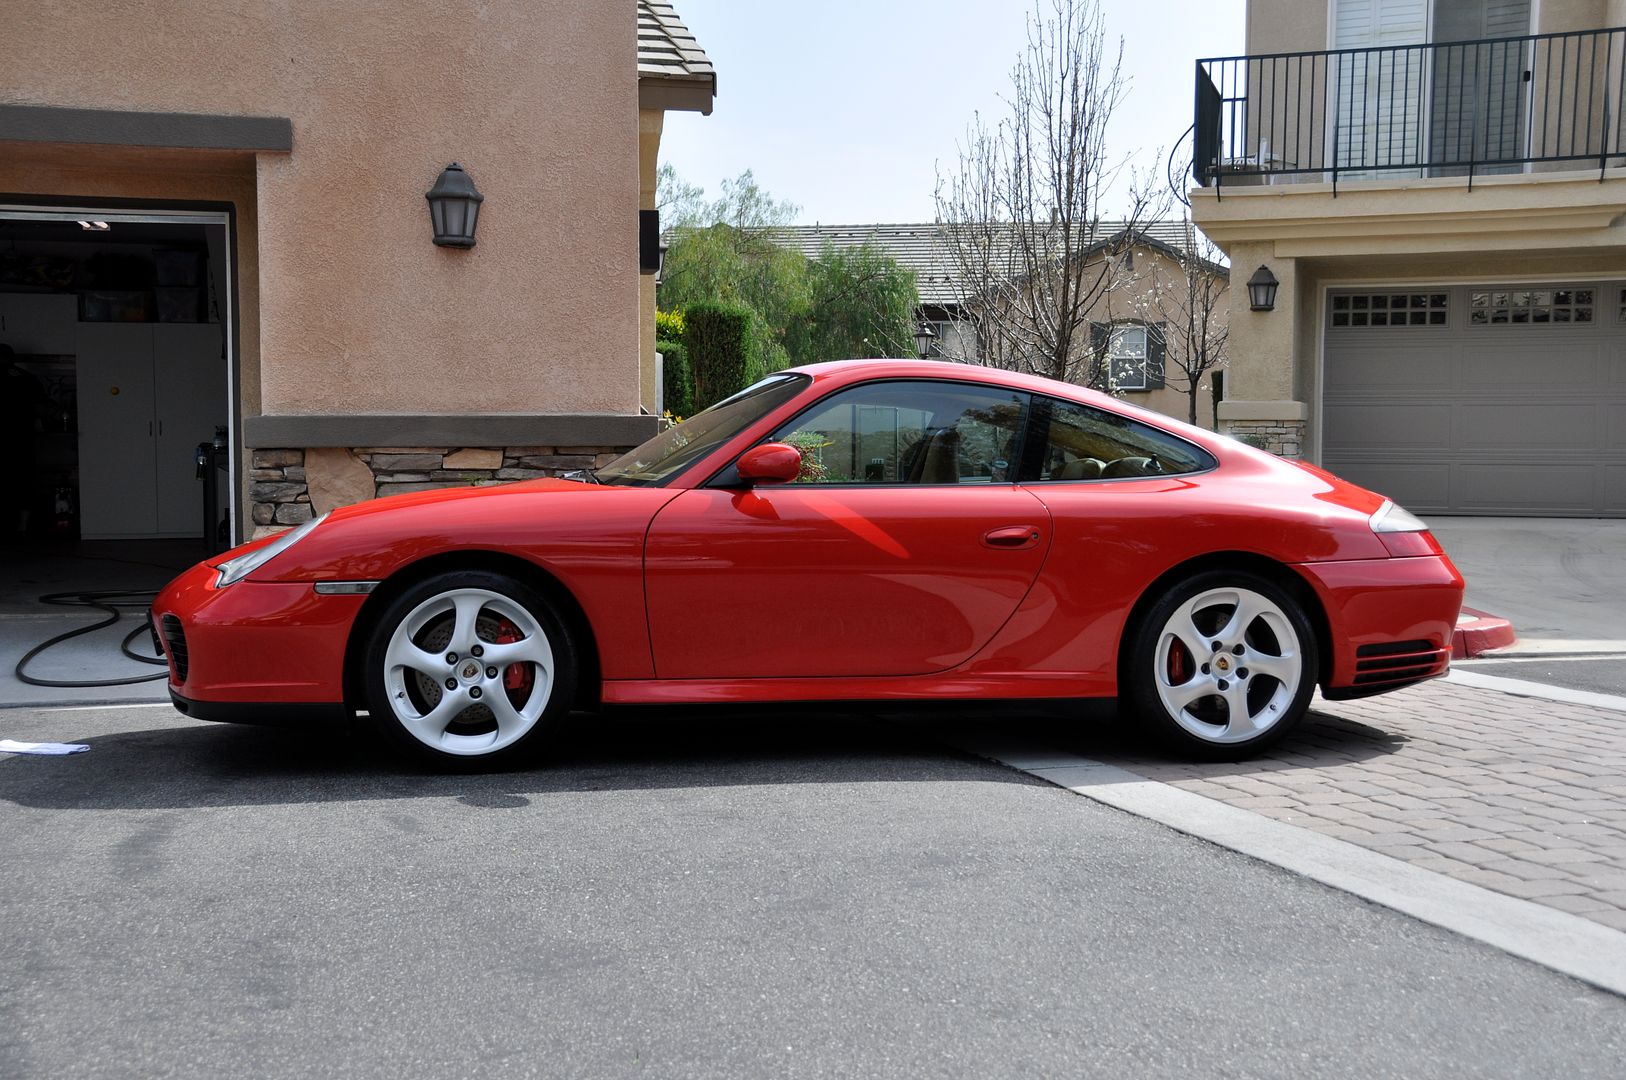
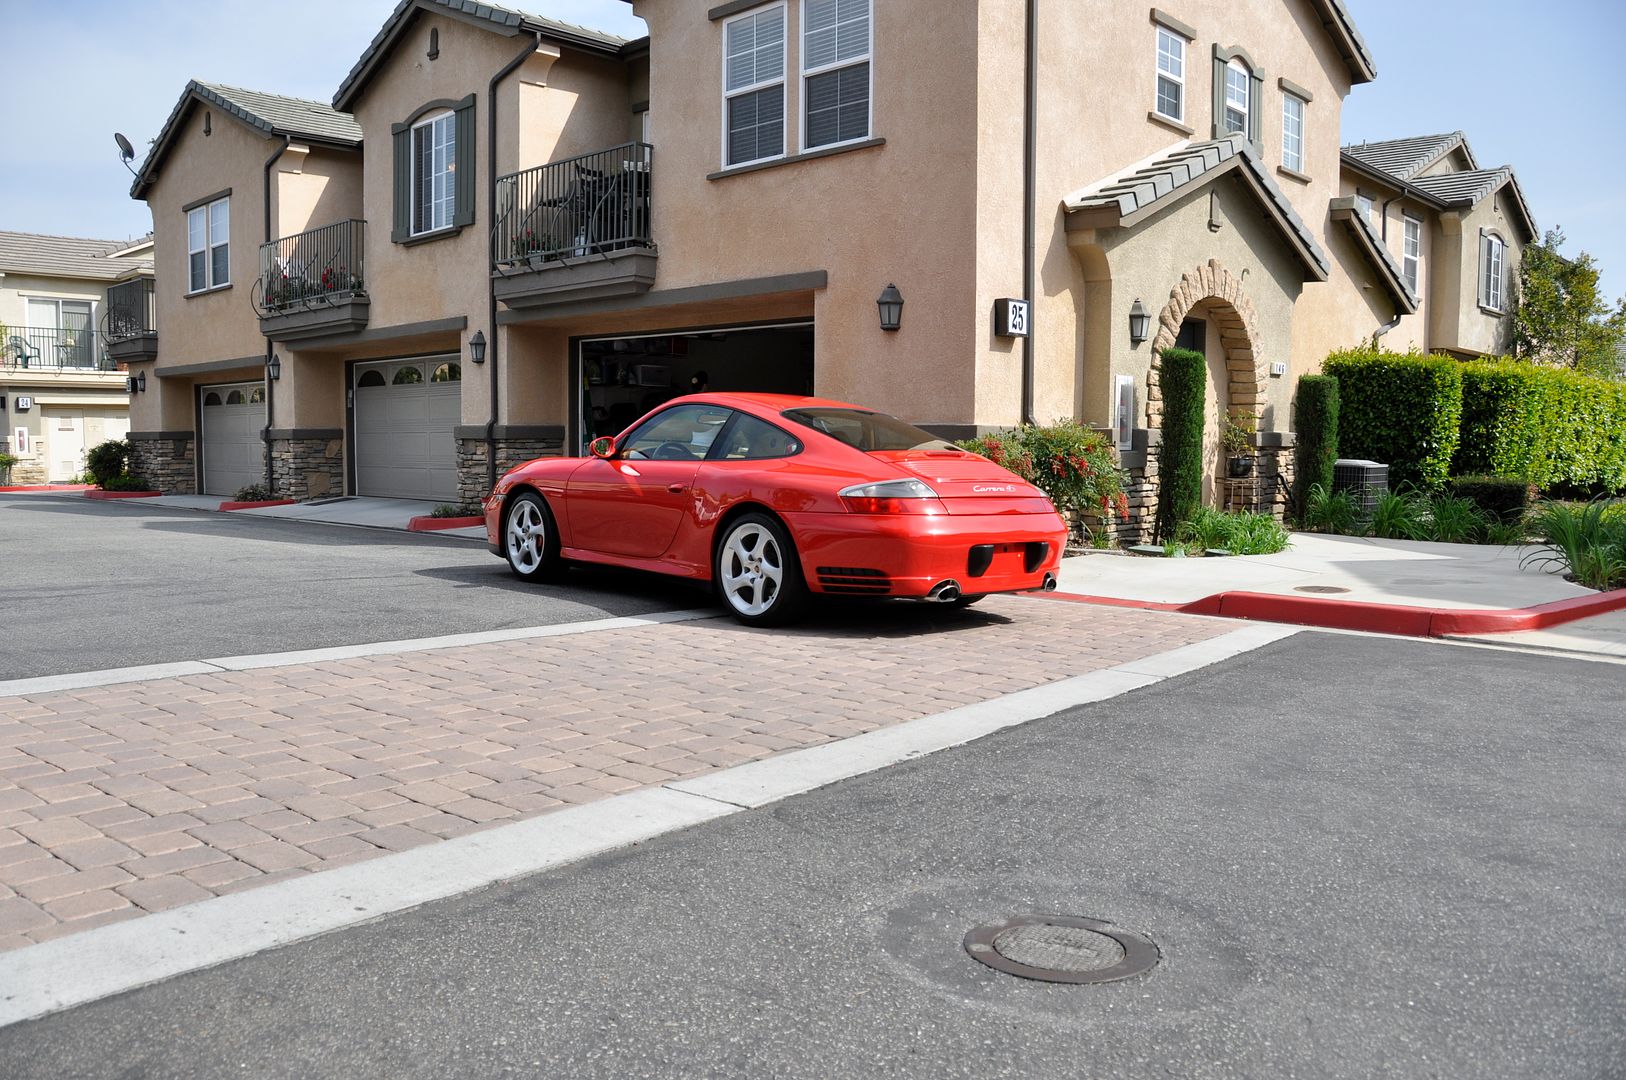
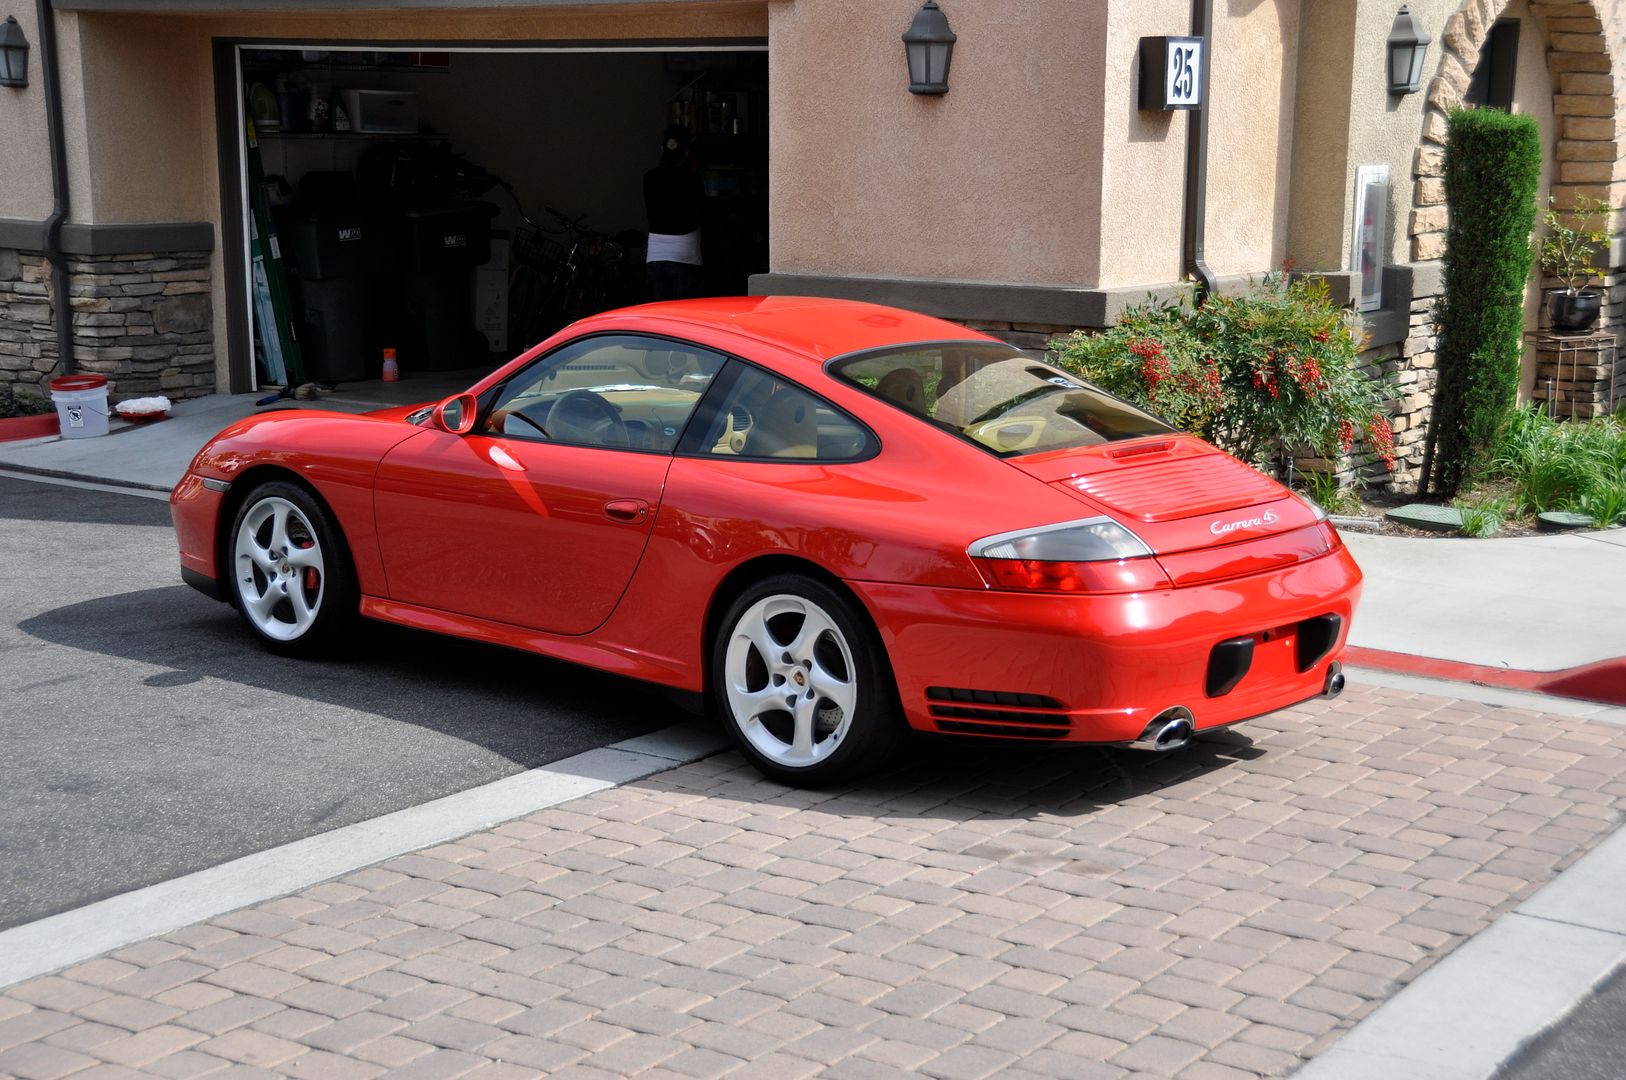
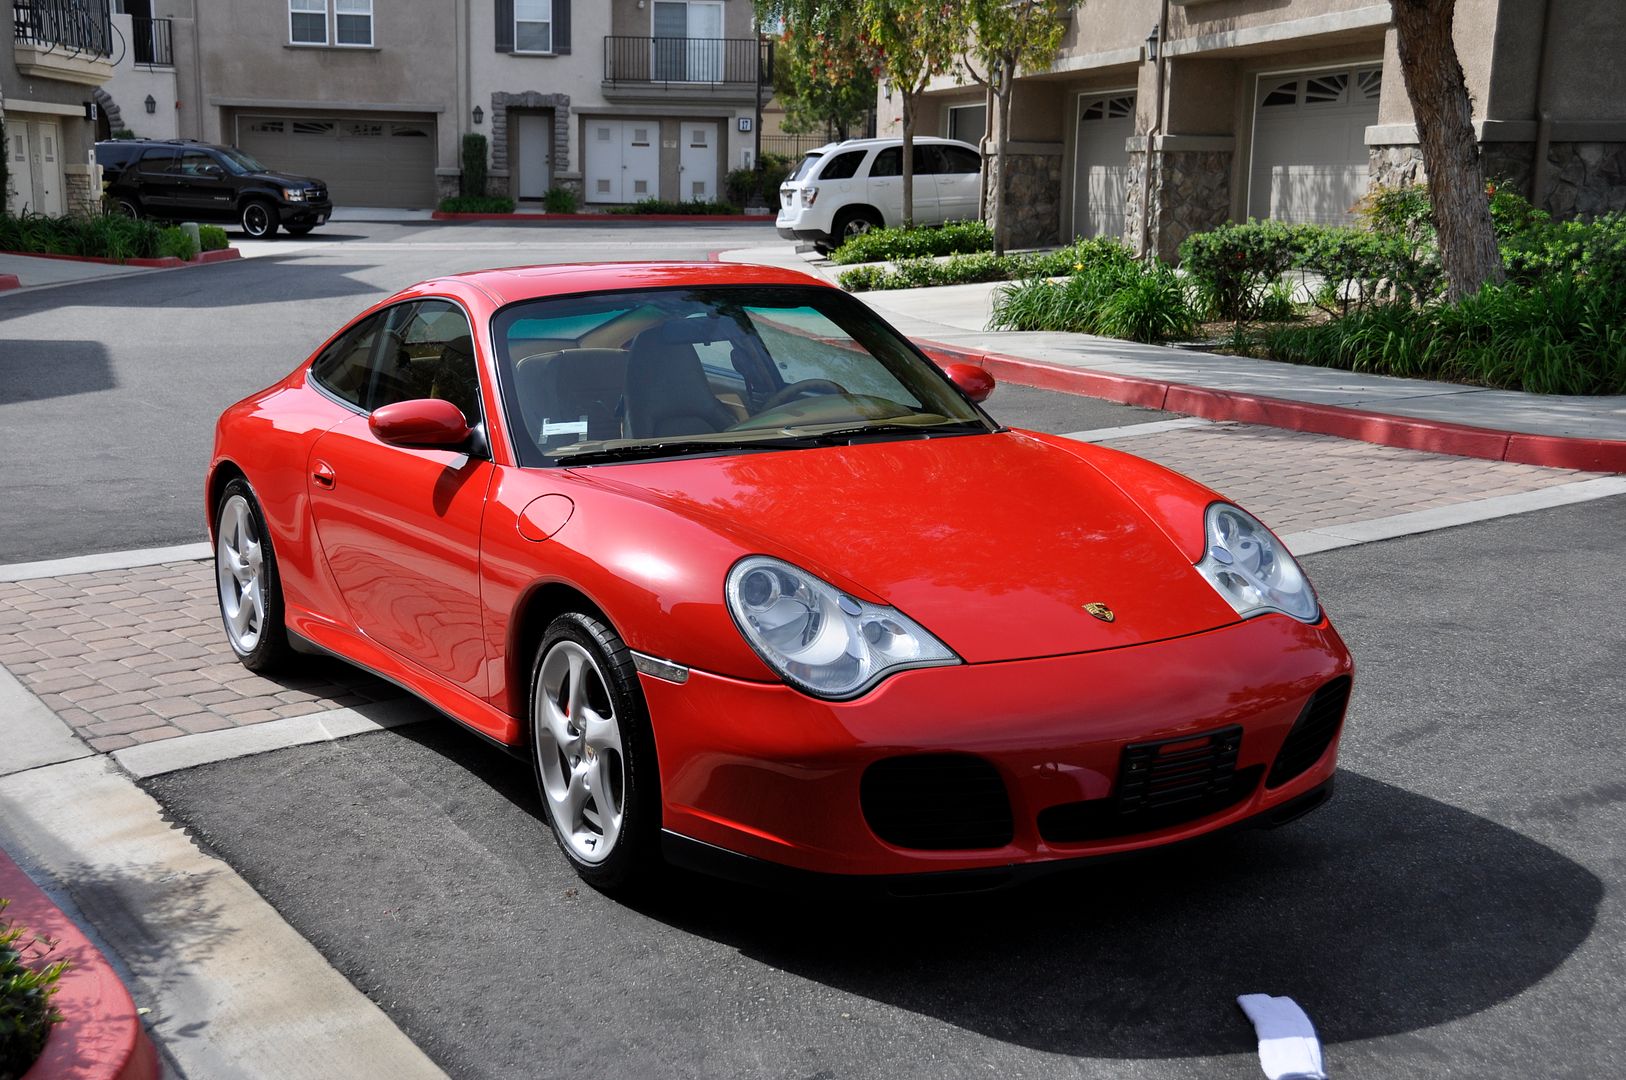
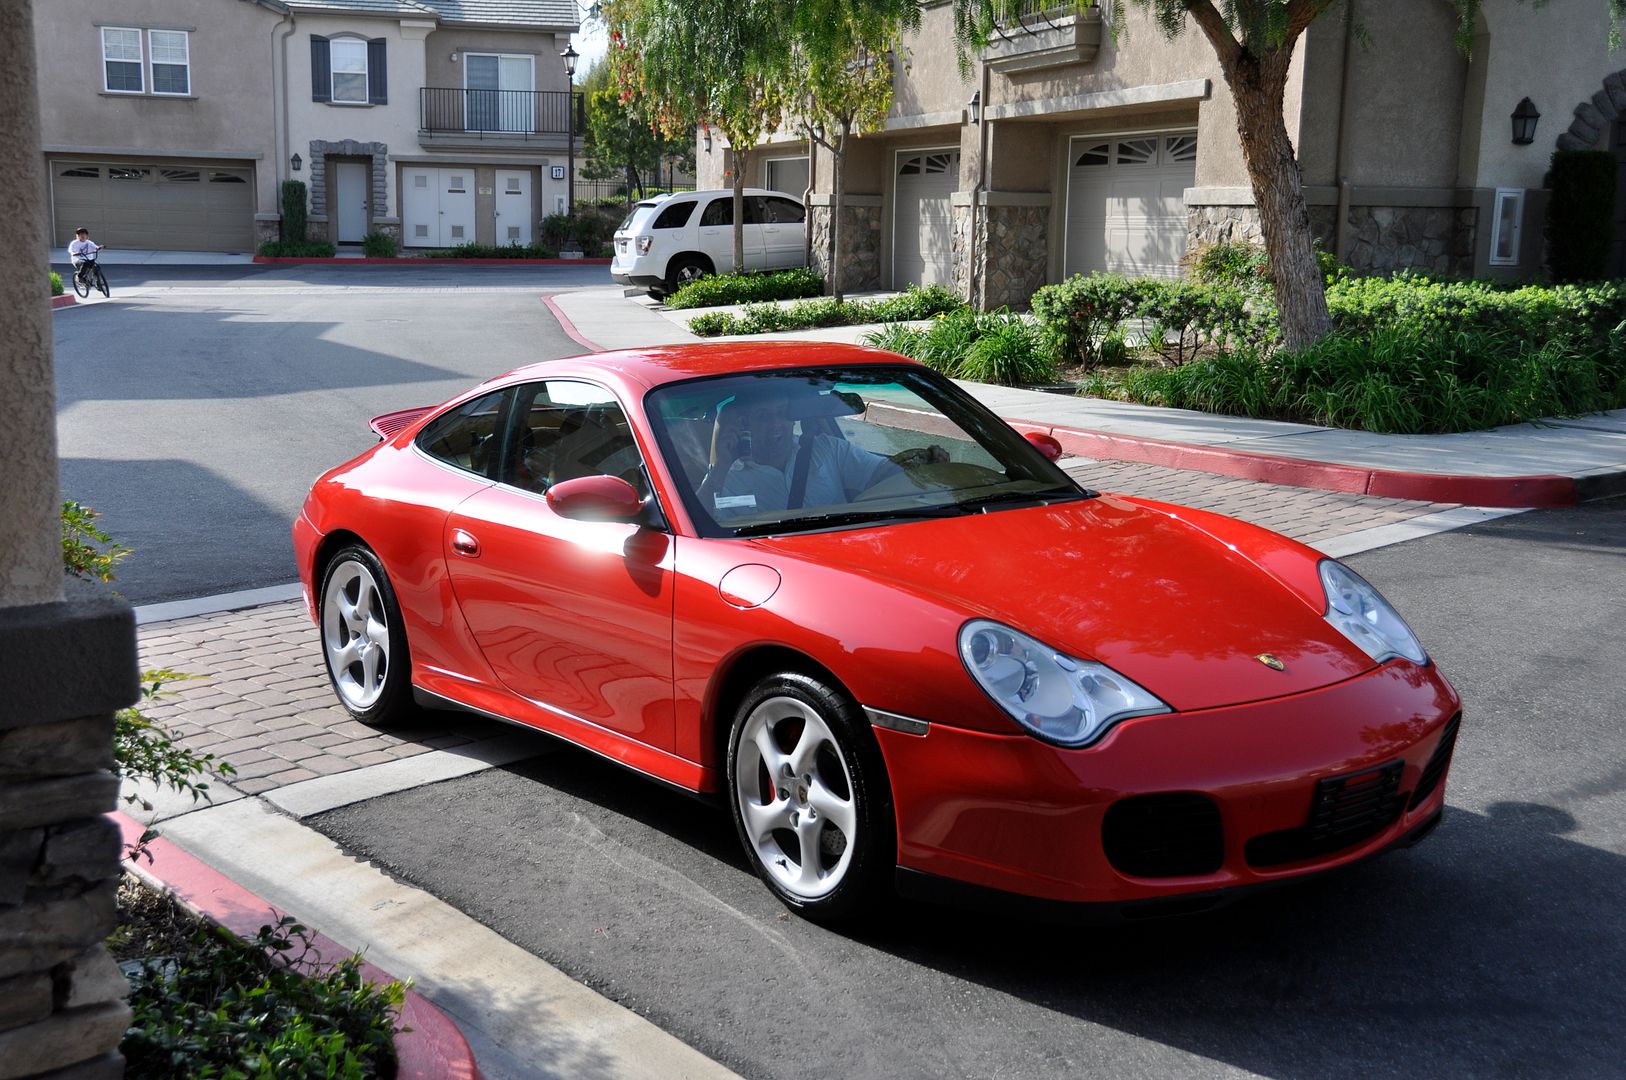
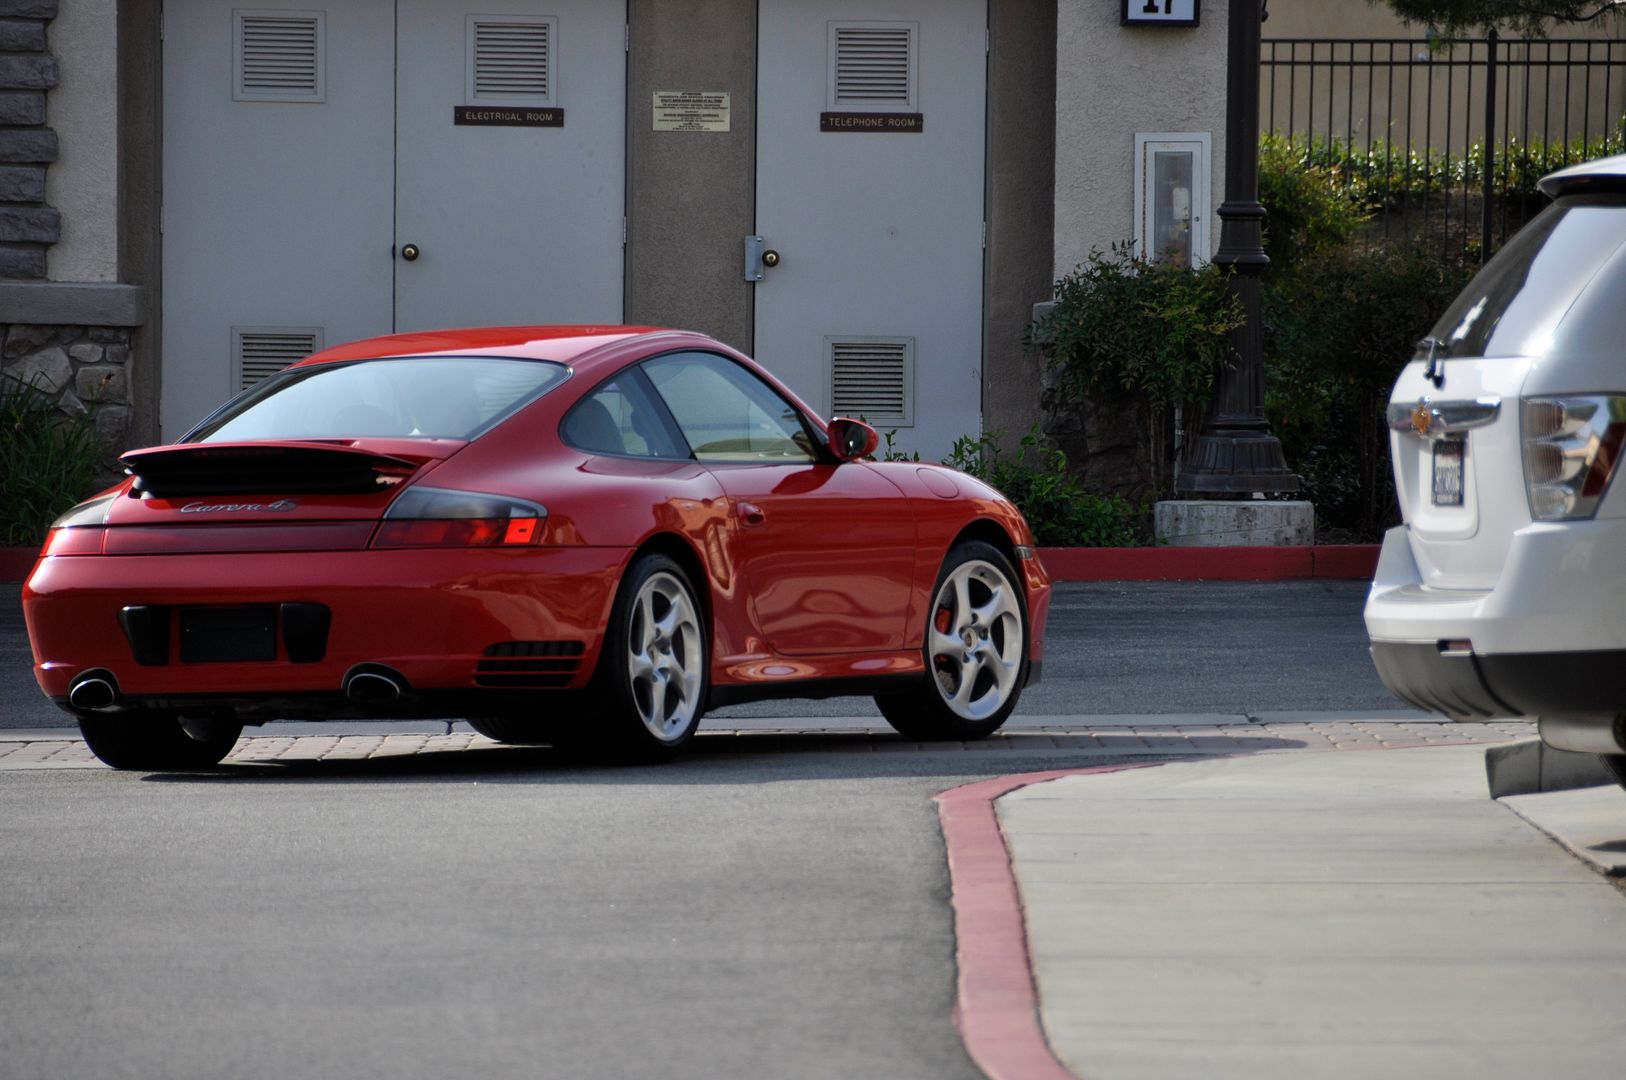
 the swirl marks on that car were atrocious, but you guys did a great job of bringing that paint back to life.