When you click on links to various merchants on this site and make a purchase, this can result in this site earning a commission. Affiliate programs and affiliations include, but are not limited to, the eBay Partner Network.
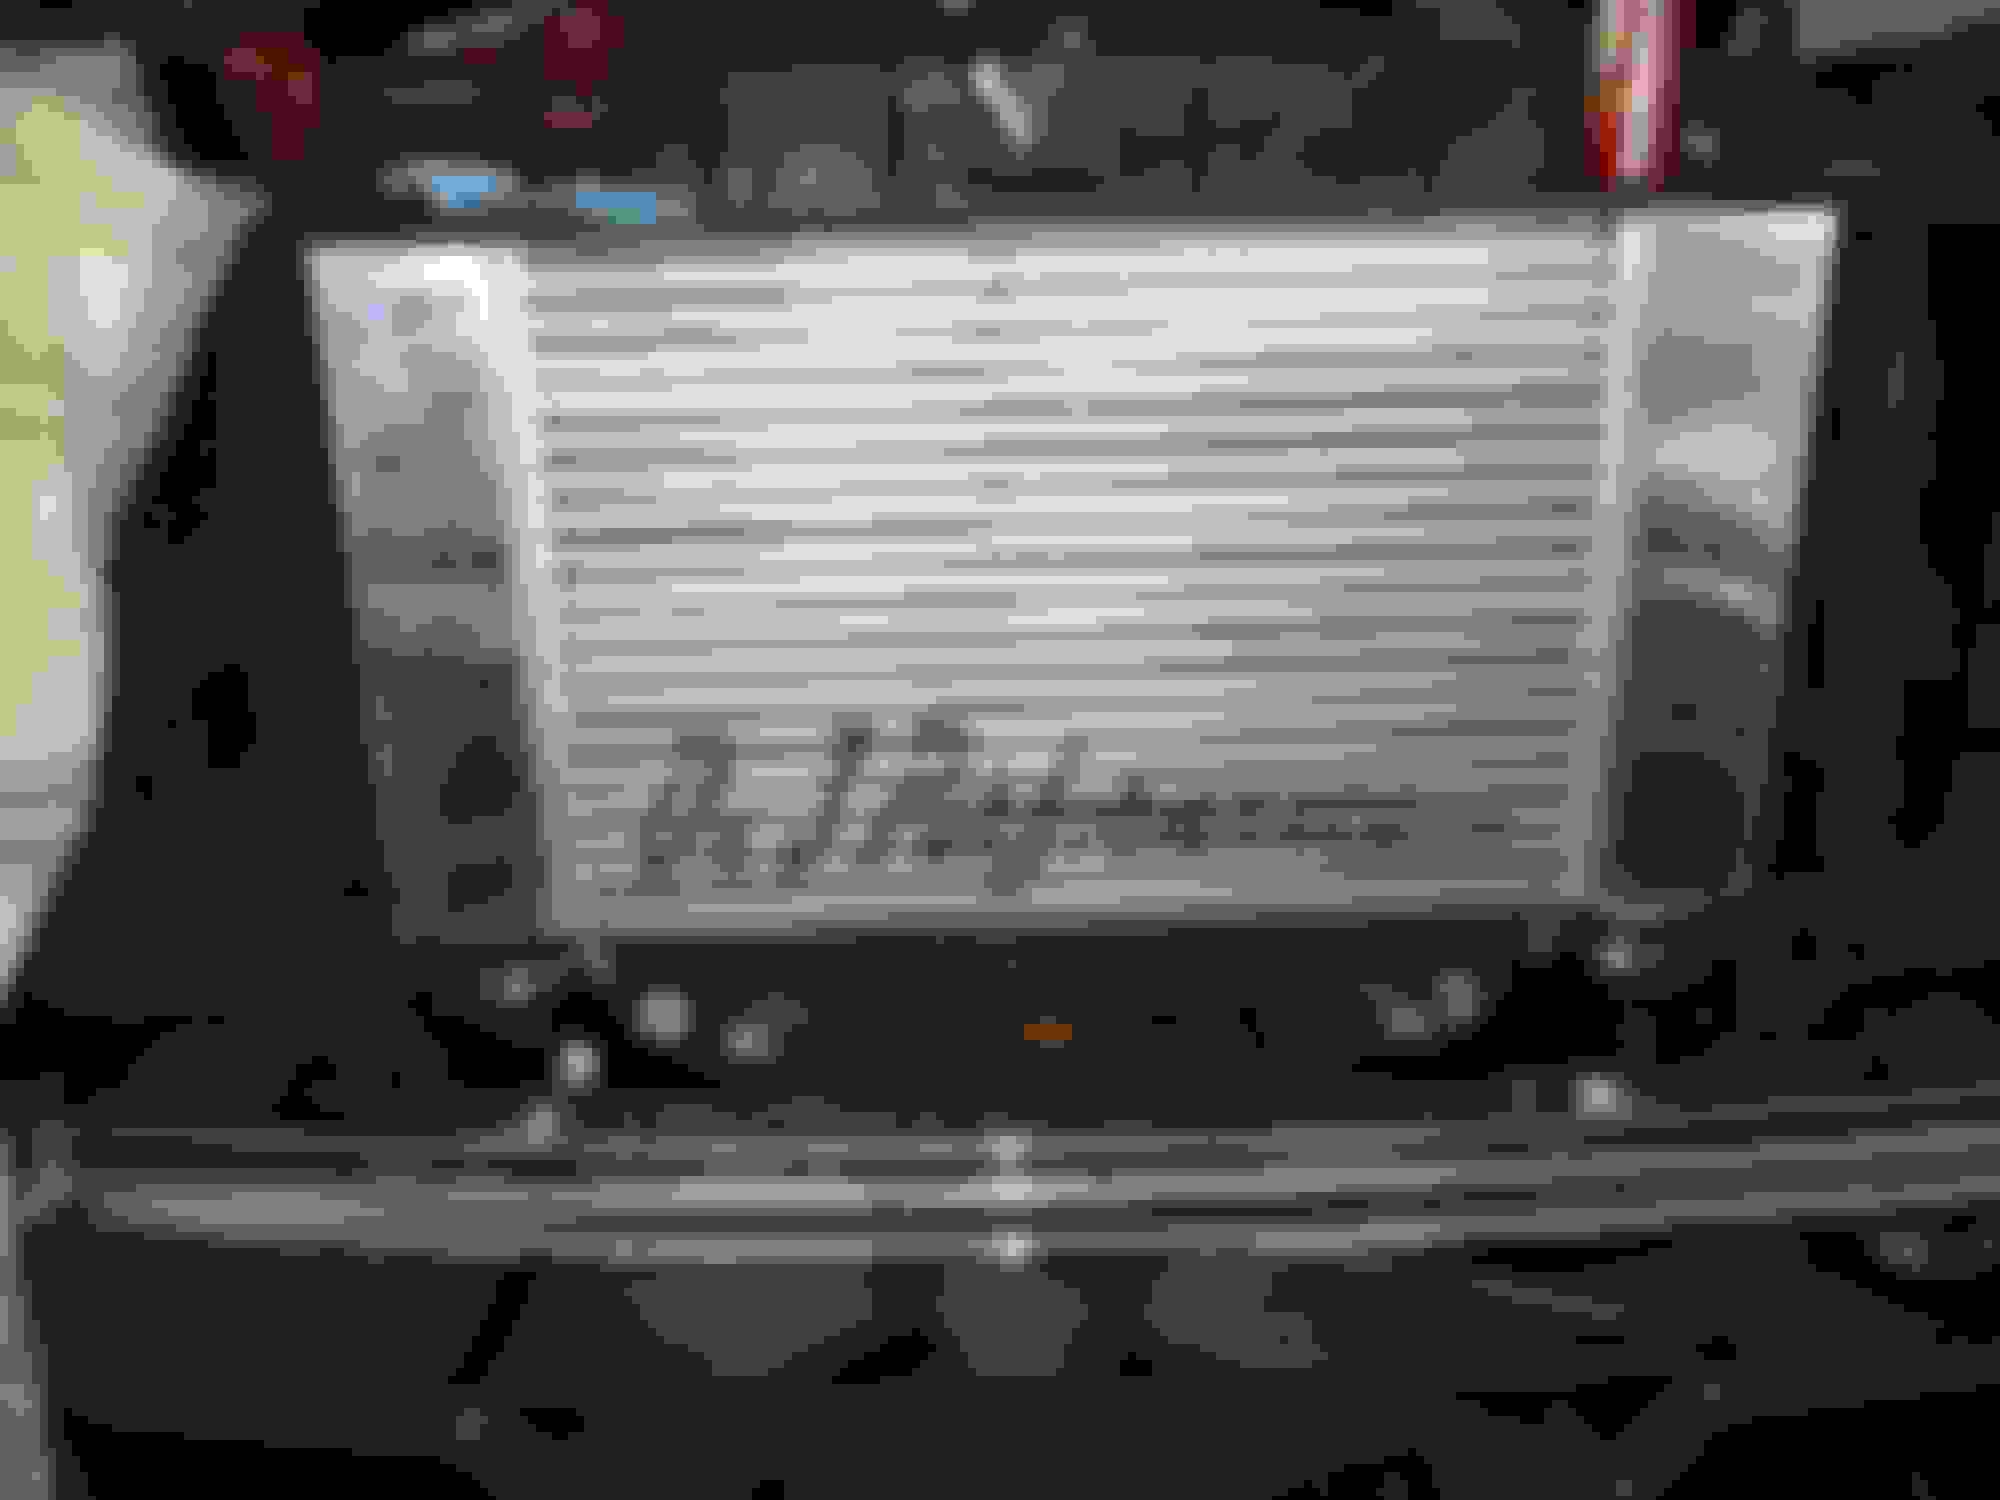
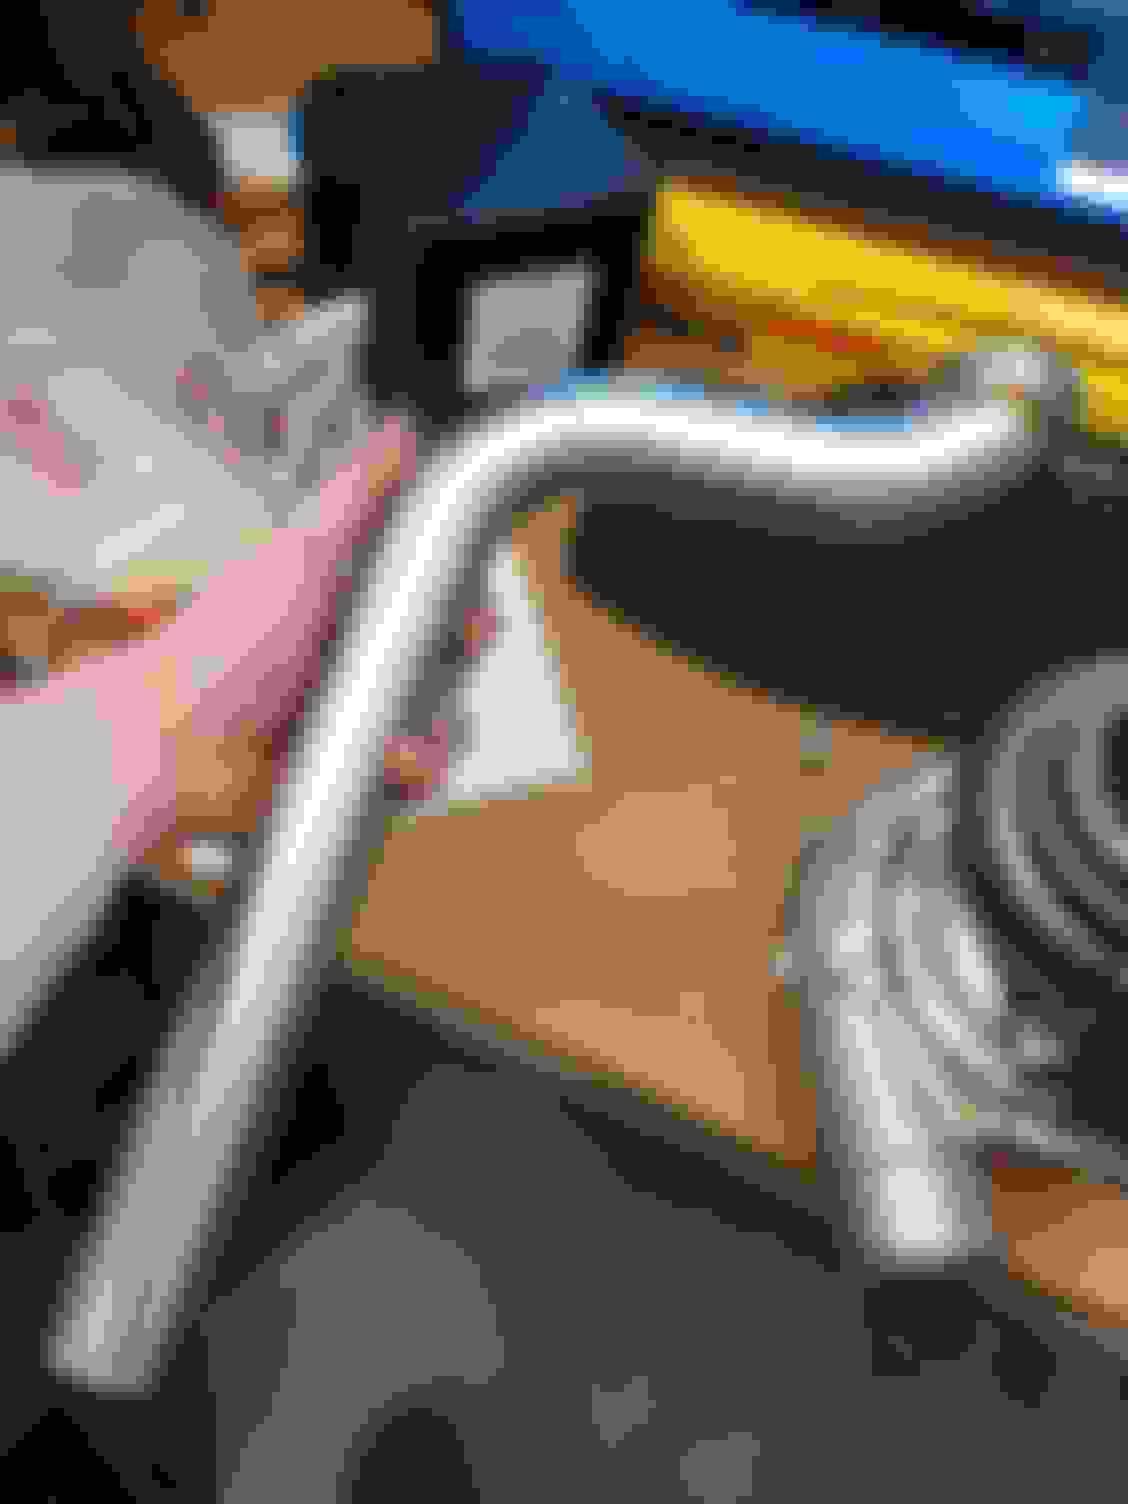
Cut out the tee in the factory coolant hose and spliced in the ~16" 1.5" pipe supplied by on3. Mocked up cold side, mounted intercooler. See pic for the angles you need on the couplers coming off of it. I used some high-end, coated self-tapping metal roofing screws I had lying around. I had bolts but consciously chose these instead. Smaller diameter allowed me to drill higher on the supports and gave me more adjustment. The rubber washers under the heads allowed me to tighten halfway and kinda nudge it around to find where I wanted it. And they won't rust. I can always drill out bigger and use proper bolts later if I feel the need.
Mounted the BOV. The clamp that Tial sent surprised me. I expected something hinged like the WG but it was a solid machined piece of aluminum with thinner sections that bend when opened and bend back when closed. Seemed a bit cheesy but perhaps there is some history there I am unaware of. Seems to fit just as the On3 unit would have. There was a bit of machining crud left over on the mounting flange of the pipe and I scrubbed that off before assembly.
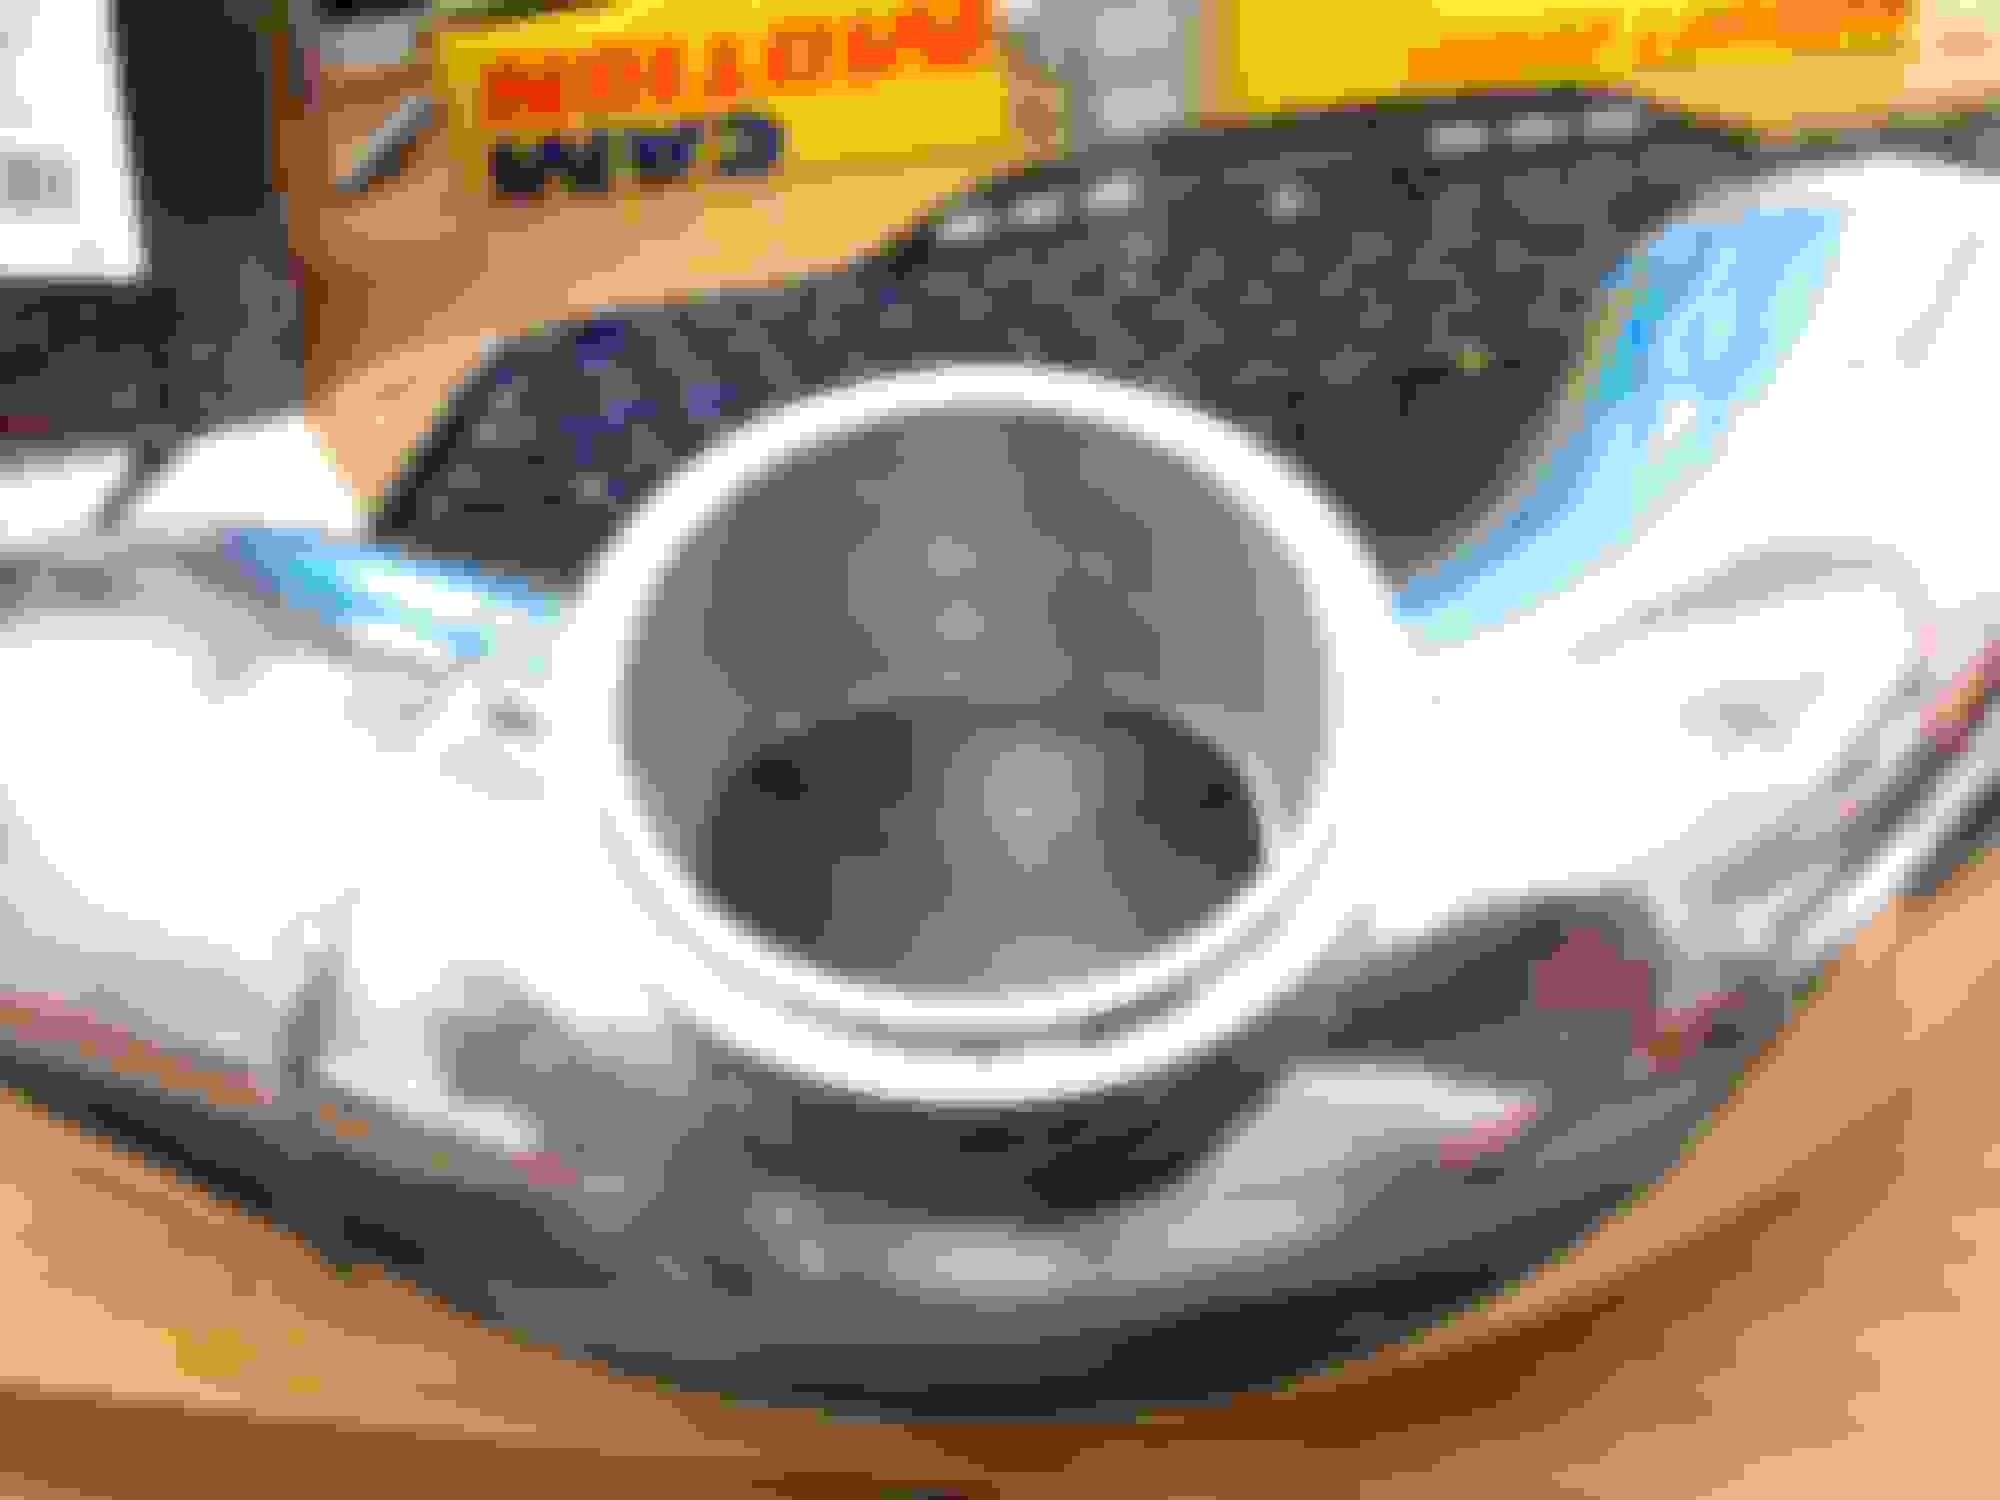
Clocked, marked, tightened turbo. Found evidence of getting what I paid extra for--at least by engraving.
Assembled and installed the wastegate. Green and blue spring is 8.7PSI and I think that is about where I want to be. It wasn't too bad putting the top back on and getting a few screws started but I would definitely be doing it in a vice if I were to ever use the ~20PSI spring combination. I wanted to put the reference line on the side of the unit but there is an immovable AC line right there so moved it on top. Plugged the others, left the water ports alone. Plugs are 5mm female hex and top screws are 3mm same. The dump pipe is about 18" long and dumps straight down about halfway down the tire.
Do you believe there is room to re route the wg dump back into the dp?
That AC line, do you just bend it over to the driver side and use large wire tie?
Yes and no on routing the WG output. I think it can be done because it's a truck and there is ground clearance. But due to DP basically following on top of manifold it would be pretty far down. Like cut the outlet down a bit and run a few feet toward the rear of the truck and tap in somewhere down there. Probably past what we should be calling the downpipe. Once it's all back together I'll reassess the possibility. For now, hoping the noise isn't annoying in regular driving. Though I don't drive in "regular" fashion often.
Yes on the AC line and other bits like the charge wire from the alternator. Just have to tie it all out of the way the best you can and heat shield the rest. This is where specific instructions would be nice(to make sure I don't miss anything) but it's not exactly rocket science either to get all the melty stuff away from all the hot stuff.
Hopefully tonight or tomorrow I get to the tie and shield portion. I have a blanket for the turbo and downpipe so that should help some. Again I did not wrap the manifold so need to be careful to keep everything far away from it.
New plug wires from On3 seem decent. The shorter 6 are around 14" and are numbered 1-6. The longer two are about 27" and 36" long and have 90 degree boots at the plug end.
ECM is out and taking it this week to Geoff @ EPS for a base tune.
Under regular operating temp the turbo manifold will be around 265-275 degrees, almost half of what the stock drivsrside manifold will be, I didn't wrap my turbo manifold because of how shitty it would be to wrap it... I just moved the heater lines and AC line away, moved my power wire, plug wires, ground wire(on the head), plug socks on the new 90 degree wires, nothing melted yet and about 2k miles
take the time now to wrap it. Why risk burning up stuff when you can prevent it with 30 min and 40 bucks.
I appreciate the advice but I think I am going to forego wrapping the manifold. I know it's the "thing to do" in a lot of circles but I'm not 100% convinced. I've been through exhaust mfgs voiding warranty due to wrap and Louisiana is very wet. That wrap holds moisture and funk and steams the pipes.
We'll have a DP and turbo blanket, as well as a lot of wrap on a lot of other things.
What do you guys think about the idea of bending up a piece of thin-ish aluminum and just making a sort of heat shield that isolates the manifold from the engine compartment and "vents" to the bottom?
I have a Trick manifold not wrapped and have had zero issues. I just put the heat shield around the a/c lines. I might wrap mine next time its out if there is a chance of reducing underhood temps.
why not coating it ? it's a lot better than wrap and hold too much higher heat plus you won't have to deal with scratching your self over and over afterwards .
why not coating it ? it's a lot better than wrap and hold too much higher heat plus you won't have to deal with scratching your self over and over afterwards .
That's a good idea and had I realized that I would have so much time in between efforts on this thing, that's the route I would have gone. For now, I'm going with original plan. It's really not that much to take it back off and try coating later; just a little more cleaning. So v2.0 perhaps?

 11-24-2017, 09:46 PM