When you click on links to various merchants on this site and make a purchase, this can result in this site earning a commission. Affiliate programs and affiliations include, but are not limited to, the eBay Partner Network.
It's a neat concept with no moving parts or electricity; basically the tank runs at 175 and then it uses the step-down to 90-125PSI to cool the air and drop the moisture. I really like not having something else to plug in. I plan to call and chat them up and make sure they know what Louisiana humidity is like before I pull the trigger. Until then, run a long hose and blast til it clogs(there's a water separator that came on the blaster but it's a cheapie)!
Great thread, I've read it through completely twice, now. I'm planning to turbo my 2011 2WD 4.8 Silverado and am in the "research" stage. Your thread has been EXTREMELY helpful and informative.
Thanks! I consume a lot on this site and similar forums so I like to contribute if I can.
Dryer is in! Hopefully find time to mount it tomorrow and get the blaster going again.
Slowly but surely running out of excuses to not have the thing back together. Got the mechanical dryer in. Works AMAZING. I just let air run out of it for several minutes at low and high rates and the air was cold and bone dry. Blaster is happy again.
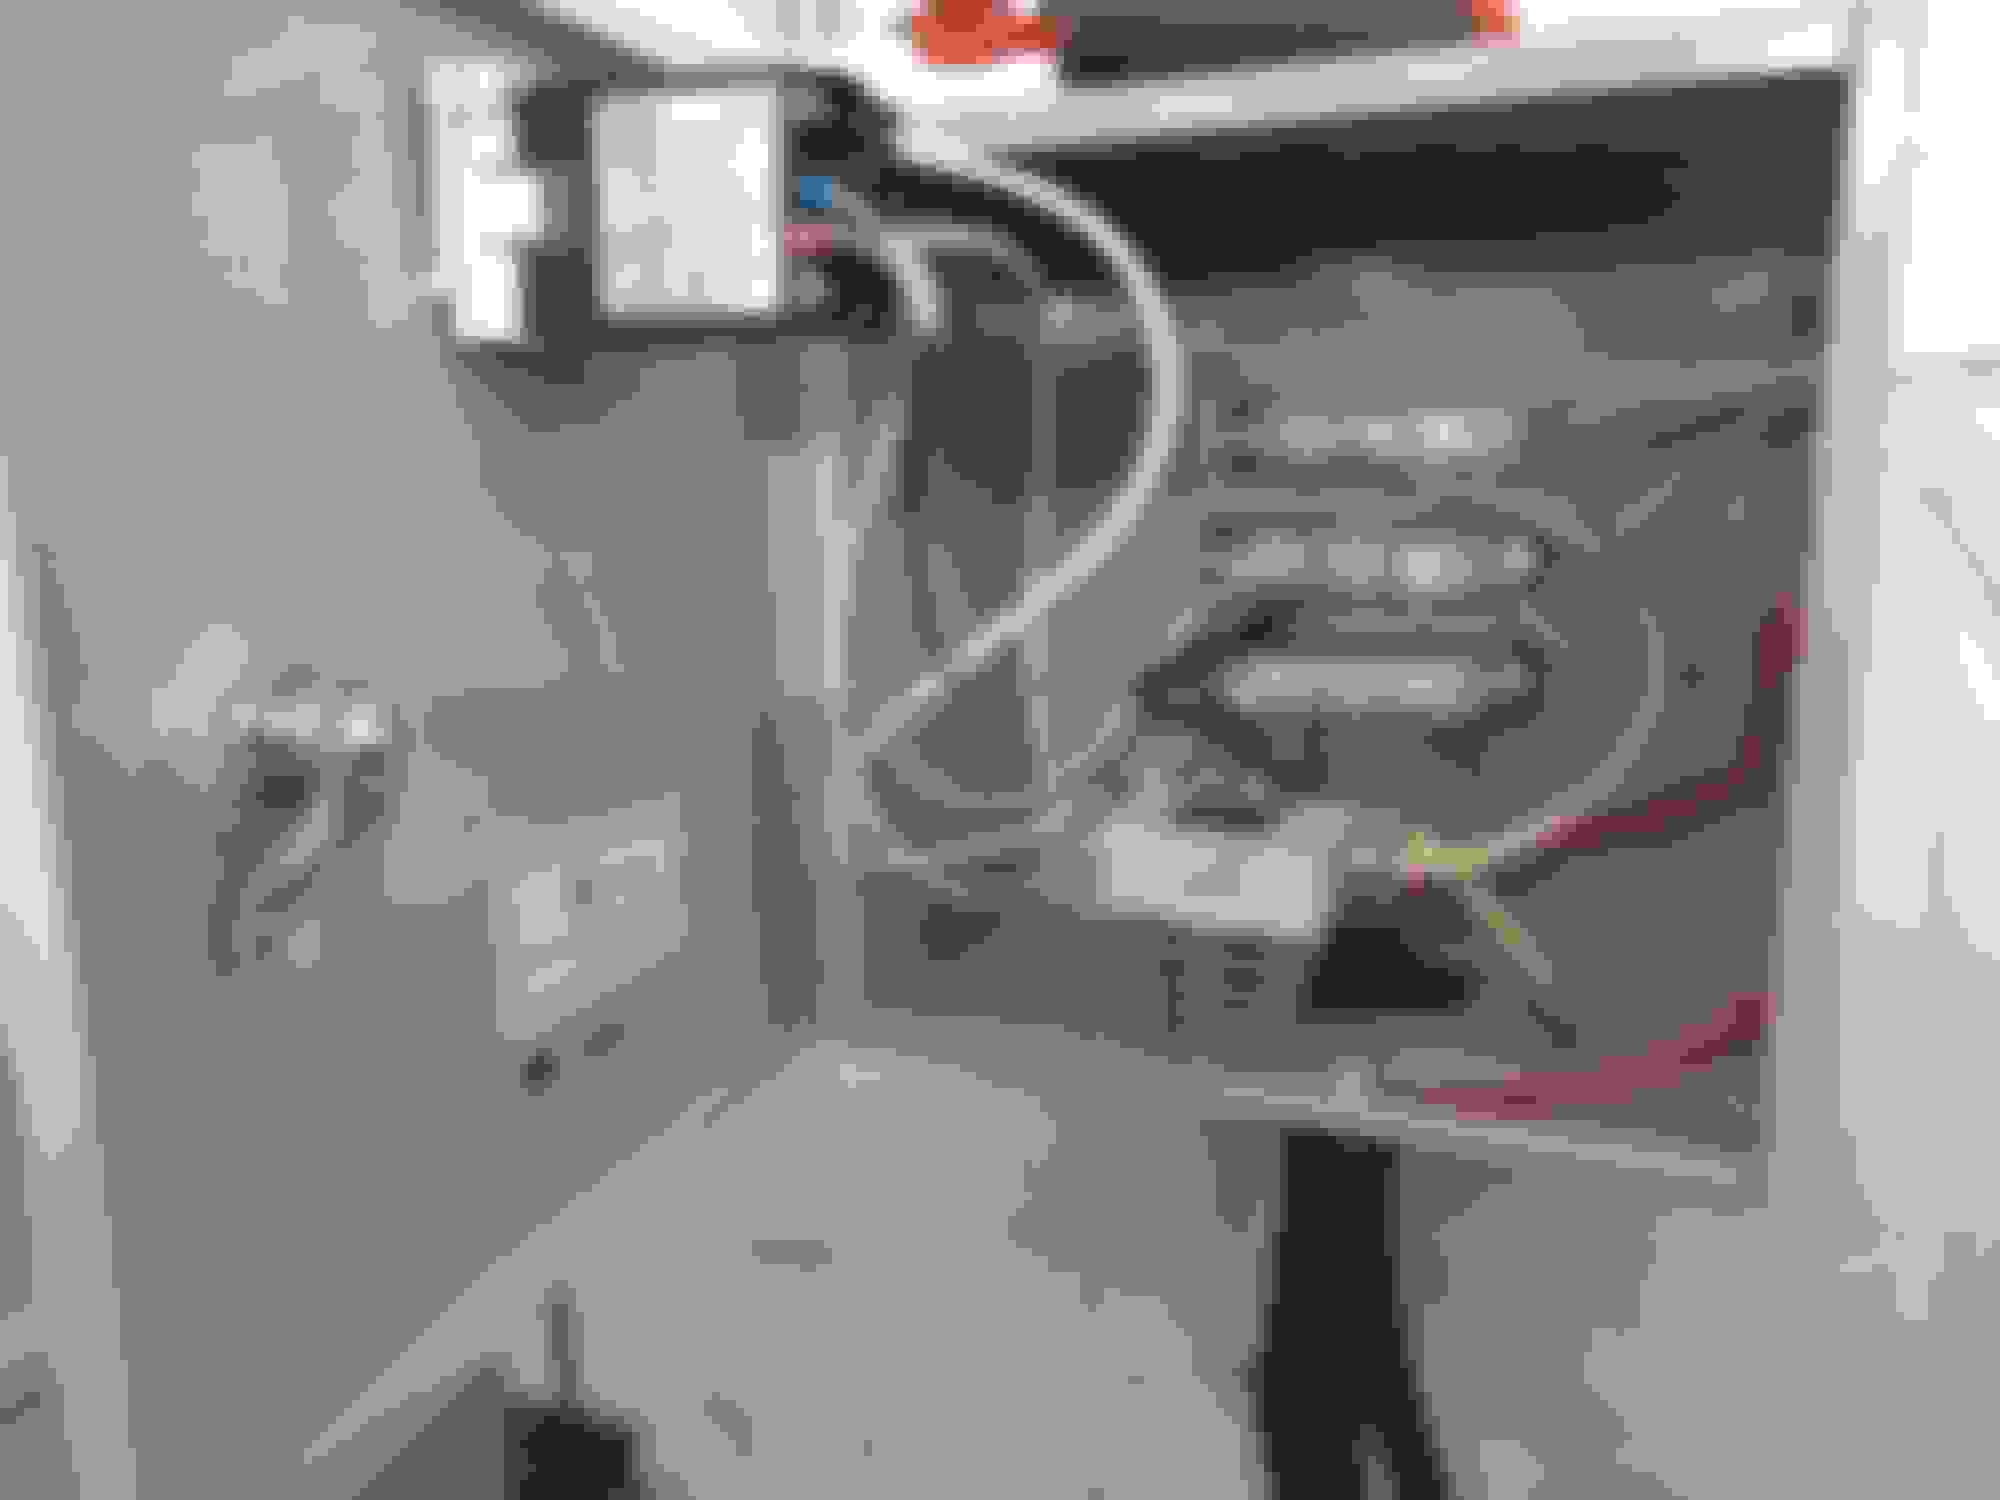
The rolling fire hazard is re-wired and even digital. It's ugly, but at least it's highly dangerous which is really all I can ask for.
Have the manifold and downpipe all blasted I think. Next just need a dry day(hard to find in late summer in Louisiana) to spray and cure. Have to get the restaurant ready for first college(LSU) football this weekend but fingers crossed, may actually have Monday off.
So went to coat today and "needs stirring" was an understatement. The solids apparently all separate out into a rubber-like sludge at the bottom of the can that must be scraped up. Then the recommended methods for re-dissolving is tossing a bunch of larger ball bearings in the can and put it in a rock tumbler, or scrape it all out and put it in a blender. Yep; a blender. World's deadliest smoothie anyone?
Sprayed using the Harbor Freight "HVLP touch up spray gun." $35 before coupons. Actually surprisingly expensive for the Freight but it seemed to work well although I have no experience with these type of guns.
I missed a few spots on the manifold but I'm going to run it and either acquire another manifold for better coating, or just do it again much later. Need this thing back on the road so I can stop tearing up the V. I am fairly sure I got better coverage on the down pipe. Cured at 500 degrees for an hour apiece. It seems to be relatively robust but still can dig into it with my fingernail.
Round two: I called Techline and their tech thought that since I didn't "final" cure it yet that I could touch up the thin areas as long as they weren't contaminated. They did say that the "sheen" may be different between first coat and the touched-up areas and I just don't care that much. It's black. I decided to go for it. I *think* I have full coverage now though in a few places overlap was unavoidable so the coating might be thicker than desired. There was a slightly thin spot on the DP as well so I touched that up also. Back in the "half" cure oven we go.
I might have used 6-7 oz at most so have a ton left in case this doesn't turn out well and I have to start over later. And the blasting cabinet looks hungry anyway.
**I did find a use for header wrap on this project: folded over as a gasket of sorts for the door. It works.
Making some progress. Decided on copper spray on factory MLS gasket. Got the bolts all tight and then realized that the locking tabs aren't long enough to hit the primary pipe on the middle bolts, rendering them useless. Probably call the mfg Monday and see if they have some longer tabs they can send me.
Sanded the face of the manifold to remove most of the ceramic. I figured I *want* heat transfer at that junction and it didn't explode before..
These wrenches work surprisingly well("ratcheting" open end)
Heat sleeved some additional wires(starter and what looks like something on front of engine; possible cam sensor, oil pressure solenoid, etc.). Figured out a couple of tricks here. Might be obvious to you guys but for some reason wasn't initially to me. The factory mounting tabs/ties/whatever are attached like zip-ties to the wire looms. They must be removed to get the heat-shield sleeves over the wires. If you kick out the piece of broken zip tie, you can loop the stainless ties through them and re-use them on the outside of the heat sleeve. Also a duh moment of pushing a wire through and pulling back through. The black really makes the plug wires pop. Starting to look good again.
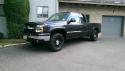
Well, we're up an running with no exhaust leaks yet. Drove it home finally last night and aside from a CEL from MAP sensor reading high, it's doing pretty well. I think we need to do a little driveability adjustment to the trans tuning as part-throttle can be weird, and it currently (from the sound I'm hearing) seems to completely cut throttle at WOT shifts.
The turbo pretty is pretty much spooled up all the time and with the 7.5lb-ish spring setup in the WG I'm pretty much wasting all the time. It's not an attractive sound to me, so definitely looking further into the WG muffler I posted earlier and probably going to route it somewhere that nets me a little less exhaust smell. I do know I need to lean it out and the newer trucks are sealed surprisingly well, but dumping next to the frame is going to eventually get exhaust in the truck, period.
Coating looked like it cured nicely. Now running with no downpipe blanket and only a blanket on the turbo. It's hot today so planning to run it hard and sniff under the hood for melty plastic smells.
Actually surprised the **** out of a new Raptor on my way to work this AM. Once we both got on the throttle, I was definitely pulling away nicely. And I strongly believe this thing has another 75+WHP in it when I'm ready to crank it up.
And one day I'll get to building that 6.2.
Any recommendations on best/quickest/easiest key-on 12V source for the AEM multi-gauge? I first wired it into the trailer light circuit and that netted me the dreaded "service trailer brake system ..." message. Still popping up here when I hit big bumps or run it hard after the gauge was disconnected and I suppose I need to pull all those connectors and clean them like others have had to do.
Seems like the way to go is route the WG back into the exhaust. I've seen some of the kits do this. If I ever get to putting a turbo on mine, I'll be trying to do it that way.


 08-21-2018, 10:50 AM